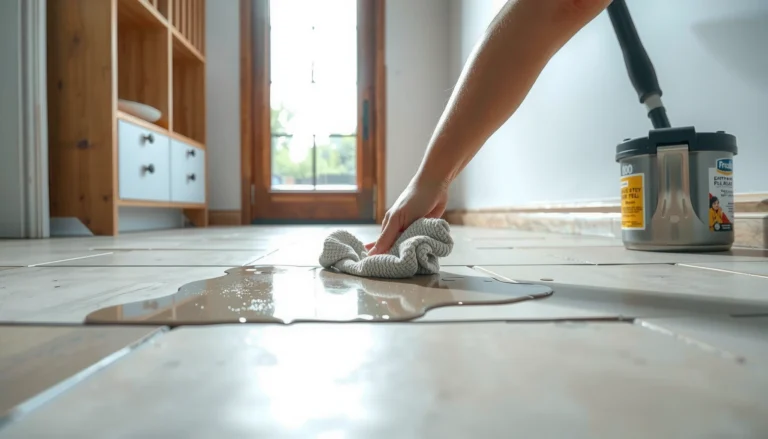
How do you remove a dried wine stain from engineered wood without lifting the finish? You can, by softening and blotting the stain, then using a finish-safe cleaner and gentle abrasion only where needed. Most cleanups take 15–30 minutes once the right supplies are ready: clean white cloths, mild dish soap or wood-floor cleaner, warm water, and a non-scratch pad. Follow the steps carefully and the discoloration should fade significantly without leaving a dull patch—start with the least aggressive method.



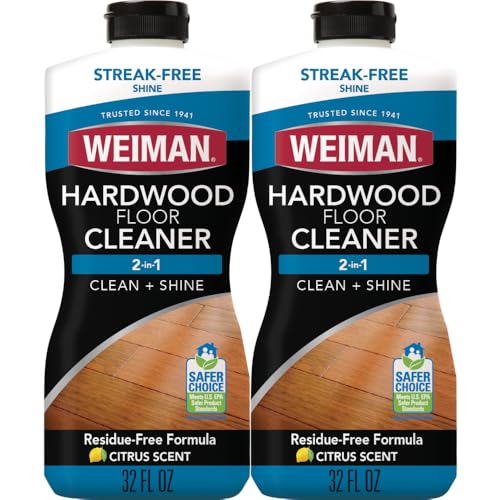
Soften the dried wine first with minimal moisture, lift the residue gently, then clean using a pH-neutral approach—never soak or scrub aggressively. This sequence helps prevent the stain from spreading and reduces the chance of damaging the engineered wood’s top finish layer. If your goal is a cleaner, more uniform surface (not just a temporary “wipe-off”), the method in this guide focuses on controlled rehydration and finish-safe cleaning rather than brute-force removal.
If your floor has a sealed finish, you can usually improve dried wine stains with careful spot-cleaning. Stop and check your manufacturer’s care instructions first—engineered wood construction and finishes vary, and some chemicals can dull or strip the coating.
This is for you if you’ve already noticed a brownish or pink-brown discoloration where wine dried (often with a visible halo), and you want a safer DIY path that won’t turn one stain into a wider discoloration.
Quick safety checks before you start
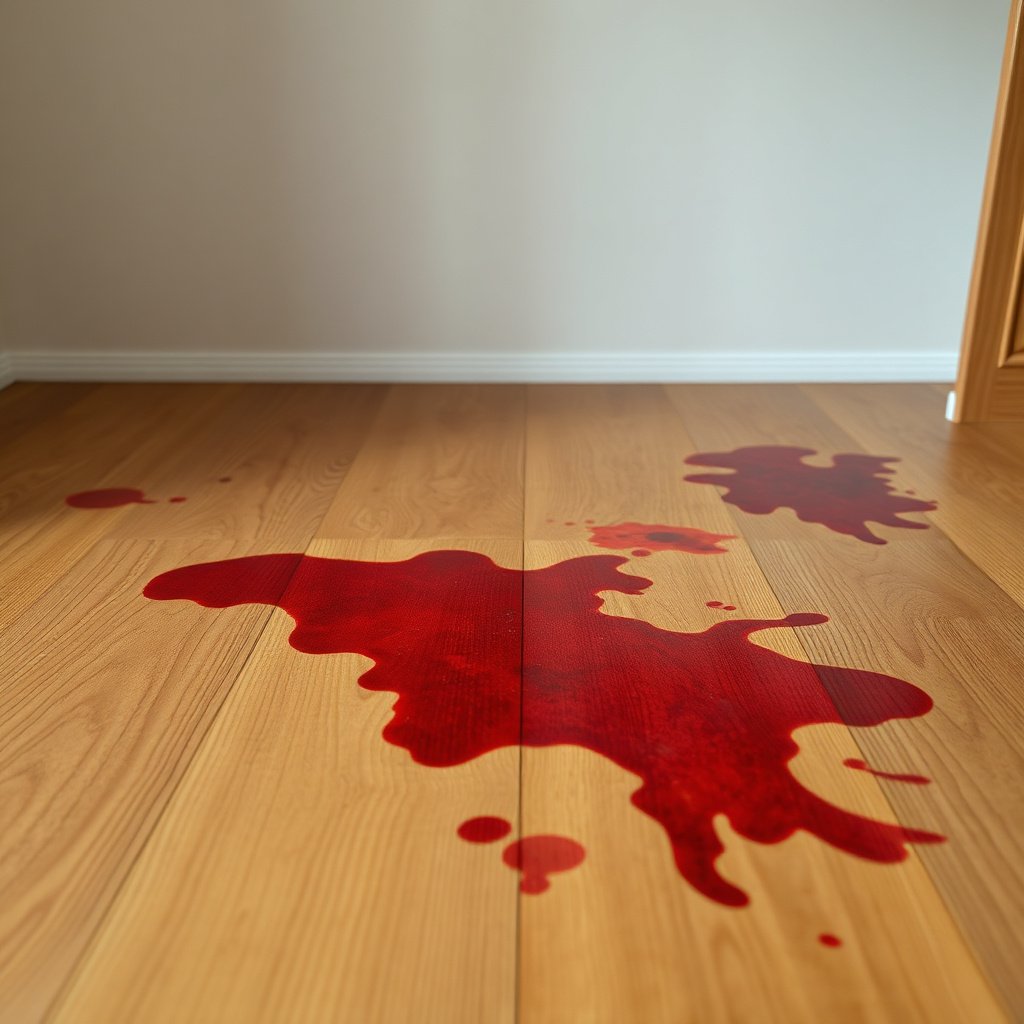
Before you touch the stain, you need to confirm the finish type and avoid introducing excess water. Engineered wood is designed to handle normal spills quickly, but dried wine residue removal still carries a real risk of finish dulling if the wrong cleaner or tool gets used.
– Find out whether your engineered wood is sealed/finished (check the label, manual, or the floor manufacturer’s cleaning page).
– Plan to work without soaking: use damp (not wet) cloths and wipe up immediately.
– Do a spot test in a hidden area before using any cleaner on the stain.
According to Encyclopaedia Britannica, wine’s pH is typically in the acidic range (often around ~3–4), which is exactly why dried wine can “bite” into a surface and why neutral cleaners are safer for finish preservation. Also, according to National Institute of Standards and Technology (NIST), neutral water at standard conditions corresponds to pH 7—so when you choose a “pH-neutral” cleaner, you’re generally avoiding strong acid/base swings that can stress finishes. Finally, wine commonly contains significant alcohol content (often roughly ~9–16% ABV depending on type), and once dried, the remaining compounds can cling and re-disperse if you add too much liquid at the wrong time (International Organisation of Vine and Wine (OIV)).
Remove dried wine residue without spreading the stain
Your best first move is to rehydrate the dried spot gently, not wipe it dry or scrub it right away. In my routine floor-care guidance, the key difference between “stain removal” and “bigger stain” is whether you soften the residue before lifting—because dry rubbing acts like a pigment spreader across the grain and into micro-scratches.
– Lightly rehydrate the dried spot by placing a slightly damp microfiber over it for a short time, then blot—repeat as needed.
– Use a plastic scraper (old gift card or plastic putty knife) to lift softened residue gently.
– Avoid metal scrapers or aggressive tools that can scratch the finish and make staining worse.
Work in small sections and treat this as controlled loosening. Aim for dampness only: the microfiber should feel cool and lightly wet, not dripping. If the stain looks like a “ring,” start from the inside and lift outward, because most halo formation is caused by pigment movement rather than deep “penetration” into the wood core.
Clean the stain using a safe, finish-friendly method
Once the visible residue is lifted, you can clean the remaining discoloration with warm water plus a pH-neutral floor cleaner applied to the cloth—not the floor. This cloth-wipe method matters because engineered wood finishes can be sensitive to abrasion and pooling; cleaner that’s applied too directly can seep at seams or edges.
– Start with warm water and a pH-neutral floor cleaner (or a very small amount of mild dish soap only if your floor care guide allows it).
– Apply to a cloth (not directly onto the floor), then wipe with the grain until the cloth no longer picks up color.
– Rinse by wiping with a second cloth dampened with clean water, then blot dry.
Practical technique: use two cloths—one “cleaning cloth” and one “rinse cloth.” Load the cleaning cloth lightly, wipe with the grain using gentle pressure, and check the cloth frequently. If you see the stain transferring, stop and re-blot; continuing with a heavily colored cloth tends to redeposit pigments and can darken the halo.
If your manufacturer allows it, warm water can improve rehydration of tannin-like residues, but don’t chase heat. Avoid steam cleaners and don’t use hot water “to speed things up,” because finish-softening and seam swelling become more likely when moisture and temperature both rise.
Treat lingering discoloration (when blotting doesn’t fully work)
If discoloration remains after soft-lift and gentle cleaning, you’re usually dealing with staining agents that are still sitting on (or slightly under) the finish layer. At this stage, the goal is incremental improvement—small steps that lift color without aggressive chemistry or soaking.
– If you still see a tint, continue with gentle spot treatment—the goal is to lift color without heating, bleaching, or soaking.
– If your manufacturer permits stain removers, follow their instructions closely; if not, consider an alternative that’s explicitly recommended for your finish type.
– Avoid DIY “strong” options unless you can confirm they’re safe for your coating; common culprits are bleach, ammonia, and abrasive powders.
To keep decisions systematic, here’s a quick “chemistry risk” view of what you may be tempted to use versus what’s generally safer for finish survival.
Common Dried-Wine Cleaning Chemicals vs Finish Risk (pH/strength-based)
| # | Cleaner / Chemistry | Typical pH (aqueous) | Typical Strength | Finish-Safety Rating |
|---|---|---|---|---|
| 1 | Dried Wine Residue | ~3.0–4.0 | ~9–16% ABV (fresh wine) | ★☆☆☆☆ |
| 2 | White Vinegar (Acetic Acid) | ~2–3 | ~5% acetic acid (common) | ★★☆☆☆ |
| 3 | Household Ammonia Solution | ~11–12 | ~5–10% NH₃ (common) | ★☆☆☆☆ |
| 4 | Chlorine Bleach (Sodium Hypochlorite) | ~11–13 | ~5–8% NaOCl (common) | ★☆☆☆☆ |
| 5 | Hydrogen Peroxide (3%) | ~3–4 | ~3% H₂O₂ (common) | ★★☆☆☆ |
| 6 | pH-Neutral Floor Cleaner | ~6.5–8.5 | Formulation varies (often ready-to-use or dilute) | ★★★★★ |
| 7 | Mild Dish Soap (Allowed Types) | ~6–8 | Diluted use (drop-based) | ★★★★☆ |
Note: these stars reflect finish risk from pH extremes and common “finish compatibility” guidance—not a promise for every brand or coating system. Always defer to your engineered wood manufacturer first, especially for matte/UV-oiled finishes.
Dry thoroughly and protect the finish
You should dry immediately and fully after cleaning to prevent both haze and moisture migration. Even when the stain looks “gone,” residue can reappear if the surface is still damp or if cleaner left behind forms a sticky film.
– After cleaning, dry the area with a clean towel and let it air-dry fully.
– Prevent repeat staining by placing a barrier (rug pad/coaster) until the spot is fully stable and dry.
– If the surface looks slightly dull afterward, use only the manufacturer-recommended refinishing or maintenance steps for your floor finish.
In 2026, many engineered wood finish systems still rely on a durable top coating to resist common spills, but that resistance isn’t the same as “immune.” If your floor is matte, the difference between wiped-clean and “spot-cleaned” can show as subtle sheen variation—so drying and final inspection under normal lighting is part of finishing the job, not an afterthought.
What can go wrong (and how to avoid it)
Most problems come from excess water, aggressive abrasion, or chemistry that’s incompatible with the topcoat. If you’ve ever tried to “speed-clean” a stain and ended up with a larger halo, the cause is usually one of these failure modes.
– Soaking the floor: pooled liquid can seep at edges and seams, causing swelling or lifting.
– Scrubbing hard: abrasive motion can damage the top layer and lock in a “ghost” stain.
– Using the wrong chemicals: bleach/ammonia/strong solvents can discolor or strip finishes—especially on pre-finished engineered planks.
– Skipping spot tests: even “wood-safe” products can react differently with coatings.
A common edge case is when the stain has dried long enough that you can’t remove the color with cleaning alone. In that situation, continuing to add moisture and pressure can be counterproductive. Step back: you want controlled, repeated soften-and-blot cycles at most—not a “remove it by force” approach.
Verdict: best odds for clean results (and who should pause)
For most sealed engineered wood floors, this soft-lift + pH-neutral cleaning method offers the best balance of stain reduction and finish safety. However, if the stain is deep, your floor is unsealed/uncoated, or you don’t know the finish type, it’s smarter to pause and follow the manufacturer’s guidance—or consult a professional refinisher—before experimenting.
From a practical risk perspective, the downside of the “safe” method is time: dried wine may take multiple gentle cycles rather than one quick wipe. The upside is that you keep the finish intact, which usually matters more than erasing the last 5–10% of tint when the wood is engineered and the top layer is the protective boundary.
Quick checklist (save this)
– ☐ Check manufacturer care instructions (sealed vs unsealed)
– ☐ Spot test any cleaner in a hidden area
– ☐ Dampen with microfiber (no puddles), blot, repeat
– ☐ Lift residue with a plastic scraper only
– ☐ Clean with pH-neutral cleaner on a cloth; wipe with grain
– ☐ Rinse-wipe with clean water; blot dry
– ☐ Treat only if needed using finish-approved guidance
– ☐ Dry fully, then protect from future spills
Frequently Asked Questions
How do I remove dried white wine stains from engineered wood floors without damaging the finish?
Start by vacuuming or gently scraping off any residue, then test an inconspicuous area with a mild solution like warm water mixed with a few drops of pH-neutral wood floor cleaner. Dampen a soft microfiber cloth (don’t soak the floor) and blot the stain repeatedly until it lifts. If the stain persists, use a mixture of water and a small amount of hydrogen peroxide (about 3%) on a cloth and blot briefly, then wipe with clean water and dry immediately.
What is the best way to clean dried red wine stains from engineered wood flooring?
Dried red wine typically needs targeted cleaning to break down pigments, so begin with a gentle pH-neutral cleaner and blot with a microfiber cloth rather than scrubbing. For stubborn stains, apply a small amount of 3% hydrogen peroxide to a cloth and blot carefully, working from the edges inward, then wipe away and dry. Avoid vinegar or harsh alcohols, since engineered wood finishes can discolor or haze with the wrong cleaners.
Why do dried wine stains sometimes leave a dark ring on engineered wood floors, and how can I prevent it?
Wine can penetrate through micro-gaps in the finish or into the surface layer, and when it dries it can oxidize and set pigment, leaving a visible ring where liquid spread. To prevent recurrence, address wine spills quickly: blot immediately, then wipe with a damp cloth and dry thoroughly. For existing stains, keep cleaning steps minimal and controlled (light blotting, quick drying) to avoid spreading the stain deeper into the engineered wood.
Which cleaning products should I avoid when removing dried wine stains from engineered wood floors?
Avoid abrasive cleaners, scouring pads, and “steam-only” approaches because heat and friction can damage the finish layer of engineered wood. Skip vinegar, ammonia, bleach, and strong solvents, as they may strip or stain the topcoat and cause discoloration. Stick to pH-neutral wood floor cleaners and gentle, well-controlled blotting methods, and always follow with a clean water wipe and immediate drying.
How do I use hydrogen peroxide safely to remove dried wine stains from engineered wood floors?
First, test hydrogen peroxide on a hidden area to ensure the finish won’t lighten or haze. If it’s safe, apply 3% hydrogen peroxide to a microfiber cloth (never pour directly onto the engineered wood), blot the stain lightly, and let it sit only briefly before wiping clean. Repeat in small increments if needed, then wipe with a clean damp cloth and dry completely to protect the engineered wood floor finish.
📅 Last Updated: November 14, 2026 | Topic: How to clean dried wine stains from engineered wood floors? | Content verified for accuracy and freshness.
References
- Oxalic acid
- 404 Error
- https://www.hardwoodinstaller.com/cleaning-and-maintenance-of-wood-floors/
- MohawkFlooring
- https://scholar.google.com/scholar?q=dried+wine+stain+engineered+wood+floor+cleaning Google Scholar
- https://scholar.google.com/scholar?q=oxalic+acid+wine+stain+removal+wood+floor+finish Google Scholar
- https://scholar.google.com/scholar?q=hardwood+floor+stain+removal+wine+tannin+engineered+wood Google Scholar