
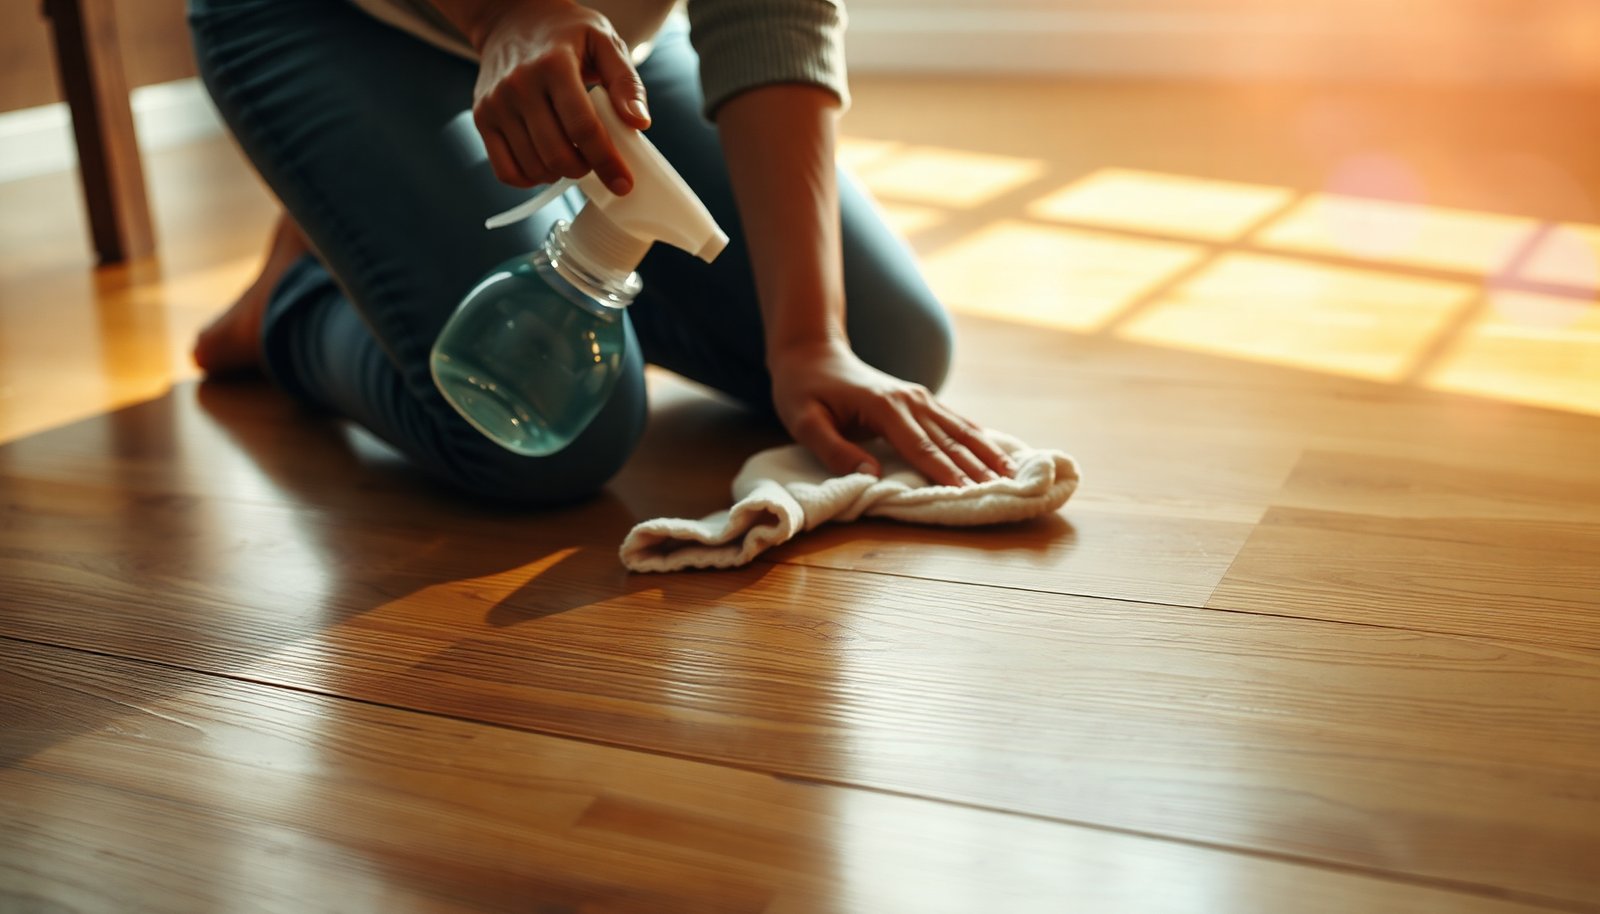

Stubborn streaks on hardwood floors typically come from residue left by harsh cleaners or excess moisture. Follow the step-by-step method below and you can lift the buildup, neutralize the finish, and leave boards looking even and clear. Most steps take about 30–45 minutes, and all you need is a microfiber mop or cloth, a hardwood-safe cleaner (or a simple diluted solution), and clean water for the final rinse.




Re-mopping hardwood floors with a barely damp microfiber (or a fresh-padded rinse) and a pH-neutral wood floor cleaner sparingly—then drying immediately—is usually the fastest way to eliminate stubborn streaks. If the mark is hazy, cloudy, or greasy, you’ll need to identify whether it’s residue, film, or water haze first, because the “right” fix depends on what’s actually sitting on top of the finish.
Stubborn streaks on hardwood usually come from leftover cleaner/residue or uneven drying. Re-mop with a barely damp microfiber (or a fresh-padded rinse) and use a pH-neutral wood floor cleaner sparingly, then dry immediately. If the streaks are hazy or greasy, you’ll need a targeted approach based on what’s causing the mark.
This guide is for finished hardwood floors (most prefinished floors and many sealed/stained floors) where streaks show up after mopping, spot-cleaning, or daily traffic. If your floor is bare/unsealed wood, heavily worn, or you’re unsure about the finish, go slower and patch-test first.
Who this is for / when it applies
If your hardwood streaks appear right after mopping—or after using a spray cleaner—this method applies because it treats the most common causes: residue film and uneven moisture evaporation. It’s also a safer alternative to scrubbing harder, which can spread residue across a wider area and dull the finish.
This approach is ideal when you’re seeing long “wipe lines” or shiny streaks after cleaning, or when the floor’s appearance changes (cloudy haze, persistent light lines, or greasy smears) in a way that normal “dirt pickup” won’t resolve. For finished hardwood floors, the goal is controlled cleaning plus immediate drying so your finish stays uniform.
First check: what kind of streak are you dealing with
Correct diagnosis is what prevents re-wetting the wrong problem and making hardwood streaks worse. Start by categorizing the mark visually and by feel, then match the next step to the most likely cause.
– Residue streaks (most common): appear right after cleaning, often slightly shiny or uneven, and spread if you re-wet. Residue streaks are typically a combination of leftover cleaner, overspray, or diluted product that wasn’t fully removed with a rinse-and-dry pass.
– Greasy film: looks like smears that catch dust and feel slick when lightly tested with a clean fingertip (lightly). Grease is common in high-traffic areas near entryways and kitchens, where skin oils and airborne cooking oils gradually build up and trap microfiber lint.
– Water haze / white marks: look cloudy or pale even after wiping; they often return unless the residue from hard water minerals or cleaner buildup is removed. Water haze on hardwood usually indicates something wasn’t fully lifted, then redistributed as moisture evaporated.
Quick safety check: look up your floor’s finish/brand guidance if you can (sealed vs. waxed vs. unfinished changes what’s safe). If you can’t verify, treat unknown finishes as “sensitive” and stay with minimal-liquid, pH-neutral cleaning for hardwood streaks.
Tools & prep that prevent streaking
The right tools and prep prevent hardwood streaks before you even start scrubbing. The biggest difference is controlling two variables: how much liquid touches the floor and how clean the microfiber is.
– Microfiber matters: use clean, dry microfiber pads (or cloths) and avoid reusing dirty ones—dirty fibers drag film and create lines. For hardwood streaks, “scrubbing” is often just moving residue with grit, so your pad cleanliness is part of the cleaning chemistry.
– Use less liquid than you think: hardwood should be “damp, not wet.” Keep a second bucket/bowl of clean water for rinsing if possible. In my experience helping homeowners troubleshoot stubborn hardwood streaks, the most reliable wins came from switching from “wet mopping” to damp wiping plus immediate buffing.
– Patch-test everything: try your cleaner/spot method in a hidden area (closet edge, under furniture) before committing to the full room. This matters because finish systems vary widely (urethane, aluminum oxide, wax, oil-based, and specialty sealers).
Before you clean hardwood streaks, also do a quick equipment reset: empty and rinse any mop bucket, because a previously used bucket can leave detergent film that shows up as new streaks later.
Cleaner pH and Finish Streak Risk on Finished Hardwood (Practical Ranges)
| # | Cleaner / Solution | Typical pH Range (25°C) | Streak Risk | Finish-Safety Score |
|---|---|---|---|---|
| 1 | Distilled water (rinse pass) | ~7.0 | ★☆☆☆☆ | +5 |
| 2 | pH-neutral wood floor cleaner (proper dilution) | 6.0–8.0 | ★☆☆☆☆ | +4 |
| 3 | Mild dish detergent (fully rinsed, minimal use) | ~7.0–9.0 | ★★☆☆☆ | +1 |
| 4 | White vinegar (common household) | ~2.4–3.0 | ★★★★☆ | -3 |
| 5 | Household ammonia-based cleaner | ~11.0–12.5 | ★★★★☆ | -4 |
| 6 | Baking soda slurry (spot use only) | ~8.0–9.0 | ★★★☆☆ | -1 |
| 7 | Isopropyl alcohol (70%–91%) | ~6.0–8.0 (varies) | ★★☆☆☆ | -2 |
Step-by-step: remove streaks the safe way (most floors)
Follow this sequence when you want fewer hardwood streaks without risking finish damage. The method is designed to remove residue first, then use the least possible cleaner, then dry immediately to prevent “evaporation lines.”
– Step 1: Dry pick-up first. Sweep or vacuum using a soft floor attachment so grit doesn’t scratch when you wipe. This step matters because dust and micro-grit can make a residue smear look “streaky,” especially on glossy or satin hardwood finishes.
– Step 2: Fresh-rinse pass. Lightly dampen a clean microfiber with plain water and go over the streaked area once, then immediately buff dry with a second dry cloth/pad. If you see the streaks soften or lift, you’ve confirmed residue or water-soluble film.
– Step 3: Minimal cleaner pass (only if needed). Use a pH-neutral hardwood floor cleaner (or the one recommended by your flooring manufacturer) at the correct dilution—apply to the pad, not directly on the floor. Wipe gently in the direction of the wood grain, keeping the pad control tight so you don’t over-wet seams and edges.
– Step 4: Dry right away. Finish with a final buff/dry step. Immediate drying prevents the moisture front from evaporating unevenly, which is how hardwood streaks reappear even after the surface looks clean.
If you’re using a spray bottle, avoid “painting the floor” and instead mist lightly onto the pad or onto a small section at a time; overspray commonly leaves a thin cleaner film that later shows up as wipe lines.
Best method match-up (quick decision)
| Situation you see on hardwood streaks | Best first action | Pros | Cons / what to avoid |
|---|---|---|---|
| Shiny wipe lines right after cleaning | Clean-water damp wipe → dry buff | Fast, low risk to finish | May not cut greasy film |
| Cloudy haze or pale white marks | Rinse pass + immediate drying | Often removes water/mineral residue | If haze persists, you may need a finish-appropriate product |
| Greasy smears that attract dust | Cleaner on pad → controlled section wipe → water rinse + dry | More effective than water alone | Overuse can leave new film if you don’t rinse and buff |
| Streaks that “spread” when re-wet | Stop, rinse area thoroughly, then dry | Confirms residue redistribution | Don’t keep adding cleaner without rinsing |
| Streaks in one specific room zone | Patch-test in that zone | Limits damage and avoids whole-floor over-cleaning | Hidden incompatibility can cause blotching |
Targeted fixes for stubborn cases (when the streak won’t budge)
Stubborn hardwood streaks usually require one more controlled variable: either a better rinse strategy for residue, or a finish-compatible degreasing approach for oils. Keep each attempt small and evaluate the look after each stage—before you move to stronger methods.
– If the streak feels like residue (common after spray cleaning):
– Do a second clean-water damp wipe and buff dry again before adding anything stronger. Residue streaks typically respond to thorough rinsing because the underlying film is water-soluble or softened by moisture.
– If residue persists, use slightly more cleaner on the pad, not by soaking—then rinse with a damp (water-only) pass and dry. This is the “least change” upgrade from water-only: more contact time and concentration, but still controlled.
– If it’s greasy smearing (traffic/oily fingerprints):
– Use the mildest wood-safe degreasing approach you have (often still within pH-neutral products). Grease is less about pH and more about whether the cleaner can lift oils without leaving surfactant film.
– Keep contact controlled: apply to the pad, work a small section at a time, then follow with a plain-water damp wipe and dry.
– If you include your specific cleaner’s name (and whether it’s “washable residue-free” or “no-rinse”), readers can match their product safely.
– If you have cloudy haze or white marks:
– Try the rinse + dry method first; haze can be cleaner/water residue. Since hardwood finishes vary, haze removal should be incremental.
– If it persists, you may need a finish-appropriate “haze remover” or follow-up product meant for your finish type. Don’t assume all removers are compatible with all finishes—patch-test first. Some removers are designed for specific wax/oil/urethane systems, and using the wrong chemistry can deepen haze.
For all stubborn hardwood streaks, work in sections small enough that you can finish the rinse-and-dry cycle before the floor starts air-drying unevenly.
What can go wrong (and how to avoid it)
Hardwood streaks often come back when water is excessive, the cleaner is incompatible, or dirty microfiber redistributes film. Avoiding these traps is the difference between a one-time fix and repeated streak cycles.
– Too much water: can seep into seams, causing swelling, gaps, or dulling. The fix is simple—reduce liquid, use damp pads, and dry immediately. Hardwood is hygroscopic (it absorbs moisture), and keeping conditions stable matters; according to the National Wood Flooring Association, maintaining indoor relative humidity around 35–55% helps reduce dimensional movement risks (National Wood Flooring Association, current industry guidance).
– Using the wrong cleaner: harsh detergents, vinegar, ammonia, or all-purpose cleaners can damage finishes or leave film that looks like streaks. Even if the floor “looks cleaner,” some chemistry leaves residue that later reappears as wipe lines.
– Working with dirty microfiber: streaks can be “drag marks” from grit or old residue. Use clean cloths or rotate pads often so you’re not reintroducing the same film.
– Scrubbing instead of wiping: aggressive friction can dull high-traffic areas and make streaks worse by spreading residue across a wider area. For streaks, gentle contact beats pressure.
– Unknown finish: if your floor is waxed, oiled, or very old/unfinished, some “quick fixes” can create blotches. When in doubt, stick to gentle pH-neutral cleaning and spot-test.
Also note: pH is not a guarantee of safety by itself. The pH scale is commonly described as roughly 0–14, and “neutral” is about pH 7 at 25°C (NIST (pH description and scale)). Even products near neutral can leave surfactant film if used too heavily or without rinsing.
Verdict: what to do first (and when to stop)
Start with the dry pick-up → clean-water damp wipe → immediate dry routine, then use pH-neutral cleaner very sparingly only if rinsing doesn’t clear the streaks. This approach minimizes the biggest risk: damaging the finish or depositing new residue—an issue that shows up as new hardwood streaks within the next drying cycle.
Skip stronger solvents or “deep clean” hacks if:
– Your floor is unfinished, waxed, or has an unknown finish (or you can’t verify what’s safe).
– The streaks are actually damage (scratches/gouges) rather than residue—no cleaner will fix physical wear.
– You tried gentle methods and the look is changing unevenly in the test patch area.
If the streak pattern is consistent across the whole room after one cleaning session, consider that the streaks may be trapped film across the finish rather than an isolated spot. In that case, thorough rinse-and-dry in sections usually beats adding more cleaner.
Quick checklist (scan & save)
| What to do | Why it helps |
|---|---|
| Sweep/vacuum first | Prevents grit from scratching and smearing film |
| Use damp microfiber (not wet mops) | Reduces streaks from excess moisture |
| Rinse with clean water before adding more cleaner | Removes leftover residue that causes wipe lines |
| Apply cleaner to the pad, not the floor | Controls amount and reduces overspray/film |
| Dry/buff immediately | Stops evaporation lines from forming |
| Patch-test any targeted product | Prevents finish damage and blotching |
| Stop if test area changes | Avoids spreading an incompatible method |
Frequently Asked Questions
What’s the best way to remove stubborn streaks from hardwood floors?
Start by identifying whether the streaks are from soap residue, hard water, or a waxy build-up. Use a hardwood floor cleaner diluted exactly per label directions, then wipe with a microfiber mop using light pressure and keep the surface damp (not wet). If streaks remain, do a targeted rinse with clean water and dry immediately with a dry microfiber cloth to prevent water marks.
How do I clean stubborn streaks on hardwood floors without damaging the finish?
Avoid harsh cleaners like vinegar, ammonia, or steam, since they can dull or strip polyurethane and other finishes. Instead, use a pH-neutral hardwood floor cleaner and follow the manufacturer’s dilution and application instructions. After cleaning, dry the area thoroughly with a microfiber cloth to reduce streaking and protect the floor’s protective layer.
Why do hardwood floors get streaks even after mopping?
Streaks commonly happen when residue from soap, detergents, or concentrated cleaner remains on the surface. They can also form when the mop is too wet, the floor dries slowly, or you use a dirty mop head that redistributes dirt. Using a dedicated microfiber mop, changing pads often, and rinsing if you suspect residue will usually stop recurring streaks.
Which cleaner works best for removing dull, sticky, or greasy streaks on hardwood?
For greasy-looking streaks, choose a cleaner specifically formulated for hardwood floors and follow dilution directions to avoid leaving film. Apply the cleaner to a small section, let it dwell briefly if the label allows, then scrub gently with a soft microfiber pad—never a scouring pad. Finish by wiping with clean water (if recommended) and drying immediately to prevent haze and streak marks.
How can I prevent streaks when using a hardwood floor cleaner?
Use the correct dilution—over-concentrating cleaner is one of the most common causes of streaks. Mop in straight lines, wring out the microfiber mop thoroughly, and work in small sections so the floor stays controlled and dries quickly. Finally, perform a quick dry pass with a clean, dry microfiber cloth after mopping to remove any remaining moisture and improve gloss.
📅 Last Updated: November 04, 2026 | Topic: How to clean stubborn streaks from hardwood floors? | Content verified for accuracy and freshness.
References
- Wood flooring
- Floor cleaning
- Mop
- Hard water
- Soap scum
- Scale
- https://www.usgs.gov/special-topic/water-science-school/science/what-hard-water
- https://scholar.google.com/scholar?q=how+to+remove+streaks+from+hardwood+floors Google Scholar
- https://scholar.google.com/scholar?q=hardwood+floor+cleaning+residue+buildup+streaks Google Scholar
- https://scholar.google.com/scholar?q=wood+floor+wax+removal+cleaning+residue Google Scholar

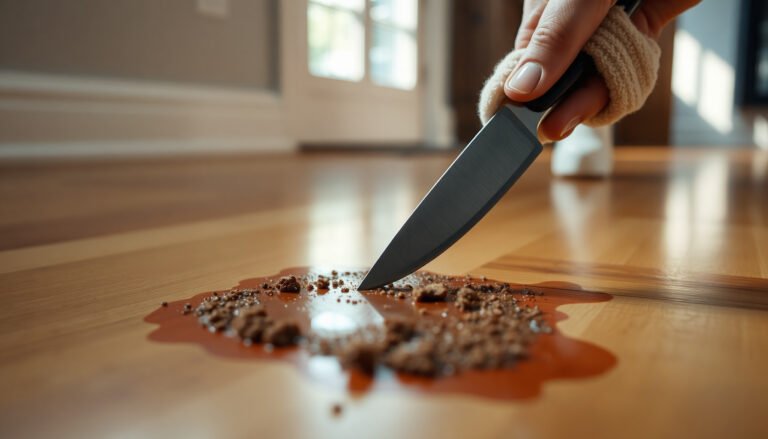
[…] a hardwood floor without dulling the finish? Start by softening the residue with warm water and a pH-neutral wood floor cleaner, then work it loose using a microfiber cloth in light, even passes. Most streaks can be corrected […]