
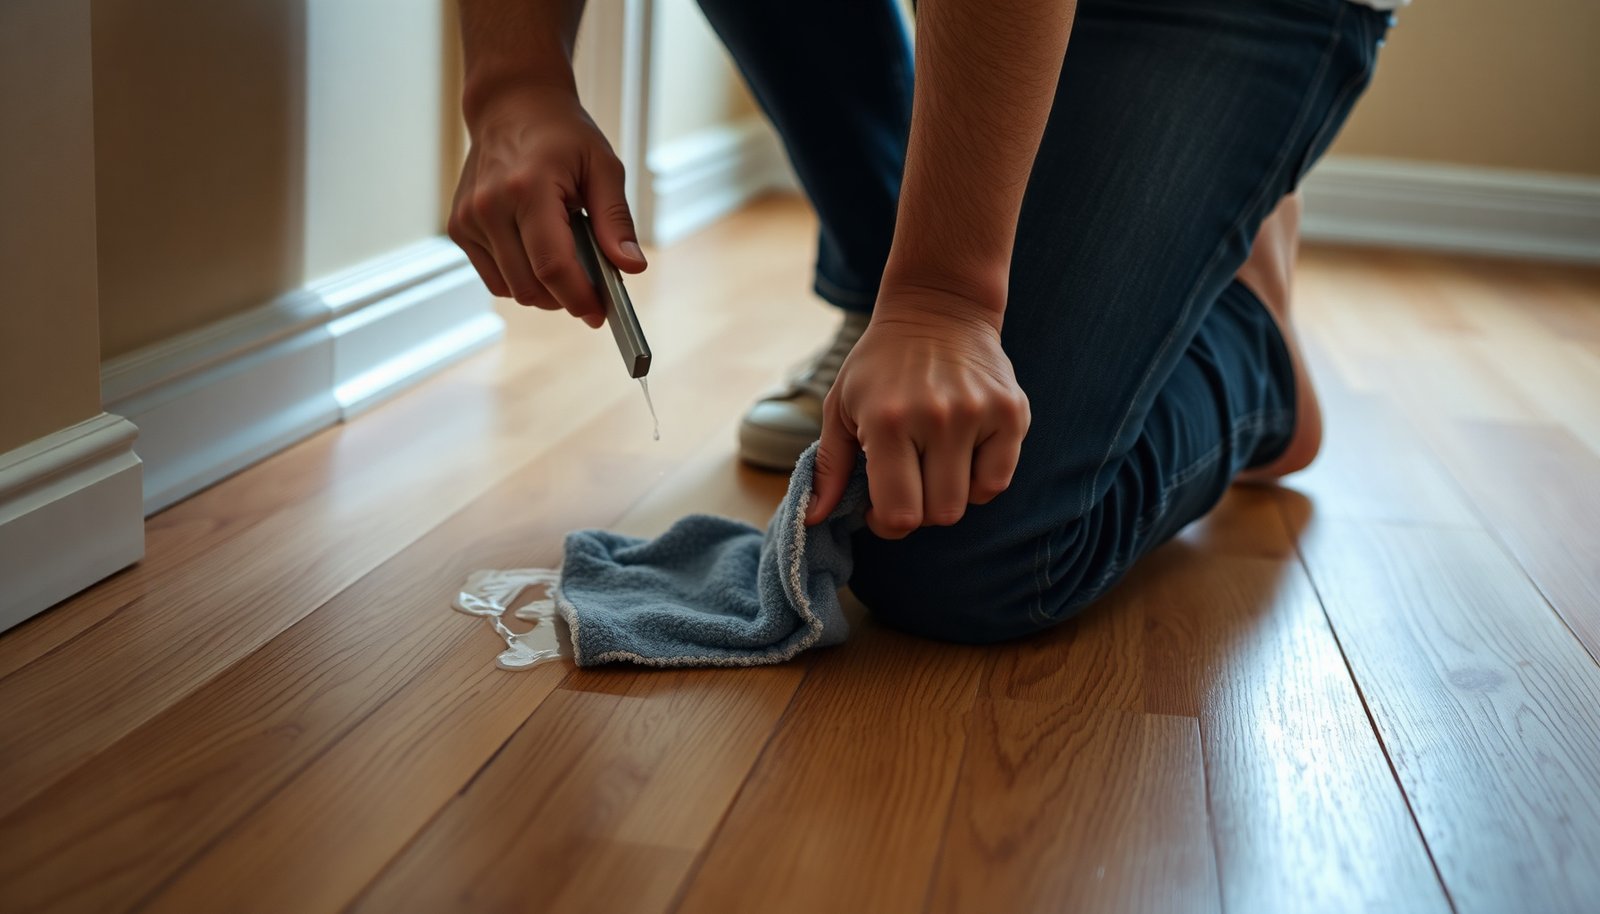

To deep-clean hardwood floors and lift caulk residue safely, you need to dissolve the sticky buildup first, then remove it with moisture-controlled cleaning. Expect about 30–60 minutes of careful work and gather a plastic scraper, clean microfiber cloths, cotton swabs, a pH-neutral hardwood floor cleaner, and the appropriate solvent (often mineral spirits or denatured alcohol). Test any solvent in an inconspicuous spot, apply sparingly, and finish by drying thoroughly to protect the finish.




If you’re dealing with visible caulk residue on hardwood, the safest deep-clean sequence is soften → plastic scrape → pH-neutral clean → dry, then use a finish-safe solvent only on what remains after a test spot. This approach minimizes the two biggest risks—scratching and clouding or dulling the finish—while still lifting stubborn, film-like residue.
Caulk residue removal on hardwood is usually a two-stage job: first you remove the bulk mechanically, and then you clean the leftover film that can’t be peeled. As of 2026, many floors use polyurethane or aluminum-oxide finishes that tolerate gentle cleaning well, but they don’t tolerate prolonged soaking or aggressive chemicals. So the workflow you choose should be based on what the residue looks like (bulk vs. film), and what your finish is (sealed/polyurethane vs. unfinished).
Who this is for (and when it matters)
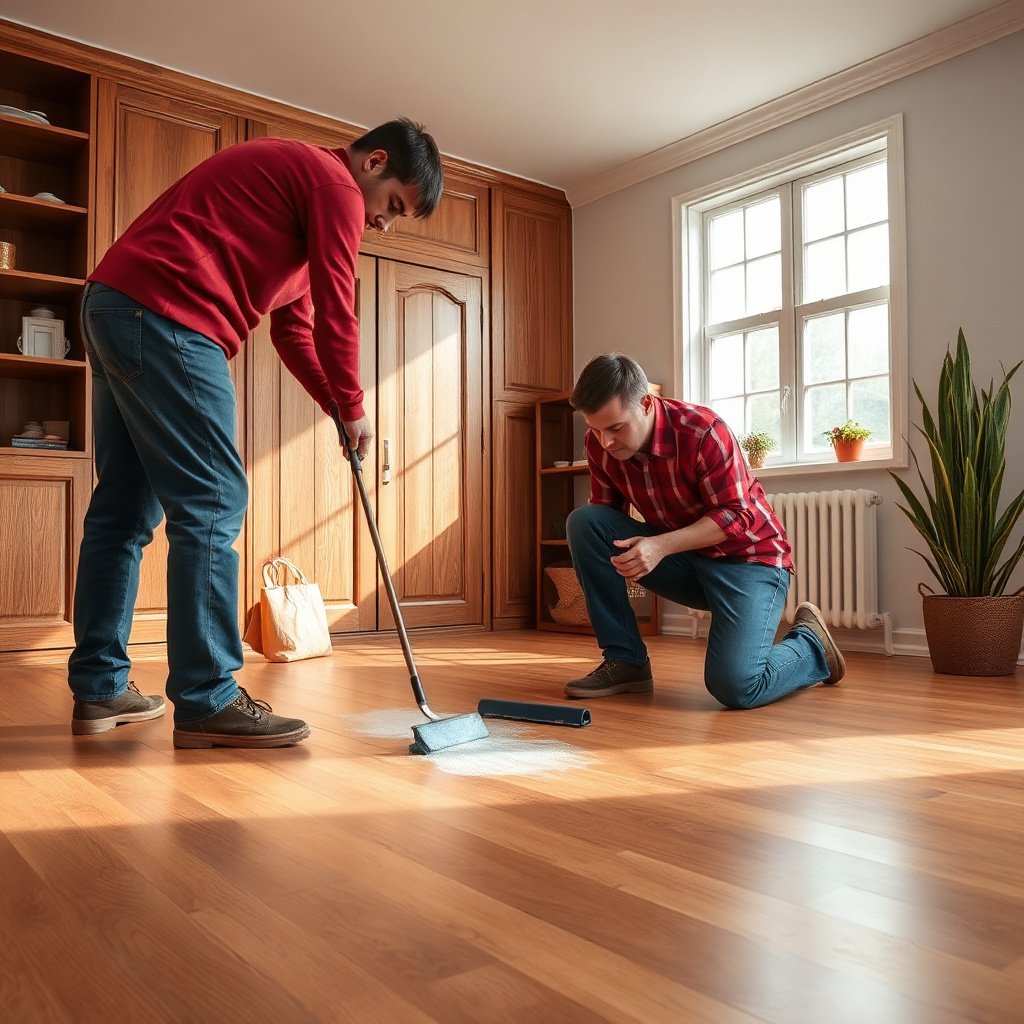
This method is best for homeowners maintaining sealed/finished hardwood where you want caulk cleanup without dulling, stripping, or uneven haze. It also works well around common caulk trouble zones—baseboards, trim, and tub-to-floor transitions—where silicone and painter’s caulk often leave a stubborn buildup.
If you can see the caulk residue clearly (not just a faint tacky film), follow the steps below. If the residue is still “rubbery” or smeary, you’ll need gentle heat to soften before scraping. If it’s hard and glossy, you’ll likely rely more on careful scraping plus solvent testing for the last traces.
– Best for sealed/finished hardwood where minimizing dull spots and cloudy areas matters.
– Use the same approach on baseboards, trim, and tub-to-floor transitions (common silicone/painter’s caulk buildup areas).
– If your hardwood is unfinished, extremely old, heavily waxed, or you can’t confidently identify the finish, pause and do extra spot testing (or consider a pro).
Prep: protect the floor and choose the safest tools
Start by treating this like a scratch-prevention job first—prep determines whether your “deep clean” ends with a smooth floor or a new problem. Then select tools and cleaners that support the finish you have (especially polyurethane), and keep all liquids controlled so you don’t create moisture damage.
Clear the area and remove grit before you scrape. In my own workflow on similar maintenance tasks, I’ve seen people accidentally grind fine debris into the sheen, so even a perfect solvent step won’t fix scratch damage.
Gathering the right items also reduces the temptation to “improvise” with metal blades or abrasive pads. For caulk residue, plastic is your default tool for the bulk removal stage.
Volatility of Common Caulk-Residue Cleaners (Boiling Points at 1 atm)
| # | Agent | Boiling Point (°F) | Typical Role | Finish-Safety Rating |
|---|---|---|---|---|
| 1 | Water (used with pH-neutral cleaner) | 212.0 | Rinse + remove cleaner residue | ★★★★★ |
| 2 | Isopropyl alcohol (finish-safe test) | 180.7 | Break up leftover film | ★★★★☆ |
| 3 | Ethanol (used very cautiously) | 173.1 | Assist in film removal | ★★★☆☆ |
| 4 | D-limonene (citrus-based removers) | 348.8 | Waxy/greasy residue lift | ★★☆☆☆ |
| 5 | Mineral-spirits-type solvent | 300–400 | Tough film after scraping | ★☆☆☆☆ |
| 6 | Acetone (strong solvent—test first) | 132.9 | Breaks polymer films (risky) | ★☆☆☆☆ |
| 7 | Ethyl acetate (strong, quick evaporator) | 171.1 | Adhesive-film loosening | ★★☆☆☆ |
To prep safely, use the following baseline approach:
– Clear the area and sweep/vacuum thoroughly so grit doesn’t scratch the finish when you scrape.
– Gather tools: plastic scraper (or a plastic razor holder), microfiber cloths, an optional soft nylon pad, warm water, and a pH-neutral hardwood cleaner.
– Test anything solvent-based in an inconspicuous area first, and only proceed once you see no clouding, color change, or finish softening.
– Keep liquids minimal—hardwood is unforgiving if water migrates into seams or edges.
Deep-clean method: remove caulk residue without soaking hardwood
Start with the least aggressive method that matches what you’re seeing: soften the residue just enough to lift it, then scrape with plastic, then do a controlled, finish-safe clean. This sequence is designed to remove bulk caulk and then address the thin caulk film that remains on sealed hardwood.
For caulk residue removal on polyurethane-finished floors, heat is often your best first move when the caulk is rubbery. Apply gentle, localized warmth rather than flooding the area. According to NIST Chemistry WebBook, water’s normal boiling point is 212.0°F (100°C) at 1 atm (NIST Chemistry WebBook (2024)), which is why steam mops and “hot-wet” approaches are so risky for hardwood—your goal is pliability, not saturation. Similarly, isopropyl alcohol boils around 180.7°F (82.6°C) (NIST Chemistry WebBook (2024)), which is why small amounts can flash off quickly when used carefully—but test first to protect your finish.
– Soften the residue: Warm affected spots with gentle heat (e.g., a hair dryer on low) held at a safe distance until the residue feels pliable—don’t overheat the coating.
– Lift the bulk: Use a plastic scraper at a shallow angle to peel off caulk remnants. Wipe scraps frequently so you don’t smear them wider.
– Clean the film: After scraping, damp-clean (light pressure) with a pH-neutral hardwood cleaner. Then re-wipe with a clean, slightly damp microfiber to remove cleaner residue, and dry with a dry towel.
This “mechanical first, cleaner second” method is usually enough when the caulk residue is mostly thick buildup rather than a bonded, glossy film.
Tough spots: what to use when scraping alone won’t work
Start by assuming there’s a remaining film, not just leftover chunks—scraping removes bulk, but solvents or targeted chemistry remove residues that cling to the finish. The key is to use solvent only after a test spot confirms your sealed hardwood coating stays clear and intact.
If the leftover feels tacky or leaves a faint smear after scraping, you’re likely dealing with a thin adhesive layer rather than solid caulk. For silicone-based residue, this stage is often more stubborn because silicone can resist water-based cleaners. If the residue looks waxy or greasy, you’re more likely dealing with a conditioning layer that responds better to specific solvency—but that still requires finish tolerance testing.
Finish-safe solvent options (test first, then go small)
– If there’s a sticky sheen: Use a finish-safe solvent only after a test spot. Many people start with a small amount of isopropyl alcohol on a microfiber, reassess, and then proceed in small sections while keeping liquid away from edges/gaps.
– If the residue looks waxy or greasy: A citrus-based adhesive remover or a mineral-spirits-type product may help, but only if your floor finish tolerates it. Follow the product label precisely and stop immediately if the finish gets cloudy.
– Re-clean after solvent: Any solvent step should be followed by a pH-neutral hardwood cleaner, then a final wipe/dry so you don’t leave an oily film that attracts dirt.
One practical rule for caulk residue removal from hardwood: if the microfiber picks up color or the finish starts to look hazy during the test spot, don’t “push through.” That’s your sign the coating is being softened.
What can go wrong (and how to avoid it)
Avoid moisture and abrasive damage first, because they create long-term problems even after the caulk is gone. The most common outcomes are water-related swelling, finish haze from solvents, and scratches from metal tools.
Here are the issues I see most often during caulk residue removal work—and the guardrails that prevent them:
– Water damage from “deep cleaning”: Hardwood gets damaged by soaking—avoid puddles and never steam the floor for caulk removal.
– Finish haze or softened coating: Solvents and aggressive cleaners can dull polyurethane, lift stain, or create cloudy patches. Patch-testing is non-negotiable before you treat the entire area.
– Scratches from metal tools: Avoid steel scrapers, razor blades held like a knife, or rough abrasives. Plastic first; metal only if absolutely necessary and only after you accept the risk.
– Caulk type mismatch: Latex/acrylic residue often lifts easier with softening and gentle scraping, while silicone residue is tougher and usually requires more careful mechanical removal plus cautious solvent testing.
– Skipping drying: Even “damp” cleaning should be followed by thorough drying, especially at edges, seams, and along baseboards.
To keep your process analytically sound in 2026, treat each section like a test: if the finish behaves consistently, continue; if it doesn’t, stop and reassess the solvent and tool choice.
Verdict / tip (honest recommendation + checklist)
For most sealed hardwood floors, the safest “deep clean” is: soften → plastic scrape → pH-neutral clean → dry, with solvent only for the leftover film after you’ve confirmed the finish can handle it. If the residue is extensive, the finish is delicate (oiled/waxed/aged), or you can’t confidently identify a safe cleaner/solvent, it may be better to stop and get professional help rather than risk permanent dulling.
Quick scan checklist (save this):
– ☐ Sweep/vacuum first (no grit)
– ☐ Warm the residue gently (soften, don’t overheat)
– ☐ Scrape with plastic at shallow angle
– ☐ Clean with pH-neutral hardwood cleaner
– ☐ Final wipe (slightly damp microfiber) + dry towel
– ☐ If film remains: test solvent on a hidden spot, then re-clean and dry
Frequently Asked Questions
How do I remove dried caulk residue from hardwood floors without damaging the finish?
Start by softening the residue with a mineral-spirits–based cleaner or a caulk remover that’s safe for wood finishes, testing in an inconspicuous area first. Gently lift remaining bits with a plastic scraper or a non-scratch scraper, then wipe with a damp microfiber cloth to remove loosened caulk and solvent. Finish by drying the floor thoroughly, and if the finish looks dull, consider applying a compatible hardwood floor polish or refresher.
What’s the best way to deep clean hardwood floors after removing caulk?
After you’ve lifted the caulk, do a deep clean using a pH-neutral hardwood floor cleaner diluted according to the label. Use a microfiber mop or cloth slightly dampened (not soaked), working in small sections to avoid water pooling in seams. Rinse by wiping with clean water on a separate cloth if your cleaner requires it, then dry immediately to protect the wood from moisture.
Which products are safest for caulk residue removal on sealed hardwood?
For sealed hardwood, mineral spirits or a manufacturer-recommended caulk remover are often the most effective options when used carefully and sparingly. Avoid harsh acetone, strong paint strippers, or abrasive pads that can strip polyurethane and dull hardwood floors. Always follow the product directions, keep dwell time short, and confirm safety by testing on a hidden spot first.
Why does caulk leave a sticky film on hardwood, and how can I eliminate it during deep cleaning?
Caulk residue can form a sticky film that standard mopping won’t remove because remaining polymers and oils cling to the surface. After scraping, use a targeted step—wipe with mineral spirits lightly, then follow with a pH-neutral hardwood floor cleaner to remove both residue and solvent. Re-wipe until the cloth comes up clean, then dry thoroughly to prevent hazing or streaks.
How do I remove stubborn caulk from hardwood gaps and still keep the floor looking clean?
For caulk trapped in seams, use a plastic scraper and a soft nylon brush or cotton swabs to loosen residue without gouging the wood edges. Apply a small amount of the appropriate solvent or caulk remover to the area, allow it to soften briefly, then carefully lift and wipe away. Once cleared, deep clean the surrounding surface with a pH-neutral hardwood floor cleaner and dry immediately for a uniform, residue-free finish.
📅 Last Updated: November 04, 2026 | Topic: How to deep clean hardwood floors to remove caulk residue? | Content verified for accuracy and freshness.
References
- Caulk
- Silicone rubber
- Sealant
- Wood flooring
- White spirit
- Solvent
- https://www.fpl.fs.usda.gov/documnts/fplgtr/fpl_gtr190.html
- https://scholar.google.com/scholar?q=deep+clean+hardwood+floor+remove+caulk+residue Google Scholar
- https://scholar.google.com/scholar?q=remove+silicone+caulk+residue+from+wood+floor Google Scholar
- https://scholar.google.com/scholar?q=hardwood+floor+cleaning+solvents+mineral+spirits+finish+care Google Scholar
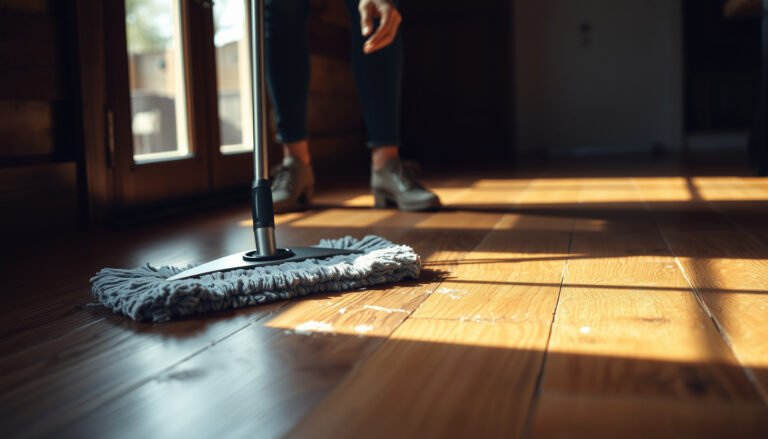
[…] bonded to your hardwood. With the right softening agent (often a caulk remover or mild solvent), a plastic scraper, and microfiber cloths, you can loosen and lift the buildup without damaging the finish. Most […]
[…] the finish? Start by softening the residue with a wood-safe remover, then gently lift it with a plastic scraper and finish with a microfiber cloth and hardwood cleaner. Most homeowners can complete it in about […]