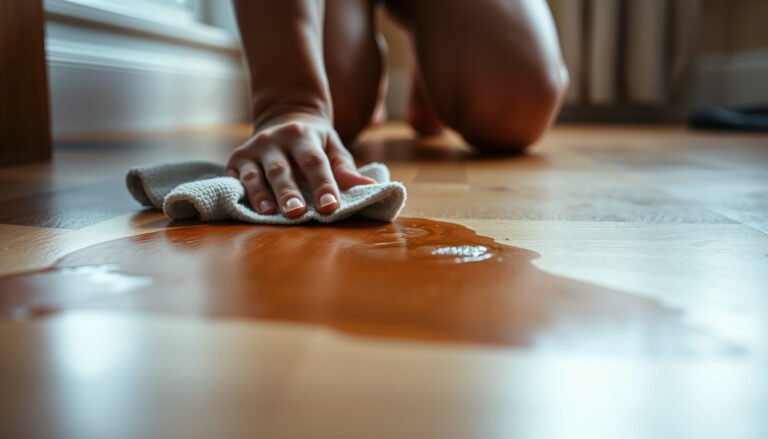
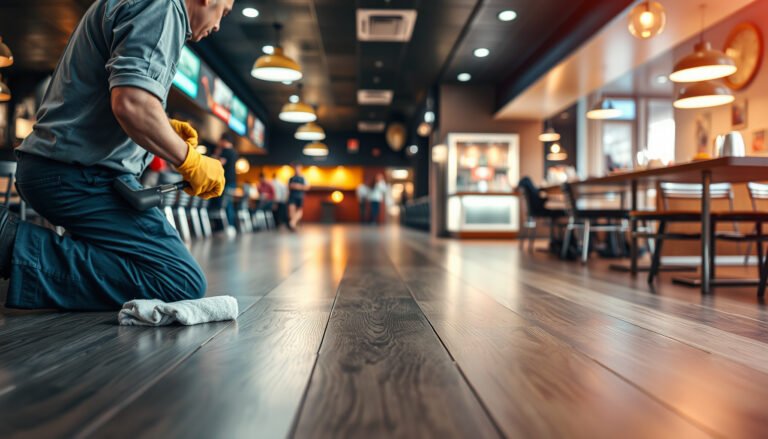
How do you clean stubborn wax buildup from hardwood floors without damaging the finish? Use the right approach: soften and lift the residue, then remove it with a pH-neutral cleaner and microfiber care. Most homeowners can tackle it in about 30–60 minutes per room, especially if they have a plastic scraper, wax-remover solution (or mineral spirits where appropriate), clean rags, and gentle abrasion tools. Start now so your floors regain their clarity instead of staying dull and sticky.




Stubborn wax buildup on hardwood usually comes off in two stages: soften it, lift/scrape the bulk, then dissolve what’s left with a finish-safe solvent. Start by warming small sections and removing the wax residue, then follow with a proper cleaner to prevent dullness or streaks.
This guide is for homeowners dealing with dull, sticky, or uneven spots caused by floor wax or old polish on finished hardwood. If your floor is bare/unfinished, badly cupped, or you’re unsure what finish you have, pause and check the flooring manufacturer guidance before using solvents.
Check your finish and gather the right supplies
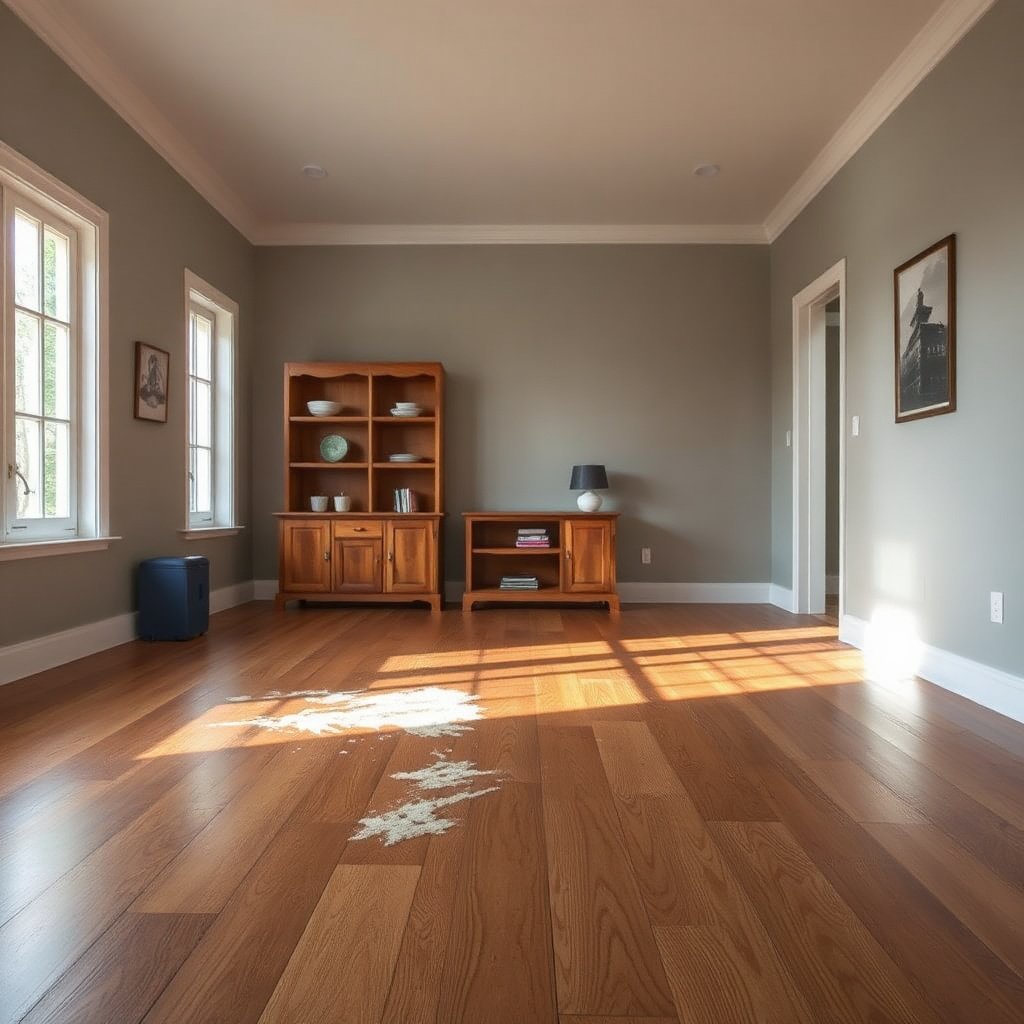
The fastest way to avoid haze or streaking is to confirm what kind of finish you’re cleaning before you touch it with heat or chemicals. The “safe” cleaner depends on whether the wax is on top of a sealed film (polyurethane/varnish) or on bare/unfinished wood.
– Identify whether the floor is finished with wax over a seal, or sealed with polyurethane/varnish (the “safe” cleaner depends on this).
– Gather essentials: microfiber pads, plastic scraper (not metal), a bucket, warm water, and a pH-neutral hardwood floor cleaner.
– Plan a test spot in an inconspicuous area before you treat the whole room.
Wax Ingredients Commonly Found in Floor Polishes: Melting Point Ranges
| # | Wax component | Melting range (°C) | Melting range (°F) | DIY warm-up target (°F) |
|---|---|---|---|---|
| 1 | Carnauba | 82–86 | 180–187 | 160–170 |
| 2 | Beeswax | 62–65 | 144–149 | 130–140 |
| 3 | Paraffin (typical grades) | 46–68 | 115–154 | 105–135 |
| 4 | Microcrystalline | 60–90 | 140–194 | 125–175 |
| 5 | Candelilla | 68–71 | 154–160 | 140–150 |
| 6 | Montan | 80–88 | 176–190 | 160–180 |
| 7 | Ozokerite | 60–70 | 140–158 | 125–145 |
Why this matters: “gentle heat” is not about cooking the floor—it’s about softening wax so it lifts without grinding into the finish. As of 2026, most flooring maintenance guidance still emphasizes controlled, localized warming and quick wipe-up, rather than soaking or aggressive scrubbing.
Loosen and lift the bulk buildup
The key to removing stubborn wax is to get it from a bonded film to a removable residue first. Softening + immediate scraping prevents the wax from smearing and turning the area cloudy.
– Work in small sections: lightly warm the wax (e.g., gentle heat) and scrape up softened residue.
– Vacuum or wipe away the loosened chunks immediately so they don’t smear into the finish.
– Repeat until the surface is no longer coated—stop when only a thin film remains.
Work in a logical pattern—corner to corner—so you always know which sections are “done.” Use a plastic scraper (not metal) because steel tools can leave micro-scratches that later show up as dull streaks under normal lighting.
A practical approach:
1. Choose a 2–3 sq ft area (about the size of a large welcome mat).
2. Apply gentle, localized heat until the wax looks glossy or pliable (do not aim for smoking or scorching—if you smell burning wood, you’re too aggressive).
3. Scrape with light pressure, keeping the blade angle shallow.
4. Immediately vacuum or wipe with a dry microfiber pad to remove what you lifted.
I often recommend homeowners stop once the surface feels smooth and only a faint sheen remains; chasing every last trace with heat alone usually increases the chance of uneven finish removal.
Dissolve the leftover wax residue (the finish-safe way)
After lifting the bulk, there’s usually a thin wax film left behind that causes tackiness and dullness. That film is the real reason floors feel “sticky” even after scraping.
– If the wax is still visible as a film, use a solvent only if the flooring finish allows it (often mineral spirits/denatured alcohol are used for wax/polish removal, but confirmation matters).
– Apply sparingly to a microfiber cloth (not soaking the floor), then wipe in the direction of the grain.
– Follow up right away with the recommended cleaner so solvent doesn’t linger and haze the finish.
Here’s the finish logic (and it’s why test spots matter):
– Sealed, finished hardwood (polyurethane/varnish): Many manufacturers allow specific solvents or “wax/polish removers,” but compatibility varies by product and age.
– Unfinished or oil-modified floors: Solvents can penetrate or alter the surface sheen; you may need a different method entirely.
If you’re choosing between common solvent types, think in terms of “controlled chemistry,” not brute force. Below is a comparison that helps you decide which direction to lean—without assuming every finish will tolerate the same chemistry.
- Finish-safe solvent (cloth application)
- Pros: Breaks down the remaining wax film that scraping can’t lift; reduces tackiness faster than repeated washing. Cons: Incorrect chemistry can soften/dull the finish or leave haze if it’s not followed by the proper cleaner.
- Cleaner-only approach (pH-neutral)
- Pros: Lower risk for most sealed floors; easier to rinse and reset the sheen. Cons: Often can’t fully dissolve heavy wax layers; may leave uneven dull patches if wax remains.
Two chemistry anchors that matter for “finish-safe” practice:
– Neutral cleaners are tied to pH; by definition, pH is a logarithmic measure of hydrogen ion activity, and neutral water is pH 7.0 at 25°C ([NIST](https://www.nist.gov/) defines pH and related measurement concepts). NIST — pH definition and neutral water concept (25°C)
– Steam is hot enough to move moisture aggressively into materials: at standard atmospheric pressure, liquid water boils at 100°C (212°F), which is why steam can raise the risk of hazing or edge-joint moisture problems on wood. NIST — boiling point of water at 1 atm (100°C)
As a result, finish-safe work is usually solvent on a cloth + immediate follow-up, not solvent puddled on the floor.
Wash, dry, and restore a clean finish
The goal after wax removal is to reset the floor’s surface so the sheen looks even and the tackiness is gone. You’ll usually get the best results when you clean in the direction of the grain and dry promptly.
– Clean with a pH-neutral hardwood floor cleaner per label directions to remove any remaining residue.
– Rinse lightly if your cleaner instructions call for it, then dry thoroughly (fans help, but avoid flooding).
– If the floor looks patchy, that often means some layers were removed unevenly—use manufacturer guidance before re-waxing or re-finishing.
Cleaning details that prevent streaking:
1. Use a fresh microfiber pad or a clean microfiber cloth for each section (once it picks up wax, it can redeposit film).
2. Don’t oversaturate: apply cleaner to the pad/cloth or use the dilution rate on the label.
3. Dry immediately after the final pass.
Why drying matters: wood moves with moisture. Hardwood’s equilibrium moisture content changes with indoor humidity; USDA Forest Products Laboratory materials describe how wood moisture content can shift meaningfully between typical indoor conditions, and that movement is what leads to gapping/cupping when water is trapped. USDA Forest Service / Forest Products Laboratory — wood moisture content & equilibrium moisture concepts
If you see patchiness, don’t assume it’s “normal.” Patchy sheen is often a sign that some areas lost more wax/finish than others. In that case, the safest next step is to follow the original flooring or finish manufacturer’s recoat/remediation guidance for your specific system.
What can go wrong (and how to avoid it)
Most problems happen when wax removal turns into finish damage. If you notice early warning signs, stop and adjust rather than continuing to “chase” the residue.
– Using the wrong solvent can dull, soften, or strip the finish—always test first and confirm compatibility with your finish.
– Scraping too aggressively (metal blades/steel wool) can leave scratches that are hard to fix without refinishing.
– Over-wetting edges and joints can cause swelling—keep the process cloth-based, not mop-based.
Common failure modes you can watch for:
– Cloudy haze after wiping: Usually indicates finish dulling or solvent residue left behind. Stop, rinse/reset with the manufacturer-recommended cleaner (or your verified finish-safe product), then reassess.
– Sticky spots that return quickly: Often means a wax film is still present; cleaning only may not be enough.
– Uneven shine: Usually from over-aggressive scraping or solvent applied unevenly (more chemical contact on one side than another).
Also note: different wax/polish formulas behave differently. Some are softer and respond quickly to warming; others are harder and require careful patience rather than higher heat.
Verdict: what’s worth trying, and when to stop
The safest DIY route for finished hardwood with wax residue is the same two-stage method: heat + lift, then a finish-compatible solvent only to remove the remaining film. Done carefully, this approach minimizes damage and restores an even sheen.
– Skip DIY and call a pro if the floor is already failing (peeling finish, warping, gaps) or if you can’t identify the finish—costly damage can outweigh DIY savings.
– If you’ve tried a spot and it turns cloudy or sticky, stop and follow the flooring manufacturer’s remediation steps instead of repeating more solvent.
Downsides to be aware of:
– Even “finish-safe” solvents can alter sheen if used too heavily or too long.
– Aggressive scraping can create micro-scratches that only show under certain lighting angles.
– If you don’t reset with the correct pH-neutral cleaner and thorough drying, residue can remain and look like “unfinished” dullness.
If you’re dealing with severe buildup across a large area, professional refinishing may be the most economical option compared to repeated spot treatments.
Quick checklist (scan before you start)
| Step | Goal | Don’t do |
|---|---|---|
| Test spot | Confirm finish-safe results | Start on the whole room |
| Warm + scrape | Remove bulk wax | Use metal tools |
| Wipe residue | Prevent smearing | Leave soft wax to spread |
| Finish-safe solvent (if allowed) | Break the remaining film | Soak the floor |
| pH-neutral clean + dry | Remove leftover chemicals | Let moisture sit in seams |
| Recoat only if needed | Match the removed layer | Re-wax randomly without guidance |
Sources
When you remove stubborn wax from hardwood successfully, the floor ends up looking even because you’ve removed both the bulk material and the invisible film that causes tackiness. Follow the two-stage process—soften and lift, then dissolve safely with verified finish compatibility—and finish with pH-neutral cleaning and thorough drying so the sheen resets instead of turning cloudy. If anything looks wrong in your test spot (haze, softness, or rapid re-stickiness), stop early and switch to the manufacturer’s remediation steps.
Frequently Asked Questions
How do I remove stubborn wax buildup from hardwood floors without damaging the finish?
Start by softening the wax with a hardwood-safe wax remover or a manufacturer-recommended stripping solution, then gently work it up with a plastic scraper or non-abrasive pad. Avoid steel wool or harsh chemicals that can etch or dull the wood finish. After removal, rinse residue with clean water (or the recommended neutralizer), then dry thoroughly to prevent water spots and streaks.
What’s the best way to clean wax buildup on finished hardwood when it’s hardened?
For hardened wax, use a commercial wax stripper designed for floors and follow the dwell time on the label so the solution can break down the buildup. Use minimal water—apply the remover to the affected area rather than soaking the entire floor—then wipe with a microfiber cloth. Finish by buffing the surface lightly and applying a proper hardwood floor cleaner or refresh product if needed.
Why does wax buildup make hardwood floors look dull or sticky, and how can I prevent it?
Wax buildup creates a thick film that traps dust, reduces light reflection, and can feel tacky because layers remain partially unbonded. Prevent this by using a wax-free hardwood floor cleaner and avoiding “over-waxing” or applying multiple coats without stripping. Keep a consistent cleaning routine, and reapply only the type and frequency of finish recommended for your flooring.
Which cleaning products are safe for stripping wax from hardwood floors?
Look for products specifically labeled for hardwood floors or “wax remover/stripper” that are compatible with your floor finish (polyurethane, urethane, varnish, or sealed hardwood). Avoid abrasive cleaners, ammonia-heavy degreasers, and undiluted solvents unless the product is approved for your finish type. If you’re unsure, test the cleaner in a hidden area first to confirm it won’t haze, discolor, or soften the finish.
How can I remove wax buildup from hardwood floors using natural or DIY methods?
If the buildup is mild, start with warm water and a hardwood-safe cleaner, then use a damp microfiber mop to lift residue without soaking. For tougher areas, you can try a small amount of mineral spirits on a microfiber cloth to dissolve wax, then wipe with a clean damp cloth to remove solvent residue. Always ventilate well, avoid flooding the wood, and stop immediately if the finish looks affected—then dry completely.
📅 Last Updated: November 02, 2026 | Topic: How to clean stubborn wax buildup from hardwood floors? | Content verified for accuracy and freshness.
References
- https://en.wikipedia.org/wiki/Floor_wax
- https://en.wikipedia.org/wiki/Floor_polish
- Wood flooring
- Wood finishing
- Wax
- Wood finishing
- Strip
- https://scholar.google.com/scholar?q=remove+wax+buildup+from+hardwood+floors Google Scholar
- https://scholar.google.com/scholar?q=hardwood+floor+wax+stripping+cleaning+guide Google Scholar
- https://scholar.google.com/scholar?q=polish+build-up+removal+from+wood+floors Google Scholar