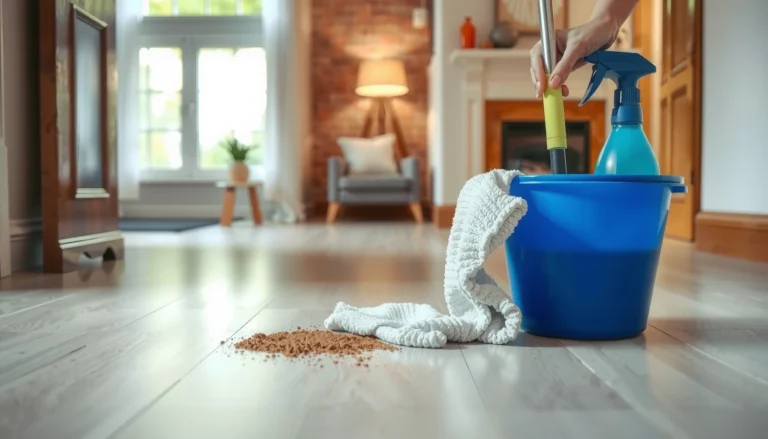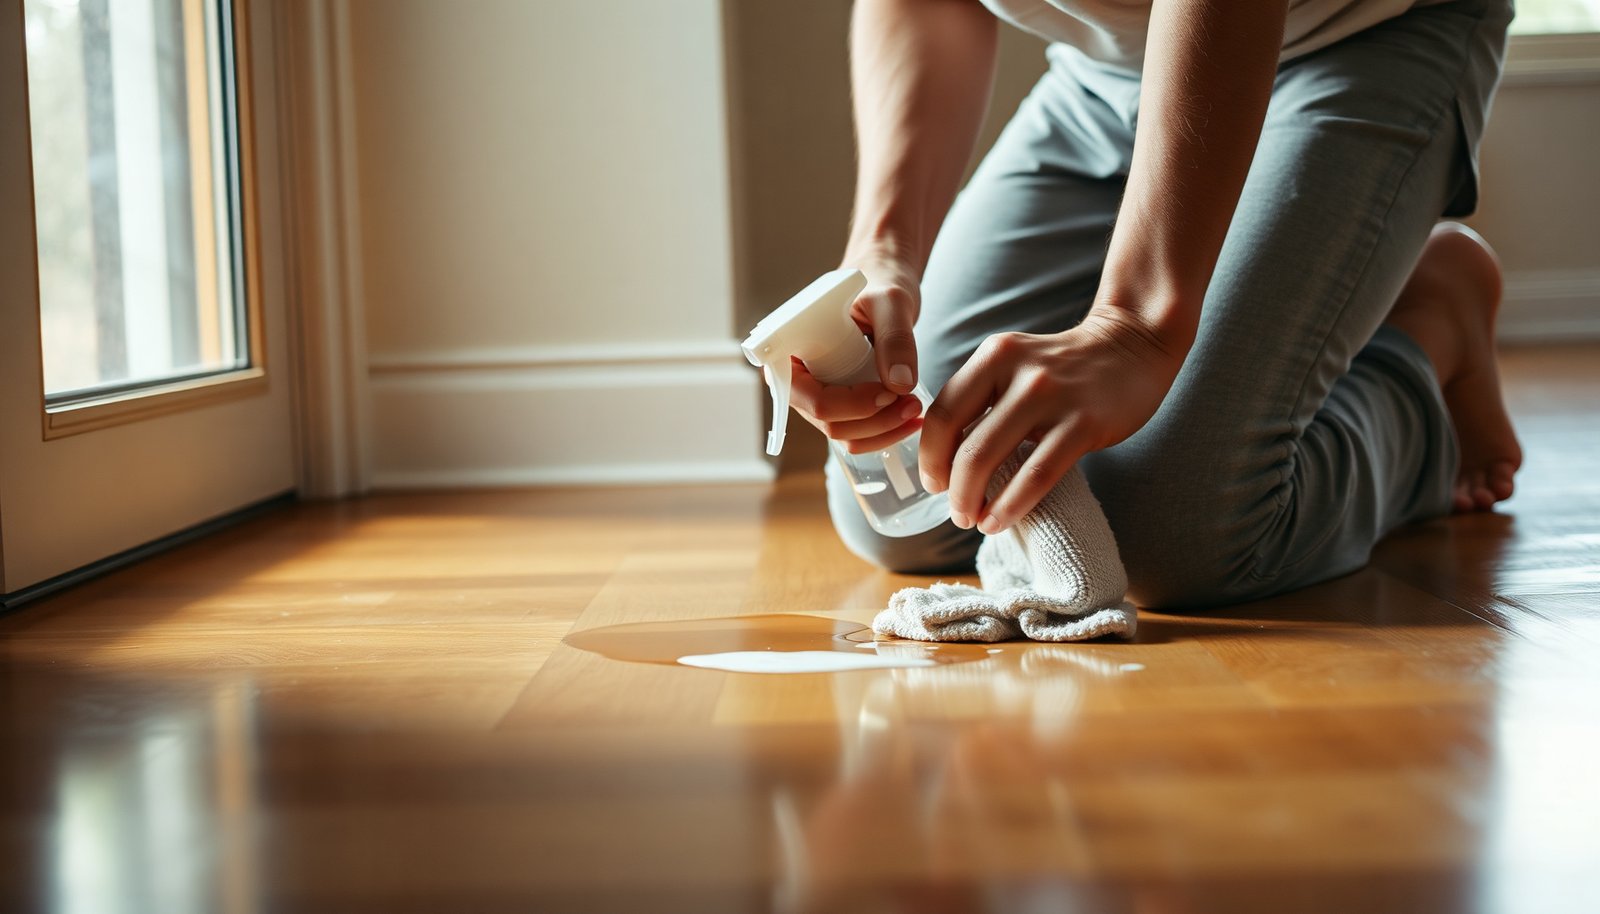

To remove stubborn smudges from hardwood floors fast, use a lightly damp microfiber cloth with a pH-neutral wood cleaner, then buff dry immediately to prevent streaking. For scuffs that won’t lift, dab a small amount of mineral spirits on a cotton pad, test a hidden spot first, and wipe with a cleaner afterward. You can usually restore the finish in 10–20 minutes with common supplies: microfiber cloths, a pH-neutral cleaner, and a non-abrasive pad.




Dry-lift the smudge with a dry microfiber cloth, then clean with a hardwood-safe, pH-neutral cleaner using a barely damp cloth and buff immediately. For marks that won’t budge, use a gentle spot method matched to your floor’s finish—always test first in an inconspicuous area to avoid haze or dull halos.
If your hardwood floors have dark streaks, dull smears, or scuffs from shoes, pets, or residue from cleaner build-up, the steps below help you remove them with minimal risk of haze, scratches, or finish damage.
This guide is for homeowners and facility managers who want a fast, low-risk routine for stubborn spots on finished (pre-finished/polyurethane) hardwood floors, especially when the “normal” mop just spreads the mess. As of 2026, the safest results still come from controlling moisture, avoiding residue-causing cleaners, and using finish-appropriate spot care rather than scrubbing blindly.
Diagnose the smudge and your hardwood finish first
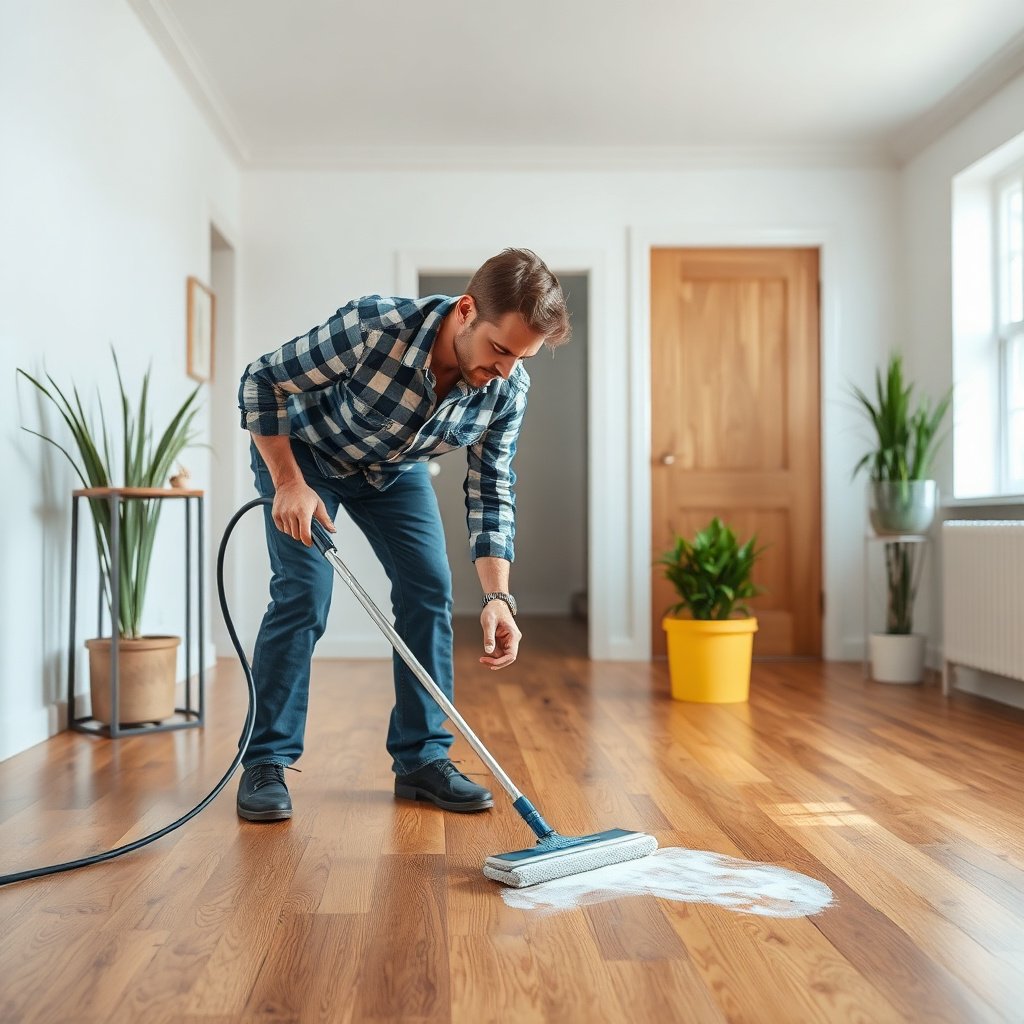
The fastest way to clean stubborn smudges is to identify what’s on the floor and what kind of finish you’re protecting. Here’s why: the same “gray streak” can be either loose grit (scratch risk) or dissolved wax/residue (haze risk), and hardwood floors react differently to each.
– Figure out what kind of “smudge” it is: dull gray scuffs, shiny smears from wax/residue, or dark streaks from tracked dirt.
– Dull gray scuffs usually mean surface abrasion plus transferred grit—your priority is lift, not abrasion.
– Shiny smears/films often signal cleaner buildup, oily residue, or wax—your priority is gentle removal plus immediate buffing.
– Dark streaks commonly come from tracked soil or grit embedded at higher-traffic zones.
– Match your approach to the finish: polyurethane/varnished “top-coat” floors usually tolerate gentler cleaners, while waxed or oil-finished floors often require different products and methods.
– If you know you have wax or a surface-oil maintenance system, treat “cleaning” as “maintenance,” not as “degreasing.”
– Start with the least aggressive option: dry wipe → lightly damp pH-neutral cleaner → only then move to spot techniques.
– That sequence matters because grit is the #1 cause of dull haze on hardwood floors—scrubbing moves grit into the finish pores.
Finish-Friendliness by Cleaning Choice (Hardwood Floors, 5–Minute Spot Test Only)
| # | Cleaning Choice | Typical Chemistry | Best Use on Hardwood Floors | Finish-Friendly |
|---|---|---|---|---|
| 1 | pH-neutral hardwood cleaner | Target pH ~7 (finish-safe) | General film removal & smudges | ★★★★★ |
| 2 | Distilled/soft water (barely damp) | Near-neutral water; low mineral residue | Rinsing after cleaner residue | ★★★★☆ |
| 3 | Rubbing alcohol (spot, no pooling) | Commonly 70%–91%; evaporates fast | Sticky residues (rare, test first) | ★★☆☆☆ |
| 4 | Household ammonia (diluted) | Typically basic; can leave streaks | Avoid on finished hardwood | ★☆☆☆☆ |
| 5 | Vinegar solution | Acidic (commonly ~5% acetic acid) | Avoid as routine cleaner | ★☆☆☆☆ |
| 6 | Baking soda slurry (abrasive paste risk) | Mildly basic; can be gritty when thick | Avoid on glossy/protective finishes | ★★☆☆☆ |
| 7 | Oxygen/bleach cleaners | Oxidizers; can alter surface clarity | Avoid unless finish manufacturer approves | ★☆☆☆☆ |
Use the right tools (to avoid spreading the mark)
The best “fast” method is the one that prevents cross-contamination: you want clean microfiber, minimal moisture, and a quick dry buff. That combination keeps hardwood floors from developing a larger dull area when you switch from spot work to whole-room cleaning.
– Grab: clean microfiber cloths (at least 2–3), a soft mop or sponge, and a hardwood floor cleaner that’s labeled for finished hardwood floors.
– Use separate cloths for pickup vs. buffing; “re-dipping” a dirty cloth spreads grit across hardwood floors.
– Avoid: abrasive pads/brushes, steel wool, and anything that leaves residue (some “all-purpose” cleaners can).
– All-purpose products can leave surfactants behind; even if a smudge looks gone, a thin film can reappear as a dull haze after drying.
– Set up a “dry pass”: one cloth for cleaning and another clean, dry microfiber to immediately buff after damp cleaning.
– This matters because excess moisture can create edge-darkening on hardwood floors, especially around seams and borders.
| Approach | Pros (why it works on hardwood floors) | Cons (when it can fail) |
|---|---|---|
| Dry lift first | Removes grit that causes micro-scratches and haze; safest first step for scuffs. | Won’t remove oily wax/residue by itself. |
| Barely damp, pH-neutral cleaner | Breaks down films without aggressive chemistry; reduces streaking when cloth—not floor—is damp. | If you over-wet, hardwood floors can dull near edges and seams. |
| Finish-specific spot treatment | Targets wax/oil issues when standard cleaning only spreads the mark. | Using the wrong remover can permanently alter sheen or lighten the finish. |
Clean stubborn smudges with a safe “lift then wipe” routine
The quickest safe reset for most stubborn smudges is to lift loose grit dry, then clean with pH-neutral on a barely damp cloth, followed by immediate buff-drying. This routine is fast because it prevents re-contaminating hardwood floors while you work.
– Dry lift: rub the area gently with a *dry* microfiber to pick up loose grit (grit is what causes haze and scratches).
– Work in small sections you can finish and buff in under a minute.
– Use light pressure—enough to pick up residue, not enough to polish.
– Barely damp clean: apply your pH-neutral hardwood cleaner to the cloth (not the floor), wipe in the direction of the grain, then immediately buff dry.
– Applying cleaner to the cloth keeps the floor from pooling at seams—pooling is where hardwood floors show swelling risk.
– Repeat, don’t soak: do a few short passes rather than wetting the same spot over and over.
– If the mark isn’t improving after a few controlled passes, the contaminant is probably not just grime (it may be wax, dye, or finish wear).
Tackle what’s left: spot treatments that won’t wreck the finish
The best next step depends on what’s still on your hardwood floors after the lift-then-wipe routine. If anything remains, treat it as a contaminant-specific problem—not as “more scrubbing.”
– If it’s residue or cleaner build-up (often looks like a smudge film):
– Do an additional wipe with a lightly damp cloth using the same hardwood-safe cleaner, then buff dry.
– If you suspect wax/conditioner build-up, use a finish-appropriate remover recommended by your floor/finish manufacturer (don’t improvise).
– If it’s scuff marks:
– Try the cleaner-on-cloth method again first. Avoid “dry polishing” with grit under a smudge.
– If you’re considering an abrasive “eraser” style pad, test in a hidden spot first—these can abrade some finishes and make the area look dull.
– If it’s something unusual (ink, rubber, candle wax, pet accidents):
– Stop and switch to the method that matches the contaminant and your finish.
– Use the manufacturer’s guidance for spot removal rather than guessing.
To keep your spot work controlled on hardwood floors, use this decision logic:
– If the mark looks shiny or greasy, think residue → repeat pH-neutral cleaning + buff, or use finish-approved remover.
– If the mark looks dull/dragged (and feels “rough” when you pass a clean fingernail over it), think abrasion/grit → dry lift first, then gentle cleaner on a cloth.
– If the mark looks colored or sticky, think dye/oil/wax → contaminant-specific guidance.
What can go wrong (and how to prevent it)
The most common failure point is not “wrong effort”—it’s wrong chemistry, wrong moisture, or too much scrubbing. The result on hardwood floors is often a larger hazy area, not just a removed smudge.
– Too much moisture: hardwood can swell and edges can lift—keep cloths barely damp and dry immediately.
– Wood science explains why: when wood moisture rises toward the fiber saturation point (~25–30% moisture content), cell walls are fully saturated and dimensional changes are more likely (Forest Products Laboratory, *Wood Handbook: Wood as an Engineering Material*, 2010).
– Using the wrong cleaner: vinegar, ammonia, and harsh degreasers can damage finishes or leave dullness.
– Many “household shortcuts” are the wrong pH for finished hardwood. pH is measured on a 0–14 logarithmic scale, with pH 7 considered neutral (IUPAC Gold Book, updates through 2019).
– Because vinegar is acidic (commonly around ~5% acetic acid for household use), it can be harsher than a purpose-made hardwood cleaner even when diluted (USDA FoodData Central, access version 2023).
– Abrasives can create a “halo”: aggressive scrubbing can lighten the cleaned area compared to surrounding finish.
– This happens when you remove a thin layer of finish while the surrounding area remains protected—spot dulling is especially noticeable under directional lighting.
– You might be removing the finish (not the smudge):
– Some stubborn “smudges” are actually finish wear or surface abrasion. Cleaning harder won’t fix wear—it can worsen it by widening the abraded zone.
– If you have unfinished hardwood: tread carefully—unfinished surfaces often require different products and techniques than prefinished/polyurethane floors.
– If you’re not sure whether your hardwood is finished, do a visual check and follow the manufacturer care guidance—don’t assume.
Verdict: what usually works, plus who should skip this
For most stubborn smudges on finished hardwood floors, the safest fast method is the combination of dry lift + pH-neutral, barely damp cleaning + immediate buff-dry. This approach reduces the two big risks—grit-driven scratching and moisture-driven haze—while still breaking down common residue.
– Downsides: if the mark is actually finish wear, wax build-up, or a specific contaminant (like wax or ink), this approach may only partially improve the area—special, finish-specific treatment may be necessary.
– Skip this method (or slow down and verify first) if:
– your floors are wax-only or oil/maintenance-oil finished,
– the finish is due to be refinished soon, or
– the smudge is tied to a known hard contaminant.
– In those cases, follow the product/finish manufacturer’s care instructions closely—or contact them for spot-removal guidance.
Quick scan checklist (save this)
| Step | What to do | Why it matters |
|---|---|---|
| 1 | Dry microfiber wipe first | Removes grit that scratches |
| 2 | Use pH-neutral hardwood cleaner on the cloth | Avoids finish damage from wrong chemicals |
| 3 | Wipe with grain, then buff dry immediately | Prevents water haze and swelling |
| 4 | Repeat gentle passes before spot-abrasion | Reduces “halo” from over-scrubbing |
| 5 | Test any stronger method in a hidden area | Prevents permanent dull patches |
Sources
– Floor/finish manufacturer care instructions (primary source): follow the written cleaning guidance for your specific hardwood finish type (pre-finished/polyurethane vs waxed vs oil-finished).
– Bona® (manufacturer) hardwood floor care guidance: recommendations for using pH-neutral cleaners and minimizing excess moisture on wood floors.
– Minwax® (manufacturer) wood floor finishing/care guidance: spot cleaning and “what not to use” cautions based on finish type.
– Bruce® (manufacturer) hardwood floor care guidance: maintenance and cleaning do’s/don’ts for hardwood finishes.
In the end, the fastest way to clean stubborn marks on hardwood floors is not harder scrubbing—it’s cleaner sequencing: lift grit dry, clean with pH-neutral and minimal moisture, buff immediately, and only then escalate with finish-specific spot methods.
Frequently Asked Questions
What’s the best way to remove stubborn smudges from hardwood floors without damaging the finish?
Start by wiping the area with a microfiber cloth dampened with warm water to loosen surface grime. If the smudge remains, use a hardwood floor cleaner recommended for your finish (polyurethane, sealed, or waxed) and follow the label directions exactly. Avoid soaking the wood or using harsh chemicals that can dull or strip the protective layer. Finish by drying immediately with a clean cloth to prevent water spots.
How do I clean scuff marks and black shoe smudges on hardwood floors?
Use a soft, slightly damp cloth with warm water first, then switch to a small amount of pH-neutral cleaner for hardwood floors if needed. For persistent scuffs, lightly rub with a magic eraser-style melamine sponge (dampen first, test in a hidden spot, and apply gentle pressure). If the floor still looks dull, finish with a dry microfiber buff to restore clarity and reduce residue buildup.
Why do hardwood floors get cloudy or greasy-looking smudges after cleaning?
Cloudiness often comes from leaving cleaner residue, using the wrong product, or over-wetting the surface so grime gets trapped instead of lifted. Greasy smudges can be caused by oil-based soaps, wax buildup, or cleaning with too much solution. To fix this, re-clean with a proper hardwood floor cleaner in the correct dilution (or use a residue remover designed for sealed wood). Always rinse lightly if the product instructions call for it, then dry quickly with a microfiber cloth.
How can I remove sticky residue from hardwood floors (tape, spills, or adhesive)?
Begin by softening the residue with a warm, slightly damp cloth, then gently lift it with a plastic scraper or credit card edge. If there’s still buildup, use a cleaner specifically formulated for hardwood or a small amount of rubbing alcohol on a cloth (test first in an inconspicuous area). Avoid soaking the floor and never use steel wool, which can scratch and permanently damage the finish. Once the residue is gone, wipe with a damp microfiber cloth and dry thoroughly.
Which household products are safest for cleaning stubborn smudges on hardwood floors?
The safest options are pH-neutral hardwood floor cleaners and plain warm water with a microfiber cloth for everyday smudges. If you need extra help, use a small amount of isopropyl alcohol on a cloth for sticky marks, always after spot-testing. Avoid vinegar, ammonia, bleach, and abrasive scrubbers because they can damage the finish or alter the sheen over time. For long-lasting results, use products designed for sealed hardwood flooring and apply minimal moisture.
📅 Last Updated: November 02, 2026 | Topic: How to clean stubborn smudges from hardwood floors? | Content verified for accuracy and freshness.
References
- Wood flooring
- https://www.cdc.gov/coronavirus/2019-ncov/community/disinfecting-building-facility.html
- https://www.epa.gov/coronavirus/cleaning-and-disinfecting-your-facility
- 404 Error
- https://scholar.google.com/scholar?q=how+to+clean+hardwood+floors+smudges Google Scholar
- https://scholar.google.com/scholar?q=stubborn+scuff+marks+hardwood+floor+cleaning Google Scholar
- https://scholar.google.com/scholar?q=hardwood+floor+cleaning+best+practices+water+and+detergents Google Scholar