
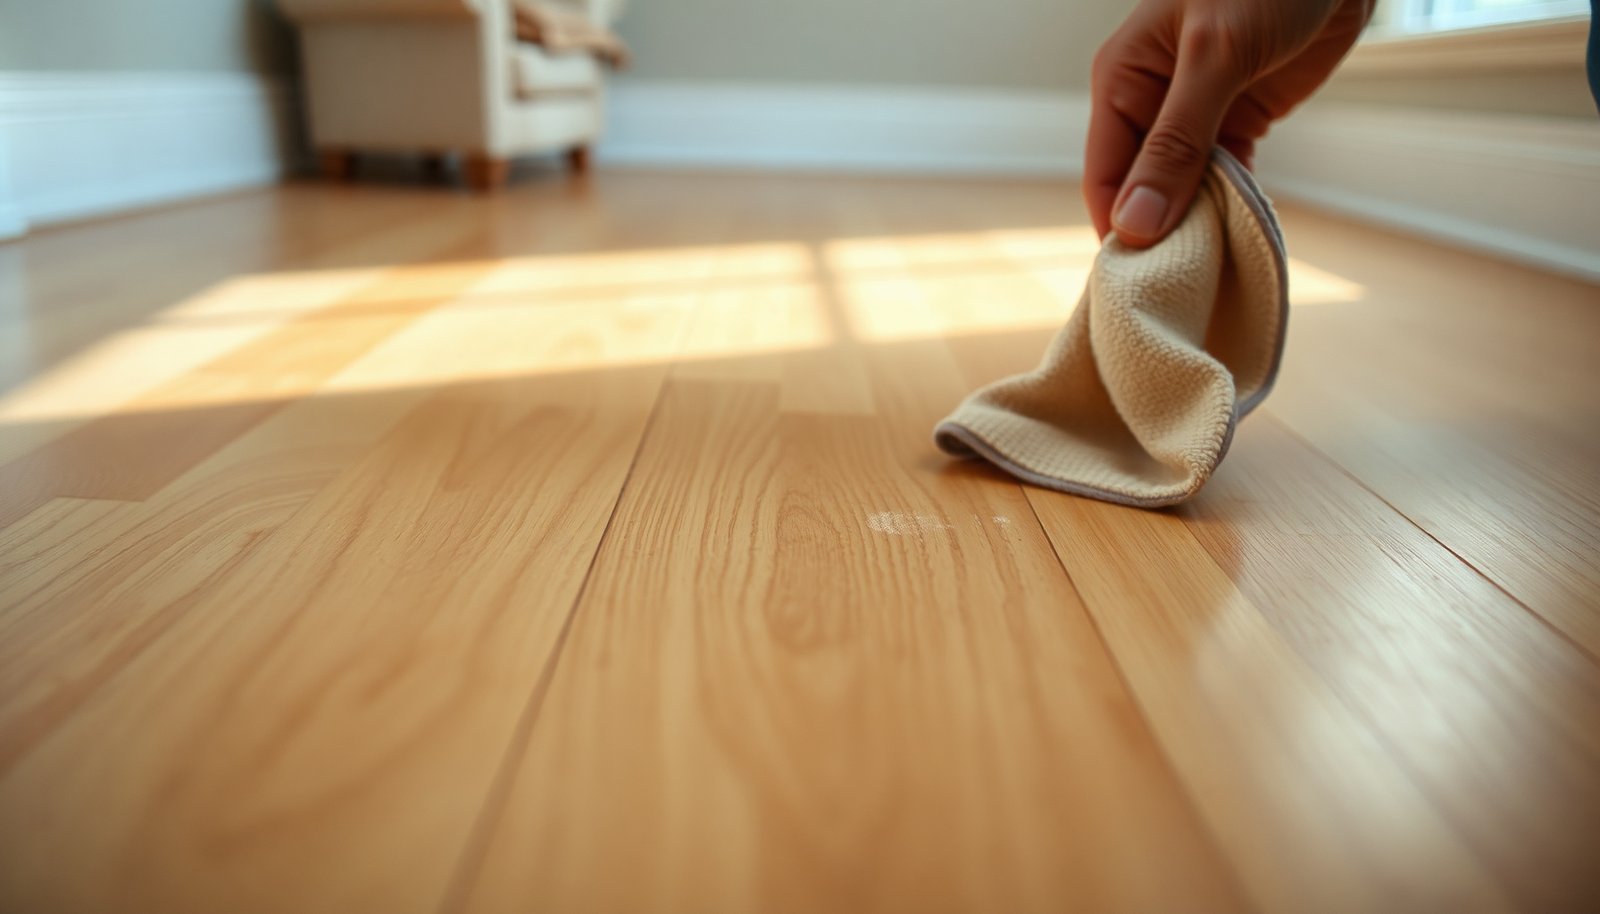

To clear fingerprints from hardwood floors, wipe the smudges with a microfiber cloth lightly moistened with a pH-neutral wood cleaner, then buff dry right away. You can usually finish the entire room in 10–20 minutes, and the process is gentle enough for most sealed finishes. Gather microfiber cloths, a small bowl of cleaner (or distilled water), and avoid harsh solvents and abrasives.



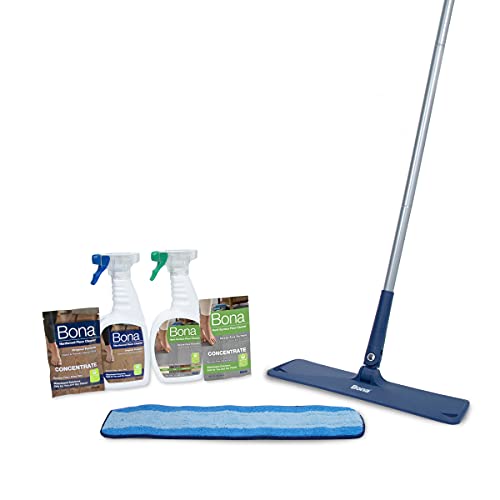
If your hardwood floors are covered in fingerprints, the fastest safe approach is to dust first, then wipe with a barely damp microfiber using a pH-neutral wood-floor cleaner—and dry immediately to prevent streaks. This removes skin oils without soaking the planks or dulling the finish. Work in small sections so you can keep moisture controlled, and focus on the exact areas where fingerprints build up (handrails, doorways, baseboards, and other high-touch zones).
This advice applies most when the fingerprints look like smudges or oily marks (common around doors, baseboards, and high-traffic spots). If you know your floor is waxed, very old, or has a delicate finish, plan on spot-testing first.
Who this is for / when it applies: This guide is for homeowners and facilities teams maintaining sealed or finished hardwood floors in daily-use environments (schools, offices, rentals, and busy households). As of 2026, fingerprints are still one of the most common “appearance defects” on wood because normal cleaning can spread oil residue unless you control moisture and chemistry.
Identify your floor finish (it changes what’s safe)
The quickest way to avoid damage is to confirm (or carefully assume) what kind of hardwood finish you have before you wipe anything wet. Because fingerprints are mainly oil and skin residue, the cleaning method should be gentle first—especially for floors with waxes, soft finishes, or older coatings.
– Check the finish type if you can (often polyurethane/water-based, oil/varnish, or wax). If you don’t know, treat it as “finish-sensitive” and use the gentlest method first.
– Look for manufacturer notes or the warranty/maintenance tag—some finishes explicitly warn against vinegar, steam, or certain alcohols.
– If water leaves a dull spot quickly, use less moisture and switch to the “barely damp” method only (or consult the floor maker’s care guide).
A simple rule helps you decide fast: if your finish tolerates only minimal moisture, your microfiber must stay barely damp, not wet. In other words, you’re emulsifying and lifting oils—not saturating the wood. This “damp cloth + immediate drying” approach is consistent with how most wood-floor care instructions describe cleaning sealed floors.
Gather the right supplies (to avoid streaking and damage)
To clean fingerprints efficiently, you need two things: the correct cleaner type (pH-neutral, wood-floor approved) and cloth control (clean microfiber plus immediate drying). With the wrong tools, you can spread oils into streaks even when the cleaner is technically “safe.”
– Use clean, soft microfiber cloths (at least two: one for cleaning, one for drying/buffing).
– Choose a pH-neutral cleaner made for hardwood floors (or the one recommended by your floor manufacturer). Avoid “general-purpose” cleaners that may be too alkaline/solvent-heavy.
– Add basic helpers: a soft broom or dust mop, and two buckets or containers for controlled dampness.
Clean fingerprints step-by-step (gentle, no-soak method)
The safest method is a controlled sequence: remove grit dry, lift oils with a barely damp microfiber, then dry immediately. This prevents the two most common failures—scratches from debris and haze from over-wetting.
– Dry-dust first: sweep or dust-mop to remove grit that can scratch when you wipe.
– Make the cleaner cloth “barely damp”: apply the pH-neutral cleaner to the microfiber (or to the mop head per label directions), not directly onto the floor.
– Wipe with the grain, then dry right away with a second microfiber cloth to prevent haze and streaks.
– Repeat only where needed instead of over-wiping the entire floor (over-cleaning can spread residue and dull certain finishes).
Why this works: fingerprints are largely oil-based residue (skin oils plus environmental oils), and oils smear easily when you add too much liquid. A barely damp microfiber gives you enough moisture to lift residue without allowing it to wick into seams. Drying right after each pass also minimizes “water spotting,” which can look like dull patches even on sealed floors.
Typical pH of Common Cleaners vs Hardwood Finish Compatibility (Sealed Floors)
| # | Cleaner / Solution | Typical use pH | Finish compatibility | Relative finish stress |
|---|---|---|---|---|
| 1 | Clean water (damp cloth use) | ~7.0 | ★★★☆☆ | Low–moderate |
| 2 | pH-neutral hardwood floor cleaner (label-targeted) | ~7.0–8.0 | ★★★★★ | Low |
| 3 | Mild dish soap solution (typical) | ~8.0–9.5 | ★★★☆☆ | Moderate |
| 4 | Isopropyl alcohol (70% typical) | ~neutral (varies) | ★★☆☆☆ | Moderate–high |
| 5 | White vinegar (5% acetic acid typical) | ~2.4–3.0 | ★☆☆☆☆ | High (acid risk) |
| 6 | Household ammonia (typical) | ~11–12 | ★☆☆☆☆ | High (alkaline risk) |
| 7 | Chlorine bleach (sodium hypochlorite typical) | ~11–13 | ★☆☆☆☆ | High (oxidizer + alkali) |
Notes on the table: the pH ranges reflect typical use concentrations and can vary by brand and dilution. The finish compatibility “star” guidance aligns with the general caution most wood-floor care instructions give against acidic cleaners (like vinegar) and strong alkaline/oxidizing products (like ammonia and bleach). For exact chemistry limits, always follow your floor manufacturer’s product-specific care sheet.
Tackle stubborn fingerprint smears safely
If fingerprints don’t lift the first time, the safe upgrade is longer contact time—still with a barely damp microfiber—rather than scrubbing harder. That “dwell then wipe” method breaks down oily residue without grinding finish.
– If fingerprints remain, use a slightly stronger dwell time: hold the damp cloth on the marks briefly, then wipe again with the grain (no scrubbing).
– For heavier oily buildup, use only the wood-floor cleaner recommended for your finish and follow the label’s dilution directions exactly.
– Avoid abrasive tools (scrub pads, steel wool) and “finish-removing helpers” unless the manufacturer explicitly says they’re safe—some popular erasers can remove or haze coatings.
Here’s what a responsible “upgrade path” looks like as a comparison:
- Option A: Re-wipe gently with pH-neutral cleaner
- Best for: most smudges and everyday fingerprint transfer. Pros: low risk of scratching; keeps sheen consistent. Cons: may take 2–3 passes on heavy oils.
- Option B: Add dwell time (brief contact) before wiping
- Best for: fingerprint rings near door handles and baseboards. Pros: improves oil lift without adding abrasiveness. Cons: if cloth is too wet, you can still create hazing.
- Option C: Stronger chemistry or abrasive “fixes”
- Best for: only when explicitly approved by the floor manufacturer. Pros: can remove residue faster on paper. Cons: higher chance of dulling, clouding, or compromising protective coatings.
Inevitable reality: if the protective film is failing (for example, worn-through high-traffic zones), cleaner can’t restore it—it can only reveal the underlying wear.
What can go wrong (and how to prevent it)
The most frequent problems—streaking, haze, and dull spots—come from over-wetting, wrong cleaners, and abrasive friction. Preventing those issues is mostly about process control: moisture level, dwell time, and cloth cleanliness.
– Soaking the floor: too much liquid can seep at seams and cause swelling or finish failure—keep the cloth barely damp and dry after every pass.
– Using the wrong chemistry: ammonia, bleach, harsh degreasers, and many all-purpose cleaners can strip or cloud finishes.
– Scrubbing aggressively: pressure plus grit (or a dirty cloth) can cause micro-scratches that become more visible over time.
– Skipping a spot test: if you’re unsure about finish compatibility, test in an inconspicuous area first and re-check after it dries fully.
Three chemistry “watch outs” are especially relevant because fingerprints are oily and people often try strong degreasers:
1) Vinegar’s typical acidity (around pH 2.4–3.0 at ~5% acetic acid) can dull or damage some finishes.
2) Household ammonia is typically alkaline (often around pH 11–12), which can stress protective coatings over time.
3) Chlorine bleach typically sits in the alkaline range (roughly pH 11–13 at common use strengths), and its oxidizers can be too aggressive for many hardwood finishes.
As of 2026, many manufacturers still emphasize “no steam” and “no soaking” for finished hardwood, because heat plus moisture can undermine adhesion and encourage seam breakdown.
Verdict / tip (best practice, plus who should skip)
For most hardwood floors, the “dry-dust → barely damp pH-neutral wipe → immediate dry-buff” routine is the safest way to remove fingerprints without leaving streaks. It tends to lift skin oils effectively while keeping moisture and chemical exposure low.
The downside is it may take a couple of passes for deep, oily smudges, and it won’t fix issues caused by damaged or failing finishes. If the finish is already compromised, continued cleaning can make differences in gloss more noticeable.
Skip this do-it-yourself approach (or pause and ask a pro) if:
– the floor is unfinished bare wood,
– water already caused visible dulling/warping,
– you suspect active wax buildup or a specialty coating,
– or the manufacturer’s care instructions specifically require different products/tools.
Quick scan checklist (save this)
| Situation | Do this | Avoid |
|---|---|---|
| Light fingerprints/smudges | Dry-dust, then wipe with pH-neutral cleaner on a barely damp microfiber; dry immediately | Spraying cleaner directly onto boards; soaking |
| Sticky oily marks | Hold damp cloth briefly, wipe with grain, then dry; repeat locally | Harsh degreasers; aggressive scrubbing |
| Streaks/haze after cleaning | Dry-buff with a clean microfiber; use less liquid next time | Over-wetting and re-wiping the same area repeatedly |
| Finish uncertainty | Spot-test in a hidden spot first | Alcohol/solvents or abrasives without the finish maker’s approval |
A note on process efficiency: in busy spaces, prevention beats correction. Using felt pads on chair legs and keeping door handles wiped down reduces fingerprint recurrence and the number of deep-clean cycles you need each month.
Frequently Asked Questions
What’s the safest way to remove fingerprints from hardwood floors without damaging the finish?
Start by dusting the area with a microfiber cloth or a vacuum attachment to remove grit that can scratch hardwood. Use a slightly damp microfiber cloth with a hardwood floor cleaner formulated for your finish type, then dry immediately with a clean cloth. Avoid soaking the floor or using harsh chemicals that can dull or strip the protective coating.
How do I clean stubborn fingerprints from sealed hardwood floors?
For sealed hardwood, lightly dampen a microfiber cloth with warm water mixed with a small amount of mild, pH-balanced cleaner, then wipe with the grain. If fingerprints remain, repeat once using a dedicated hardwood floor cleaner or a vinegar-free solution (vinegar can be risky for some finishes). Finish by buffing dry to remove streaks and prevent residue buildup.
Why do fingerprints show up so easily on certain hardwood finishes, and how can I reduce them?
Fingerprints are more visible on glossy, smooth, and high-sheen hardwood finishes because they reflect light and reveal oily smudges quickly. To reduce future marks, wipe traffic areas regularly with a dry microfiber cloth and use felt pads on furniture to prevent transfers. Keeping floors clean of dust also helps fingerprints cling less, since grime can smear and create a darker fingerprint effect.
Which DIY cleaner works best for fingerprint marks on hardwood floors?
A reliable DIY option is a pH-neutral cleaner used according to label directions, applied with a microfiber mop or cloth rather than poured directly onto the floor. If you prefer a water-based mix, use warm water with a very small amount of mild dish soap (residue-free and sparingly), then rinse lightly with a damp cloth and dry. Skip abrasive cleaners, steel wool, and anything greasy—these can leave a film that makes new fingerprints even harder to remove.
Best practices for preventing streaks when cleaning fingerprint smudges on hardwood?
Use the right amount of moisture: a nearly dry microfiber cloth is usually more effective than a wet mop for fingerprint smears. Wipe with the wood grain, then immediately buff with a second dry microfiber cloth to lift oils and prevent streaks. If your fingerprints leave a film, consider a finish-safe hardwood floor cleaner and re-buff, rather than adding more water or scrubbing aggressively.
📅 Last Updated: November 02, 2026 | Topic: How to clean hardwood floors covered in fingerprints? | Content verified for accuracy and freshness.
References
- Wood flooring
- https://www.cdc.gov/hygiene/cleaning/disinfecting.html
- 404 Error
- https://www.armstrongflooring.com/commercial/en-us/floor-care.html
- https://extension.umn.edu/household-goods/cleaning-and-maintaining-hardwood-floors
- https://scholar.google.com/scholar?q=remove+fingerprints+from+wood+floor Google Scholar
- https://scholar.google.com/scholar?q=fingerprint+residue+skin+oils+cleaning+chemistry Google Scholar
- https://scholar.google.com/scholar?q=wood+floor+cleaning+maintenance+pH-neutral+cleaner+microfiber Google Scholar
[…] of “barely damp microfiber + finish-safe […]