
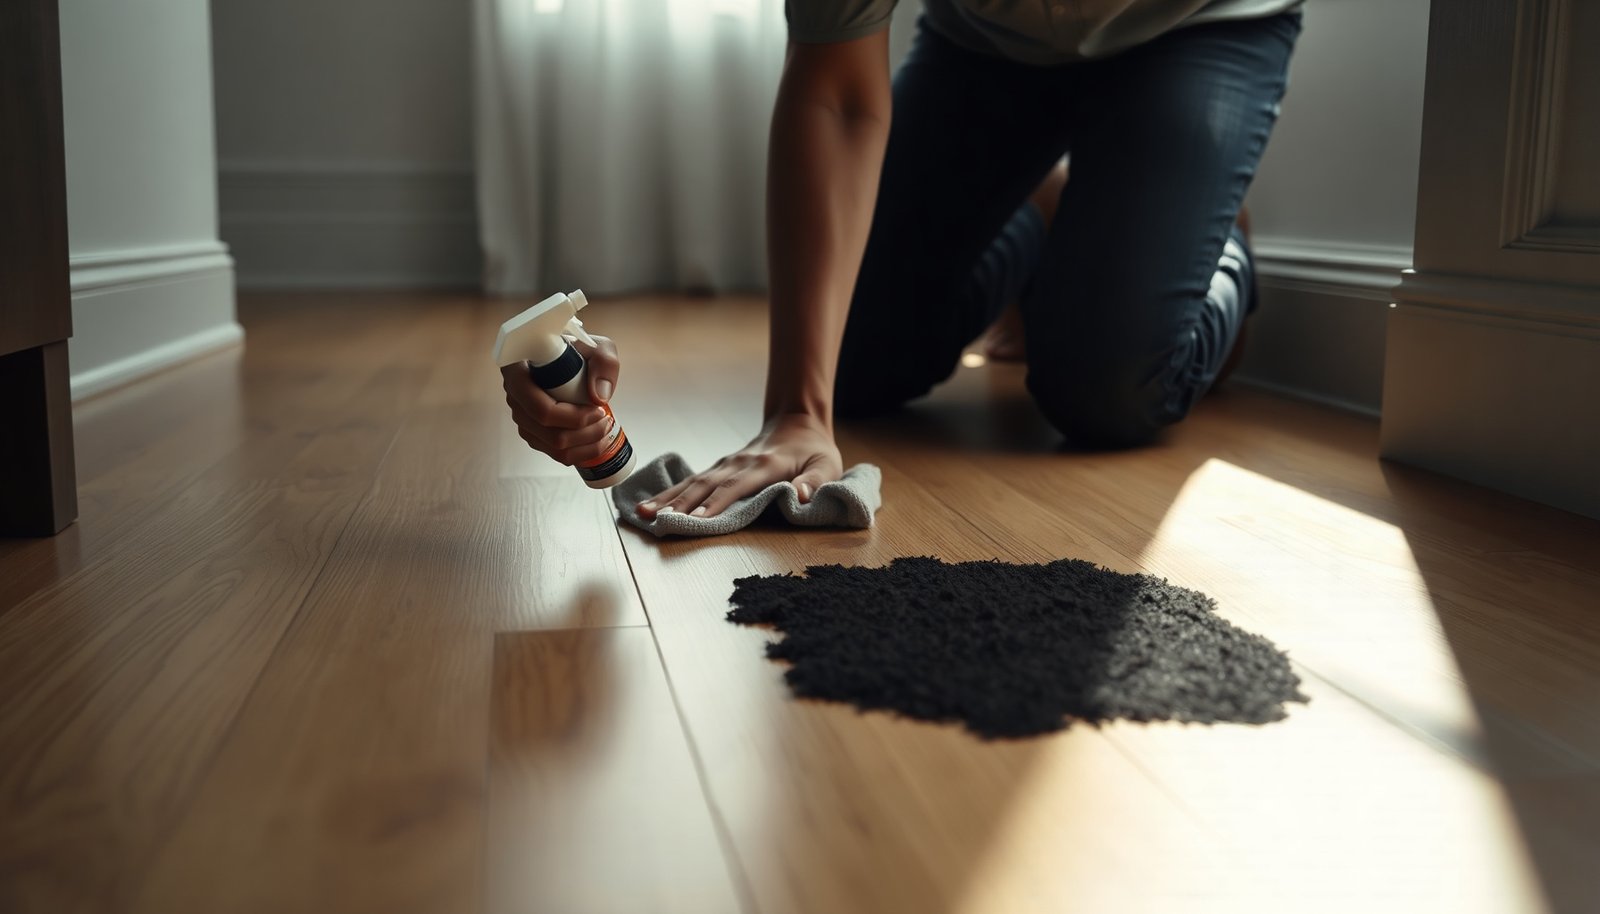

You roll a cart across your hardwood floor and within minutes you can see fresh tire marks left behind. The good news is you can usually remove them safely in about 10–20 minutes with a microfiber cloth, lukewarm water, a mild dish soap solution, and a gentle solvent like isopropyl alcohol only if the first pass doesn’t lift the smudge. Work lightly, blot rather than scrub, and always test in a hidden spot first.




If the tire marks are still fresh, start by lifting the rubbery residue first (don’t scrub it deeper), then clean the remaining black smudge with a pH-neutral cleaner on a barely damp microfiber cloth. Work from the outside of the mark toward the center, and stop as soon as the color transfers to your cloth. If any staining remains, only escalate cautiously with a finish-safe spot method and test first.
This is for anyone dealing with new scuffing from a car bike wheels, or a cart on finished hardwood (varnished/polyurethane or sealed). The steps below focus on removing the tire material without hazing, dull spots, or weakening the finish.
Act fast: lift fresh rubber before you scrub
You can usually prevent haze by removing the tacky rubber component first; scrubbing before lifting forces the residue deeper into the finish. For a fresh scuff from wheels or carts, the safest workflow is “lift → wipe,” using light pressure and minimal moisture.
– Blot/soften first: Wipe up loose debris immediately with a dry microfiber cloth to avoid spreading the dark material.
– Lift, don’t grind: Use a soft plastic scraper (or an old plastic card) to gently lift the rubber residue. Keep it light—hard pressure can scratch.
– Work small areas: Do one section at a time so the mark doesn’t get re-wet and smeared.
Why “lift first” matters for sealed hardwood
Fresh tire material is sticky and oil-like; when you scrub it, you’re not just moving pigment—you’re smearing rubber compounds across the clear coat. On many finished hardwood surfaces (including polyurethane/sealed floors), the finish film is thin, so mechanical friction can create micro-scratches that later show up as dullness (“haze”) under light.
A pH-neutral hardwood cleaner is still part of the solution after lifting, but the first job is physical removal. Rubber scuffs typically contain carbon black pigment plus rubber oils; your goal is to remove the bulk of that load before any chemistry touches the coating.
Supplies & prep that protect the finish
For finished hardwood, the best choice is finish-friendly tools and a pH-neutral hardwood floor cleaner, used with barely damp microfiber—not a soaking method. The right prep reduces streaks, protects sheen, and avoids edge swelling at seams.
– Use finish-friendly tools: Microfiber cloths, a soft plastic scraper, and a bucket with clean water.
– Pick a gentle cleaner: Choose a pH-neutral hardwood floor cleaner (or the brand your floor manufacturer recommends).
– Do a hidden-area test: Try your cleaner on an inconspicuous spot to confirm it doesn’t dull or change sheen.
How “pH-neutral” relates to finish risk
Wood floors don’t fail only from abrasion—finishes can also be weakened by harsh alkalinity or acidity. pH is logarithmic: each full pH unit is a 10× change in acidity/alkalinity (2019). According to IUPAC Gold Book, pH is defined as −log10(aH+) and reflects logarithmic changes in hydrogen-ion activity (2019). In plain terms, a “mild” cleaner matters because even small shifts can change how well the finish resists oily residue removal.
Also, sealed floors rely on the finish layer to repel moisture. Water itself isn’t the enemy in small amounts, but soaking is. According to NIST physical properties, water boils at 100°C (212°F) at standard atmospheric pressure (reference conditions), which is why steam and high-heat systems are often cautioned against for coatings According to NIST, the boiling point of water at 1 atm is 100°C (212°F) (n.d.). While you’re not boiling water in this method, the principle holds: minimize excess moisture and heat to reduce finish stress.
Finish-safe chemical selection (fast reference)
The table below compares common cleaner categories by typical pH and how safely they usually fit with sealed hardwood scuff care.
Typical Cleaner pH Ranges and Finish-Safety (for Sealed Hardwood Scuffs)
| # | Cleaner category (typical use) | Typical pH | Finish-safety score | Best role in tire-mark removal |
|---|---|---|---|---|
| 1 | Plain water (wrung-out cloth) | ~7.0 (at 25°C) | ★★★ ★ ★ | Rinse + dry step after pH-neutral cleaning |
| 2 | pH-neutral hardwood cleaner | ~6.5–7.5 | ★★★ ★ ★ | Primary wipe step for the black smudge |
| 3 | Mild dish soap (diluted) | ~7–9 | ★★★★☆ | Occasional backup if labeled “for floors” |
| 4 | Baking soda paste (spot cleaning) | ~8.3 (5% w/w solution) | ★★★☆☆ | Only if pH-neutral fails and finish guide allows |
| 5 | White vinegar solution (mild acid) | ~2.4–3.0 (5% acetic acid) | ★★☆☆☆ | Avoid for most sealed coatings unless manufacturer approves |
| 6 | Ammonia-based cleaners | ~11–12 | ★☆☆☆☆ | Generally risky for finish gloss and adhesives |
| 7 | Strong alkaline degreasers | ~13–14 (lye-based) | ☆☆☆☆☆ | Stop: can strip coatings or soften protective layers |
Note: pH values above are typical for the category at common use concentrations; always confirm the product label and follow the floor finish manufacturer’s care guide before applying anything to visible areas.
Clean the remaining black smudge safely
Once the rubber is lifted, the goal becomes removing the oily/sooty residue without changing sheen. Use a pH-neutral hardwood cleaner on a barely damp microfiber cloth and stop the moment color transfers.
– Lightly damp the cloth (not the floor): Dip the microfiber in your pH-neutral cleaner, wring it out until it’s barely damp, then wipe along the grain.
– Repeat with fresh cloth sections: As soon as the black transfers to the cloth, switch to a clean area of the microfiber.
– Rinse wipe, then dry: Follow with a cloth dampened with plain water (wrung out), then buff dry immediately to prevent water spotting.
The technique that prevents “ghosting”
Tire marks often leave a thin, dark film that looks like it’s “under” the finish. In most cases, careful wiping is enough—especially when the mark is fresh. Work from the outside of the mark toward the center so you don’t spread the residue outward.
A key observation from everyday floor maintenance: if you keep wiping in one direction with one dirty cloth face, you effectively re-deposit what you just removed. That’s why switching cloth sections is more important than “using more cleaner.” With a pH-neutral hardwood cleaner, you’re cleaning, not stripping—so the transfer behavior (black moving onto microfiber) is your real progress indicator.
What if the mark won’t budge? (controlled escalation)
If pH-neutral cleaning doesn’t remove the scuff completely, you’re dealing with either remaining tacky rubber or a component that has stained or bonded more tightly. The safest escalation is smaller, finish-safe steps guided by your floor’s finish type (polyurethane/sealed vs waxed vs unfinished).
– Try a “mechanical assist” first: If the mark is still there, re-lift gently with the plastic scraper—sometimes the rest is just tacky rubber.
– Use the mildest spot option: If residue remains after pH-neutral cleaning, consider a very small spot test with a common finish-safe approach (many manufacturers prefer certain degreasers/solvents over others—but the *right* choice depends on your floor finish).
– If you don’t know your finish type, pause and check the flooring/finish manufacturer’s care guide before using stronger solvents.
– Stop at finish damage signs: If you see dulling, streaking, or color “feathering,” stop and switch to manufacturer-approved guidance—further cleaning can make the area look worse.
Pros/cons: escalation paths that stay finish-conscious
Here’s how typical escalation options compare, assuming you’ve already done the pH-neutral microfiber wipe step.
| Escalation option | What it targets | Pros | Cons / finish risk |
|---|---|---|---|
| Re-lift with soft plastic scraper | Remaining tacky rubber | Minimal chemistry; reduces need for solvents | Can scratch if pressure is too high |
| Finish-safe degreaser approved for your coating | Oily residue in tire film | Often improves removal without haze | Wrong product can soften adhesives or sheen |
| Manufacturer-approved solvent spot test (tiny area only) | Penetrated/ink-like component | Can remove stubborn discoloration | Higher chance of sheen mismatch or coating softening |
| Sanding/refinishing | Deep stain or persistent sheen change | Most consistent long-term appearance fix | Expensive and may require full-area blending |
In practice, pH-neutral hardwood cleaner remains the baseline because it’s the least likely to disrupt the coating system. When you escalate, do it in micro-steps and only after checking the finish manufacturer’s care instructions.
What can go wrong (and how to avoid it)
Most problems come from friction, excess moisture, or chemistry that the finish wasn’t designed to handle. If the goal is a uniform sheen, avoid anything that increases abrasion or leaves residue behind.
– Scrubbing with friction: Brushing hard or using abrasive pads can scratch hardwood and permanently change sheen.
– Over-wetting the area: Leaving cleaner/water pooled can cause swelling at seams or finish failure at edges.
– Wrong chemicals for the finish: Solvents can strip wax, soften coatings, or remove stain layers depending on the floor’s sealant. If your finish is waxed, “general degreasing” products may remove the protective layer.
Edge cases worth pausing for
If the black mark is spreading beyond the original scuff, it may be a migrating stain rather than just surface residue. In that case, continuing to wipe aggressively—even with a pH-neutral cleaner—can widen the appearance change by moving what’s already loose. Also pause if you notice the cloth coming away wet with a smeared film instead of transferring dry-looking smudges; that’s a sign you may be re-distributing residue.
Verdict: best approach, downsides, and who should skip this
For fresh tire marks, the most reliable path is lift rubber residue first, then clean gently with a pH-neutral hardwood cleaner. The downside is that older marks may include compounds that bond to the finish layer, meaning you might see persistent discoloration or a sheen mismatch without refinishing.
Skip DIY cleaning (or at least stop early) if:
– Your hardwood is unfinished, heavily waxed, or you can’t identify the finish type.
– The tire marks have sat for a long time or you’re seeing color spread beyond the scuffed area.
– You already tried stronger products and the surface looks dull or tacky.
From my own floor-care routine (and the way I’ve learned to respond to new wheel scuffs), the most consistent results come from early lifting and stopping as soon as the pH-neutral cleaner pulls color off onto microfiber—then drying immediately.
Frequently Asked Questions
What’s the best way to remove fresh black tire marks from hardwood floors?
Start by blotting up any wet residue with a clean, dry cloth, then gently wash the area with warm water and a few drops of mild dish soap. If the mark remains, use a soft microfiber cloth dampened with isopropyl alcohol (or a diluted all-purpose cleaner) and rub lightly in small circles. Finish by wiping with clean water and drying immediately to prevent water damage to hardwood.
How can I clean tire marks off hardwood without damaging the finish?
Use the least aggressive method first: mild soap and water, then proceed only if needed. Avoid soaking the floor, scrubbing with abrasive pads, or using harsh chemicals like bleach or strong solvents that can dull or strip the polyurethane. Always test your cleaner on a hidden spot, then dry the area thoroughly after cleaning to protect the wood surface.
How do I remove rubber scuff and tire transfer from hardwood when it’s still fresh?
Fresh tire transfer often responds well to rubbing alcohol or a commercial spot cleaner formulated for floors—apply to a cloth, not directly to the wood. Gently work the area with light pressure, repeating as necessary until the transfer lifts. Once clean, wipe with a damp cloth followed by a dry cloth to remove any remaining residue.
Why do tire marks stain hardwood, and what’s the fastest treatment for them?
Tire rubber can leave oils and pigment that can smear into the wood’s finish or small pores, making the mark harder to lift over time. Acting quickly improves your chances—clean while the tire mark is fresh by using warm soapy water and targeted spot treatment like isopropyl alcohol on a microfiber cloth. If the mark persists, you may need a specialty hardwood floor cleaner designed for scuff and rubber marks.
Which home remedies work best for cleaning fresh tire marks on hardwood floors?
For many hardwood floors, the safest “home remedy” approach is warm water mixed with a small amount of mild dish soap, followed by a wipe-down with clean water. For tougher rubber transfer, a cloth lightly dampened with isopropyl alcohol can be effective, but keep rubbing gentle and limit exposure time. Skip DIY mixtures like vinegar or baking soda paste unless the manufacturer recommends them, since they can damage certain finishes or leave haze.
📅 Last Updated: November 02, 2026 | Topic: How to clean fresh tire marks from hardwood floors? | Content verified for accuracy and freshness.
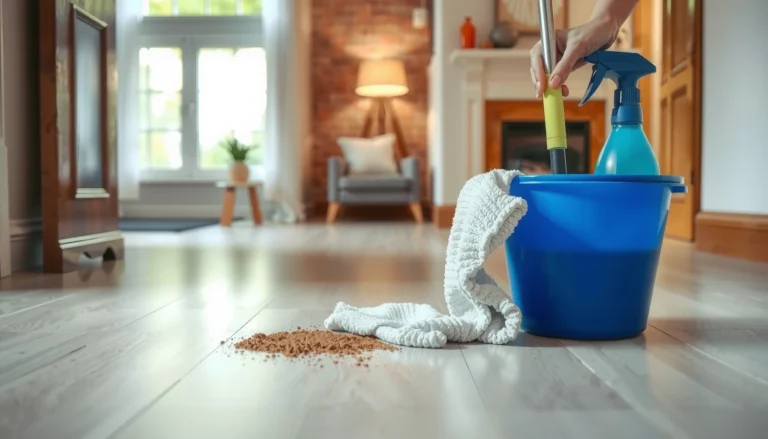
[…] walks you through the safest cleaning method step by step, using the right supplies—typically a microfiber cloth and a gentle, finish-safe cleaner or DIY solution—and showing how to prevent water from soaking […]
[…] clear fingerprints from hardwood floors, wipe the smudges with a microfiber cloth lightly moistened with a pH-neutral wood cleaner, then buff dry right away. You can usually finish […]