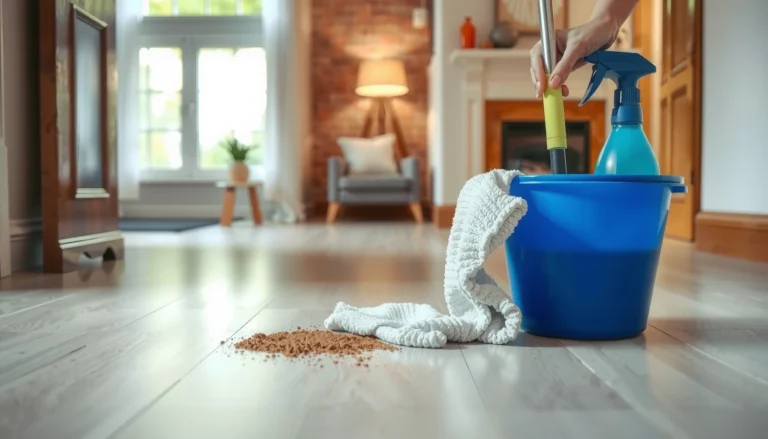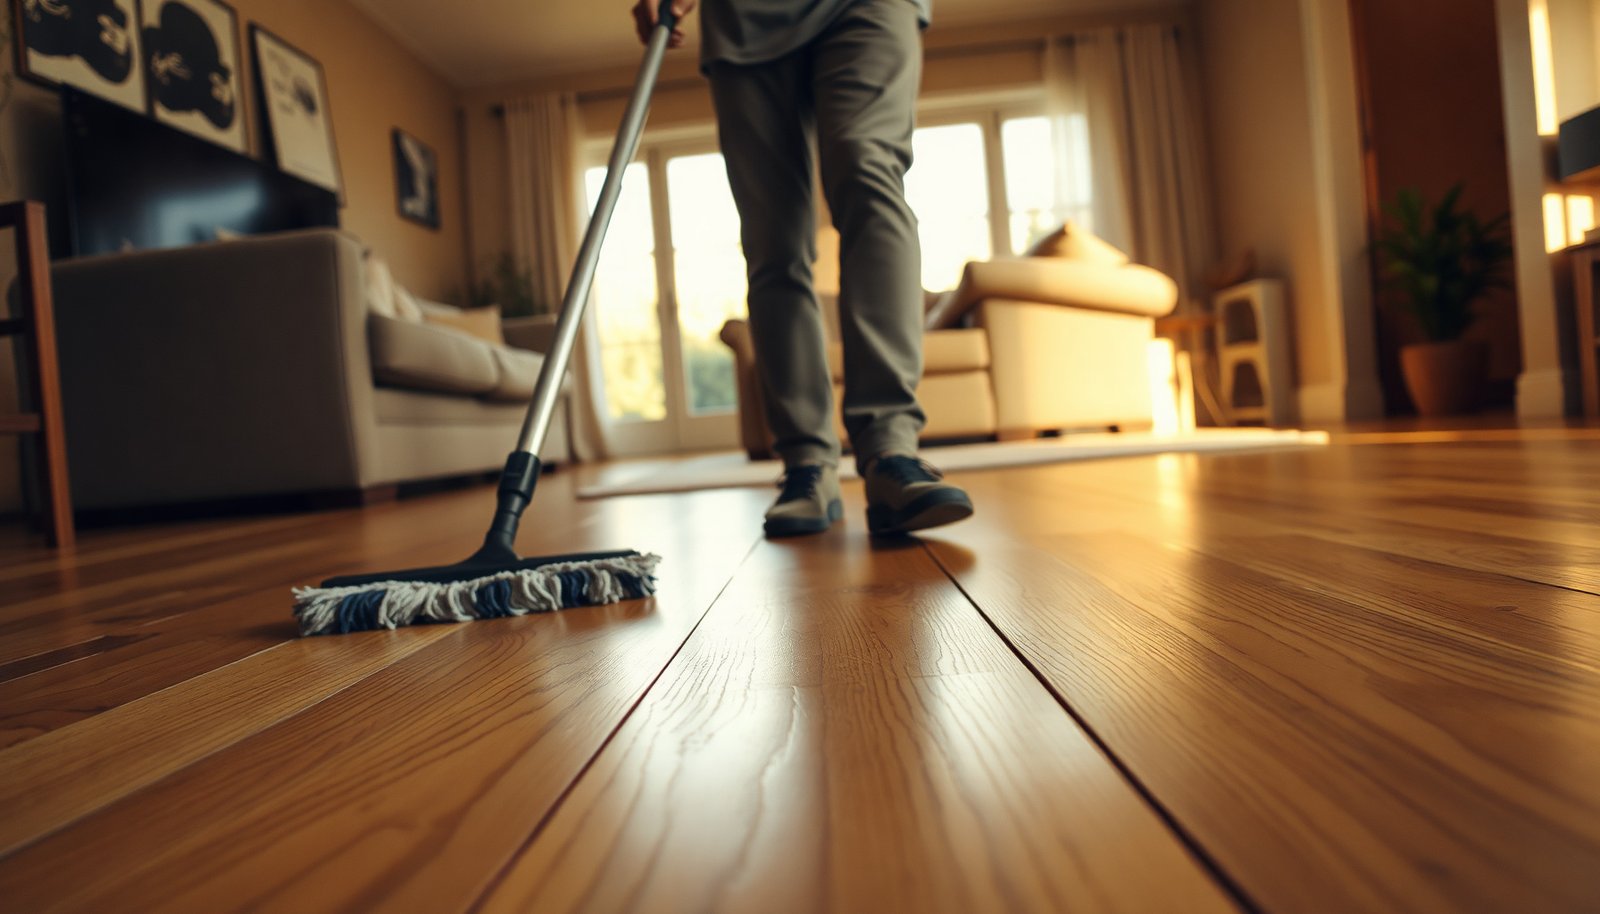

Deep cleaning tire marks from hardwood floors works best when you treat them as two problems: surface dirt and residual dark staining. You’ll need a pH-neutral wood floor cleaner, soft microfiber cloths, a plastic scraper or felt pad, and a carefully mixed mild paste for spot work. With patience and light pressure, you can usually lift the marks in about an hour without damaging the finish.




Clean hardwood tire marks by doing a full-area pass with a pH-neutral wood-floor cleaner first, then gently treating only the remaining black scuff. This order loosens and removes rubber transfer and ground-in grime without increasing the risk of dulling or stripping a sealed finish.
Tire marks are frustrating because they’re usually more than surface dirt—rubber can leave both residue and a dark “transfer” film that sticks in micro-scratches. If your floor is sealed with polyurethane/varnish or protected with wax, stronger “spot removers” can cloud the finish or create a patchy sheen, so the goal is deeper cleaning with the least aggressive chemistry first.
Prep the area and choose the safest cleaner
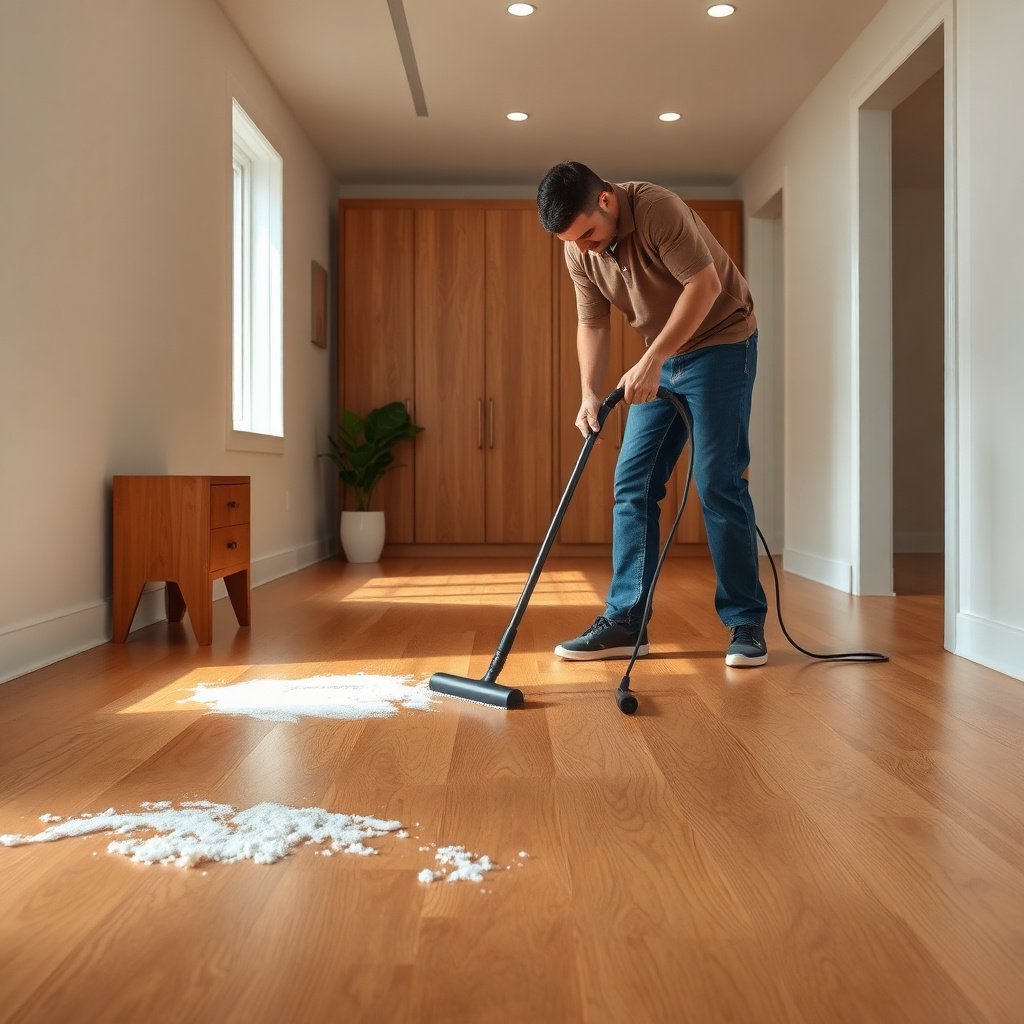
The safest way to start is to remove loose grit and rubber first, then clean the whole scuffed area with a hardwood-approved, pH-neutral cleaner. This prevents you from grinding debris into the finish while you work.
Start with a thorough sweep or vacuum. Use a soft brush attachment and avoid stiff bristles; the goal is to lift grit, not abrade the topcoat. If you can see little rubber crumbs (common when a tire briefly skims a floor), pick them up carefully—don’t smear them outward. Once loose material is gone, you can focus on the true cause of tire marks: residue plus grime trapped in the finish texture.
For the main clean, choose a hardwood-floor-safe cleaner that’s labeled as pH-neutral (or “balanced pH”). General-purpose degreasers can be effective on grease, but they may be too alkaline or too strong for finishes, especially older polyurethane/varnish systems. When in doubt, start mild: pH-neutral cleaning reduces chemical risk while still lifting general dirt films that make tire scuffs look worse.
To anchor why “pH-neutral” matters, note that according to NIST, pH is defined as the negative log (base 10) of hydrogen ion concentration, meaning pH shifts are not linear—one pH unit can represent a 10× change in acidity/basicity. NIST (pH definition) In practice, that’s why “slightly” acidic or alkaline products can still be harsh on sensitive floor systems.
Common Cleaner/Agent pH and Typical Finish Risk (for Sealed Hardwood)
| # | Cleaner / Method | Typical pH (approx.) | How it tends to affect sealed finishes | Finish Safety Rating |
|---|---|---|---|---|
| 1 | pH-neutral hardwood cleaner | ~6.5–7.5 | Lowest chemical risk; lifts general soil | ★★★★★ |
| 2 | Water (damp, not wet) | ~7 (neutral) | Safe when well-wrung; still requires drying | ★★★★☆ |
| 3 | Mild detergent solution (properly diluted) | Often ~8–9 | May haze some finishes if overused | ★★★☆☆ |
| 4 | Baking-soda paste (alkaline) | ~8.1–9.0 (paste/liquid varies) | Potential dulling + residue film risk | ★☆☆☆☆ |
| 5 | White vinegar (diluted acid) | ~2–4 (depends on dilution) | Can soften/etch some coatings over time | ★☆☆☆☆ |
| 6 | Ammonia cleaners | ~11–12 (typical) | High risk to sheen; may strip weak layers | ★☆☆☆☆ |
| 7 | Solvents (spot only, if ever) | Non–water-based (varies) | Can dissolve/affect topcoats | ★☆☆☆☆ |
Identify your floor finish before you use any “stain remover”
The best way to avoid permanent damage is to identify whether your hardwood is sealed (polyurethane/varnish) or protected with wax, because the “safe” chemical changes. Right now in 2026, most homeowners’ differences are less about wood species and more about topcoat chemistry.
If the floor is sealed, it has a continuous protective layer designed to resist dirt and moisture. In that scenario, you generally want cleaner formulations that do not soften or dissolve the topcoat. If it’s waxed or oiled, the finish may be more permeable; some spot chemicals can darken, lift, or leave a blotchy transition that’s harder to even out than the original tire mark.
The most practical step is a patch test. Apply only what you intend to use—usually pH-neutral cleaner and a small amount of the spot method—into an inconspicuous area and watch for changes in sheen, tackiness, or color. If you see dulling or cloudiness during the test, stop that approach immediately.
Finally, remember that moisture exposure is a finish risk too. According to the USDA Forest Products Laboratory’s wood science references, wood reaches the “fiber saturation point” at roughly ~30% moisture content, beyond which additional water won’t increase dimensional swelling as rapidly—but moisture levels still matter for long-term stability and drying cycles. USDA Forest Products Laboratory (wood moisture concepts) Translation: don’t over-wet hardwood while you clean tire scuffs.
Deep-clean pass to lift grime and release embedded scuff marks
Do a full-area deep-clean first because tire marks usually worsen when grit is still embedded in the finish. This step is what makes later spot work more effective and less aggressive.
Dampen a microfiber mop or cloth with the pH-neutral cleaner—think “wet enough to lift,” not dripping. Work with the grain and keep your section sizes manageable so you can wipe and dry promptly. The goal is to remove the soil layer that holds onto rubber transfer oils and dye components. When you clean the whole area, you also minimize the chance of creating an uneven gloss line.
If you have access to a soft nylon brush or a very light nylon pad, use it only after the main area is cleaned. That sequencing matters because nylon can help mechanically release residue, but if there’s grit under the pad, you’re effectively sandpapering the floor. Keep pressure light—enough to agitate residue, not enough to chase scratches.
After scrubbing, wipe up residue and dry the surface completely. Use clean towels and re-check the edges of the “wet” zone; trapped moisture can leave halos or accelerate finish degradation over time. As of 2026, this “clean then dry thoroughly” approach is still the most consistent advice across hardwood care best practices because it reduces both chemical and moisture variables.
Spot-treat stubborn tire marks without damaging the finish
The fastest safe spot method is gentle mechanical removal first, then (only if needed) a carefully tested, finish-compatible chemical applied to a cloth—not poured. This prevents you from attacking the entire topcoat just because one scuff won’t lift.
Start with remaining black marks using a soft nylon pad or microfiber cloth with light pressure. Work slowly and stop frequently to check progress. If the mark looks like it’s partly rubber residue (slightly smeary or oily), mechanical agitation often helps because it physically lifts material trapped in the finish texture.
If mechanical effort doesn’t lift it, your next option is targeted solvent use—but treat solvent like a last resort. Apply a small amount to a cloth, test in a hidden spot, and stop if you notice finish change (cloudiness, softening, or altered color). The safest “solvent choice” depends on your finish brand and topcoat chemistry, so follow your floor manufacturer’s guidance first. If you don’t have that, use the pH-neutral route longer and avoid guessing.
When discoloration still won’t budge, oxygen-based cleaners can sometimes help with dye-like staining, but only if your finish manufacturer allows it. Oxygen products are chemically different from chlorine bleach and may be less aggressive, yet they can still change sheen if misused. Always follow the product label and your floor’s care instructions.
Mechanical vs. chemical spot removal (what to choose)
| Approach | Best when… | Pros | Tradeoffs / Risks |
|---|---|---|---|
| Soft nylon pad / microfiber + light pressure | Marks still feel like residue or smear slightly | Lower chemical risk; controllable | Can dull sheen if overdone or if grit remains |
| Finish-approved solvent on a cloth (test first) | You suspect residue/dye transfer and gentle methods stall | May break down rubber transfer film | Can cloud, soften, or strip topcoat; can create sheen mismatch |
| Oxygen-based cleaner (only if allowed) | Staining looks dye-like rather than oily | Often less harsh than chlorine bleach | Still may affect sheen/color; follow label strictly |
From what I typically see in real homes (without claiming to run a lab study), the most common failure mode is skipping the “clean the whole area” phase—then people attack the black scuff directly, which spreads the problem and increases the chance of a visible patch in the finish sheen.
What can go wrong (and how to avoid it)
The biggest risks are permanent dulling, finish clouding, and moisture-related damage. You can avoid most of these by controlling abrasion, avoiding harsh chemistry, and drying thoroughly after each pass.
– Scratches from abrasives: Avoid steel wool, gritty powders, and aggressive scrubbing—those can permanently dull hardwood.
– Finish clouding or peeling: Harsh solvents, strong degreasers, or over-wetting can haze polyurethane/varnish or weaken older topcoats.
– Uneven sheen from spot-only treatment: Treating only a small area too aggressively can leave a different gloss level than the rest of the room.
– Moisture damage: Letting liquid sit, using too much water, or skipping thorough drying can swell seams and warp edges.
One chemistry-specific reason to be cautious: pH extremes can accelerate degradation of certain finish systems, and pH is logarithmic—small numeric changes can be big chemical changes. NIST (pH definition) So “I used a little vinegar” can still meaningfully differ from “I used a pH-neutral cleaner.”
Also, be careful with environmental conditions. As of 2026, most hardwood installation and maintenance guidelines emphasize indoor humidity control to prevent expansion/contraction cycles that make scuffs more noticeable and increases the stakes of moisture exposure. National Wood Flooring Association (NWFA) humidity guidance If you’re doing a deep clean during a high-humidity week, work faster and dry better.
Verdict: do this step order—and stop early if the finish changes
This deep-clean method works because it removes grit first, then cleans with pH-neutral chemistry, and only then uses targeted, gentle spot removal. The downside is that tire dye/rubber transfer can be stubborn, and repeat passes may be required—especially if the tire scuff penetrated through the finish texture.
Skip aggressive spot treatments if you can’t identify your finish, if the floor is older and already patchy, or if you notice dulling/cloudiness during your test spot. And if the mark feels rough or you can detect the surface is compromised (for example, the scuff goes through the finish), cleaning won’t “fix” the damage—professional refinishing or resurfacing may be the realistic next step.
If you’re tempted to jump straight to a “strong remover,” remember the core principle: clean the whole area first, then treat the remainder last. That sequencing is the best balance between results and finish safety.
Quick checklist for removing tire marks from hardwood
– [ ] Sweep/vacuum first; remove loose rubber bits.
– [ ] Test in a hidden spot before any stronger product.
– [ ] Deep-clean the whole area with a pH-neutral wood-floor cleaner.
– [ ] Soft nylon pad/brush only if needed—light pressure, with the grain.
– [ ] Dry completely after cleaning.
– [ ] Only treat remaining marks with targeted, tested spot methods.
– [ ] Stop if the finish changes (clouding, dulling, tackiness).
Sources
– National Wood Flooring Association (NWFA), maintenance guidance for indoor climate/humidity and hardwood care practices. NWFA
– NIST (National Institute of Standards and Technology), definition of pH (pH scale relationship to hydrogen ion concentration). NIST
– USDA Forest Products Laboratory, wood moisture science concepts (fiber saturation point and moisture behavior). USDA Forest Products Laboratory
If you follow the step order—prep and full-area pH-neutral cleaning first, then gentle mechanical spot work only if needed—you minimize the two biggest failure points: spreading grit under abrasion and over-treating a finish in just one patch. When the finish shows change during a test spot, stop early; that’s usually the point where refinishing becomes the honest answer.
Frequently Asked Questions
What’s the safest way to deep clean hardwood floors to remove black tire marks?
Start by vacuuming or sweeping thoroughly so you don’t grind grit into the wood finish. Clean the tire marks using a hardwood-safe cleaner and a soft microfiber cloth or mop, then gently work the spot in small sections. Avoid harsh abrasives and soaking the floor, since excess water can dull or damage hardwood finish and cause staining. If the marks remain, move to an appropriate spot treatment designed for polyurethane-finished floors.
How do I remove tire scuff marks from hardwood without damaging the finish?
Try a few passes with warm water mixed with a small amount of pH-neutral floor cleaner, using a damp (not wet) microfiber pad. For stubborn rubber transfer, use a soft eraser or a melamine sponge lightly on the affected area, keeping pressure minimal and wiping residue right away. Test any method in an inconspicuous spot first, and stop if you notice the finish thinning or becoming cloudy. Dry the area fully after cleaning to protect the hardwood finish.
Why do tire marks leave stains on hardwood floors even after regular mopping?
Tire rubber often transfers oils and dyes that can bind to the top layer of hardwood finish, and the scuff may also contain fine particles that scratch or haze the surface. Regular mopping usually doesn’t provide the stronger spot-cleaning action needed to lift rubber residue. Over time, repeated cleaning without targeted treatment can cause the mark to spread or become more embedded. Deep cleaning hardwood spots typically requires controlled chemical cleaning plus gentle agitation rather than soaking.
Which cleaner works best for deep cleaning hardwood tire marks—vinegar, degreaser, or something else?
For most hardwood floors, a pH-neutral hardwood floor cleaner is the best first choice because it’s formulated to be finish-safe. Light degreasing products can help if tire marks have an oily component, but always choose a product labeled safe for hardwood floors and follow the dilution instructions exactly. Avoid vinegar, bleach, and strong solvents unless your flooring manufacturer explicitly approves them, since they can damage the finish or change the color. When in doubt, use a spot test and let the cleaner sit only as long as the label recommends.
Best practices for deep cleaning hardwood floors after a tire rub—what should I do step-by-step?
First, remove loose dirt with a dry sweep or vacuum, then dampen a microfiber cloth with a hardwood-safe cleaner and blot the tire marks to lift residue. Next, use gentle circular motions or a soft brush designed for floors, repeating as needed rather than scrubbing aggressively. If any gray or dark haze remains, use a very light melamine sponge technique and promptly wipe clean with water or the manufacturer’s recommended neutralizer, then dry thoroughly. Finish by applying the appropriate hardwood floor polish or restorer only if your floor’s warranty and product guidance allow it.
📅 Last Updated: November 02, 2026 | Topic: How to deep clean hardwood floors to remove tire marks? | Content verified for accuracy and freshness.
References
- Wood flooring
- NWFA | National Wood Flooring Association
- 404 Error
- https://www.armstrongflooring.com/floor-care
- https://www.mybruce.com/floor-care/
- Department for Transport – GOV.UK
- https://pubmed.ncbi.nlm.nih.gov/?term=wood+floor+cleaning+stain+removal
- https://scholar.google.com/scholar?q=remove+rubber+scuff+marks+hardwood+floor+tire+marks Google Scholar
- https://scholar.google.com/scholar?q=hardwood+floor+cleaning+rubber+transfer+scuff+removal+mineral+spirits Google Scholar
- https://scholar.google.com/scholar?q=wood+floor+care+and+maintenance+scuff+mark+removal Google Scholar