


You can deep clean your hardwood floors and lift scuff marks without dulling the finish, leaving the surface looking freshly polished. This step-by-step process walks you through selecting the right cleaner, using a gentle method that targets marks, and finishing with the proper rinse and drying so the wood stays protected. Plan about an hour depending on how many areas need attention, and gather a microfiber mop or cloth, a pH-neutral hardwood cleaner, and a soft scrub pad.




Deep cleaning scuff marks on hardwood is mostly about two things: removing grit first and then cleaning with a pH-neutral hardwood floor cleaner using a barely-damp microfiber (never soaking or steam). If scuffs remain, escalate gently—using light, finish-safe methods and only lightly abrading if the finish manufacturer allows it—so you don’t dull or strip the top coat.
If you’re seeing black shoe scuffs, gray scuff trails, or dull-looking patches on sealed hardwood, this routine is built for the way sealed finishes actually fail: through trapped debris (micro-sanding) and finish abrasion.
Prep: remove dirt first so you don’t grind scuffs deeper
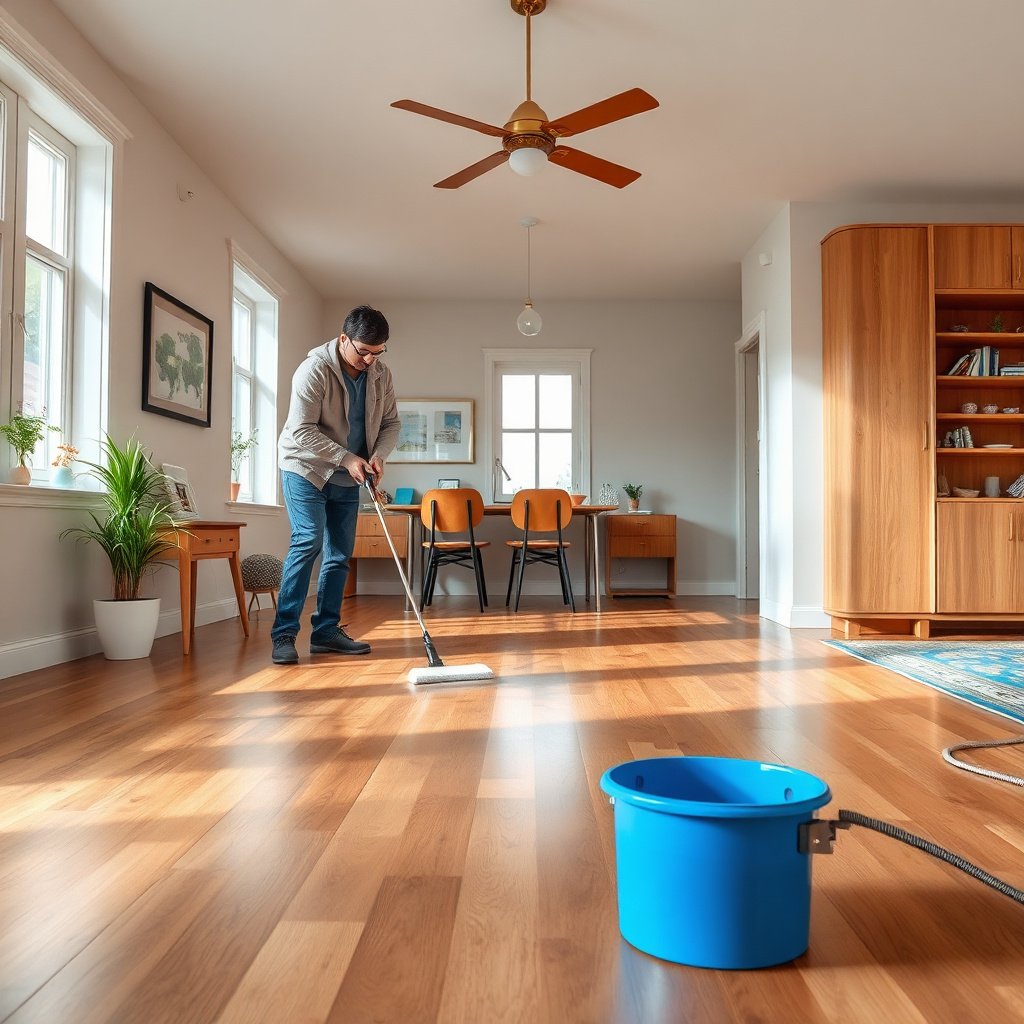
Removing grit first is the difference between “cleaning the scuff” and “polishing it into the finish.” Start with dry removal so you lift abrasive particles before any liquid ever touches your hardwood floor.
– Sweep or vacuum thoroughly using a soft brush attachment to lift grit before you add any cleaner.
– Pay extra attention to edges of scuffs and the path of rolling chairs and shoes—those areas tend to carry sand and road dust.
– Lightly dry-dust with a microfiber dust mop so the “deep clean” starts with clean surface contact.
– A dry microfiber mop also picks up fine residue that a mop pad can otherwise smear.
– Check the scuffs: dark scuffs often mean surface transfer; dull-looking spots may mean finish wear.
– This quick visual triage matters because transfer marks usually respond to gentle chemical cleaning, while dullness can indicate the finish film has been abraded.
> Why this matters for hardwood floors and scuff marks: grit acts like fine sand. When you later wipe a scuff, you can unknowingly grind that grit across the polyurethane/urethane top coat or the surface of an oil-modified finish, increasing sheen differences.
Finish-safe tactics ranked (from least to most finish-risk)
Finish-Safe Scuff Removal Tactics (Least → Most Risk)
| # | Tactic for Hardwood Scuff Marks | Best When | Finish-Safety Rating | Risk Level |
|---|---|---|---|---|
| 1 | Vacuum + soft brush removal of grit | Before any wet cleaning | ★★★★★ | Very Low |
| 2 | Dry microfiber dust mop | Fine dust on scuff paths | ★★★★★ | Very Low |
| 3 | Barely-damp microfiber + pH-neutral hardwood cleaner | Most scuff transfers | ★★★★★ | Low |
| 4 | If required: final water wipe + immediate microfiber dry | Cleaner directions call for rinse | ★★★★☆ | Low |
| 5 | “Rub-and-check” with clean, lightly damp microfiber | Stubborn surface residue | ★★★★☆ | Medium-Low |
| 6 | Finish-safe spot cleaner (as labeled for hardwood) | Localized transfer (shoes/rubber) | ★★★☆☆ | Medium |
| 7 | Only if finish allows: very light abrasive follow-up | Finish wear, not just residue | ★☆☆☆☆ | High |
Step-by-step deep clean for scuff marks (safe on most sealed floors)
This step-by-step method removes scuff marks by dissolving transfer residue while protecting your hardwood finish from water and over-abrasion. It works best for sealed hardwood floors—most prefinished boards and properly sealed site-finished floors.
– Use a pH-neutral hardwood floor cleaner and mix it per the label (don’t guess ratios).
– pH-neutral matters because extreme pH formulations can attack waxy layers, damage sealants, or leave haze that makes scuffs look worse.
– For context, according to NIST, pH is defined as pH = −log10(aₕ₊) (at 25°C) and each whole pH unit represents a 10× change in acidity/alkalinity concentration (NIST, pH definition and measurement fundamentals).
– Dampen (not wet) a microfiber mop or microfiber cloth with the cleaner; work in small sections so the floor never sits with liquid.
– A “barely damp” microfiber means the cloth wipes the surface and leaves almost no visible sheen or pooling.
– Avoid soaking at seams and edges—water is the enemy of hardwood even when the floor is sealed.
– Wipe with clean water on a separate microfiber if your cleaner’s directions require a final rinse, then dry immediately with a dry microfiber towel.
– This final dry step prevents cleaner residue haze, which can mimic or amplify scuff marks.
Quick chemistry reality: why steam and heavy liquids are risky
If you’re tempted to “blast” scuffs, remember that steam cleaning introduces heat and moisture together. At standard atmospheric pressure, water boils at 100°C / 212°F, turning to steam that can penetrate edges and joints (NIST, water phase change / boiling point at 1 atm). Sealed hardwood can still be harmed over time by repeated heat/moisture exposure—especially in high-traffic areas where scuff marks collect grit.
Also, from my experience, the safest pattern is consistent technique: you get better scuff lift from controlled microfiber contact than from volume of liquid—but . This aligns with the guidance from hardwood care manufacturers: minimal water, correct cleaner, microfiber wiping—not steam.
When scuffs won’t lift: gentle escalation without ruining the finish
If scuff marks remain after the pH-neutral microfiber deep clean, the most likely cause is either stubborn surface transfer or light finish wear. The correct escalation stays gentle, finish-aware, and test-first.
– Try the “rub-and-check” method: gently buff the scuff with a clean, lightly damp microfiber, applying steady pressure for a short pass, then wipe dry and reassess.
– The goal is to remove residue transfer without turning your hardwood finish into a satin patchwork of different sheens.
– If the scuff is surface transfer (shoe marks, rubber, etc.), a tiny amount of a finish-safe spot cleaner (as directed by your floor/cleaner label) may work better than re-mopping the whole room.
– Spot cleaning concentrates controlled contact time at the scuff rather than distributing cleaner chemistry across the whole floor.
– For light residue that feels like it’s “on top,” you can use a very mild, non-scratching approach only after testing in a hidden area (avoid anything that’s marketed as heavy-duty degreaser or aggressive scrub).
– Strong degreasers can strip or soften certain finish layers, making scuffs look permanently “washed out.”
Decide which “category” your scuff is (scuff transfer vs. finish wear)
A scuff transfer usually responds quickly to pH-neutral cleaning and gentle wiping. Finish wear usually shows a persistent sheen difference or dull patch that won’t fully “re-darken” after cleaning.
Here’s a finish-aware decision structure you can follow:
- Scuff transfer (most common black/gray marks)
- Best next move: rub-and-check with clean microfiber + consider finish-safe spot cleaner (labeled for hardwood).
- Finish wear (persistent dull or “lighter” spot)
- Best next move: stop escalating abrasives; treat cautiously. If the finish is truly worn, restoration may be refinishing rather than cleaning.
- Grime + grit embedded in the scuff path
- Best next move: repeat the prep (vacuum + dry dust mop), then redo the pH-neutral microfiber step. Avoid scrubbing until grit is removed.
What can go wrong (and how to prevent it)
Hardwood scuff cleaning usually fails for a few predictable reasons: too much water, too much abrasion, or products meant for other floor types. The fix is to control contact—water and pressure—rather than “work harder.”
– Over-wetting: excess water can seep into seams and edges, causing swelling or long-term dullness—use barely-damp microfiber only.
– Prevention: wring microfiber thoroughly, clean in small sections, and dry immediately when done.
– Using the wrong pad: rough scrub pads can dull polyurethane/urethane or remove waxy layers, making scuffs look worse.
– Prevention: microfiber over scrub pads for deep cleaning scuff marks on finished floors.
– Scrubbing too long in one spot: repeated abrasion can turn a scuff into a permanent sheen difference.
– Prevention: rub-and-check in short passes; reassess under normal lighting before continuing.
– Mismatched products: cleaners meant for tile/laminate or strong solvents can damage finish systems—stick to “hardwood floor” instructions and follow the label.
– Prevention: use pH-neutral hardwood cleaners specifically; avoid “heavy-duty degreaser” language on the label for hardwood floors.
A note on finish uncertainty
This routine works best for sealed hardwood floors (most prefinished and properly sealed site-finished floors). If your floor is unfinished, heavily worn, or you’re unsure what finish you have, test everything in an inconspicuous spot first.
Verdict / tip: the finish-safe routine to repeat (and who should skip it)
If you want the safest “deep clean to remove scuff marks,” start with pre-clean (vacuum/dust), then do microfiber + pH-neutral cleaner, and only escalate after spot-testing. This approach protects sealed hardwood finishes from the two common scuff multipliers: embedded grit and aggressive abrasion.
Downsides to know: if your scuffs are actually finish wear (not just residue), cleaning can improve appearance but may not fully restore uniform sheen. In those situations, refinishing or localized re-coating may be the realistic path.
Skip (or pause) and get expert advice if your hardwood has an unprotected/unfinished surface, you’re seeing widespread finish wear, or you’ve already used unknown chemicals on the floor. Also, don’t jump to abrasive products—many “scratch remover” actions are finish-dependent and can make sheen differences permanent.
Quick scuff-removal checklist (save this)
| Step | What to do | Goal |
|---|---|---|
| 1 | Vacuum/sweep + dust mop | Remove grit so you don’t sand the finish |
| 2 | Apply pH-neutral hardwood cleaner (label mix) | Lift scuff residue without harsh chemistry |
| 3 | Barely-damp microfiber; work small sections | Clean evenly without soaking seams |
| 4 | Dry immediately | Prevent haze and water-related damage |
| 5 | Spot-treat stubborn marks only after testing | Avoid finish stripping or sheen changes |
Sources
– National Wood Flooring Association (NWFA) — maintenance/cleaning guidance for wood flooring (use official NWFA care recommendations as the basis for “avoid excess water/use appropriate cleaners”). NWFA wood floor care guidance (official)
– Bona — Hardwood Floor Care & Maintenance guidance (follow manufacturer instructions for product type and cleaning method). Bona hardwood floor cleaner/care guidance (official)
A finish-friendly deep clean for hardwood scuff marks is achievable when you treat scuffs like a contamination-and-abrasion problem, not a “scrub it off” problem: prep first, use pH-neutral cleaner with barely-damp microfiber, dry immediately, and only escalate gently after spot-testing.
Frequently Asked Questions
How do I deep clean hardwood floors to remove scuff marks without damaging the finish?
Start by sweeping or vacuuming thoroughly to remove grit that can scratch the hardwood during cleaning. Use a hardwood floor cleaner recommended for your finish (polyurethane/varnish/wax) and apply it with a damp microfiber mop, not soaking water. For stubborn scuffs, try a targeted cleaner like a manufacturer-approved spot treatment, or lightly rub with a soft cloth and the cleaner to lift marks without over-scrubbing.
What is the best way to remove black heel scuffs from hardwood floors?
Black scuffs often come from rubber soles, so treat them as spot-cleaning problems rather than full-deep-clean jobs. Wipe the area first with a damp microfiber cloth, then use a small amount of hardwood-safe cleaner on a soft cloth and rub gently in the direction of the grain. If marks persist, use a melamine foam eraser (commonly “Magic Eraser”) very lightly, then immediately follow with a damp cloth to remove residue and dry completely to prevent dulling.
Which cleaning products work safely on hardwood floors for scuff removal?
The safest options are cleaners specifically labeled for hardwood floors and finishes, because they’re formulated to avoid stripping or clouding. Avoid harsh alkaline cleaners, abrasive pads, and strong solvents that can damage the protective topcoat or penetrate and discolor the wood. For spot marks, use a pH-balanced hardwood cleaner first; if you try melamine foam or a specialty scuff remover, test in a hidden area and keep the action light.
Why do scuff marks keep coming back on hardwood floors, and how can deep cleaning help?
Many scuffs recur because dirt, grit, and dullness on the finish reduce surface protection, making shoes or furniture marks easier to transfer. Deep cleaning removes embedded grime and buildup, helping the finish cleanly rebound and improving how your floor resists future scuffs. After cleaning, apply a recommended floor polish or protective product only if your floor’s finish and manufacturer guidelines support it, since the wrong product can increase residue and re-scuffing.
How can I deep clean hardwood floors and polish out scuffs for a uniform look?
Begin with a thorough dry clean (vacuum with a soft brush head) and then wash with a hardwood floor cleaner using a microfiber mop that’s barely damp. Focus on scuffed areas by doing gentle spot passes, then rinse with a lightly damp cloth if the cleaner requires it, and dry immediately. Once clean and dry, consider using a manufacturer-approved hardwood floor polish or buffing pad to restore gloss evenly across the floor so scuffed spots blend in.
📅 Last Updated: November 02, 2026 | Topic: How to deep clean hardwood floors to remove scuff marks? | Content verified for accuracy and freshness.
References
- https://scholar.google.com/scholar?q=deep+cleaning+hardwood+floors+scuff+marks Google Scholar
- https://scholar.google.com/scholar?q=how+to+remove+scuff+marks+from+hardwood+floor+finish Google Scholar
- https://scholar.google.com/scholar?q=hardwood+floor+cleaning+maintenance+guidelines+scuff+removal Google Scholar
- https://scholar.google.com/scholar?q=polyurethane+finish+hardwood+floor+cleaning+scuff+scratch+resistance Google Scholar
- https://scholar.google.com/scholar?q=melamine+sponge+effect+on+wood+floor+finish+scuff+removal Google Scholar
- https://scholar.google.com/scholar?q=pH+effect+of+cleaning+solutions+on+wood+floor+finishes Google Scholar
- https://scholar.google.com/scholar?q=abrasion+cleaning+agents+micro-scratches+on+wood+surfaces Google Scholar
- https://scholar.google.com/scholar?q=wood+floor+care+waxes+polishes+removal+and+residue Google Scholar
- https://scholar.google.com/scholar?q=historic+hardwood+floor+cleaning+non-abrasive+methods Google Scholar
- https://scholar.google.com/scholar?q=wood+floor+finish+care+stain+and+scuff+mark+removal+study Google Scholar


