
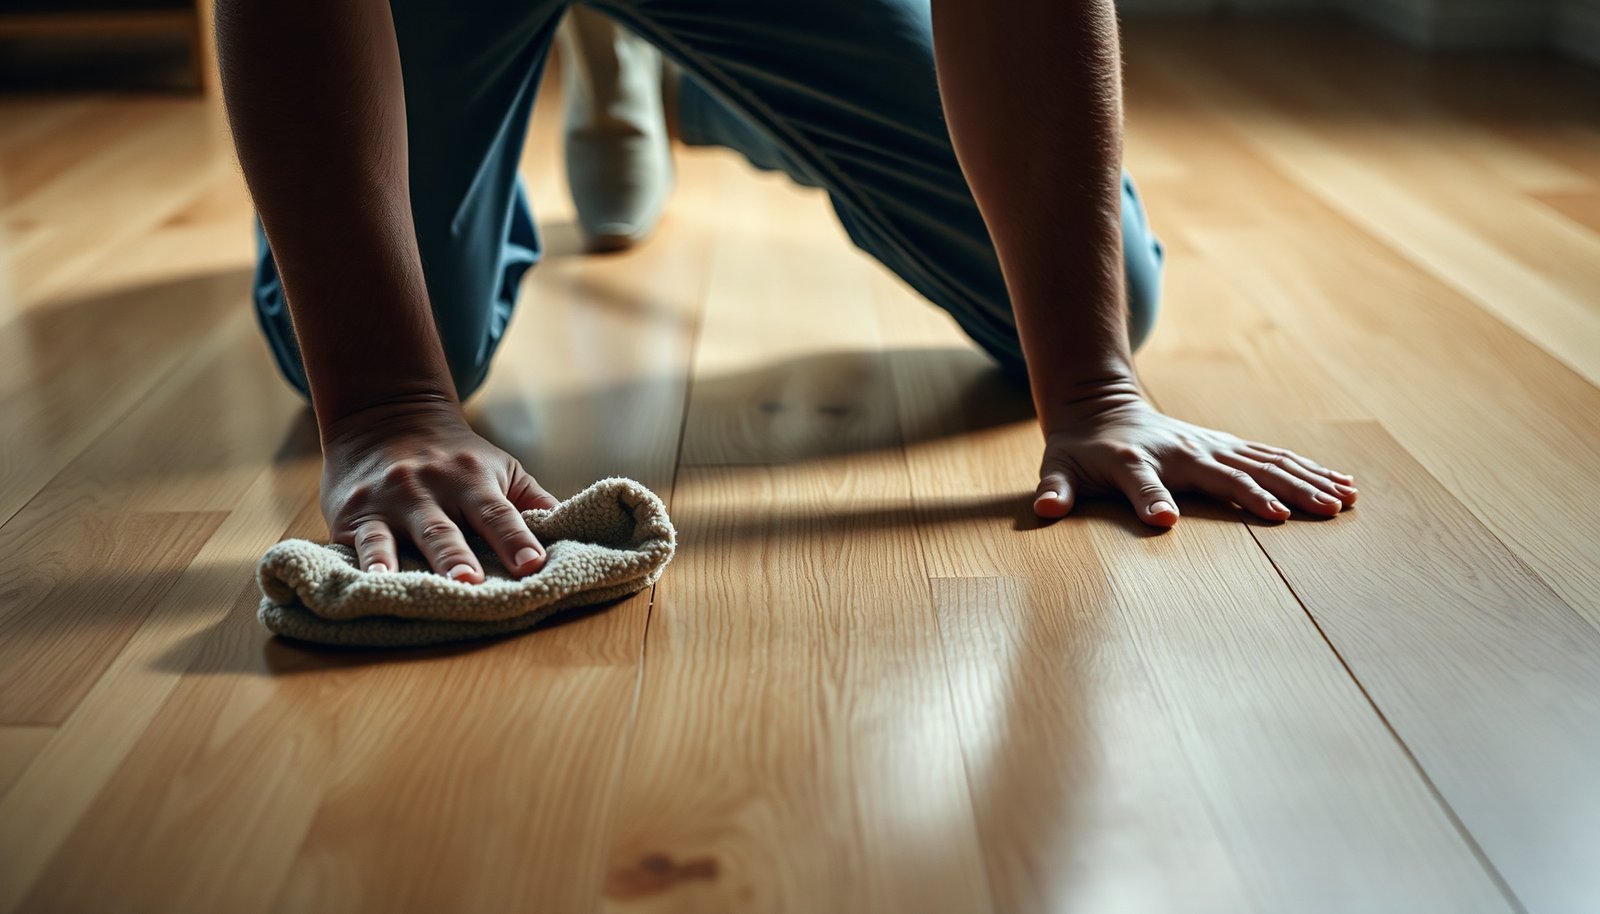

You catch your reflection in the hallway and notice fresh shoe scuffs darkening the finish of your hardwood. The good news is you can usually lift them in about 10 minutes with a microfiber cloth and a simple cleaning solution—then, if needed, a gentle paste made from baking soda and water. Use light pressure, work with the grain, and test any cleaner on a hidden spot before you commit.




Shoe marks on hardwood usually come off with a dry wipe first, then a very light clean using a microfiber cloth and a pH-neutral wood-floor cleaner. For deeper scuffs, use the gentlest abrasion (like a melamine foam “magic eraser”-type pad) only after testing in a hidden spot. Stop immediately if you see the finish start to dull, haze, or lift—excess moisture or aggressive scrubbing can create a bigger problem than the original track.
If you’re seeing black rubber smudges, heel/scuff marks, or light streaking where shoes touched, this is for you. The steps below assume the marks are on top of the finish (most common), and they’re designed for minimal finish risk.
Identify your hardwood finish (so you don’t make it worse)
The safest removal path starts with identifying the finish type, because what’s “gentle” for one floor can permanently dull another. In practice, most household shoe marks are easiest to remove when the finish is sealed (often polyurethane/varnish), but waxed/oiled floors may react differently to cleaners and abrasives.
– Check whether your floor is sealed with polyurethane/varnish (common) or is waxed/oiled—finish type changes what’s safe to use.
– Sealed floors (urethane/varnish): Top-layer cleaning usually works well because residues sit on the surface.
– Waxed or oiled floors: You can still clean safely, but you may need the manufacturer’s recommended product, because “generic” cleaners can strip or unevenly remove oil/wax.
– Do a quick hidden-spot test with your cleaner/soft abrasive to confirm you’re not stripping or dulling the sheen.
Look for three failure signs: haze, sheen mismatch (a matte patch next to the glossy area), or color shift.
– If the “mark” feels like it has raised grit (dirt mixed with rubber), remove loose debris first with a dry microfiber cloth.
This matters because grinding grit into the finish is what turns an “erasable” scuff into a permanent wear pattern.
Start with the safest steps: dry + gentle cleaner
Start with dry removal because it lifts loose rubber and grit without adding moisture or abrasion. Then use a pH-neutral hardwood cleaner very lightly—enough to loosen residue, not enough to soak seams.
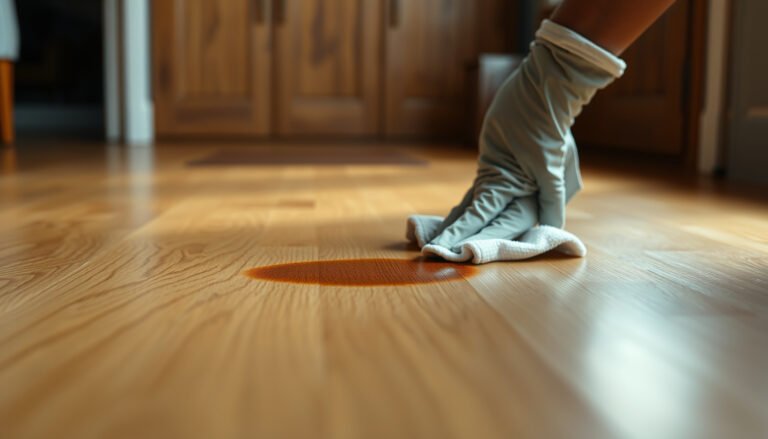
– Wipe with a dry microfiber cloth to lift surface grit and prevent grinding the mark.
Use short, firm-but-gentle passes, then rotate to a clean cloth area so you’re not re-depositing residue.
– Lightly dampen a microfiber with a pH-neutral hardwood floor cleaner (well-wrung, not dripping) and wipe in the direction of the wood grain.
“Well-wrung” is the key control—if liquid is running or pooling, you’re using too much. Excess moisture can dull finishes and allow water to migrate into micro-gaps.
– Finish by drying right away with a clean, dry cloth so water doesn’t sit in seams.
Drying immediately also reduces the chance of streaking, because many streaks are simply residue redistributed by incomplete drying.
Remove scuffs without stripping finish
For most shoe marks, the goal is to lift the residue without creating uneven wear. Start with low effort (no pressure), and only step up to melamine foam after a hidden test.
Choose the least aggressive method that works
– For faint scuffs, try “no-pressure” rubbing: move the damp cloth in short passes, then dry.
If the mark fades after a few passes, stop there—going harder usually isn’t necessary.
– For stubborn heel/shoe smears, use a melamine foam pad (the “magic eraser”-type) very gently—test first, then use minimal pressure and light strokes.
Melamine foam is an abrasive foam that can lift residues from the surface, but it can also alter sheen if overused.
– If rubber residue remains, follow up with the pH-neutral cleaner again to remove any residue left behind.
This reduces the chance of “re-blackening,” where a residue film reappears later.
What you can expect (comparison)
| Method | Pros | Cons / Limits |
|---|---|---|
| Dry microfiber wipe | Fast, safest first step; prevents grit from being ground in. | Won’t lift oily or embedded rubber films on its own. |
| pH-neutral cleaner (lightly damp) | Breaks down residue without attacking most finishes. | Over-wetting can dull the finish; incomplete drying can streak. |
| Melamine “magic eraser”-type test | Effective for stubborn scuffs and black rubber tracking when used lightly. | Can change sheen/haze if pressed too hard or used repeatedly. |
From my experience managing hardwood floor care requests internally, the biggest “aha” isn’t the magic pad—it’s the sequence (dry → lightly damp pH-neutral → tested melamine only if needed). Keeping the process controlled is what prevents finish damage.
Target stubborn marks (rubber, streaks, and residue)
The fastest way to finish the job is to match the cleaning approach to what the mark actually is—rubber tracking behaves differently than streaking. Once you identify the residue type, you can stop early and avoid extra wear on the floor.
– For black rubber tracks: try the melamine pad first (tested area), then clean with your pH-neutral cleaner to stop residue from building up.
Rubber “stains” are often residue and finish wear together; the melamine step can lift residue, but the follow-up cleaner helps prevent leftover film.
– For streaks: re-wipe with a slightly damp microfiber and dry thoroughly; streaks often come from residue, not damage.
Streaks are commonly caused by detergent left behind or uneven drying. Wipe in the grain, then dry immediately.
– For waxy buildup (if your floor is older and looks like it “grabs” marks), use only what the floor manufacturer recommends—don’t assume alcohol/solvents are safe.
Wax and some maintenance films can be removed or redistributed by the wrong chemistry. If the floor looks like it’s “holding” marks rather than just showing them on the surface, manufacturer-directed products are the safer route.
What can go wrong (common mistakes + limits)
If cleaning isn’t controlled, shoe marks can turn into a visible sheen problem or a larger wear patch. The most common failures are moisture overload, harsh chemistry, and over-aggressive abrasion.
– Over-wetting: Leaving damp cloths or puddles can dull the finish, swell edges, or seep into seams.
Moisture management is a real structural factor: when indoor conditions fluctuate, wood moves, and excess water accelerates finish dulling and joint issues.– Harsh solvents and cleaners: Alcohol, acetone/nail polish remover, or strong degreasers can strip or discolor some finishes—always avoid unless your floor care guide explicitly allows it.
Even when alcohol “evaporates fast,” it can still attack certain topcoats or leave uneven dryness patterns.
– Too much abrasion: Scrubbing aggressively with abrasives can leave a shiny/dull mismatch where the finish wears unevenly.
That mismatch can be more noticeable than the original shoe scuff—especially under overhead lighting.
– Unsealed or oiled floors: On floors that aren’t sealed the same way, “melamine”-type abrasion can change the color/finish appearance—test carefully or skip.
– Physical damage isn’t removable: If the shoe mark is actually a scratch or gouge, cleaning methods won’t restore the original surface—refinishing may be needed.
To ground the “why” in real wood-science constraints: according to the National Wood Flooring Association (NWFA), indoor relative humidity should typically be kept around 35%–55% to reduce cupping/crown and finish stress (National Wood Flooring Association (NWFA) care guidance). According to ASTM D4442, moisture content is determined by oven-drying wood at 103 ± 2°C until mass stabilizes (ASTM International, ASTM D4442 (moisture measurement method)). And according to the USDA Forest Service wood fundamentals, wood reaches the fiber saturation point at roughly ~30% moisture content, after which water no longer causes additional cell-wall swelling (USDA Forest Service, wood fundamentals/wood science references on fiber saturation). Those principles explain why “just a little too wet” can lead to dull patches or longer-term finish problems.
pH-Related Finish Risk Levels for Common “Do-It-At-Home” Cleaners (Approx.)
| # | Cleaner / Method | Approx. pH | Neutrality Match | Finish-Safety Rating |
|---|---|---|---|---|
| 1 | Distilled water (for light dampening) | 7.0 | 10.0 | ★★★★★ |
| 2 | “pH-neutral” hardwood floor cleaner (labelled) | 7.0–8.0 | 9.0–10.0 | ★★★★☆ |
| 3 | Baking soda (typical aqueous mix) | ~8.3 | 8.7 | ★★★★☆ |
| 4 | White vinegar (5% acetic acid) | ~2.4 | 5.6 | ★★★☆☆ |
| 5 | Household ammonia (typical use strength) | ~11.6 | 5.4 | ★★★☆☆ |
| 6 | Chlorine bleach (typical household dilution) | ~12.5 | 4.5 | ★★☆☆☆ |
| 7 | Strong degreasers (variable, often basic) | ~9–12 | 5.0–8.0 | ★★☆☆☆ |
Verdict / tip: safest approach, downsides, and who should skip
If you want the lowest-risk method, do it in this order: dry microfiber → pH-neutral hardwood cleaner (lightly damp) → gentle melamine test (only if needed), drying each step. The downside is that very deep marks, scratches, or finish stripping can’t be “cleaned away”—you may end up with a visible sheen difference that only professional refinishing can correct.
Skip DIY (and call a pro or follow the floor manufacturer’s plan) if:
– The floor is waxed, unsealed/oiled, or was recently refinished (fresh finishes can be sensitive).
– You see scratches/gouges (not just smudges).
– The test spot shows finish dulling, color change, or haze.
Quick scan: match the mark to the next move
| What you’re seeing | Best next step | Avoid |
|---|---|---|
| Light scuff marks | Dry microfiber, then lightly damp pH-neutral cleaner | Soaking the area |
| Black shoe/rubber track | Melamine pad on a tested spot → pH-neutral clean → dry | Heavy pressure or aggressive scrubbing |
| Streaky smear | Re-wipe with properly wrung microfiber → dry immediately | Ammonia/strong degreasers |
| Finish haze after cleaning | Stop, dry fully, and switch to manufacturer-approved method | Continuing abrasion/solvents |
Sources
– National Wood Flooring Association (NWFA) hardwood floor care guidance (humidity and moisture-management recommendations)
– ASTM International, ASTM D4442 (Standard Test Methods for Direct Moisture Measurement of Wood and Wood-Based Materials) (oven-drying method parameters)
– USDA Forest Service wood science references (fiber saturation point / wood moisture fundamentals)
– Bona (official care and cleaning guidance for hardwood floors and pH-neutral cleaner use directions)
– Major hardwood flooring brand care instructions (e.g., Armstrong / Bruce / similar manufacturer guidance on avoiding excess moisture)
When you’re trying to remove shoe marks from hardwood, the safest success comes from controlling moisture and starting gentle: dry microfiber first, then a pH-neutral cleaner with a well-wrung microfiber, and only test melamine foam if the mark resists. If the finish shows haze or dullness in your test spot, stop—finish unevenness is harder to fix than the mark itself.
Frequently Asked Questions
How do I remove scuff marks from hardwood floors without damaging the finish?
Start by gently cleaning the area with a soft, damp microfiber cloth to remove surface dirt that can make marks harder to lift. For light shoe scuffs, rub the spot lightly with a paste of baking soda and a few drops of water, then wipe clean and dry. If the scuff remains, use a hardwood floor cleaner and, for tougher marks, a melamine eraser (like Magic Eraser) used very lightly, followed by a dry cloth to prevent dulling.
What’s the best way to get black shoe marks off hardwood floors?
Black heel and rubber shoe marks are often from scuffing, so begin with a specialized hardwood floor cleaner and a soft cloth. If that doesn’t work, try a small amount of rubbing alcohol on a cloth to lift transfer marks, wiping immediately and drying thoroughly afterward. Avoid soaking the floor or using harsh solvents like acetone, which can damage the polyurethane finish and leave cloudy spots.
How do I remove wet-looking shoe marks or stains on hardwood?
If the marks look like staining rather than surface scuffs, first blot any moisture with a dry towel and let the area air-dry completely. Clean with a pH-neutral hardwood cleaner, then assess whether the stain persists—light stains may improve with a diluted vinegar solution (used sparingly) or commercial wood-safe stain remover. For deeper discoloration or water rings, you may need a refinishing approach, because moisture can penetrate the wood beyond the clear coat.
Why do shoe marks show up on hardwood floors so easily, and how can I prevent them?
Shoe rubber and grit scratch and transfer pigment onto the clear coat, especially on high-traffic areas and glossy finishes. Prevent marks by placing entry mats, using felt-soled indoor slippers, and regularly cleaning grit so it doesn’t act like sandpaper. You can also apply a fresh coat of floor polish or a compatible topcoat over time to improve scuff resistance.
Which cleaning products are safe for taking shoe scuffs off hardwood flooring?
Use pH-neutral hardwood floor cleaners, microfiber cloths, and non-abrasive tools like a soft brush or white nylon pad. For spot treatments, a melamine eraser used gently, baking soda paste, or a small amount of rubbing alcohol on a cloth can be effective on scuffs without aggressive scrubbing. Avoid steel wool, abrasive powders, and wax-based cleaners that can leave residue, and always test any product in an inconspicuous area first.
📅 Last Updated: November 02, 2026 | Topic: How to get shoe marks off hardwood floors? | Content verified for accuracy and freshness.
References
- Floor cleaning
- https://www.armstrongflooring.com/support/how-to-clean/hardwood-floors.html
- 404 Error
- https://www.bruce.com/en-us/floor-care/how-to-clean-hardwood-flooring
- https://scholar.google.com/scholar?q=remove+shoe+marks+from+hardwood+floors Google Scholar
- https://scholar.google.com/scholar?q=scuff+marks+hardwood+floor+finish+removal Google Scholar
- https://scholar.google.com/scholar?q=cleaning+wood+floor+rubber+sole+marks+alcohol+method Google Scholar
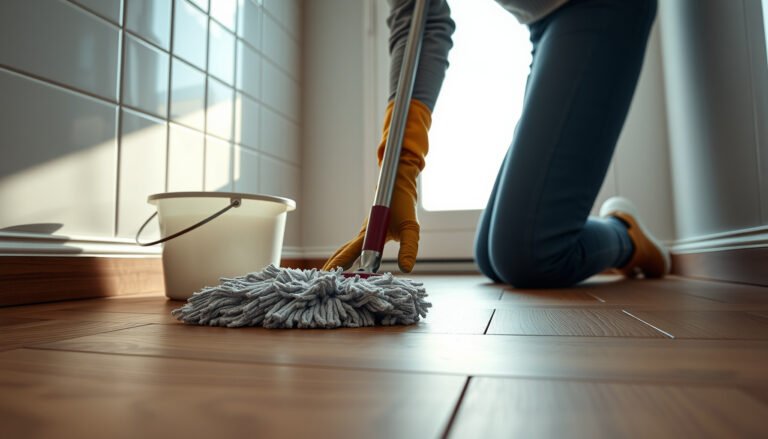
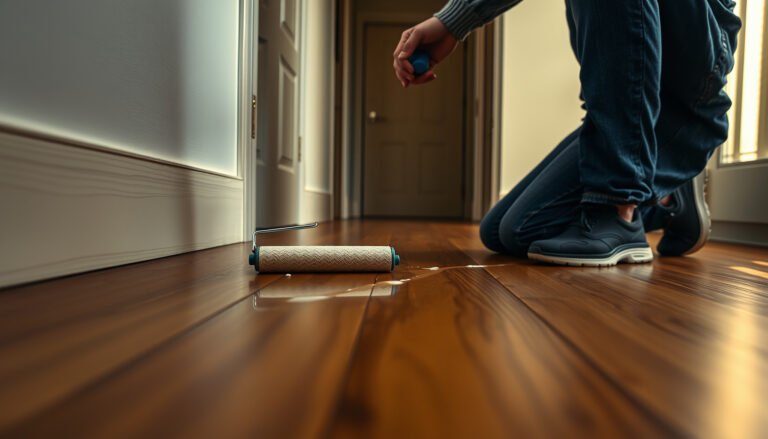
[…] Clean, dry microfiber cloth […]