
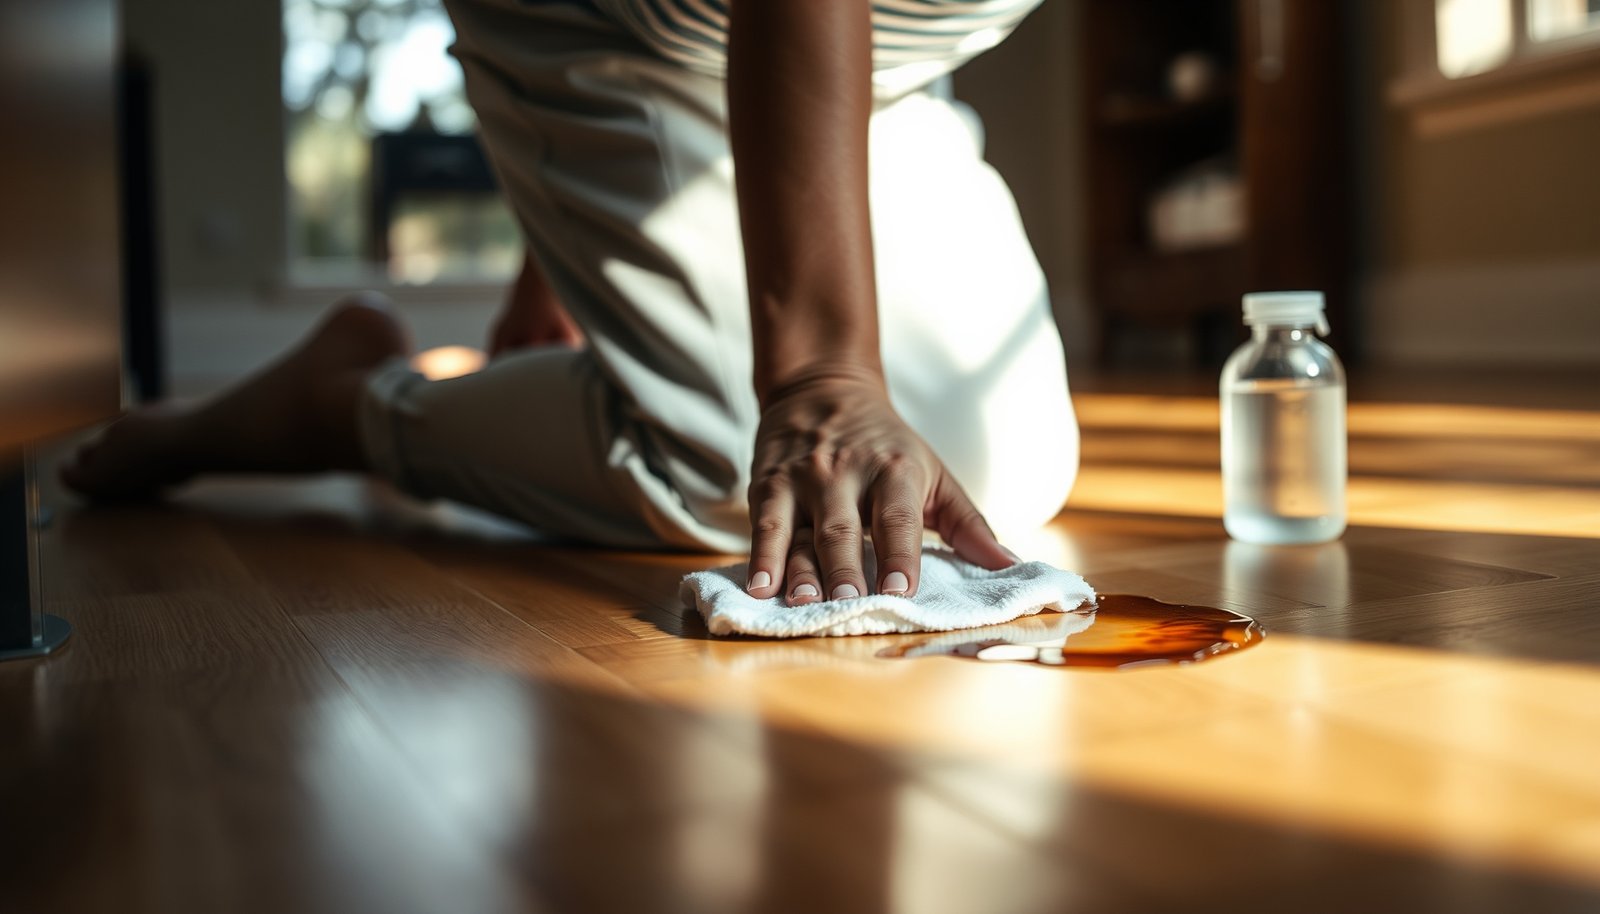

Stubborn food stains on hardwood floors can feel especially frustrating because they tend to soak in and dull the finish. The good news is you can usually lift these marks safely by matching the cleaning method to the stain and using the least aggressive option first, often in about 30 to 60 minutes. You’ll just need a pH-neutral hardwood cleaner, soft microfiber cloths, a gentle sponge, and a targeted approach for deeper discoloration.




Stubborn food stains on hardwood usually come off best when you stop trying to scrub right away and instead remove residue, clean with a pH-neutral method, then use a gentle paste/oxygen-based cleaner only as needed. Start by blotting and lifting what you can, then clean with minimal moisture to protect the finish. If the stain remains, use a tested approach (like a baking-soda paste or oxygen cleaner) while avoiding harsh abrasives or soaking.
If you have a sealed hardwood floor (common in kitchens and dining rooms), this process can help with dried sauces, sugary spills, and dark marks. If your floor is unfinished or has an unknown finish, you’ll need to test products in a hidden spot first and go slower.
If you’re dealing with sticky spots from sauces, dark discoloration from tannin-heavy foods (like coffee/tea), or greasy smears around cooking areas, this step-by-step approach is designed to be finish-safe. It’s especially useful in 2026 when kitchens and dining rooms see the most traffic, spills, and “set-in” residues.
Prep the area (and protect the finish)

The right start prevents you from turning a stubborn food stain into a permanent haze. On hardwood floors, the goal is to remove loose material without grinding it into the finish or into the wood’s surface pores.
Clear debris without damaging the surface
Use a soft plastic scraper or a plastic card to lift dried bits first. This reduces abrasion risk compared with scrubbing, which can smear sugars and starches into the grain.
– Dry scrape first: Work slowly from the outside edge toward the center of the food stain.
– Avoid metal: Stainless blades and rough tools are more likely to scratch the clear coat.
– Don’t grind: If debris won’t lift, stop and loosen it with a lightly damp microfiber instead of increasing force.
Remove crumbs and dry residues before wet cleaning
After dry lifting, vacuum with a soft brush attachment or sweep gently into a dustpan. Then wipe with a dry microfiber to remove remaining grit. That grit is what typically causes “ghost” scratches and uneven dull spots later.
Spot test before stronger chemistry
Before applying any paste or oxygen-based cleaner, test in a hidden area (behind a door, under a chair, or along the closet edge). This matters because not all sealed hardwood floors react the same way to oxidizers or alkaline powders.
Why moisture control is non-negotiable on hardwood
Excess water is a common reason DIY attempts fail. Wood is hygroscopic—meaning it changes dimension as moisture content changes—and most finished floors are only protected up to a point. Even when a floor is sealed, standing moisture can creep into seams or edges and create dulling.
According to ASTM D4442-21, moisture content testing for wood relies on oven-drying at 103 ± 2°C—a reminder that wood can hold significant moisture and that “just a little extra water” still matters.
Start with the safest cleaning steps
You’ll often remove stubborn food stains without escalating by using a pH-neutral cleaner with minimal moisture. This step targets surface residue while protecting the finish from dulling or stripping.
Use pH-neutral cleaner with a lightly damp microfiber
Apply a pH-neutral hardwood cleaner to a microfiber (or to the cloth via a spray bottle), not directly onto the floor. Wipe with the grain, then immediately follow with a clean, dry microfiber.
– Damp, not wet: You should be able to wring out the cloth so it never leaves puddles.
– One direction at a time: Wiping consistently helps lift residue rather than spreading it.
– Replace towels often: If your microfiber gets loaded with food residue, you’ll redistribute the stain.
Break sticky residues with repeated blotting
Sticky spots from syrupy foods (sauces, glaze, soda reductions) usually need soft rehydration followed by repeated blotting. Lightly re-wet the area with the cleaner (still pH-neutral), wait a few seconds, then blot again with a dry side of the cloth until tackiness stops transferring.
Dry immediately after cleaning
Right after you wipe, dry the spot thoroughly. On hardwood floors, edges and seams can be where moisture lingers, especially in kitchens and dining rooms.
Lift stubborn stains without soaking
If the stain remains after pH-neutral cleaning, escalate gradually using paste or oxygen chemistry—without soaking. The most effective approach matches the stain’s likely chemistry: dark food tannins and caramelized sugars respond differently than grease and oils.
For dark marks: use a baking-soda paste (minimal moisture)
A thick baking soda paste works well on many stubborn discolorations that sit on (or slightly penetrate) the finish.
How to do it safely on sealed hardwood floors:
1. Mix baking soda with just enough water to form a thick paste (not runny).
2. Apply a thin layer to the stain only—avoid spreading paste across clean areas.
3. Let it sit briefly until the stain looks loosened (don’t leave it to fully crust for long periods).
4. Wipe off gently, then clean again with a pH-neutral method and dry immediately.
Why it helps: baking soda is mildly alkaline and can lift certain surface residues without the abrasiveness of scouring powders.
For organic-looking stains: consider oxygen-based cleaners
Oxygen-based cleaners (commonly sodium percarbonate) can be effective on biological or organic components and can brighten many “dark mark” types when used properly.
Use oxygen-based cleaner like this:
– Follow the product label exactly (dilution and dwell time).
– Spot test first.
– Apply only to the stained area.
– Keep moisture minimal and dry right after.
Avoid chlorine bleach. Chlorine can damage finishes and may create persistent haze or uneven discoloration on hardwood floors.
Quick comparison: paste vs. oxygen cleaner
If you’re choosing between methods, here’s a practical comparison for sealed hardwood floors:
| Method | Best for | Main risks |
|---|---|---|
| Baking-soda paste | Dried, dark marks; lightly caramelized residues | Too much water/paste spread can dull edges; leave time too long can dry haze |
| Oxygen-based cleaner (sodium percarbonate) | Organic-looking discoloration; some tannin-related staining | Incorrect dilution/dwell time can haze finish; needs spot testing on sensitive coatings |
| Repeated pH-neutral cleaning | Surface residue and light sticky spots | If residue is deeply set, you may need paste/oxygen escalation |
Mandatory finish-safe data table (use this to choose your next move)
Most Common Food Stain Types on Sealed Hardwood Floors & the Recommended Escalation
| # | Stain type | Likely residue chemistry | First-line method | Escalate to (only if needed) | Finish removal likelihood |
|---|---|---|---|---|---|
| 1 | Sugary syrup (e.g., caramel, soda syrup) | High-sugar, sticky residue | pH-neutral damp microfiber + blot/dry | Baking-soda paste spot | ★★★★☆ |
| 2 | Tomato sauce | Acidic color pigments + sugars | pH-neutral damp microfiber | Oxygen cleaner spot (label directions) | ★★★★☆ |
| 3 | Butter/oil splatter | Grease + lipids | pH-neutral microfiber wipe | Mild diluted dish soap (barely damp) then dry | ★★★☆☆ |
| 4 | Coffee/tea rings | Tannins + staining pigments | pH-neutral wipe + dry immediately | Oxygen cleaner spot | ★★☆☆☆ |
| 5 | Chocolate/cocoa | Fats + pigments | pH-neutral wipe first | Mild diluted dish soap, then dry | ★★★☆☆ |
| 6 | Curry/spice residue | Pigments + oils | Dry lift + pH-neutral wipe | Oxygen cleaner spot or baking-soda paste | ★★☆☆☆ |
| 7 | Grape juice/berry spills | Pigments + sugars | pH-neutral wipe + blot | Oxygen cleaner spot | ★★★☆☆ |
Handle grease vs. “set-in” food stains
Grease and set-in discoloration need different chemistry and different scrubbing intensity. If your hardwood floor has an oil film, a grease-first approach usually works better than repeated paste alone.
When grease is the driver: use a mild, diluted dish soap
Greasy food stains respond better to mild dish soap—diluted and used sparingly. Dish soap is formulated to emulsify oils, meaning it helps tiny oil droplets disperse so they can be lifted away.
How to do it safely:
1. Mix a small amount of mild dish soap into water (aim for a weak solution).
2. Apply to a cloth that’s barely damp—never pour.
3. Wipe gently over the grease area.
4. Follow immediately with a pH-neutral wipe and dry thoroughly.
When discoloration is the driver: prioritize paste/oxygen over scrubbing
If the stain looks like true “set-in” discoloration (a persistent darkening rather than tacky residue), repeated scrubbing can make things worse by polishing the finish unevenly.
In those cases, use escalation strategies:
– Baking-soda paste for stubborn dark marks.
– Oxygen cleaner for organic-looking staining.
– Always finish with drying.
Keep pressure gentle—hardwood finishes hate abrasion
Abrasive pads, steel wool, and aggressive scrubbing can damage the clear coat and create permanent sheen differences. That’s especially noticeable in kitchens where sunlight and foot traffic highlight the repaired-to-original contrast.
A note on real-world variability (and what to document)
Some floors are more forgiving than others depending on coating thickness, age, and maintenance history. If you want to tailor this for your specific hardwood floor, document: finish type (sealed vs. unfinished), stain age, and which chemical step changed the appearance.
What can go wrong (and how to avoid it)
Most DIY failures come from moisture overload, harsh chemistry, or skipping spot tests. On hardwood floors, the safest approach is controlled, minimal, and incremental.
Over-wetting can swell the wood or create cloudy edges
Even sealed hardwood can suffer when water gets into seams, bevels, or micro-gaps. Use barely damp microfiber methods and dry frequently rather than wet mopping.
Harsh chemicals and abrasives can permanently change the finish
Avoid:
– Vinegar and ammonia (can be incompatible with some finishes)
– Scouring powders
– Rough pads
Instead, use pH-neutral hardwood cleaners and gentle tools. If you must use oxygen cleaner or baking soda, keep the application localized.
Skipping spot tests causes permanent haze or discoloration
Some products don’t “stay put.” They can lighten the finish, leave dulling trails, or affect sheen. That’s why a hidden test matters—particularly on floors with satin or matte coatings.
Pushing pH too far is a common hidden risk
A “neutral” product matters because finish chemistry and residue chemistry both respond to pH. According to the IUPAC definition of pH, pH 7.0 is neutral at standard conditions, and many hardwood care recommendations emphasize pH-neutral cleaners to avoid overreaction with coatings and residues.
Verdict & quick checklist
The most reliable DIY path for stubborn food stains on hardwood floors is: clean first with minimal moisture, then escalate to a paste or oxygen cleaner only with spot testing. Downsides exist—especially if the stain has penetrated deep, your finish is worn, or the discoloration is spreading—so stop if you see finish haze or the mark expands.

If your floor is unsealed, highly damaged, or the stain keeps returning after careful attempts, pause and consider a professional assessment. Refinishing may be the only way to truly remove deep penetration on hardwood floors.
Save/scan checklist
| Step | What to do | What to avoid |
|---|---|---|
| 1 | Scrape/collect loose residue, then blot dry | Rubbing crumbs into the wood |
| 2 | Use pH-neutral cleaner + barely damp microfiber | Soaking or wet mopping |
| 3 | Try baking-soda paste if needed | Abrasive pads/steel wool |
| 4 | Use oxygen-based cleaner only with label directions + spot test | Chlorine bleach |
| 5 | Dry thoroughly after each attempt | Letting moisture sit |
Sources
– ASTM D4442-21, Standard Test Methods for Direct Moisture Content Measurement of Wood and Wood-Based Materials
– ASTM International (standards for wood moisture testing and handling implications)
– IUPAC pH definition (neutral pH reference)
After you repeat the sequence (clean → minimal escalation → dry), you should see either full removal or a clear improvement without finish damage. If you notice haze, spreading discoloration, or persistent marks after careful, gentle attempts, stopping early is the smartest move—protect the hardwood floor first, then move to professional refinishing if needed.
Frequently Asked Questions
How do I remove stubborn food stains from hardwood floors without damaging the finish?
Start by blotting up any residue with a dry cloth, then clean the area using a hardwood floor cleaner or a barely damp microfiber mop (not soaking wet). For stubborn marks, use a pH-neutral solution and avoid harsh chemicals like bleach or ammonia that can strip or cloud the finish. If the stain remains, gently rub with a soft cloth and the cleaner, then dry immediately with a clean towel to prevent moisture from seeping into the wood.
What’s the best way to clean dried-on spills like coffee, grease, or sauce on hardwood?
For dried-on food stains, soften the residue first by placing a damp (not wet) cloth over the spot for a few minutes to loosen it. Use a soft cloth with a pH-neutral cleaner to lift the stain, working from the outside of the mark toward the center to prevent spreading. Finish by drying thoroughly, and if a faint haze remains, lightly buff with a dry microfiber cloth.
Which household products are safest for removing food stains on hardwood floors?
Safest options are pH-neutral hardwood floor cleaners and mild solutions designed for finished wood. If you need a DIY approach, try a mixture of warm water with a small amount of dish soap (use very little), applied with a damp microfiber cloth and followed by immediate drying. Avoid vinegar, steam cleaners, and abrasive pads unless your flooring manufacturer specifically approves them, because these can damage finishes and make stains worse.
Why do food stains sometimes leave dark spots or discoloration on hardwood?
Hardwood stains can penetrate the finish and reach the wood grain when spills sit long enough, especially with acidic foods (tomato, citrus) or oily foods (grease, butter). Moisture can also drive the discoloration deeper, making the stain harder to lift later. That’s why quick cleanup and using the correct hardwood floor cleaner matter—after a certain point, you may need refinishing to fully remove the mark.
How can I tackle sticky or greasy food stains that won’t come up with regular cleaning?
Start with warm water and a small amount of pH-neutral cleaner on a microfiber cloth, rubbing gently until the residue releases. If it’s still sticky, you can carefully repeat the process and ensure you’re not using too much liquid, as excess moisture can harm hardwood. Once clean, rinse lightly with a damp cloth (if your cleaner recommends it), then dry completely; for recurring grease stains, consider using a finish-safe product or consult your flooring manufacturer for an approved degreaser.
📅 Last Updated: October 31, 2026 | Topic: How to clean stubborn food stains from hardwood floors? | Content verified for accuracy and freshness.
References
- 404 Error
- 404 Error
- https://www.epa.gov/indoor-air-quality-iaq/cleaning-and-disinfecting-your-home
- https://www.cdc.gov/coronavirus/2019-ncov/community/disinfecting-building-facility.html
- Wood stain
- https://scholar.google.com/scholar?q=remove+food+stains+from+hardwood+floors Google Scholar
- https://scholar.google.com/scholar?q=hardwood+floor+stain+removal+grease+and+protein+stains Google Scholar
- https://scholar.google.com/scholar?q=wood+flooring+cleaning+maintenance+stain+removal+methods Google Scholar
[…] to the finish. With warm water, a drop of mild dish soap, white vinegar (only for residue), and soft microfiber cloths, you can soften the stain, lift the particles, and wipe the area clean without damaging the wood. […]