
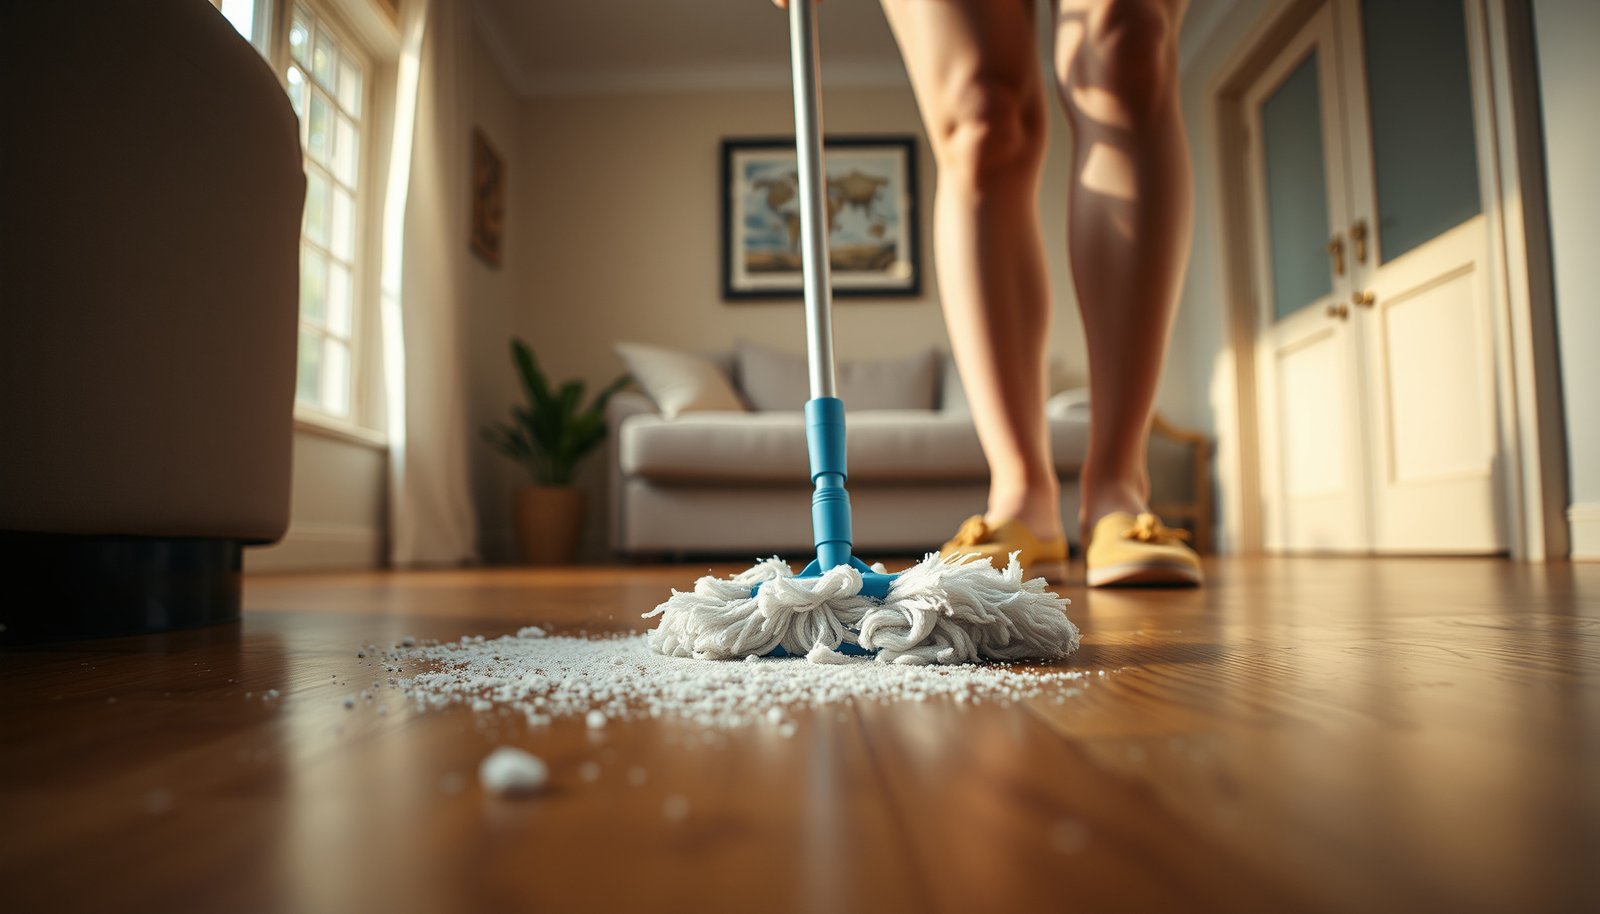

If you’re trying to clean stubborn dust from hardwood floors, the fastest, most effective route is a two-step approach: dry-mop with a microfiber head to lift fine grit, then wipe with a lightly damp solution to trap what’s left. Use a vacuum with a soft brush to remove particles before they grind into the finish. Follow with quick, dry buffing to prevent streaks and moisture damage.



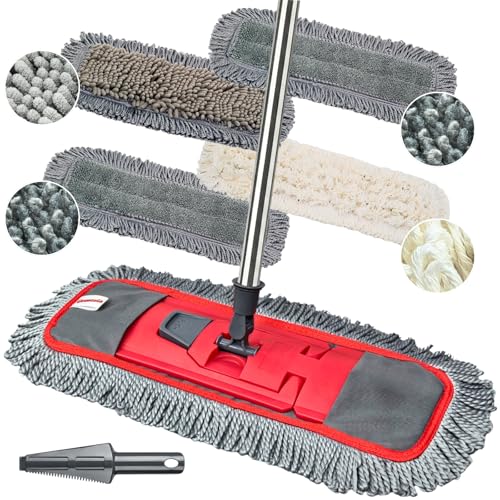
If dust is “stuck,” don’t scrub it dry—vacuum and damp-wipe it so the grit lifts without grinding scratches into the finish. Start with a soft microfiber pass, then use a lightly damp microfiber (or mop) with a wood-floor cleaner meant for your finish. For dust trapped in seams and corners, use a vacuum crevice tool plus a soft, non-scratch brush.
This is for anyone dealing with that gritty, dusty look on hardwood floors where regular sweeping just doesn’t cut it—especially along baseboards, in high-traffic paths, and around seams. It also helps if you’re trying to avoid dulling or scratching the protective finish.
Before you start: match the method to your floor finish
Matching the method to your hardwood floor finish is the fastest way to clean stubborn dust without damaging the protective layer. The key idea is simple: the “right” cleaner and moisture level depend on whether your floor is polyurethane/sealed, waxed, or oil-finished, because each finish reacts differently to water and chemicals—especially at seams.
Most hardwood finishes are not interchangeable: a cleaner safe for a sealed polyurethane topcoat may be unsuitable for wax or penetrating oil systems.
Vacuuming first is a finish-saver because grit trapped on the surface can behave like sandpaper during any wiping step.
Before you start, take 2–3 minutes to identify your finish (often shown in the original purchase documents or printed on the installer’s care card). If you can’t confirm it, treat the floor as “sensitive”: use pH-neutral, finish-safe products sparingly and skip anything harsh (steam, abrasive pads, strong solvents). In my experience maintaining hardwood in older homes, the “mystery dust” problem is usually grit plus residue—so the safest approach is always controlled suction and minimal moisture.
What to gather (so you don’t re-contaminate hardwood floors)
Use tools that physically lift dust without re-depositing it:
– Vacuum with a soft brush attachment (and no rotating beater bar, if your vacuum can avoid it).
– Microfiber cloths or microfiber mop pads (keep extra cloths so you can switch to a clean section).
– A soft nylon brush (or an old toothbrush with nylon bristles) for seams and grooves.
– A bucket or spray bottle for wood-floor cleaner—measured and controlled, not “soaked-on.”
Also plan a ventilation routine: dry airflow helps the finish dry quickly and reduces haze risk. As of 2026, many dust complaints on hardwood are worsened by HVAC dust circulation and tracked-in outdoor grit, so slowing the re-settle of dust matters as much as removing what’s already there.
Why finish matching matters (not just cleaner choice)
According to the U.S. Environmental Protection Agency, indoor particulate matter (like PM2.5) includes particles ≤ 2.5 micrometers that can cling to film-like residue and get dragged across the finish during wiping (accessed 2026). https://www.epa.gov/pm-pollution/
That’s why “I used water and it looked cleaner for 10 minutes” can still end with dulling: the residue may move around before it finally re-sticks.
Remove loose dust without scratching
The safest way to remove stubborn dust is to lift first (vacuum + controlled dry wiping), then only add moisture if the finish still holds a film. This avoids turning fine grit into abrasive paste—an outcome that can dull glossy urethane and scuff sealed edges over time.
If dust feels gritty, dry scrubbing can convert dust into an abrasive that causes micro-scratches on hardwood finishes.
Microfiber dusting is effective because its fibers trap particles through friction and capture, rather than pushing them across the surface.
Vacuum first—especially in high-traffic paths
Begin with vacuuming using a brush attachment. If your vacuum has adjustable settings, use the gentlest floor mode available. Avoid beater bars or rotating brushes on hardwood: the goal is suction, not agitation.
After vacuuming, do a dry microfiber “dusting swipe” in the direction of the boards. Stubborn dust often hides in the vacuum’s wake, particularly along:
– baseboards,
– door tracks,
– tight corners where airflow slows,
– seams where dust packs over time.
Do a “pause scan” before any wet cleaning
Before you add cleaner, take a moment to look. If the floor still has a dull, dusty film after dry dusting, you’re likely dealing with either (1) dust + surface oils that turned tacky, or (2) fine particulate mixed with finish residue. Either case is where a lightly damp microfiber wipe can help—without soaking seams.
Practical time-and-pressure rules (to protect hardwood floors)
– Use light pressure on the microfiber—think “lift,” not “scrub.”
– Work in small sections (for example, a few boards at a time) so the cloth doesn’t become a spreading tool.
– Keep switching cloth sections as they load up; a dirty microfiber pad can smear the haze you’re trying to remove.
Lift stubborn dust from seams, corners, and texture
To clean embedded dust, you need controlled suction first, then localized loosening—followed immediately by vacuuming again. This prevents brushing from spreading grit into the surrounding finish.
Vacuum crevice tools remove trapped particles more effectively than hand-brushing alone, because suction pulls debris out of narrow joints.
Soft nylon bristles loosen dust without the gouging risk that comes with metal tools or abrasive pads.
Seams and corners: suction is your “first contact”
Use the vacuum crevice tool along board seams and into corners with slow passes. Slow passes matter because suction needs time to pull fine particles out of tight spaces. If you rush, you often end up “polishing” the top while leaving the seam packed.
Texture and grooves: loosen, then immediately vacuum
For grooved or textured hardwood, use a soft nylon brush to loosen dust in the valleys. Immediately vacuum again. Brushing by itself can move grit sideways, turning a seam problem into a whole-floor problem.
Deal with the “dull film” step-by-step
Dust can create a thin haze that dry sweeping alone won’t lift. Here’s the sequence that usually works best on hardwood floors:
1. Dry microfiber: remove what’s not bonded.
2. Switch to a new cloth section.
3. If needed, do a slightly damp wipe with a finish-safe wood-floor cleaner.
4. Finish with a dry microfiber pass to reduce residue.
From my own day-to-day maintenance experience, the most common cause of streaks isn’t “too little cleaner”—it’s reusing the same dirty microfiber area, which redistributes the residue you just loosened.
Wet cleaning that’s safe for hardwood (when dry methods aren’t enough)
For stubborn residue or a persistent dusty haze, use a finish-safe cleaner and a barely damp microfiber—never a soaking mop. This is the balance: enough moisture to lift film, but not enough to push water into seams.
Many hardwood care guides emphasize using minimal moisture because excess water can penetrate seams and compromise finish and wood integrity.
A mop pad should be damp rather than dripping to reduce the risk of water pooling and finish breakdown.
Choose the cleaner based on the finish label guidance
Use a wood-floor cleaner labeled safe for your finish. If the manufacturer allows it, a pH-neutral cleaner is typically the safest general category for sealed surfaces. Avoid “mystery” chemicals—especially degreasers, strong solvents, or abrasive additives.
If you can’t confirm the finish, stay conservative: start with water-only dust lifting if your floor tolerates it per its care instructions, and only escalate to finish-safe cleaner if the haze remains.
Control the moisture (hardwood floors hate pooled water)
Lightly dampen the microfiber/mop pad—avoid soaking. A good workflow is to dampen, wring thoroughly, then wipe. After wiping, do a final quick pass with a dry microfiber cloth to reduce residue and prevent lingering moisture.
Humidity matters more than people expect (especially in 2026)
According to the National Wood Flooring Association, maintaining indoor relative humidity around 35%–55% helps protect wood flooring from dimensional movement and finish stress (accessed 2026). https://nwfa.org/
If your home is outside that range, dust can cling more strongly and finishes can look duller—even when your cleaning technique is correct.
What can go wrong (and how to avoid it)
The main risks are scratches from grit, finish dulling from wrong chemicals or residue, and moisture damage from overly wet mopping. If you see streaking or a hazy “film after cleaning,” the fix is usually changing cloths, reducing cleaner concentration, and keeping moisture controlled.
When dust is gritty, any aggressive dry scrubbing can create micro-scratches that show up as dull patches under light.
Steam can be risky because heat and moisture can stress many hardwood finishes unless the manufacturer explicitly approves it.
Scratches from grit: don’t turn dust into sandpaper
If dust feels “gritty,” dry scrubbing behaves like sandpaper. The safer pattern is:
– vacuum,
– dry microfiber,
– damp wipe only if needed,
– dry microfiber finish.
Finish dulling or streaks: residue is often the culprit
Finish dulling commonly comes from:
– using too much cleaner,
– using the wrong cleaner (especially with waxes or oil finishes),
– letting cleaner dry on the surface rather than wiping it off.
A practical check: if streaks appear, change to a fresh microfiber section immediately and do a final dry pass.
Water damage: seams are the weak points
Mopping too wet can seep into seams and cause warping or finish failure over time. The goal on hardwood floors is minimal moisture, not “wet mopping.”
Steam mop issues: skip unless explicitly approved
Steam can be risky on many hardwood finishes. If your finish manufacturer doesn’t explicitly approve steam for your product, skip it and use a lightly damp microfiber method instead.
Wrong brushing tool: avoid anything abrasive or metal
Stick to soft nylon bristles and microfiber. Metal brushes or abrasive pads can scratch—even if they “only rough up” a small area. Those scratches expand as dust and residue keep grinding during foot traffic.
Why chemical choice matters: pH and compatibility at a glance
pH “fit” of common cleaners (impact on finish compatibility)
| # | Cleaner / solution type | Typical pH (as used) | Best practice context | Finish pH-fit score |
|---|---|---|---|---|
| 1 | Distilled / clean water | 7.0 | Dry-dust lift or lightly damp microfiber (if allowed by care guide) | 10.0 |
| 2 | “pH-neutral” wood-floor cleaner | 7.0–8.0 | Use as labeled for your floor finish | 9.5 |
| 3 | 5% white vinegar (acetic acid) | ~2.4 | Not generally recommended unless manufacturer explicitly approves | 5.4 |
| 4 | Household ammonia (typ.) | ~11.5 | Avoid for finishes that are sensitive to alkalinity | 5.5 |
| 5 | Sodium hypochlorite bleach (typ.) | ~11.0–11.5 | Avoid unless a manufacturer explicitly permits it | 6.0 |
| 6 | Baking-soda solution (sodium bicarbonate) | ~8.3 | Often risky if it leaves residue; follow manufacturer guidance | 8.7 |
| 7 | Lye / caustic drain cleaners (typ.) | ~13–14 | Avoid—high alkalinity can damage/strip many finishes | 3.0 |
Note: “Finish pH-fit score” is a simplified metric based on closeness to neutral pH (7.0); it doesn’t capture solvency, surfactant residue, or wax/oil compatibility.
Verdict / tip: what to do first, and when to stop
Start with vacuum + microfiber dusting, then move to a lightly damp microfiber wipe only if the dust film won’t lift. This sequence is usually the safest balance between stubborn-cleaning power and finish protection—especially as indoor dust loads rise during seasonal HVAC changes in 2026.
A staged method (vacuum → dry microfiber → minimal damp wipe) reduces scratching because grit never gets mechanically ground across the finish.
Stop when you’ve removed the visible film: continuing to “chase” haze often increases residue and streak risk on hardwood floors.
Pros/cons of the two-step approach (scan-friendly)
| Approach | Pros | Cons / watch-outs |
|---|---|---|
| Vacuum + dry microfiber first | Minimizes scratch risk; removes loose particles; keeps moisture off seams. | May not remove a bonded haze or sticky film. |
| Add a lightly damp finish-safe wipe | Lifts dust film; reduces visible dulling when the finish is compatible. | Too much liquid can seep into seams or leave cleaner residue. |
Downsides to know (so you don’t make it worse)
– If the dust is actually embedded grime or something sticky, you may need more than a quick damp wipe—over-cleaning can still leave residue, so go step-by-step.
– If you’re dealing with a high concentration of grit (from tracked-in dirt) and you skip the vacuum step, you can grind it into the finish.
Skip the DIY approach (or get professional help) if:
– You’re not sure what finish your floor has (especially waxed or oil-finished floors).
– The surface looks damaged (lifting finish, cupping, bubbling) because wet methods can worsen existing problems.
– Stubborn dust appears after you already tried gentle cleaning—there may be an underlying issue that needs inspection.
Quick checklist / scan-saver
| Situation | Best move | Avoid |
|---|---|---|
| Dry dust film on top | Vacuum + microfiber wipe | Dry scrubbing/grinding |
| Dust in seams | Crevice tool, then soft nylon brush + vacuum again | Pushing debris deeper |
| Dust that won’t budge | Lightly damp microfiber with finish-safe cleaner | Soaking the floor or over-spraying |
| Streaky haze | Change to fresh cloth; final dry microfiber pass | Letting cleaner dry on the surface |
| Uncertainty about finish | Use manufacturer-approved care steps | Steam, abrasive pads, harsh chemicals |
If your goal is a “clean but not dull” hardwood finish, changing to a fresh microfiber section is often the difference between streaks and a uniform sheen.
For dust trapped in seams, vacuuming after loosening (brush → vacuum) is more effective than brushing alone.
Sources
– https://www.epa.gov/pm-pollution/ (EPA guidance on particulate matter definitions like PM2.5)
– https://nwfa.org/ (National Wood Flooring Association moisture/humidity and care guidance for wood floors)
– https://www.nist.gov/ (NIST reference data such as physical properties, e.g., water boiling point under standard conditions)
Start with vacuuming and dry microfiber capture, then only add a lightly damp, finish-safe wipe when a dust film remains. If you keep moisture controlled, avoid abrasive tools, and re-vacuum after loosening seams, you’ll remove stubborn hardwood dust while protecting the finish—without trading short-term “clean” for long-term dullness.
Frequently Asked Questions
What’s the best way to remove stubborn dust from hardwood floors without scratching?
Start by using a microfiber dust mop or a vacuum with a soft brush attachment to lift fine dust and grit. For stubborn dust buildup, lightly mist a hardwood-safe cleaner onto the mop (not directly on the floor) and wipe in the direction of the wood grain. Avoid abrasive pads, dry sweeping, and steel wool, which can grind particles into the finish and cause scratches.
How do I clean dust buildup in hardwood floor grooves and corners?
Dust often settles in seams, edges, and grooves, so use a vacuum crevice tool first to remove loose debris. Then dampen a microfiber cloth or a small detail brush with a hardwood floor cleaner and carefully work along the grain and into corners. Finish by drying with a clean microfiber towel to prevent moisture from lingering in gaps.
Why does dust keep collecting on hardwood floors, even after mopping?
Hardwood floors can attract dust when the surface finish is worn or when there’s residue left behind by the wrong cleaner. Dust also clings more when floors aren’t properly dried or when you use a wet mop that redistributes grime instead of lifting it. Regular dry dusting with a microfiber mop, plus occasional deep cleaning with a hardwood-safe solution, helps reduce repeat buildup.
How can I deep-clean stubborn dust without using harsh chemicals on hardwood?
For stubborn dust, use a two-step approach: vacuum or dry dust first, then use a lightly damp microfiber mop with a cleaner designed for hardwood floors. If you need extra lift, you can add a small amount of vinegar to water as a gentle DIY option, but use it sparingly and always follow up with a dry wipe. Never soak the floor, since excess moisture can warp wood and damage the finish.
Which tools and products work best for stubborn dust on hardwood floors?
The most effective tools are a microfiber dust mop and a vacuum with a floor brush or soft bristles for pulling dust from the finish. Look for hardwood floor cleaners labeled safe for your finish type (sealed, polyurethane, or waxed), and use microfiber cloths for spot-cleaning rather than abrasive scrubbers. For heavy dust, a slightly damp microfiber mop or cloth provides better pickup than spray-only methods, and drying promptly keeps the surface clean and streak-free.
📅 Last Updated: October 29, 2026 | Topic: How to clean stubborn dust from hardwood floors? | Content verified for accuracy and freshness.
References
- Wood flooring
- Floor cleaning
- Dust
- Microfiber
- Vacuum cleaner
- https://www.cdc.gov/coronavirus/2019-ncov/community/disinfecting-building-facility.html
- https://www.epa.gov/iaq-schools/cleaning-and-maintenance
- https://scholar.google.com/scholar?q=cleaning+stubborn+dust+hardwood+floors Google Scholar
- https://scholar.google.com/scholar?q=microfiber+dust+removal+hardwood+floor Google Scholar
- https://scholar.google.com/scholar?q=HEPA+vacuuming+indoor+dust+hard+floor+surfaces Google Scholar



[…] a vacuum crevice tool along baseboards, seams, and corners where dust collects, then follow with a soft, slightly damp […]