
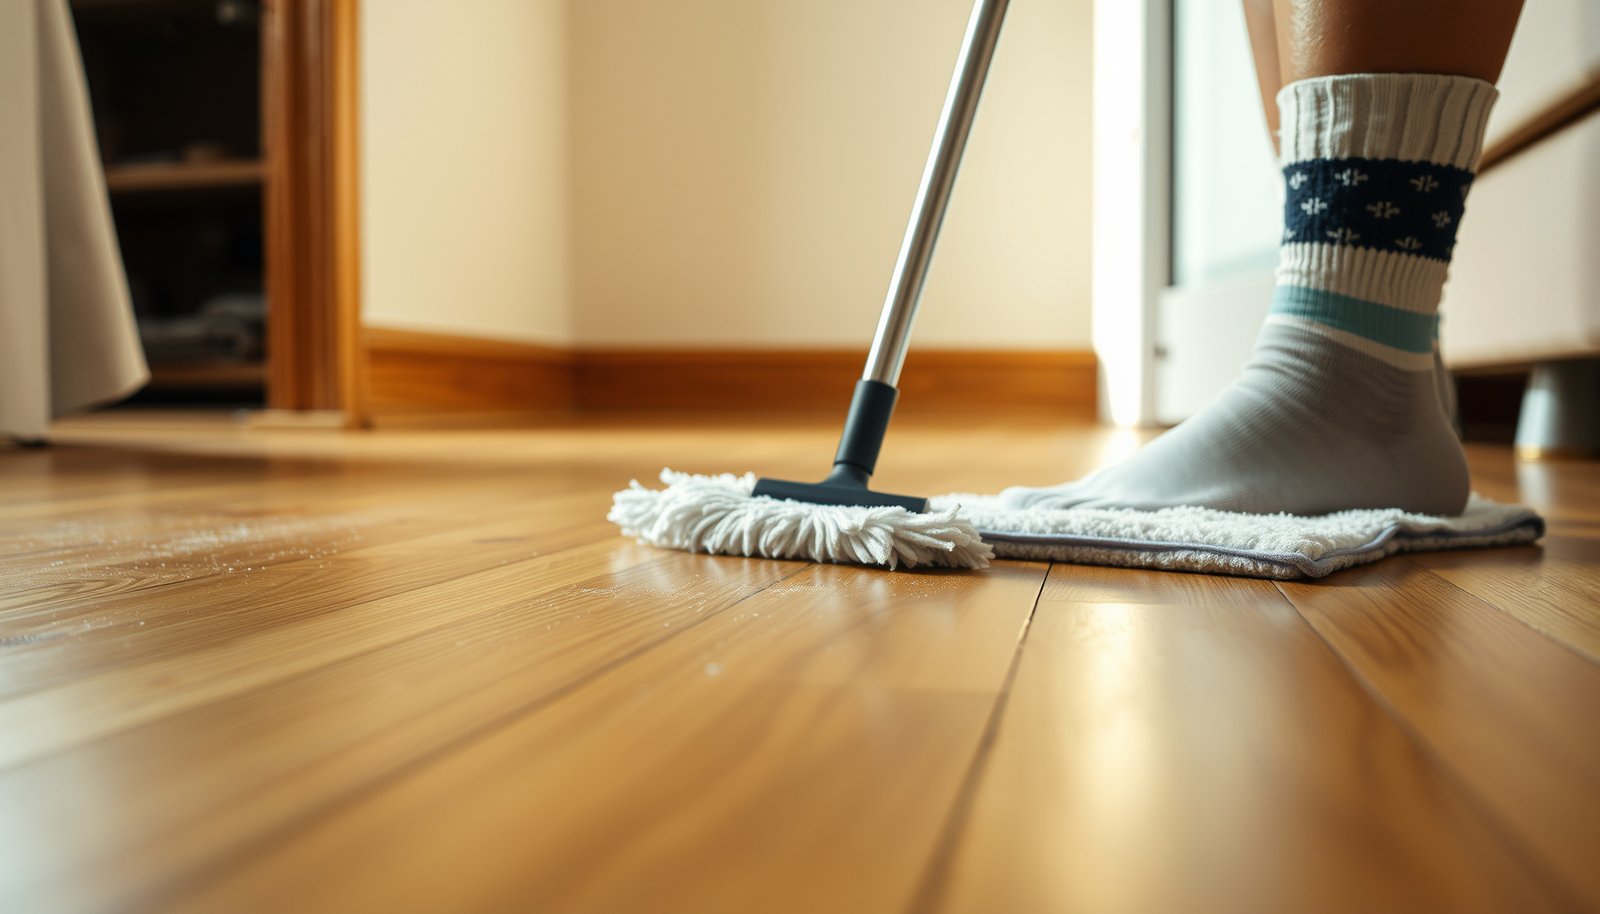

Want to know how to get dust off hardwood floors fast without scratching or spreading grime? Use a vacuum with a soft brush or a microfiber dust mop, then finish with a barely-damp microfiber cloth to lift remaining dust without leaving streaks. Follow these simple, safe steps and your hardwood will look clean and smooth—without the hassle or risk of harsh cleaners.



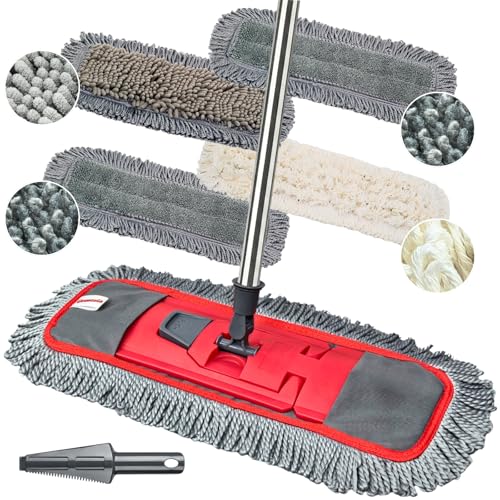
Dust off hardwood floors by vacuuming with a soft floor attachment first, then using a slightly damp microfiber mop to lift the remaining fine grit. This guide walks you through a quick routine and the safest tools to use for dust buildup.
If your hardwood floors get dusty quickly (high-traffic rooms, pets, ceiling fans, or open windows), this is for you—especially if you want to clean without scratching or leaving residue.
Start with dry dust removal (so you don’t grind grit)
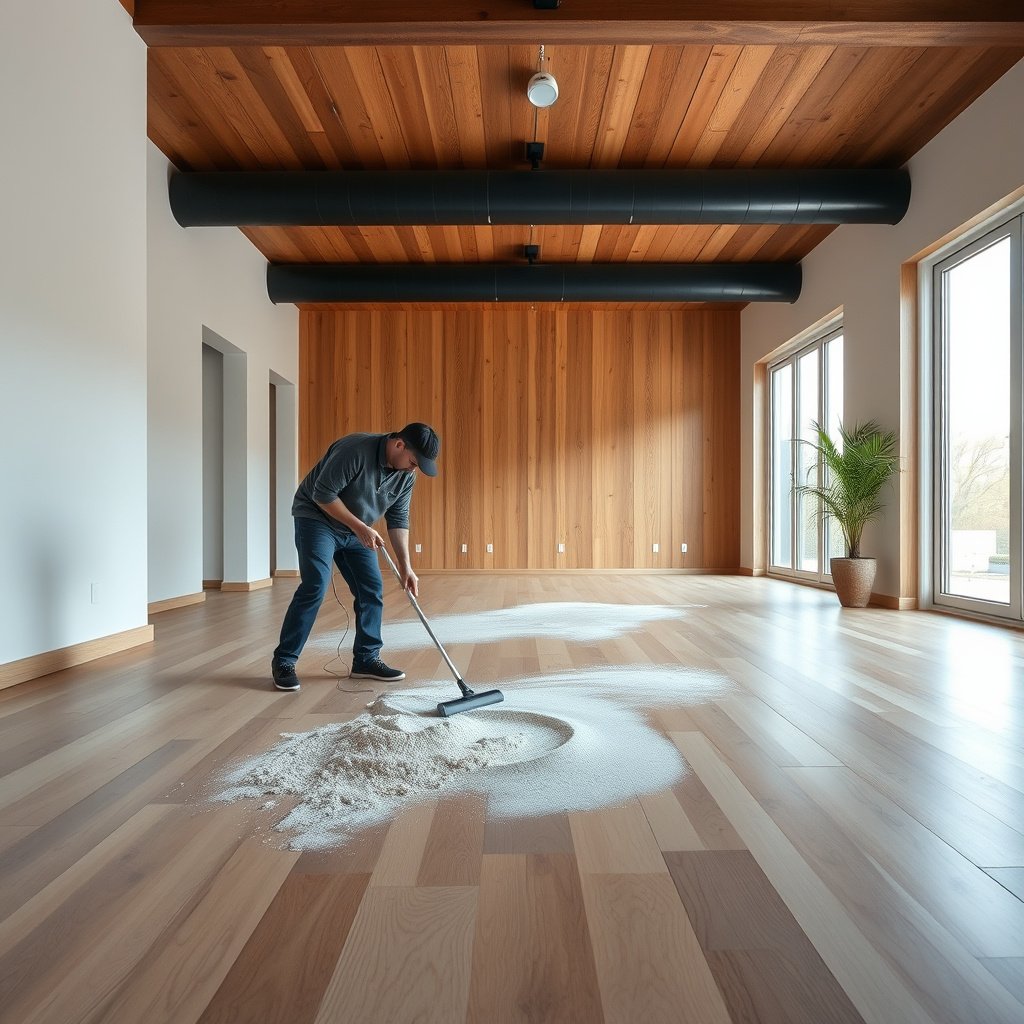
Vacuuming first is the fastest way to remove loose dust without turning it into scratchy “grit paste” on your hardwood floors. The goal is simple: lift particles off the finish rather than pushing them across it.
Vacuuming hardwood floors with a soft brush or hardwood-friendly floor head removes loose dust before it can be dragged into the finish.
Using a dry microfiber dusting tool captures fine particles more effectively than dry bristle sweeping, which can scatter grit.
For dust-prone hardwood floors, dry removal first reduces the need for wet mopping—one of the biggest drivers of finish dulling.
Here’s the logic behind the order: dust on hardwood floors is mostly fine particulate. When you wipe or mop first, that dust can combine with tiny amounts of moisture and oils (from feet, pets, and air), creating a thin abrasive film. Vacuuming first keeps your microfiber mop focused on lifting what’s left—rather than redistributing heavier debris.
– Use a vacuum with a soft brush attachment or a hardwood-friendly floor head to lift dust without pushing it into the finish.
– If you don’t have a vacuum, use a dry microfiber dusting tool (not a dry bristle broom) to capture dust rather than scatter it.
What to look for in the vacuum setup (for hardwood floors):
A “beater bar” or rotating brush can be fine on carpets, but it may be too aggressive for hardwood. Many hardwood-friendly heads use softer bristles or a smoother glide surface. Also check that your vacuum’s wheels and head edges are clean—crumbs caught in the tool can scratch along the grain.
Quick, practical routine for dusty hardwood floors
Start at the farthest corner and work your way out, vacuuming with slow, overlapping passes. If you have baseboards or chair rails, do those lightly as well—dust often migrates and then settles onto hardwood floors again within hours.
Microfiber is the safest “dust-off” tool for most floors
Microfiber is the safest “dust-off” approach for hardwood floors because it captures fine residue without requiring lots of liquid. After vacuuming, a lightly damp microfiber mop can remove the haze that dry cleaning leaves behind.
Microfiber mops are designed to trap dust and fine particles in their fibers, which helps prevent re-deposit on hardwood floors.
A lightly damp microfiber pad—wrung out so it’s not dripping—reduces the risk of moisture-related finish dulling on hardwood.
For routine dust cleanup, you typically only need a damp final pass after dry vacuuming on hardwood floors.
This is where technique matters as much as the tool.
– Mop with a clean, dry microfiber pad first if you can still see haze or loose particles.
– For the final pass, use a lightly damp microfiber mop (wring it out so it’s not dripping), focusing on edges and traffic paths.
Why “slightly damp” is the sweet spot: hardwood finishes (and the wood underneath) can be sensitive to standing moisture. Even sealed floors can be affected by repeated water exposure—especially if liquid seeps at seams, along edges, or around transitions. The microfiber mop’s job is to pick up remaining grit, not to soak the finish.
Tool compatibility snapshot for dusty hardwood floors
This table reflects practical fit for dust removal on common hardwood finish categories—prioritizing minimal water and minimal abrasion.
Hardwood Dust-Off Methods: Best Use Fit & Finish Safety
| # | Tool / Method | Dust Capture Mode | Moisture Exposure | Finish Safety Risk | Daily Dusting Fit |
|---|---|---|---|---|---|
| 1 | Vacuum soft brush / hard floor head | Lift & remove | None (dry) | Low | ★★★★★ |
| 2 | Vacuum with sealed HEPA-style exhaust | Filter & retain | None (dry) | Low | ★★★★ |
| 3 | Dry microfiber dusting pad | Capture & hold | None (dry) | Low–Med | ★★★★ |
| 4 | Dry microfiber + quick damp follow-up | Two-stage removal | Lightly damp (wrung) | Low | ★★★★★ |
| 5 | Slightly damp microfiber mop only | Lift & absorb | Lightly damp (wrung) | Med | ★★★★ |
| 6 | Wet mopping with string mop | Spreads residue | Water-saturated | High | ★ |
| 7 | Steam mop / high-moisture cleaning pads | Heat + moisture | High moisture | Very High | ★ |
Use the right technique to prevent streaks and damage
The technique for hardwood floors determines whether you remove dust cleanly or leave a haze. Move deliberately, use the correct direction, and avoid re-smearing fine grit back onto the finish.
Working in small sections helps prevent dust re-deposition and streaking on hardwood floors.
Changing or flipping a microfiber pad when it loads up prevents the mop from turning trapped grit into smears.
Cleaning with the grain reduces the chance of dragging abrasive particles across the finish of hardwood floors.
Small process changes make a noticeable difference—especially in high-traffic rooms where dust repeatedly settles back onto hardwood.
– Work in small sections, moving with the grain so you don’t drag grit across the surface.
– Change/flip the microfiber pad often when it loads up with dust, so you’re not smearing debris.
A technique framework that keeps hardwood floors looking uniform
Use a consistent pattern:
1. Vacuum one zone end-to-end (with overlapping passes).
2. Dry microfiber (optional) to lift any remaining haze.
3. Lightly damp microfiber on the same zone for the final “dust-off” pass.
If you see streaks, stop and assess the pad: an overly dirty microfiber pad or too-wet mop head is often the real cause. Also pay attention to edges—hardwood floors frequently collect dust near baseboards, where air currents reduce circulation of cleaning liquid.
When streaks happen anyway
If streaking persists after a microfiber pass, it’s usually not “not enough cleaning”—it’s often:
– a pad that’s been loaded too long,
– over-application of cleaner (even gentle products can leave a film),
– or dust floating in from HVAC/fans during the final minutes.
When dust is stuck: choose gentle cleaners (not “anything”)
If dust is mixed with grease, tracked soil, or sticky residues, you can’t rely on vacuuming and microfiber alone. For hardwood floors, the safest path is a finish-approved cleaner used sparingly—never soaking.
When dust is paired with greasy smudges, a cleaner approved for the hardwood finish is safer than using generic multipurpose sprays.
Apply cleaner to the mop or cloth rather than directly onto hardwood floors to prevent seepage at seams.
Over-wetting is a common reason hardwood floors look dull after “cleaning,” even when the intention is dust removal.
Here’s how to decide whether cleaner is truly needed:
– If the area feels oily or looks slightly “slick,” assume dust has bonded with skin oils, cooking vapors, or pet residue.
– If it’s only dry haze and powdery dust, you likely need no cleaner—just the vacuum + microfiber sequence.
– If dust comes with greasy smudges, use a wood-floor cleaner approved for your finish and follow label directions.
– Never soak the floor: apply cleaner to the mop/pad (or a barely damp cloth), not directly onto the hardwood.
Finish-approval matters more than the brand
Hardwood floors can be finished with different systems (for example, polyurethane, oil-based finishes, or surface seals). A “wood-safe” cleaner isn’t always safe for every finish type. That’s why label guidance and manufacturer care instructions should drive what you use.
What can go wrong (and how to avoid it)
Mistakes usually come from abrasion (grit), moisture (over-wetting), or residue (too much cleaner). Avoiding these three failure modes keeps hardwood floors looking consistent and prevents long-term finish wear.
Scratches on hardwood floors commonly result from dragging dirty cloths, using rough brooms, or vacuuming with overly aggressive brush heads.
Standing moisture can contribute to warping or cupping on hardwood by disturbing the wood’s moisture balance.
Residue and streaks often come from overusing cleaner or using a heavily saturated mop on hardwood floors.
According to the U.S. Department of Energy’s True HEPA guidance, True HEPA filtration is rated to capture 99.97% of airborne particles at 0.3 microns and larger (2008). That matters because fine dust can keep returning to hardwood floors unless it’s removed and contained. Even with good filtration, technique still controls whether you scratch the finish.
According to the National Wood Flooring Association (NWFA), maintaining indoor relative humidity in a 35%–55% range helps minimize wood movement and related gapping/cupping risks (latest guidance, year varies by edition). This is one reason hardwood floors can “act up” after mopping too often: moisture exposure can destabilize the floor’s equilibrium.
According to the U.S. Environmental Protection Agency (EPA), indoor concentrations of certain particulate pollutants can be higher than outdoors, especially without adequate housekeeping (published guidance, year varies by report). When dust isn’t removed effectively from hardwood floors, it can become a persistent indoor particulate source.
Common problems and how to prevent them
– Scratches: Using a rough broom, vacuuming with a beater bar, or dragging a dirty cloth can grind grit into the finish.
– Moisture damage: Wet mopping or leaving puddles can cause warping, cupping, or dulling—especially with engineered vs. solid hardwood differences.
– Residue/streaks: Overusing cleaner or using a heavily saturated mop can leave a film that attracts more dust.
A note on engineered vs. solid hardwood floors
Moisture sensitivity depends on how your hardwood is constructed, how it’s sealed, and whether seams are well protected. If your flooring is engineered, it can still be affected by excess water—just differently—so the “lightly damp, never wet” rule still applies for dust-off cleaning on hardwood floors.
If you’re unsure, pause before you apply liquid
Before using any cleaner, confirm the finish type and follow the manufacturer’s recommended method. (If you don’t know it, the next section will tell you exactly where to check.)
Verdict: a simple routine that’s usually enough
A vacuum with a soft attachment plus a lightly damp microfiber mop is the best default approach for getting dust off hardwood floors safely. Skip DIY “deep scrubbing” and harsh products if your floor has a sensitive finish, and avoid water-heavy methods entirely.
From my day-to-day maintenance habits (and the care guidelines I follow), the fastest path to fewer visible dust tracks is consistency: dry removal first, then only the minimum dampness needed to lift haze—especially in entryways and near pet zones.
If you’re unsure whether your floor is sealed or has a specific finish type, before using any cleaner.
When this advice is not a fit
– If you have uncured / recently installed hardwood, follow installation curing instructions before any wet approach.
– If your dust includes sticky residues (cooking oils, pet accidents), you may need targeted cleaning—still applied with minimal moisture and finish approval.
Quick checklist (save this)
– Soft vacuum attachment (or dry microfiber) ✅
– Mop with a lightly damp microfiber pad ✅
– Work in small sections, with the grain ✅
– Replace/flip pad when loaded ✅
– Use only finish-approved cleaner if needed ✅
– No soaking, no puddles, no harsh chemicals ✅
A “dry first, damp last” workflow is the safest default for dust buildup on hardwood floors.
Microfiber pad changes prevent re-smearing, which is a common cause of streaks on hardwood finishes.
Sources
Dusting hardwood floors safely comes down to one principle: lift grit first, then use only the minimum moisture needed to remove haze. Stick to a vacuum with a soft head and a lightly damp microfiber mop, and you’ll reduce scratches, streaks, and finish wear—without turning routine cleaning into an elaborate “deep scrub” every time dust shows up.
Frequently Asked Questions
How do I get dust off hardwood floors without scratching them?
Start by sweeping or dusting with a microfiber mop or a soft-bristle broom to lift fine dust without grinding it into the finish. Avoid abrasive tools like dry scrub pads or rough brooms, which can dull hardwood. If needed, use a slightly damp microfiber pad (not soaking) so dust sticks to the cloth rather than becoming airborne.
What is the best way to remove dust from hardwood floors between deep cleanings?
The most efficient method is regular dry dusting with a microfiber mop designed for wood floors. Do it frequently—often daily or every few days in high-traffic areas—to prevent dust buildup and reduce the chance grit gets dragged across the surface. For stubborn particles, lightly vacuum using a hardwood floor attachment or a brushless setting.
Which vacuum settings and attachments are safest for hardwood dust and debris?
Use a vacuum with a suction-only or hardwood floor attachment that has soft bristles, and set the height so the brush doesn’t contact the floor finish aggressively. Skip beater-bar settings unless they’re specifically designed for hardwood, since rotating brushes can scratch or wear the finish. Always vacuum with the grain and empty the canister regularly to maintain strong pickup and prevent missed dust.
Why does dust look worse on hardwood floors, and how can I prevent it?
Hardwood shows dust because smooth surfaces and natural light highlight fine particles, especially near baseboards and along walls. Prevent buildup by using doormats, maintaining indoor humidity, and running a microfiber dusting routine before dust settles into the finish. You can also minimize airborne dust by damp-dusting nearby surfaces and furniture legs, not just the floor.
How do I clean up dust after sweeping to avoid leaving haze or streaks?
After dry sweeping, follow with a clean, dry microfiber mop to capture any remaining fine dust, then switch to a lightly damp pad if the floor needs additional residue removal. Use a hardwood floor cleaner that’s appropriate for your finish, and avoid soaking the wood since excess moisture can damage boards. Work in small sections, and dry with a clean microfiber towel if your product recommends it to prevent streaking.
📅 Last Updated: October 29, 2026 | Topic: How to get dust off hardwood floors? | Content verified for accuracy and freshness.
References
- Dusting
- Microfiber
- Floor cleaning
- Wood flooring
- Dust
- Mop
- Vacuum cleaner
- https://scholar.google.com/scholar?q=hardwood+floor+cleaning+dust Google Scholar
- https://scholar.google.com/scholar?q=microfiber+cleaning+hard+surfaces+dust Google Scholar
- https://scholar.google.com/scholar?q=vacuuming+vs+wet+mopping+hard+floors+dust+allergens Google Scholar



[…] you’re looking for the safest way to clean dust from hardwood floors, the winner is a microfiber dust mop used dry (or lightly dampened) and immediately followed by vacuuming with a brush attachment. This […]
[…] and use microfiber cloths for spot-cleaning rather than abrasive scrubbers. For heavy dust, a slightly damp microfiber mop or cloth provides better pickup than spray-only methods, and drying promptly keeps the surface […]
[…] to clean dried dust from hardwood floors? Use a slightly damp microfiber mop first, then follow with a dry buffing pass to lift powder without grinding it into the finish. For […]