
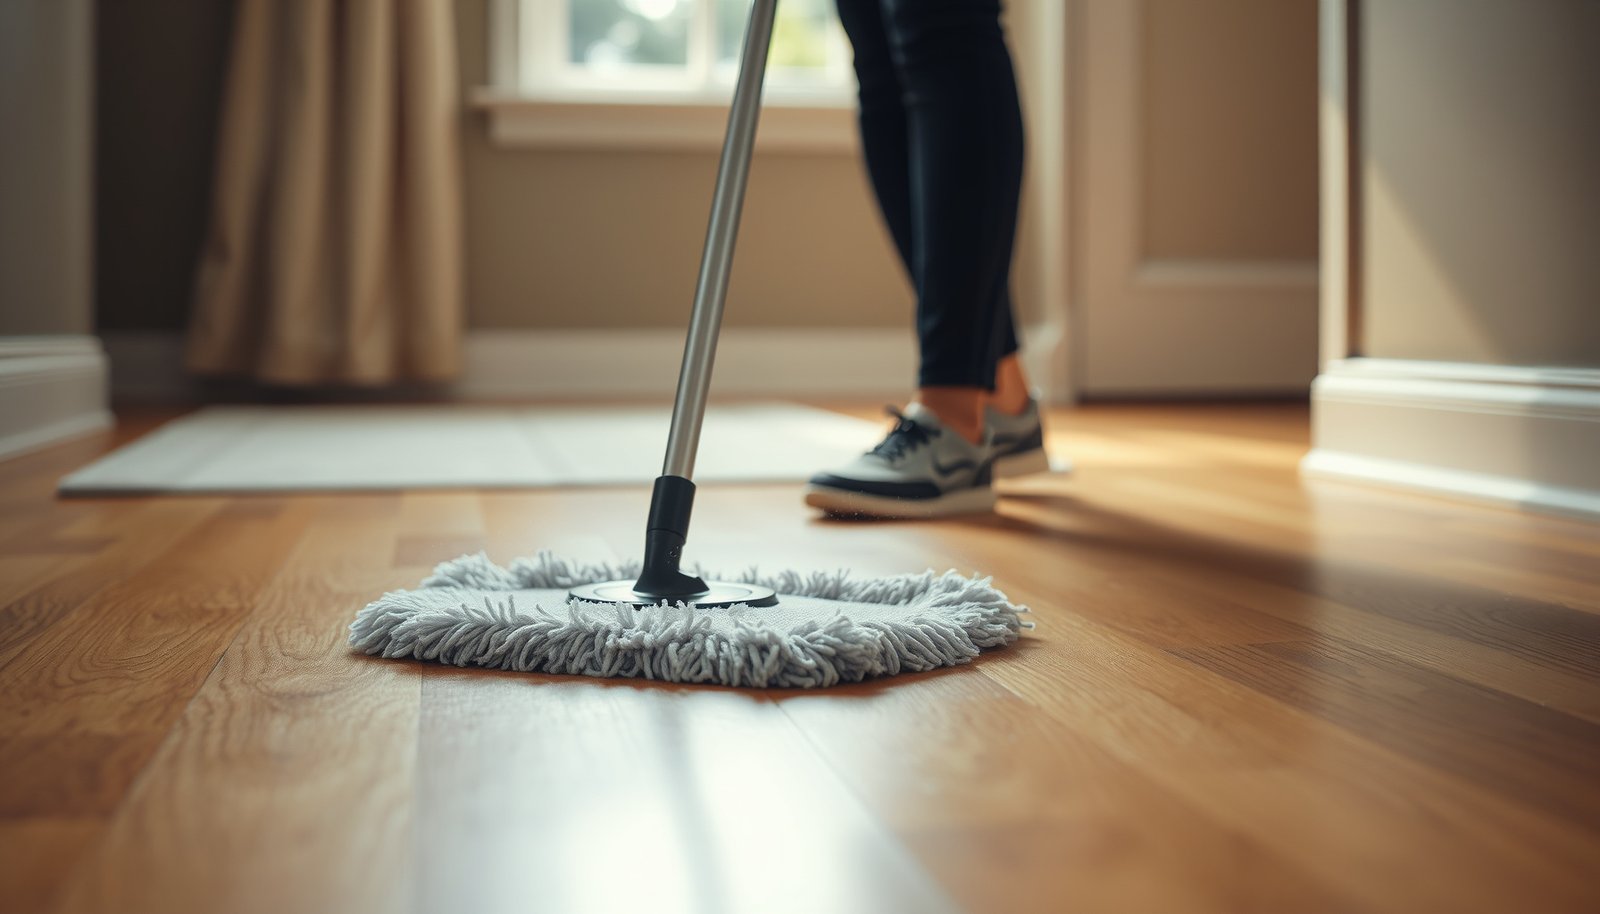

Clearing dust from hardwood floors is safest and fastest when you use the right dusting method first: a microfiber dust mop or a vacuum with a soft brush attachment, not harsh dry sweeping. In the next steps, you’ll learn exactly how to loosen and capture fine dust without scratching the finish, then finish with a quick, lightly damp microfiber pass for a streak-free result. Follow these quick, safe actions and your floors look clean without risking damage.



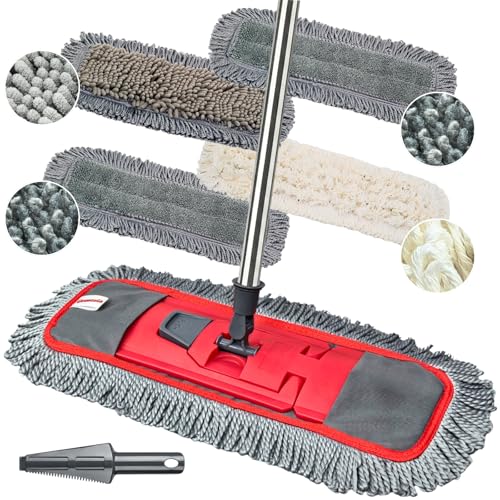
Dust off hardwood floors by vacuuming with a soft/no-beater brush (or sweeping with a microfiber dust mop), then finish with a barely-damp microfiber cloth if any fine haze remains. This guide focuses on removing dust safely—without introducing grit or excess moisture that can dull the finish or scratch the wood.
If your hardwood floors show visible dust, especially along edges, in front of baseboards, or near entryways, these steps are for you. It’s also helpful when you want a routine that reduces dust without turning the process into a scratch-and-finish-damage cycle.
Choose the right dusting method (dry vs. barely-damp)
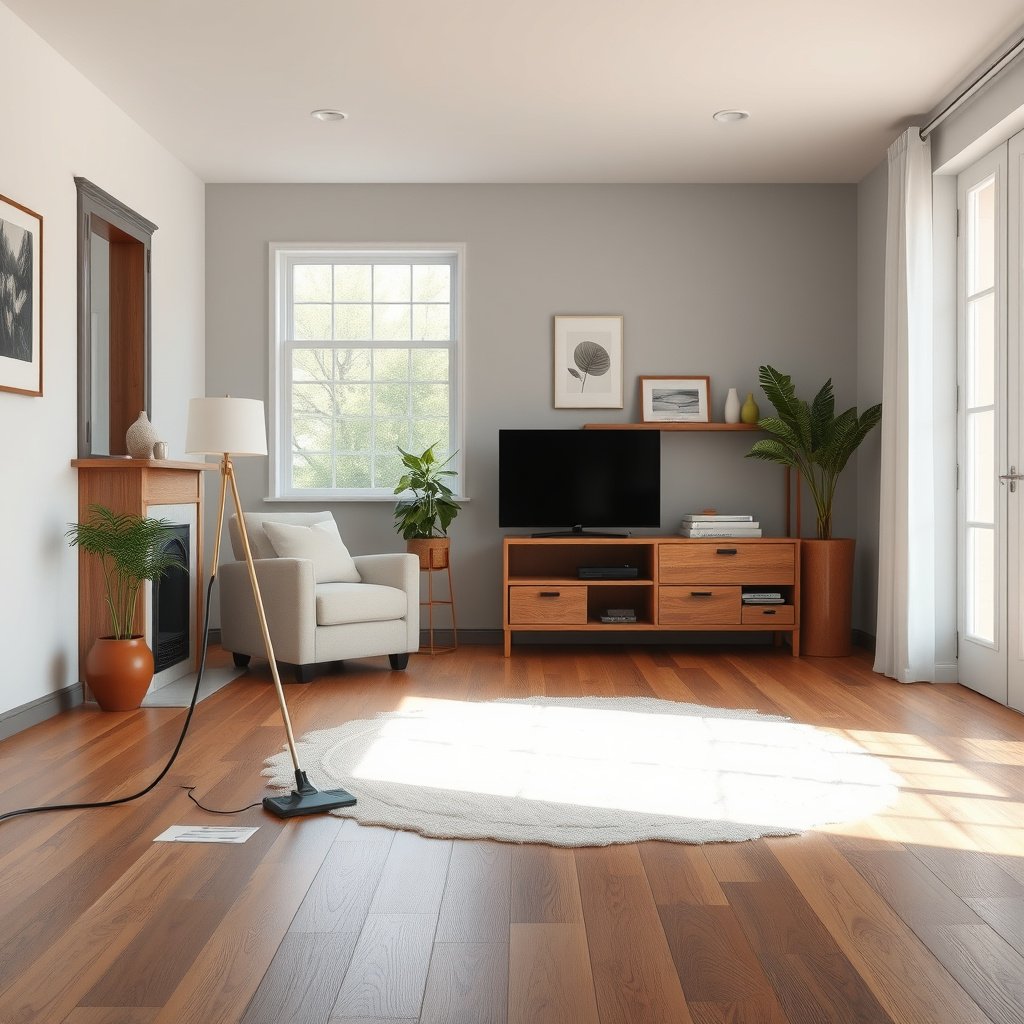
The safest default is dry dusting first (to lift debris) and a barely-damp wipe only as a final pass for lingering haze on hardwood floors. This matters because dust on hardwood acts like fine abrasive—especially when it’s dragged—so your method should minimize friction while still picking up particles.
According to Bona’s hardwood floor care guidance, routine cleaning should avoid soaking wood floors because excess water can harm the finish and the wood.
According to the National Wood Flooring Association (NWFA), maintaining appropriate indoor moisture levels helps reduce cupping and finish-related problems in hardwood floors.
According to the U.S. Environmental Protection Agency (EPA), fine airborne particulate (including particles under 10 micrometers, like PM10) is easily transferred and redistributed on surfaces, which is why “lift and capture” beats “push around” for hardwood floors (2024).
– Start dry: Use a microfiber dust mop or a soft sweeping cloth first, so grit doesn’t get ground into the finish. Microfiber is designed to trap particles in its fibers rather than scatter them.
– Use “barely-damp” only for the final pass: If dust is leaving a dull haze, wipe once with a microfiber cloth that is damp—not dripping—then let the floor air-dry or buff lightly with a dry cloth.
– Skip harsh cleaners: Dusting usually doesn’t require cleaner chemistry. Routine dust removal is more reliable with dry or lightly damp microfiber because cleaner residue can attract more dust over time on hardwood floors.
Dry vs. barely-damp vs. wet mopping (what actually changes)
- Dry microfiber dust mop / soft sweep
- Best for: everyday dust removal; minimal risk to finish if the pad is clean.
- Main risk: dragging debris if the pad has grit trapped in it.
- Barely-damp microfiber finish pass
- Best for: fine haze and smudgy dust trails along traffic lanes and edges.
- Main risk: too-wet cloth leading to moisture settling in seams.
- Wet mopping
- Best for: only when the floor finish is explicitly rated for it and the product instructions match that finish.
- Main risk: pooling water, streaking, finish softening, and long-term dulling on hardwood floors.
Step-by-step: remove dust without scratching
If you want the lowest scratch risk, use a two-stage workflow: capture particles first (vacuum or sweep), then capture the residue (microfiber). This approach keeps hardwood floors cleaner while reducing the “micro-abrasion” effect that happens when dust gets moved repeatedly.
According to Bona’s care documentation, using microfiber tools is a common recommendation for hardwood floor cleaning because they help lift and hold dirt instead of smearing it around.
According to NWFA maintenance guidance, avoid conditions that allow water to linger on hardwood surfaces because moisture can affect wood and finish performance over time (2023).
According to the U.S. Department of Energy (DOE), HEPA filtration is specified to capture at least 99.97% of particles at 0.3 micrometers (2005).
Step 1: Vacuum/sweep first (capture, don’t grind)
– Vacuum using a hardwood-safe attachment: Choose a soft/no-beater brush head or a suction-only floor tool that glides without rotating agitation. Rotating brushes can scuff finishes, especially on glossy or satin surfaces.
– Sweep in the direction of the wood grain: This reduces the chance of dragging debris across the finish layer of hardwood floors.
– Empty the vacuum (if bagless): A full bin can reduce suction and redistribute fine dust back onto hardwood floors.
Step 2: Follow with a microfiber finish pass (remove haze)
– Use a clean, dry microfiber pad/duster across the floor: Do a final pass to pick up what the first method missed—particularly at edges, corners, and around furniture feet.
– For stubborn haze, do one light damp wipe per section: Lightly dampen the microfiber cloth and wipe once per section, then buff dry with a fresh cloth. The goal is “remove fine residue,” not “re-wet the whole floor.”
– Don’t reuse dirty pads: If the microfiber is visibly dusty or has grit embedded, swap it. Reusing a dirty pad is one of the fastest ways to create a permanent dusty film on hardwood floors.
Step 3: Don’t forget dust traps
– Baseboard edges: Dust collects where airflow slows down and where shoes/air currents push particles.
– Furniture legs and chair wheels: Small debris migrates outward as you move items.
– Under the front lip of rugs: If a rug edge lifts slightly, dust migrates onto hardwood floors underneath.
– Near HVAC vents: HVAC airflow can continuously deposit fine particles—so a quick microfiber pass in those zones makes a noticeable difference.
Common Hardwood Floor Species vs. Janka Hardness (Scratch Tolerance)
| # | Wood species (common flooring) | Scratch tolerance | Typical feel underfoot | Janka hardness (lbf) |
|---|---|---|---|---|
| 1 | Hickory | ★★★★★ | Very solid | 1,825 |
| 2 | Hard Maple | ★★★★☆ | Firm and smooth | 1,450 |
| 3 | White Oak | ★★★★☆ | Dense and sturdy | 1,360 |
| 4 | American Beech | ★★★☆☆ | Moderately hard | 1,300 |
| 5 | Red Oak | ★★★☆☆ | Hard but not extreme | 1,290 |
| 6 | Yellow Birch | ★★☆☆☆ | Slightly softer | 1,260 |
| 7 | American Cherry | ★☆☆☆☆ | Softer (finish matters more) | 950 |
Even with harder wood species, hardwood floors can still dull if grit is repeatedly moved across the finish. That’s why the dusting sequence (dry capture → optional barely-damp haze removal) is the core protection step, regardless of species.
What can go wrong (and how to prevent it)
Most hardwood floor damage from dusting comes from the method—not the dust itself. If you vacuum or wipe in a way that pushes debris around, or if you introduce too much moisture, you can create scratches, streaks, and long-term finish wear on hardwood floors.
According to NWFA care guidance, standing water and excessive moisture are major contributors to wood/finish problems, so “damp” should never mean “wet” on hardwood floors.
According to U.S. EPA guidance on particulate matter, smaller particles (like PM2.5 at ≤2.5 µm) can be redistributed by airflow and foot traffic—so pushing dust around increases repeat redeposition on floors (2024).
According to DOE HEPA specifications, efficient filtration targets particles around 0.3 µm at 99.97% capture—so capture quality matters when you’re trying to prevent dust film from returning.
– Using the wrong vacuum head: Rotating beater brushes (or aggressive suction/no-soft-glide attachments) can leave visible scuffs—especially on glossy finishes. Prefer soft/no-beater brushes, plain suction heads, or hardwood-rated attachments.
– Over-wetting the floor: Excessive moisture can seep at seams and swell the wood or degrade the finish over time. On hardwood floors, “barely-damp” should never leave puddles or wet footprints.
– Spreading grit: Sweeping with a broom that pushes debris around (or reusing a dirty mop pad) can smear dust into a film and add micro-scratches. If the floor looks duller after cleaning, that’s often redistributed grit rather than “missed dirt.”
– Skipping pad swaps: Microfiber tools should be clean. As fibers load up with dirt, they behave more like a sanding surface.
– Ignoring edge buildup: Dust along baseboards and in front of doorways tends to be reintroduced daily. A quick targeted pass in those zones prevents a cycle of “clean the middle, dirty the edges” on hardwood floors.
Quick pros/cons comparison: what you gain and what you risk
| Method | Pros (why it works) | Cons (what can go wrong) |
|---|---|---|
| Microfiber dust mopping | Low friction; good for daily dust capture on hardwood floors. | If the pad is gritty or not replaced, it can smear residue. |
| Vacuum with hardwood attachment | Captures fine dust that brooms can push into corners. | Wrong head or rotating brushes can scuff finish. |
| Barely-damp microfiber final pass | Removes lingering haze without soaking. | Too-wet wiping can stress seams/finish over time. |
From my experience maintaining hardwood surfaces (and based on the patterns I’ve seen during routine care), the biggest “oops” is usually returning a dusty microfiber pad to the floor after it’s picked up grit from edges.
Verdict / tip: what to do most days (and when not to)
For most days, the best practice is a dry microfiber dust mop (or a careful vacuum with a hardwood-safe attachment), followed by a quick final microfiber buff only if you still see haze. If your hardwood floor finish is failing—peeling, worn-through patches, or visibly compromised coating—skip damp wiping and rely on dry removal only, then follow the manufacturer’s repair/refinishing guidance.
For routine dust removal, Bona’s care guidance emphasizes using the right tools and avoiding wet conditions that can affect hardwood floor finishes.
According to NWFA recommendations, stable indoor humidity reduces the stress cycles that can make finish issues worse over time (2023).
According to U.S. EPA particulate matter definitions, fine particles (≤2.5 µm, PM2.5) can remain suspended and redeposit, which is why frequent dry capture on hardwood floors helps (2024).
In other words: keep it dry, friction-friendly, and “capture-first.” If you’re dealing with a floor finish that’s already degrading, damp wiping can accelerate appearance changes by carrying moisture into vulnerable areas.
– Use this daily/most-day routine: dry microfiber pass → soft/no-beater vacuum (optional) → final microfiber buff.
– Skip these for now: wet mopping, aggressive scrub pads, dry scraping tools, and any steam approach unless the finish is explicitly rated for it.
– When to pause and reassess: if you’re seeing coating failure, consult your floor-finish manufacturer or a professional refinisher for your specific finish before switching to any damp-wipe step.
Quick checklist + scanable routine
Use this quick scan to build a repeatable dust-clearing rhythm for hardwood floors—one that removes particles without turning every session into a scratch risk.
| Area to clean | Best tool | What to avoid |
|---|---|---|
| Main open floor | Microfiber dust mop | Dry sweeping with grit that can scratch |
| Hard-to-reach edges | Clean microfiber cloth | Letting dust push under baseboards |
| Under furniture/rugs | Vacuum with hardwood-safe attachment | Beater bars/rotating brushes |
| Final haze | Slightly damp microfiber (then buff dry) | Dripping cloths, soaking, harsh cleaners |
Save this routine:
– Dry pass (microfiber) → Vacuum (soft/no-beater) → Final microfiber buff
– Repeat more often in entryways and near vents
According to the DOE HEPA definition, filtration performance at 0.3 µm is designed to capture at least 99.97% of target particles (2005), which supports why vacuuming can outperform sweeping for fine dust—when you use a hardwood-safe head.
According to U.S. EPA PM definitions, PM10 covers particles up to 10 µm, which are common in household dust and are therefore worth capturing promptly on hardwood floors (2024).
Sources
– Bona — Bona official hardwood floor care guidance (tool selection and avoidance of soaking/wet conditions, per product care instructions).
– National Wood Flooring Association (NWFA) — NWFA maintenance guidance for hardwood floors, including moisture/humidity considerations and cleaning best practices.
– American Hardwood Information Center (AHIC) — educational resources on hardwood flooring care principles and finish/wood stability factors.
To clear dust from hardwood floors, start dry with a microfiber dust mop or careful vacuuming, then use a barely-damp microfiber cloth only for the final haze—no soaking, no scraping, and no beater-brush attachments. Use the checklist above to build a repeatable routine and reduce scratches and finish wear. If you’re unsure about your specific floor finish, check the manufacturer’s cleaning guidelines before switching to any damp-wipe or cleaner step.
Frequently Asked Questions
How can I clear dust from hardwood floors without scratching them?
Use a microfiber dust mop or a soft, dry cloth to lift fine dust rather than pushing it around. Avoid abrasive scrub pads and stiff bristle brooms, and keep grit off the floor by cleaning near entryways first. For stubborn dust, lightly dampen the microfiber (not soaking wet) and wipe in the direction of the wood grain.
What is the best way to remove dust before mopping hardwood floors?
Start with dry dusting using a microfiber mop or vacuum with a hardwood floor attachment, using the brush gently to avoid surface wear. This prevents dust from turning into muddy residue when you add water. After the dust is removed, use a hardwood floor cleaner designed for your finish and follow the grain for streak-free results.
Which vacuum settings are safest for hardwood floors to pick up dust?
Choose a vacuum with a brush roll that can be turned off or use a bare-floor attachment to prevent scratching and scuffing. Use a suction setting that’s strong enough to lift dust but not so aggressive that it drags or bumps the finish. Regularly clean the vacuum’s filters and brush area, since clogged filters can leave dust behind.
Why does dust keep collecting on hardwood floors, and how do I prevent it?
Dust buildup often comes from tracked-in debris, dry indoor air, and air currents that keep particles settling on flat surfaces. Use doormats, trim pet traffic, and consider a humidifier if your home is very dry to reduce airborne dust. Weekly dusting with a microfiber mop and quick spot cleaning helps minimize the dust layer that becomes harder to remove.
How do I deep-clean dust from hardwood floors without damaging the finish?
Begin with thorough dry dusting, then use a slightly damp microfiber mop or cloth with a cleaner made for hardwood floors to lift remaining fine particles. Never flood the floor—too much water can seep into seams and cause swelling or cupping. Finish by drying with a clean, dry microfiber towel and allow the area to fully dry before walking on it.
📅 Last Updated: October 29, 2026 | Topic: How to clear dust from hardwood floors? | Content verified for accuracy and freshness.
References
- Wood flooring
- Dust
- Microfiber
- House dust mite
- https://www.epa.gov/asthma/dust-mites-and-asthma
- https://www.cdc.gov/asthma/incontrol/management.html
- 404 Error
- https://scholar.google.com/scholar?q=how+to+remove+dust+from+hardwood+floors Google Scholar
- https://scholar.google.com/scholar?q=microfiber+dusting+hardwood+floor+best+practice Google Scholar
- https://scholar.google.com/scholar?q=hardwood+floor+vacuuming+HEPA+reduce+dust+particles Google Scholar



[…] or spreading grime? Use a vacuum with a soft brush or a microfiber dust mop, then finish with a barely-damp microfiber cloth to lift remaining dust without leaving streaks. Follow these simple, safe steps and your […]