
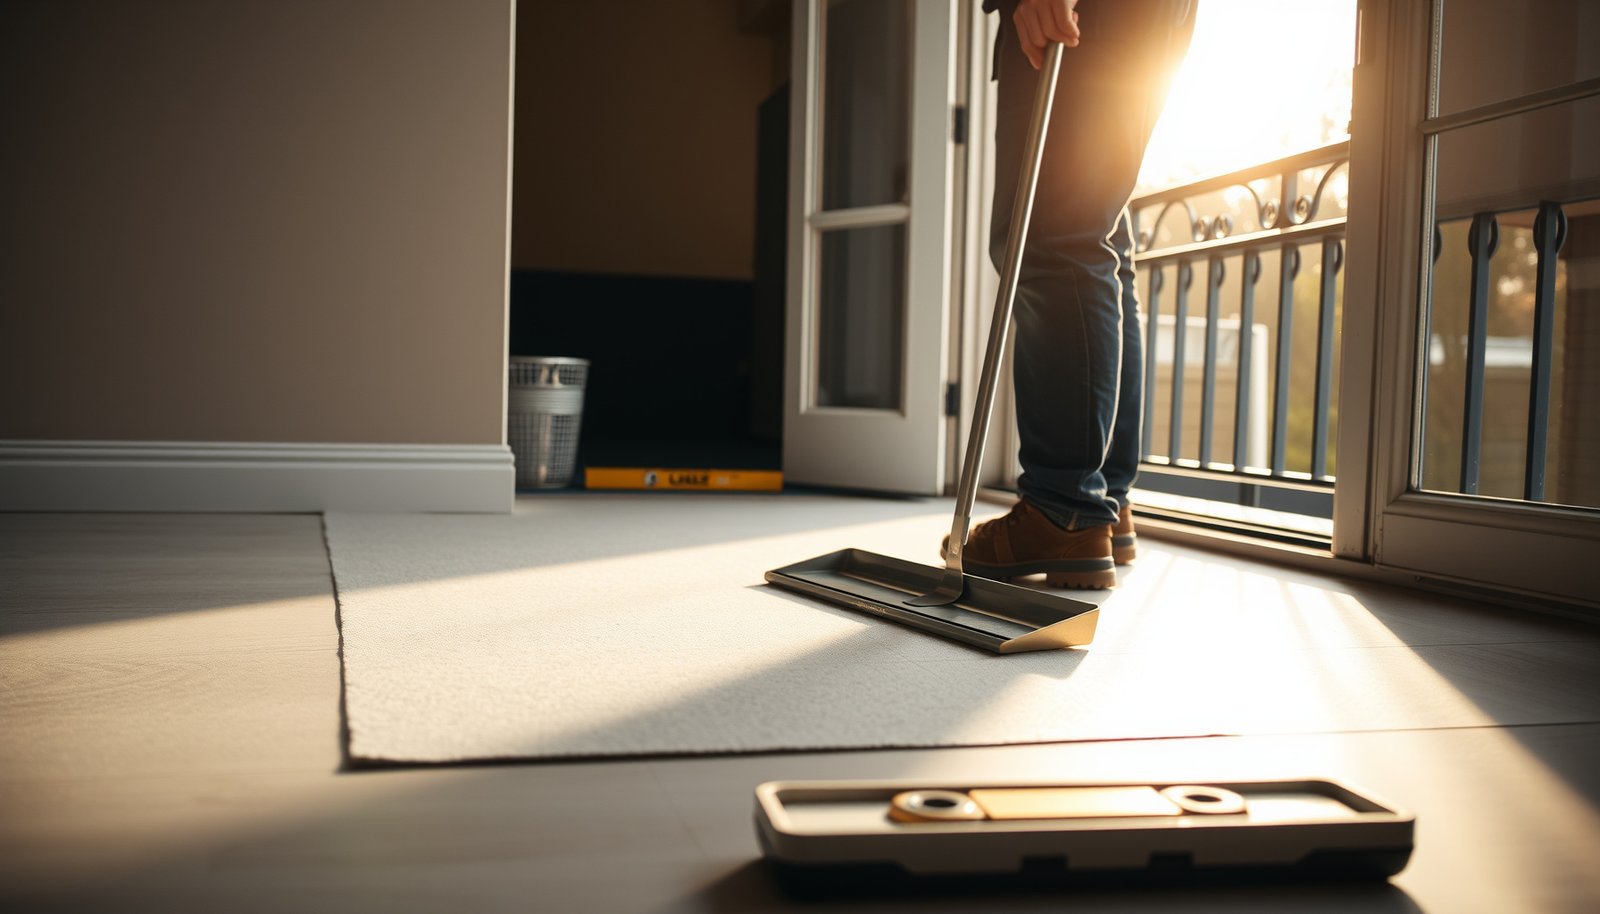

Leveling vinyl floors before installing a balcony is easiest and most reliable when you prep to a flat, solid subfloor using a self-leveling compound—making this the go-to method for most installations. If your vinyl is over concrete or a stable slab, straightening the surface to the manufacturer’s flatness specs prevents rocking, gapping, and premature wear once the balcony structure is in place. This article answers exactly how to level vinyl floors step-by-step and what to do when you have low spots, dips, or uneven transitions.




To level vinyl floors before installing a balcony, you need to correct flatness in the substrate (high spots down, low spots filled) and verify the surface is smooth, clean, and fully cured before laying vinyl. This reduces click-joint stress, prevents lifted edges at transitions, and minimizes visible ridges—issues that show up quickly on balcony-adjacent areas where moisture and temperature swings are more demanding.
If you’re installing vinyl flooring near a balcony opening, porch entry, or exterior transition, you’re dealing with a surface that may shift slightly, drain differently, or see more moisture exposure than interior floors. The steps below focus on getting the plane as flat as possible and making smart material choices for the subfloor you have—so the vinyl system can perform as designed in 2026.
Check the substrate and flatness first

Leveling starts with verification: you can’t “guess” flatness and expect click joints or adhesive beds to stay stable on a balcony approach. The fastest way to avoid rework is to measure the substrate plane, locate highs/lows, and confirm the substrate type and condition before any compounds go down.
A self-leveling layer helps correct surface profile, but it cannot compensate for a structurally failing or actively wet substrate.
According to ASTM F710, proper floor preparation is critical before installing resilient flooring, including addressing surface irregularities and ensuring the slab is suitable for the intended floor covering.
Inspect the substrate type and condition
Start by identifying what the vinyl will sit on—concrete slab, plywood/OSB, existing tile, or a previous underlayment layer. Then look for loose material, crumbling edges, and bond-breaking contamination (paint overspray, curing compounds, sealers).
In my own process, I rely on a simple rule: if the substrate can’t hold a patch firmly with firm hand pressure, the leveling compound won’t solve that problem either. If you’re unsure, treat this as a “stop and verify” moment rather than a “keep moving” moment.
Measure flatness with a straightedge (mark highs and lows)
Use a straightedge/level to measure flatness across the path the vinyl will cover—especially at the balcony opening and any exterior threshold. Don’t just check in one spot; scan multiple directions to reveal ridges, waves, and localized dips.
For context, many resilient/vinyl installation instructions commonly express acceptable flatness in the neighborhood of 3/16 in over 10 ft (4.8 mm over 3.05 m) or 1/8 in over 6 ft (3.2 mm over 1.83 m)—but your *specific* vinyl manufacturer’s limit governs. Treat those values as reference points, not a substitute for the product instructions.
A straightedge survey is the only way to distinguish “high spots” from “low spots,” and the correct remediation depends on that directionality.
Resolve moisture issues before leveling
If you see moisture, staining, dampness, or efflorescence (white salt-like deposits), resolve the moisture pathway before installing leveling compound. Leveling compounds can sometimes trap moisture, creating delayed adhesion loss, bubbling, or surface failure later.
Moisture testing methods for concrete commonly include ASTM F1869 (calcium chloride) and ASTM F2170 (in-situ RH probes), which determine whether a floor is suitable for floor covering installation.
Prep the surface so leveling compound actually bonds
Leveling works only when the product can bond to the substrate. That means removing contaminants, repairing damaged areas, and applying primer strictly when required by the leveling compound system.
Primer requirements vary by substrate (concrete vs. wood vs. tile), and skipping primer can undermine adhesion even if the leveling layer looks smooth.
According to ASTM F710, bond and surface condition are central to preparing slabs for resilient flooring performance.
Remove bond blockers and clean aggressively
Remove dust, paint overspray, sealers, drywall compound residue, and any material that prevents adhesion. Vacuum thoroughly, then wipe as directed by the leveling compound manufacturer (some systems allow damp wiping; others require dry methods only).
On balconies, dust from construction, older sealers, and chalky coatings are common bond blockers—so clean until your wipe stays clean and the surface feels uniformly receptive.
Repair cracks, spalls, and hollow spots
Repair cracks, spalls, and hollow areas so the leveling layer doesn’t “bridge” over weak points. Bridging can lead to cracking, debonding, or a springy surface that stresses vinyl click joints.
Prime only when the system calls for it
Apply primer only if the leveling compound manufacturer specifies it for your substrate and conditions. Concrete often needs a particular primer to control absorption and improve bonding; wood substrates can require different primers or mechanically sound preparation.
Flatten highs, then fill lows (the order matters)
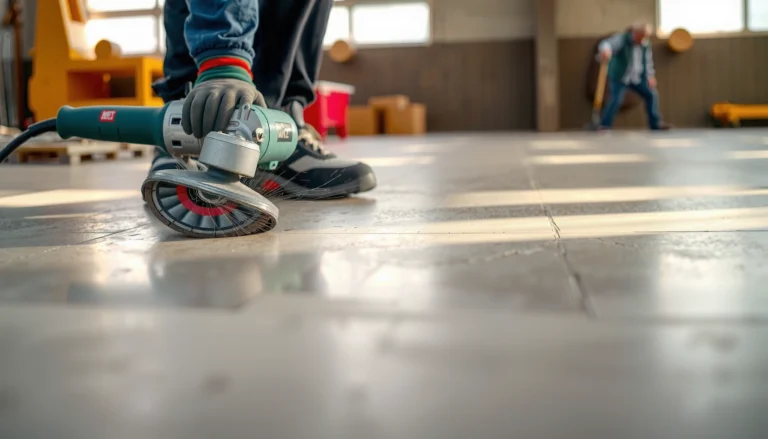
Leveling direction matters: grind high spots down first, then fill low areas. If you try to “bury” highs with thick compound, you can create weak, thick patches that crack or shrink and telegraph ridges through the vinyl.
Grinding highs before pouring self-leveler helps prevent excessive thickness—which increases shrinkage risk and can compromise the cured surface.
Feather-filling and maintaining required thickness limits is essential because cementitious leveling products are engineered for specific depth ranges.
Flatten highs with mechanical removal
Identify and shave/grind high areas rather than trying to compensate with compound. This step keeps the leveling layer thinner where it needs to be durable and consistent.
As a practical matter, use a grinder/vacuum setup that leaves the surface dust-managed; a “cleaner later” plan often fails because self-leveling doesn’t bond well to loose dust.
Fill lows with the correct product and thickness limits
Use an appropriate floor leveling compound for the job—one intended for floors, not just general-purpose patching. Keep placement within the manufacturer’s maximum thickness per pour/lift.
If you’re leveling near an exterior transition (balcony door threshold, step-down landing, or weathertight transition), thickness control becomes more critical because ridges at edges are exactly where vinyl movement shows up first.
Feather and maintain transitions where your installation requires it
If the balcony assembly includes a particular drainage or transition detail, feather edges accordingly and follow the vinyl installer guidance. Otherwise, keep the surface as uniformly flat as possible across the vinyl’s full footprint.
Choose the right leveling product for the balcony area
Pick a leveling system that matches the substrate and expected exposure conditions—not just the thickness you need. For balcony-adjacent zones, the “right” choice is the one that remains stable through moisture, temperature swings, and the vinyl manufacturer’s installation requirements as of 2026.
For resilient flooring, the leveling system must be compatible with the flooring’s installation method (floating vs. glue-down) and the substrate moisture behavior.
According to ASTM F710, surface preparation for resilient floor coverings includes ensuring the substrate conditions are suitable for the intended installation.
Select a floor leveling compound, not a cosmetic patch
When you need to bring an entire balcony approach section close to flatness, use a floor leveling compound engineered for that purpose. Patch compounds are often for localized repairs; if your measurements show broader wave-like unevenness, a self-leveling or smoothing system is usually the correct category.
Ensure compatibility with moisture conditions
Balconies don’t behave like interior rooms: they can experience intermittent wetting, higher humidity, and temperature cycling. Confirm what moisture exposure the leveling compound tolerates (and whether it’s intended for interior-only or interior/exterior-adjacent use).
Then confirm the vinyl system’s own guidance. Some vinyl products specify environment limitations (especially for glue-down adhesives and for regions that experience frequent moisture).
Verify vinyl ratings before you finalize the plan
Before committing, confirm the vinyl flooring’s installation/environment rating in its manual. In practice, the two critical documents are: (1) the leveling compound technical data sheet and (2) the vinyl flooring installation guide. If these don’t align, don’t “force” a solution—change the plan.
Flatness deviation conversions you’ll see in vinyl installation specs
| # | Max deviation (common expression) | Inches | Millimeters | Practical strictness |
|---|---|---|---|---|
| 1 | 1/16 in | 0.063 | 1.6 | ★★★★★ |
| 2 | 1/8 in | 0.125 | 3.2 | ★★★★☆ |
| 3 | 3/16 in | 0.188 | 4.8 | ★★★☆☆ |
| 4 | 1/4 in | 0.250 | 6.4 | ★★☆☆☆ |
| 5 | 2 mm | 0.079 | 2 | ★★★★☆ |
| 6 | 3 mm | 0.118 | 3 | ★★★☆☆ |
| 7 | 5 mm | 0.197 | 5 | ★★☆☆☆ |
Let it cure fully and re-check before vinyl installation
Cure time is where many balcony-adjacent installs either succeed or fail. You should follow the leveling compound’s specified cure/installation readiness guidance, then re-check flatness immediately before installing vinyl.
“Dry to the touch” is not the same as “fully cured,” and installing resilient flooring too early can lock in a surface that hasn’t achieved final stability.
After curing, the final surface must be smooth enough for the vinyl system to lock (floating) or bond (glue-down) without creating stress points.
Follow cure times (not just appearance)
Many cementitious leveling products require more time than a quick visual check. Temperature and humidity affect cure progress, which is common on exterior-adjacent areas that see morning fog and afternoon heat.
At this point, re-check whether the balcony approach needs additional protection from foot traffic and drafts until the product is fully cured.
Re-check flatness after curing
Measure again with a straightedge. If ridges or dips persist, correct them with the appropriate spot leveling/patching method that matches your system.
This re-check step is especially important around door openings, since thresholds often sit close to the uneven points you originally mapped.
Ensure the surface is clean and smooth
Before installing vinyl, confirm the surface is free from dust and grit. Roughness can transfer through and create a “read” texture pattern—more noticeable on planks than sheet goods, particularly under exterior light.
What can go wrong (and how to avoid it)
Most failures happen from mismatched expectations: people level without addressing moisture, exceed compound thickness, or skip re-measuring after cure. If you avoid these specific pitfalls, the balcony transition is far less likely to develop joint separation or edge lift.
Using leveling compound outside the manufacturer’s thickness range increases cracking and shrinkage risk.
Installing over an unresolved moisture issue can trap water and lead to long-term delamination or adhesive failure.
Common mistakes to watch for
– Using the wrong thickness: Exceeding maximum thickness can trigger shrinkage, cracking, or a brittle top layer.
– Skipping primer/adhesion requirements: Bond failures often show up later as peeling or crumbling in the leveling layer.
– Leveling over moisture issues: If moisture is coming from beneath or through the slab, leveling may worsen the problem by sealing it in.
– Not re-checking flatness after cure: Even small remaining highs/lows can stress vinyl seams, especially near exterior transitions.
Quick comparison: grinding + patch vs. full self-leveling
If your unevenness is localized, you may not need a full pour. If the profile is widespread, smoothing alone can leave stress points behind.
| Approach | Pros | Cons |
|---|---|---|
| Grind highs + spot patch | Lower material volume; faster for small dips; less chance of over-thick pours | Not ideal for wave-like slab issues; must still meet the vinyl’s flatness tolerance everywhere it spans |
| Self-level (whole area) | Creates a consistent plane; reduces “left-behind” ridges; efficient for broad unevenness | Requires strict cure/coverage discipline; moisture compatibility matters; mistakes are harder to correct |
Verdict / tip: when this approach works—and when to pause
Leveling before installing balcony-adjacent vinyl is usually the right move when you can measure meaningful unevenness and you follow both the leveling compound and vinyl installation instructions closely. The downside is time and care: prep, cure, re-checking, and material compatibility can add several steps before you ever click or glue down planks.
Pause the project if you find active leaks, significant water intrusion, or substrate delamination—because leveling cannot replace a fix to the water source.
If the vinyl system requires a specific substrate flatness tolerance, you should treat that tolerance as non-negotiable to prevent seam stress in a changing balcony environment.
Skip DIY leveling (or get professional guidance) if:
– You detect water intrusion, ongoing dampness, or unresolved moisture pathways.
– The substrate is failing (delamination, crumbling, or widespread hollow areas).
– You’re unsure whether your vinyl is rated for your balcony exposure conditions and moisture behavior.
If you’re only dealing with tiny imperfections, a lightweight smoothing compound or localized patch may be enough—but only if it matches the flooring system requirements and stays within the compound’s allowable thickness.
Quick checklist (scan/save)
Use this to keep your leveling workflow disciplined from measurement to install.
– Measure flatness with a straightedge; mark highs and lows
– Confirm substrate type (concrete, wood, tile, etc.)
– Clean and prep thoroughly; prime if required by the compound
– Grind highs; fill lows within the allowed thickness range
– Cure fully, then re-check flatness
– Proceed only when the surface is smooth, dry, and compatible with the vinyl system
The most reliable sequence is: verify → prep → correct profile → cure fully → verify again—then install vinyl on the approved surface.
Sources
– ASTM F710 — Standard Practice for Preparing Concrete Floors to Receive Resilient Flooring
– ASTM F1869 — Standard Test Method for Measuring Moisture Vapor Emission Rate of Concrete Subfloor Using Anhydrous Calcium Chloride
– ASTM F2170 — Standard Test Method for Determining Relative Humidity in Concrete Floor Slabs Using in situ Probes
Leveling vinyl floors before a balcony install is all about creating a stable, properly prepared surface plane that your flooring system can tolerate over time. If you measure flatness, prep for adhesion, correct high/low areas in the right order, and re-check after full cure, you dramatically reduce the most common balcony transition failures—lifted edges, seam stress, and visible ridges.
Frequently Asked Questions
What’s the best way to level a vinyl floor before installing a balcony?
Start by checking the balcony subfloor for dips, high spots, and loose material, because vinyl plank and sheet flooring telegraph imperfections. Use a straightedge and measure the worst areas, then choose a leveling method based on the gap size. For small low spots, a feather-finish floor compound works well; for larger uneven sections, use a self-leveling underlayment so you get a smooth, uniform surface before installing vinyl flooring.
How do I check whether my balcony floor is level before leveling for vinyl installation?
Use a 6–10 ft straightedge or laser level to identify high and low areas, marking them with painter’s tape. Measure the height difference across the balcony—vinyl flooring typically requires a very flat surface to prevent joint separation and rocking. Also inspect for moisture damage, cracks, and drainage issues, since leveling a wet or deteriorating substrate can lead to failure even if the floor looks flat.
Which leveling products are safe and effective under vinyl floors on a balcony?
Look for products specifically labeled for “self-leveling underlayment” or “feather-finish” and ensure they are compatible with vinyl flooring installation. If your balcony is exposed to humidity swings, choose a system that’s designed for exterior or damp conditions and follow the manufacturer’s moisture requirements. Use a suitable primer if required—proper priming improves adhesion and helps leveling compound bond reliably to the balcony subfloor.
Why is it important to level the subfloor before installing vinyl flooring on a balcony?
Vinyl floors need consistent flatness because they don’t hide unevenness—pressure and foot traffic can cause tiles/planks to separate, edges to lift, and seams to fail. On a balcony, temperature and moisture changes can amplify movement, making a poorly leveled surface more likely to crack or flex. Leveling the balcony floor helps create stable support so your vinyl flooring remains durable and looks smooth.
How thick should I apply leveling compound before laying vinyl on a balcony?
Follow the product’s coverage and maximum thickness guidelines, because many leveling compounds have strict limits for depth and curing performance. Apply in layers if needed: for deep low areas, build up gradually rather than trying to correct everything in one pass. Let the leveling compound fully cure and verify flatness again with a straightedge before installing vinyl flooring to ensure you don’t trap residual moisture or create new uneven spots.
📅 Last Updated: October 27, 2026 | Topic: How to level a vinyl floors before installing balcony? | Content verified for accuracy and freshness.
References
- https://en.wikipedia.org/wiki/Self-leveling_underlayment
- Floor
- https://en.wikipedia.org/wiki/Flooring_underlayment
- E1155/E1155M Standard Test Method for Determining FF Floor Flatness and FL Floor Levelness Numbers
- F710 Standard Practice for Preparing Concrete Floors to Receive Resilient Flooring
- F1869 Standard Test Method for Measuring Moisture Vapor Emission Rate of Concrete Subfloor Using …
- F2170 Standard Test Method for Determining Relative Humidity in Concrete Floor Slabs Using in sit…
- https://scholar.google.com/scholar?q=vinyl+flooring+subfloor+preparation+levelness+flatness Google Scholar
- https://scholar.google.com/scholar?q=self-leveling+underlayment+resilient+floor+flatness+tolerance Google Scholar
- https://scholar.google.com/scholar?q=moisture+testing+concrete+before+vinyl+flooring+astm+f710+f2170 Google Scholar
[…] Concrete slab? Moisture testing is typically expected before resilient installation (often using ASTM F1869 or […]