
If you’re leveling vinyl floors before installing a rental property, the fastest path to a flat, stable subfloor is sanding and patching high spots and filling low areas with an underlayment-compatible leveling compound. This step-by-step approach beats “DIY shortcuts” because it prevents click-lock gapping, ridges telegraphing through vinyl, and callbacks from uneven wear. Follow the right prep, and your vinyl install will look clean and hold up under tenant traffic.




Level your vinyl floor by fixing the subfloor flatness first (not just “filling low spots”), then verify it’s within the flooring manufacturer’s tolerance before you install. For most rental turns, that means you scrape off buildup, flatten high spots, use self-leveling compound only where needed, and reinstall underlayment/patches correctly so the click-lock or glue-down vinyl won’t telegraph imperfections. In this guide, you’ll learn a practical leveling workflow that’s appropriate for rental property timelines.
If you’re preparing a rental unit—especially one with old sheet vinyl, carpet pad residue, or uneven plywood—this is for you. The steps below focus on what to check, what to correct, and what can go wrong when you skip subfloor flatness before installing vinyl.
Assess subfloor flatness (before you buy leveling materials)

You can’t choose the right leveling method for vinyl until you know whether the subfloor is actually out of flatness tolerance versus just messy or scarred. Start with straightedge measurements, then match your results to the exact limits in the vinyl manufacturer’s installation instructions—this is the rule that governs everything else in the job.
ASTM F710 uses a 10-ft (3-m) straightedge to evaluate resilient flooring substrate flatness, with a commonly referenced maximum variation of 3/16 in (5 mm) over that span. ASTM F710
If your vinyl manufacturer’s flatness tolerance is tighter than ASTM F710, you follow the tighter number—even when the floor “looks fine” during a walkthrough.
In 2026 rental turns, the most reliable approach is to measure flatness before buying leveling compound, not after you discover telegraphing at day one or week six.
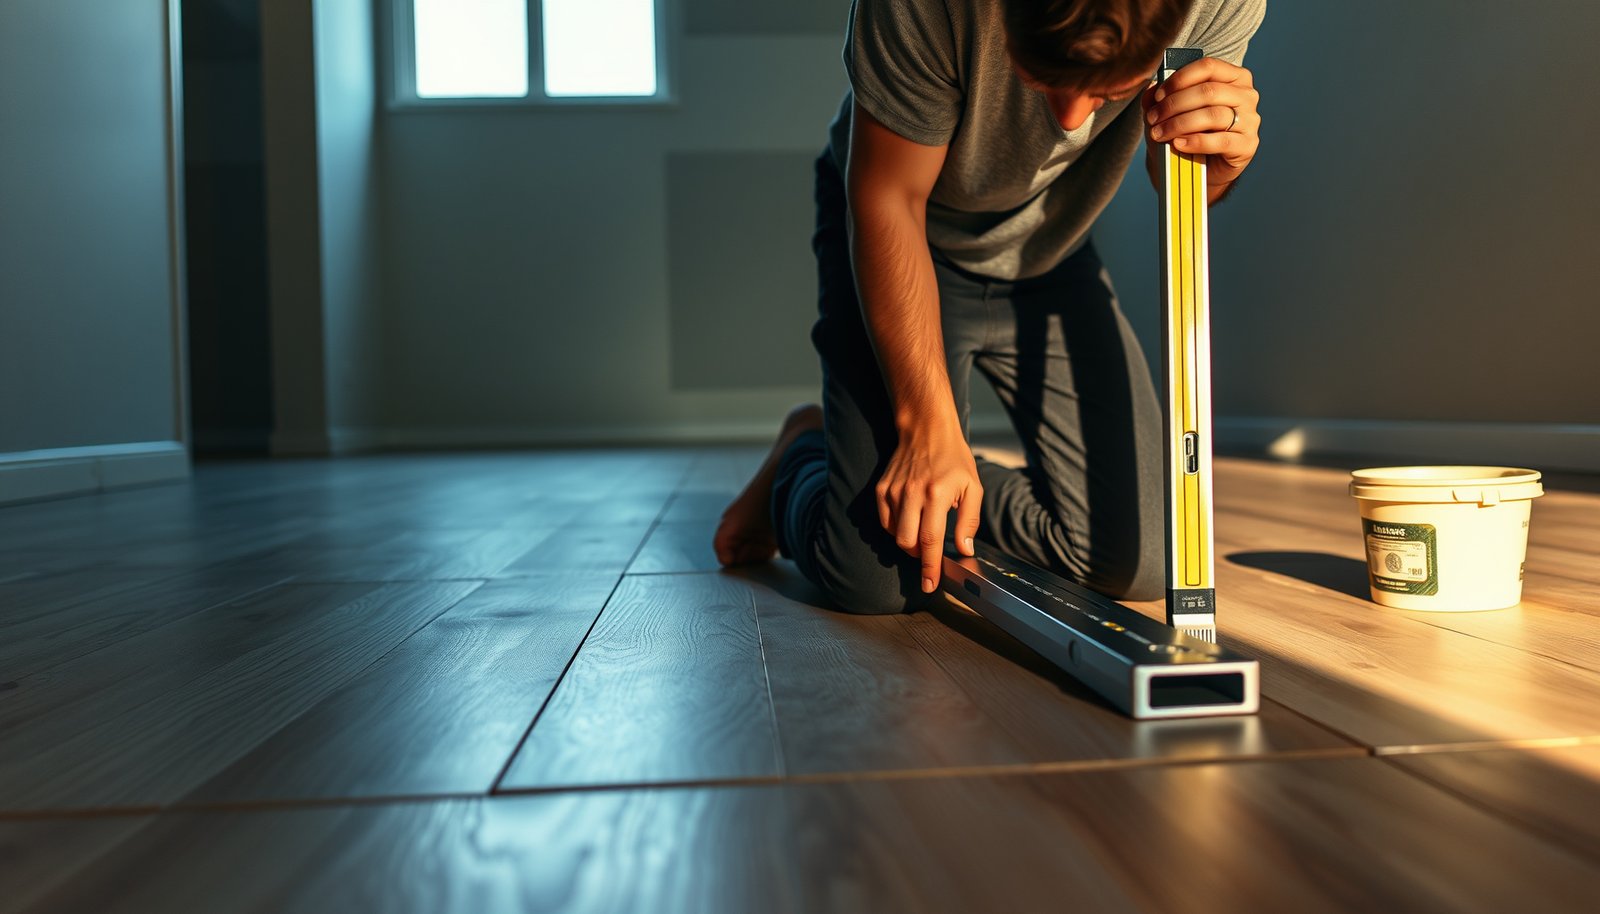
– Measure how uneven it is using a straightedge (and take note of dips, ridges, and loose edges).
In practice, I recommend checking both directions across the room and along likely load paths (door swing zones, hallway centers, and where rolling carts land). Rental vinyl—especially click-lock—can telegraph fast when high spots push joints up and down.
– Identify the subfloor type (plywood, OSB, concrete, old adhesive, etc.) because prep and allowable flatness vary by surface.
Plywood/OSB often needs fastener checks and sanding/grinding; concrete may require moisture testing and patching before any self-leveling compound. Old adhesive or mastic is a frequent “hidden ridge” source.
– Check the vinyl manufacturer’s installation instructions for the required subfloor flatness tolerance: that number controls everything else you do.
As of 2026, many resilient and LVP/LVT products still rely on a “flat to within X” requirement to prevent edge peaking, joint noise, and seam separation.
Subfloor Flatness Targets Commonly Referenced for Resilient/Vinyl (ASTM F710)
| # | Straightedge span (converted) | Max variation (linearized from 3/16 in over 10 ft) | What to do next | Installer-readiness score |
|---|---|---|---|---|
| 1 | 3 ft (0.9 m) | ≤ 1/16 in (≈1.6 mm) | Usually patch/spot-fix only | ★★★ ★☆ |
| 2 | 4 ft (1.2 m) | ≤ 1.25/16 in (≈2.1 mm) | Grind high points, feather lows | ★★★ ☆ ☆ |
| 3 | 6 ft (1.8 m) | ≤ 2.25/16 in (≈3.4 mm) | Spot patch or thin self-leveler pass (if allowed) | ★★★ ☆ ☆ |
| 4 | 10 ft (3.0 m) | ≤ 3/16 in (5 mm) | Proceed only after re-check + manufacturer verification | ★★★★ ★ |
| 5 | 12 ft (3.7 m) | ≤ 3.6/16 in (≈6 mm) | Treat as out-of-target unless your vinyl spec is looser | ★ ★ ☆ ☆ ☆ |
| 6 | 15 ft (4.6 m) | ≤ 4.5/16 in (≈7.5 mm) | Don’t assume “looks flat”; measure and correct | ★ ★ ☆ ☆ ☆ |
| 7 | Impact zone (doorways) | Target: eliminate ridges where seam noise starts | Grind/patch; then re-check with seams present | ★ ☆ ☆ ☆ ☆ |
Note: This table converts ASTM F710’s 10-ft (3-m) flatness target into other spans using a linearized relationship for estimating how to spot-check in the field. Your vinyl manufacturer’s written flatness tolerance still controls the decision to install.
Prep the surface so leveling compound and vinyl bond properly
Your leveling plan will fail faster than your timeline if the surface can’t bond or can’t stay dry. Prep for vinyl means removing anything that creates bumps (debris, ridges, loose edges) and handling moisture and priming requirements before you pour or patch.
Leveling compound is not a moisture barrier by default; you must address moisture sources first, especially on concrete slabs.
Primers exist because substrates vary: porous substrates often need conditioning/priming so the leveling compound can bond instead of debonding at the surface.
For rental units as of 2026, surface contamination from old adhesive and dust is one of the quickest routes to telegraphing and peeling failures.
– Remove paint overspray, drywall mud ridges, loose debris, and any peeling flooring/adhesive that could create bumps.
“Bumps” aren’t just visible. Fine particles under vinyl—especially under click-lock corners—can act like shims that amplify lippage at seams.
– Fix moisture issues first (especially on concrete or any area that smells damp), since leveling won’t fix ongoing dampness.
Moisture testing matters because ASTM methods define what you measure. For example, ASTM F1869 reports moisture vapor emissions in lbs per 1000 sq ft per 24 hours, and ASTM F2170 measures in-situ relative humidity (%RH)—both are expressed in standard units so flooring systems can be specified correctly. ASTM F1869 ASTM F2170
– Prime/condition the surface exactly as the leveling product and flooring manufacturer specify (for example, porous vs. non-porous substrates).
If you skip primer on concrete or over a reactive substrate, you can end up with weak top surfaces that dust under the trowel—and that weak layer can telegraph through vinyl later.
Flatten high spots and patch low areas strategically
Fix the highest ridges first, then bring lows up only where you must. This “cut high, fill low” sequence is typically faster for rentals than trying to self-level the entire floor, and it reduces the chance you over-build thickness.
Grinding high spots is usually preferred over building a thick leveling layer, because thicker pours take longer to cure and can create a new surface weakness if they exceed product thickness limits.
Feather-edged patching (gradual tapering) helps prevent a second “ridge” at the perimeter of a repair, which is a common vinyl telegraphing trigger.
For vinyl floor leveling, localized self-leveling is appropriate only when the pour area is large enough to self-flow but still within the leveling product’s depth range.
– Grind/sand high spots down rather than trying to “build up everything” with compound.
Rentals often include patched drywall mud, old embossing from sheet vinyl, or ridges along seams. Grinding these first reduces the volume of leveling compound you’d otherwise need and improves how the vinyl lays.
– Use patch compound for localized low areas, feathering edges so you don’t create a new high/edge problem.
Feathering is what keeps your patch from becoming its own “high point” once it cures—especially important under click-lock vinyl where small step changes can show up as joint noise.
– Only use self-leveling compound (if your product requires it) to address broader unevenness—thin “top coats” often aren’t enough if the floor is too far out of spec.
If your straightedge shows widespread out-of-tolerance variation, a controlled pour (within the product’s thickness/depth limits) is usually more consistent than layering multiple patch-only repairs.
Pros/cons: Patch + grind vs. self-leveling for rental timelines
| Decision factor | Patch + grind | Self-leveling pour |
|---|---|---|
| Flatness out-of-spec size | Best for localized highs/lows | Best for broad unevenness |
| Labor intensity | Higher grinding/spot repair time | Lower labor once forms/priming are set |
| Risk of edge ridges | Mitigated by feathering | Mitigated by proper depth and containment |
| Cure time management | Often more flexible per zone | Whole pour area may wait on cure |
| Material volume control | Lower volume in spot areas | Volume rises quickly with depth |
| Telegraphing sensitivity | High if feather edges are missed | High if pour thickness/flow is off-spec |
| Best “rental turnover” fit | When you’re tight on time and issues are local | When you must get consistent flatness across a larger footprint |
| Best for click-lock seams | Yes—if no residual ridges remain | Yes—if re-checked after cure |
| Best for glue-down vinyl | Yes—if adhesive substrate is fully prepared | Yes—if bond/primer requirements are met |
| Verdict (overall) | More control, less material, more “hands-on” | More uniform results when out-of-spec is widespread |
Use self-leveling compound correctly (timing, thickness, technique)
If you use self-leveler, you treat it like a system: correct mix, correct priming, correct depth, and correct cure window. The goal of vinyl floor leveling is not “a smoother surface,” it’s a surface that meets your vinyl’s flatness tolerance after the compound has fully cured.
Self-leveling compounds are engineered to perform within specified water/mix ratios and application depth ranges stated on the product technical data sheet.
Over-thick pours increase cure time and can increase shrinkage risk, which can reintroduce unevenness after vinyl floor leveling is “done.”
Walk-off timing affects outcomes: installing underlayment and vinyl before the leveling compound has reached the required cure state can cause surface damage or bond problems.
– Follow mix ratios and application limits from the leveling compound instructions; don’t guess based on how it looks.
A too-wet batch can weaken the top surface; too dry can prevent proper flow and create ridges. For vinyl floor leveling, you want consistent, measurable results, not “it poured out.”
– Control thickness and coverage: poured compounds are designed to work within a specific depth range.
Thin “top coat” layers sometimes don’t fix the actual geometry problems, while thick pours can drift out of spec for cure and finish quality.
– Plan airflow and walk-off timing so the floor cures before you proceed to vinyl installation and underlayment placement.
Ventilation and temperature control are still part of vinyl floor leveling. If you rush underlayment placement, you can end up trapping moisture or damaging the new surface.
Re-check flatness after leveling (this step prevents callbacks)
Re-checking flatness after the compound cures is what turns vinyl floor leveling from “guesswork” into a spec-compliant install. Before you lay vinyl, verify again with a straightedge and pay extra attention to transitions where rental foot traffic starts stressing seams.
Flatness verification after cure is essential because grinding/patching and self-leveling can introduce small changes at edges, seams, and containment borders.
Doorways, hallway seams, and around vents are repeat telegraphing zones because they concentrate movement and reduce the “buffer” of a continuous subfloor plane.
Click-lock vinyl (floating) still requires proper substrate flatness; underlayment changes can reduce but not eliminate the impact of out-of-spec high spots.
– After curing, measure flatness again with a straightedge and mark any remaining problem areas.
Treat this as a “final inspection step.” Marking ridges now is faster than removing vinyl later.
– Address transitions: doorways, hallway seams, and around vents can expose small ridges if not flattened.
If you used patch feathering or a perimeter containment dam, inspect those edges carefully. Rental tenants notice seams first.
– Confirm you’re following vinyl requirements for underlayment (or no underlayment) so you don’t accidentally change how the floor bridges minor imperfections.
Underlayment products aren’t always interchangeable. Some vinyl systems require no underlayment over certain leveling compounds; others specify a specific pad type to manage moisture.
What can go wrong (and how to avoid it in rentals)
The most common rental failures come from violating the flatness rules or ignoring moisture and bonding requirements. When vinyl floor leveling is treated as “cosmetic,” you typically see joint noise, gaps, and seam separation after normal tenant movement starts.
Ignoring manufacturer flatness limits can produce visible or audible failure modes later, including joint separation and “click” noise from repeated micro-movement.
Leaving steps from old adhesive, patch edges, or grinder ridges can telegraph through resilient vinyl because resilient products transmit surface geometry.
Leveling compound isn’t automatically a moisture barrier; if moisture conditions are outside the flooring system’s limits, a telegraphing-free surface still won’t guarantee long-term performance.
– Skipping manufacturer flatness limits: vinyl may feel “fine” at install but can develop gaps, clicking noise, or joint separation later.
This is the rental callback that’s expensive because it requires full removal of vinyl to correct the subfloor problem.
– Overusing leveling compound: excessive thickness can cause longer cure times, shrinkage, or a surface that doesn’t bond well.
“More compound” rarely equals “more success.” If you exceed the TDS thickness/depth limits, you can undermine performance.
– Leaving ridges from old adhesive or patch edges: even small steps can telegraph through vinyl, especially in high-traffic rental areas.
This is why scrape/grind matters. Residual mastic beads and old cutback adhesive ridges often survive demolition unless you physically level them.
– Installing over moisture problems: leveling compound isn’t a moisture barrier unless the system is designed for it.
Rental timelines often pressure teams to move on quickly; moisture testing and documented approvals protect you from repeated failure.
Should you level? A quick “approach vs approach” decision
| Criterion | Level-first (spec-checked vinyl floor leveling) | Skip-flatness (install fast) |
|---|---|---|
| Manufacturer tolerance followed | Yes—flatness measured against written limits | Often no |
| Risk of telegraphing | Lower when high spots are ground and lows are feathered | Higher, especially at seams/doorways |
| Moisture handling | Test + prime/prepare per system requirements | Frequently skips testing due to turnover pressure |
| Bond reliability | Primer and surface prep match the leveling compound system | Debonding risk from contamination or missing primer |
| Cure-time discipline | Respects walk-off/ready windows before underlayment/vinyl | Installs before cure, risking surface damage |
| Time predictability | More predictable if you plan for cure windows up front | May look fast, but callbacks add days |
| Tenant experience | Quieter, fewer seam issues in normal use | Joint noise and uneven feel can appear quickly |
| Cost to redo | Lower likelihood of full replacement | Higher probability of removal and reinstallation |
| Compliance defensibility | Documented measurements and product/system instructions followed | Harder to defend after failures |
| Verdict | Recommended for rental turns where vinyl lasts years, not weeks | Not recommended when flatness/mystery moisture are unknown |
Verdict: a renter-ready, practical leveling plan (with downsides)
If your subfloor is out of flatness tolerance, vinyl floor leveling is the right move before you install—especially in rentals where foot traffic is constant. The real downsides are labor and cure time; if you’re working on a tight turnover schedule, you may prioritize targeted grinding/patching over full-area self-leveler pours.
For resilient vinyl, subfloor flatness is a performance requirement—not a cosmetic preference—so meeting the written tolerance is the safe path for rentals. ASTM F710
When timelines are tight, the most effective compromise is often “reduce high spots + correct localized lows,” then re-check flatness after cure before installing vinyl.
If the subfloor has structural or moisture defects, leveling compound is not a substitute; you need assessment before any vinyl floor leveling.
If you’re dealing with major structural issues (sagging joists, widespread subfloor delamination, or active water intrusion), don’t rely on leveling compound—call a qualified contractor/assessor for structural or moisture problems.
Practical takeaway for 2026 rental work: build your schedule around measurement → prep → patch/grind/self-level (only where needed) → cure → re-measure → install. That sequence reduces callbacks and protects the investment in click-lock or glue-down vinyl.
Quick checklist (scan/save)
– [ ] Measure subfloor flatness with a straightedge and note dips/ridges
– [ ] Identify subfloor type and check vinyl manufacturer flatness tolerance
– [ ] Remove loose debris, old peel-ups, and high buildup
– [ ] Prime/prepare per leveling compound + floor instructions
– [ ] Grind high spots; patch low spots; use self-leveler only where appropriate
– [ ] Re-check flatness after full cure before vinyl install
Sources
– ASTM F710 (Standard Practice for Preparing Concrete Floors to Receive Resilient Flooring—flatness measurement method and commonly referenced resilient flooring tolerance)
– ASTM F1869 (Standard Test Method for Measuring Moisture Vapor Emission Rate of Concrete Subfloor Using Anhydrous Calcium Chloride)
– ASTM F2170 (Standard Test Method for Determining Relative Humidity in Concrete Floor Slabs Using in situ Probes)
Leveling vinyl floors for a rental property is not about making the surface “prettier”—it’s about hitting the spec so the vinyl can perform through years of tenant traffic. Measure, prep, correct the geometry, cure fully, and re-check flatness, and you’ll avoid the most expensive failures: telegraphed ridges, noisy seams, and premature joint problems.
Frequently Asked Questions
What’s the best way to check if a subfloor is level before installing vinyl flooring in a rental?
Start by cleaning the subfloor and using a 6–10 ft level or straightedge to map high and low spots. Mark any areas that are out of plane, then measure the difference across the length of the room. As a rule of thumb, many vinyl floors do best when the subfloor is flat within about 1/8 in over 6 ft, because larger variations can cause joint separation or telegraphing.
How do I level a concrete subfloor before laying vinyl plank in a rental property?
Sweep and vacuum thoroughly, then fill cracks and pitted areas with a patch or concrete repair product. For low areas, use a self-leveling underlayment (SLU) rated for floor flattening and compatible with vinyl installation—follow mixing and pouring instructions exactly. If you have high spots, grind them down instead of trying to “build up” everywhere, and prime the surface when the SLU manufacturer requires it to improve bonding.
How can I level a plywood or OSB subfloor before installing luxury vinyl tile (LVT)?
Check for loose boards, squeaks, and movement—secure or screw down any areas that flex, because leveling won’t fix an unstable subfloor. For dips between joists, you can add shims or use floor patch compounds; for localized low spots, use a feather-finish patch to create a smooth, flat surface. If the surface is uneven overall, consider an underlayment system designed for vinyl floors, but keep thickness and manufacturer requirements in mind for transitions and door clearance.
Why is subfloor leveling so important for vinyl flooring in rental properties?
Vinyl flooring is generally tolerant, but it still needs a flat, smooth base—unevenness can lead to gaps, raised edges, cracked grout-look visuals (for LVT), and premature wear. In rental settings, foot traffic is often heavier and turnover schedules are tight, so minimizing callbacks is critical. Proper leveling reduces the risk of visible ridges (“telegraphing”) and helps locks or adhesives perform as intended.
Which leveling method should I choose—patching, grinding, or self-leveling—when prepping for vinyl in a rental?
Use grinding for high spots, patch/feather-finish for small dips and localized imperfections, and self-leveling underlayment for broader low areas across large sections. Before selecting a method, identify whether the issue is flatness (level) versus firmness—vinyl requires both stability and smoothness. When you’re working in a rental, also consider cure time, odor, and installation schedule, then choose products that are workable for the property’s turnaround and meet the vinyl flooring manufacturer’s substrate requirements.
📅 Last Updated: October 26, 2026 | Topic: How to level a vinyl floors before installing rental property? | Content verified for accuracy and freshness.
References
- Vinyl flooring
- Flooring
- Floor
- Self-leveling concrete
- Screed
- Underlayment
- Flooring
- https://scholar.google.com/scholar?q=vinyl+flooring+subfloor+flatness+leveling+self-leveling+underlayment Google Scholar
- https://scholar.google.com/scholar?q=ASTM+F710+subfloor+flatness+requirements+resilient+flooring Google Scholar
- https://scholar.google.com/scholar?q=vinyl+flooring+installation+subfloor+moisture+tests+ASTM+F1869+F2170 Google Scholar