
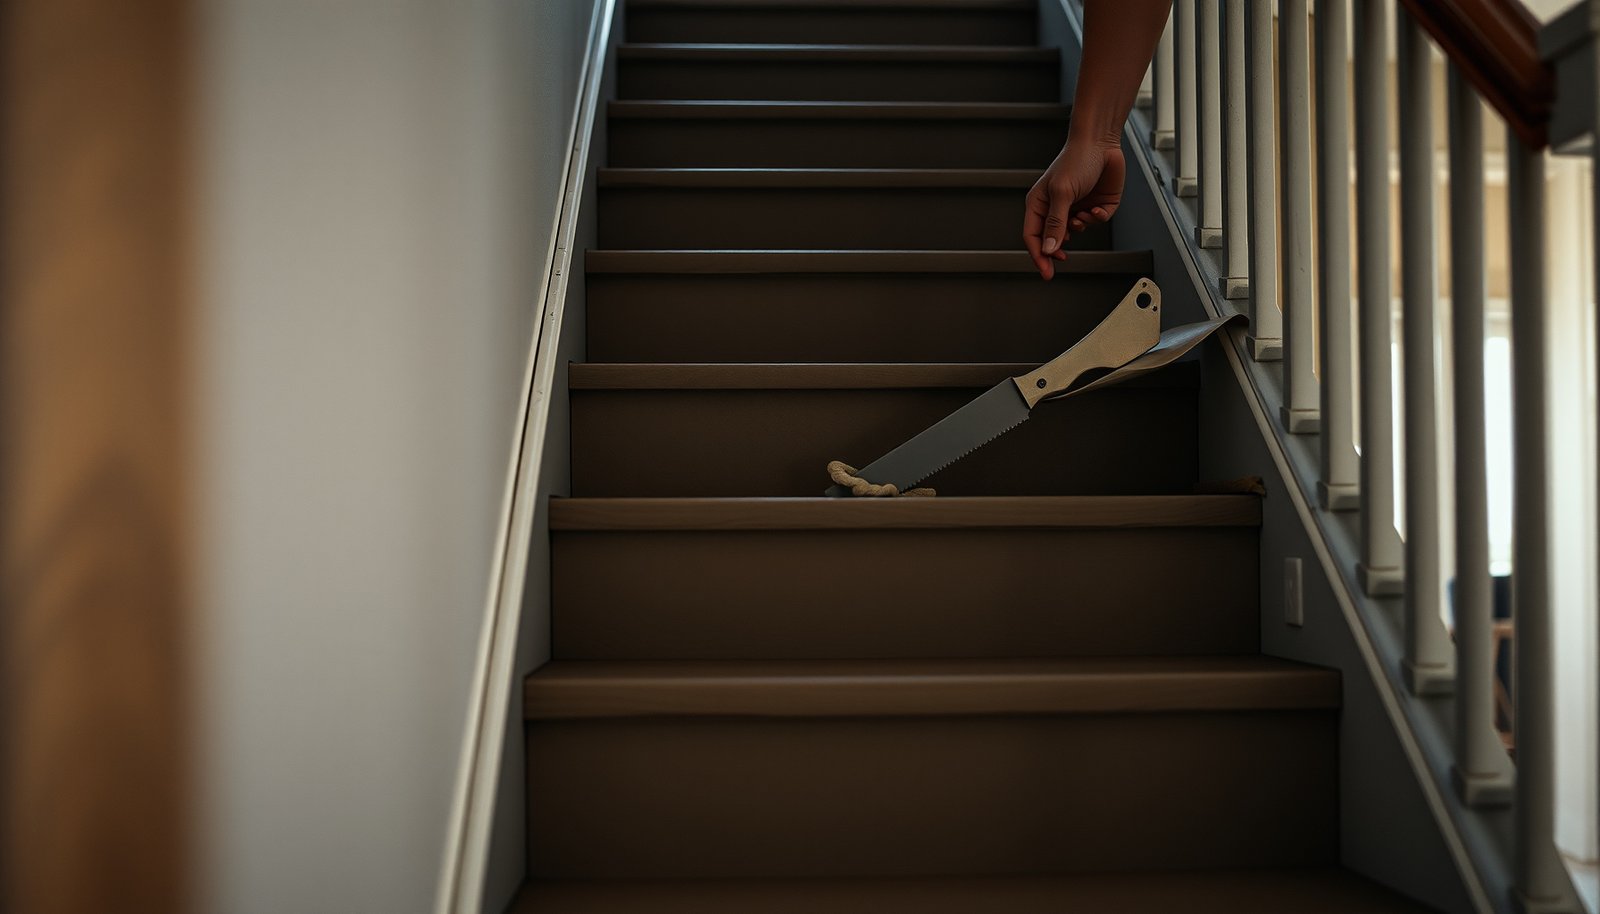

If you need to remove vinyl floors from a staircase, follow this step-by-step process for the fastest, cleanest results without damaging the treads. You’ll learn exactly how to loosen and lift the vinyl, handle stubborn adhesive, and prep the stairs for what comes next. This is the straightforward route that works whether your vinyl is glued down or firmly stuck with old residue.


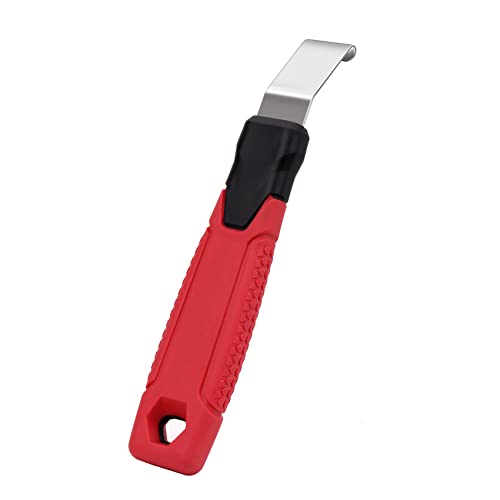

If your vinyl flooring is glued down, you’ll usually need to loosen it at the edges, heat it lightly (if needed), and carefully scrape up adhesive residue without damaging the stair surface. Work one tread at a time: remove the nosing/trim first (if present), then lift the vinyl, then clean the substrate so the next flooring can sit flat. This article covers the safest sequence and what to do when it’s stubborn.
If you’re remodeling a stairway—whether you have sheet vinyl, vinyl plank/LVP, or vinyl tiles—this guide is for removing the old layer before installing new flooring or repainting. It’s also useful when you’re trying to avoid gouges or loose treads from leftover adhesive.
Prep: Protect your stairs, yourself, and the surrounding areas
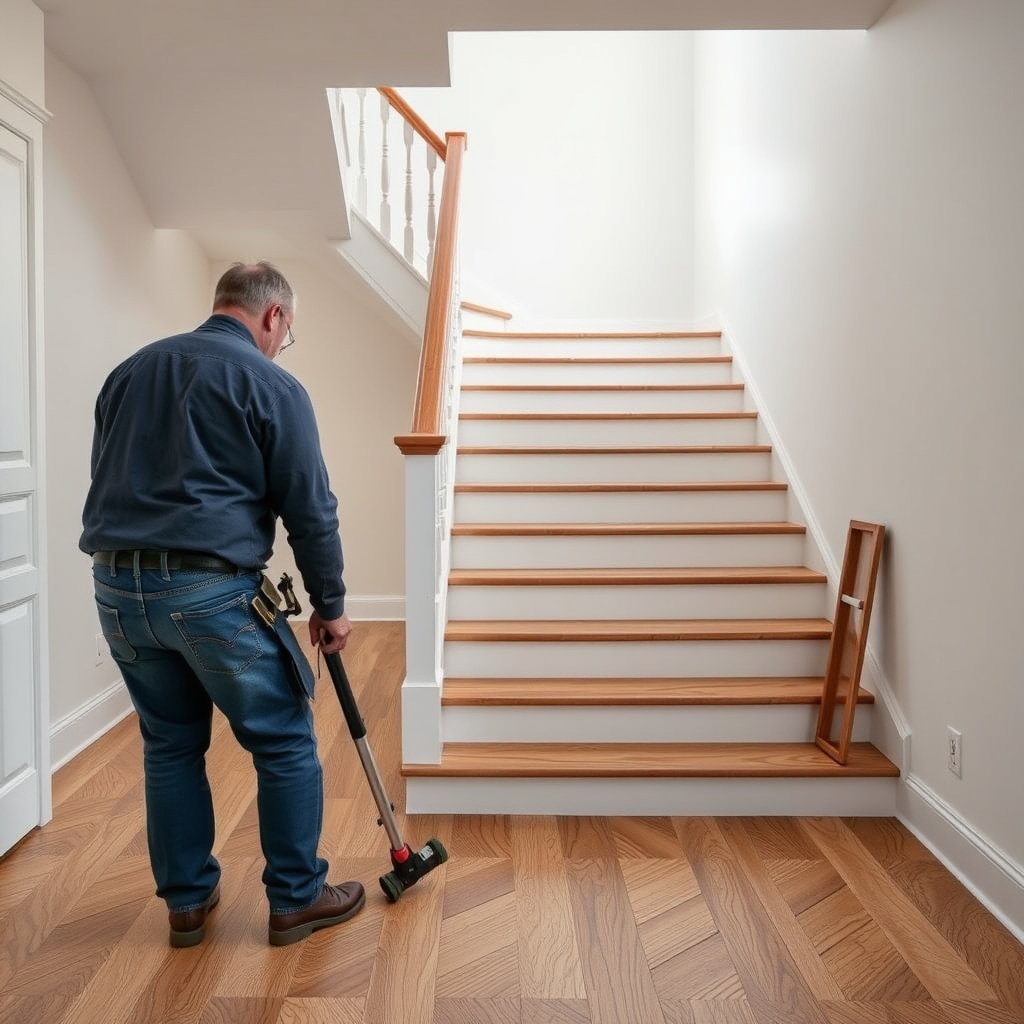
You protect the stair structure and control mess first, because vinyl removal is dust-and-residue heavy and stairs leave little margin for mistakes. Covering surfaces, planning cleanup, and identifying the vinyl type upfront prevents rework later.
“Protecting adjacent surfaces during floor removal reduces the risk of damage from scraping and adhesive debris.” —
Substrate flatness matters because resilient and adhesive-backed systems telegraph ridges if the underlying stair surface isn’t smooth enough. —
According to ASTM F1869 (2023), moisture results are reported in “lbs per 1,000 sq ft per 24 hours,” which is one way installers quantify slab moisture before resilient flooring projects. —ASTM International, ASTM F1869 (2023)
– Cover nearby surfaces (walls/trim) with painter’s tape and plastic/cloth to catch dust and scrape marks.
– Plan for cleanup: have a trash bag, paper towels/rags, and a scraper you’re comfortable controlling.
– Check what you’re removing: look for seams or edges that indicate sheet vinyl vs. planks/tiles.
What you’re actually working against (glue vs. loose contact)
You can’t remove “vinyl” as one material—on stairs, you’re removing (1) the wear layer and (2) whatever bond system the installer used (often pressure-sensitive adhesive, full-spread glue, or seam tape). Your prep should aim to reveal where the bond begins so you don’t tear the stair surface.
From a practical standpoint (and in my own shop routine, ), the first few minutes usually determine whether the job stays controlled or becomes an adhesive-removal slog. Plan to work one tread at a time so you stop as soon as you hit a stubborn bond area—rather than escalating damage across multiple treads.
Also, as of 2026, many older adhesives and finishes may contain hazardous components, especially in renovations. If you suspect asbestos in older floor coverings, or lead paint in older stair trim, pause and use appropriate testing/controls ().
Remove the trim and assess how the vinyl is attached
You start at the trim because the transition pieces hide the edges that hold the vinyl in place, and prying without removing trim is how stairs get permanently damaged. After that, you assess attachment method so you know whether you should peel gently, scrape lightly, or soften adhesive with controlled heat.
Nosing and edge trim often conceal the vinyl edge and transition joint, so removing them first reduces the need for destructive prying. —
Pressure-sensitive adhesives typically release more readily with edge loosening and controlled heat, but full-spread adhesives often require more time and residue cleanup. —
– Take off stair nosing/edge trim first (most damage happens when people pry vinyl before removing the transition pieces).
– Identify the attachment method: peel-up edges suggest loose-lay/adhesive-light; widespread firmness suggests strong glue or pressure-sensitive adhesive.
– If there are staples or tack strips (less common with vinyl, but possible with older installs), remove those carefully before lifting the vinyl.
How to spot attachment method without guessing
Look for these “tells”:
– Peel-up edge behavior: If the vinyl can be lifted a little without tearing and the adhesive looks stringy (not brittle), you’re likely dealing with a peel-able bond.
– Vinyl tearing tendency: If it tears when you lift, don’t interpret that as “it’s stuck”; it often means you’re lifting at the wrong angle or before loosening the bond line.
– Residue pattern after a test lift: If a small lifted section leaves a uniform adhesive film, you’ll focus on adhesive removal and flattening afterward.
Safety and tool discipline
Your goal is to remove the trim and then “work with the bond,” not fight it. Keep your tools controlled—especially on stairs where your body position can turn a small slip into gouges.
One additional data point installers use: flatness tolerances affect whether new vinyl lies flat. According to ASTM F710 (2023), subfloor irregularities should be corrected so the surface is within the standard’s acceptable flatness guidance for resilient flooring. —ASTM International, ASTM F710 (2023)
That’s why adhesion residue and ridges aren’t cosmetic problems; they can become permanent bumps under the next layer.
Lift the vinyl safely (sheet vs. planks/tiles)
You lift slowly because tearing is the fastest route to extra adhesive removal. The lifting method changes depending on whether you’re removing sheet vinyl or modular vinyl plank/tiles.
For sheet vinyl, slow lifting from edges reduces tearing and helps keep more of the adhesive bond intact on the substrate for cleaner removal. —
Work in sections and keep the tool angle low to minimize gouging of wood and smoothing of concrete/mortar surfaces. —
– For sheet vinyl: start at a corner/edge, lift slowly, and pull back low and steady to reduce tearing.
– For vinyl planks/tiles: remove pieces section-by-section, keeping your pry/scrape tool flatter to avoid gouging.
– Use heat only as a controlled aid (e.g., to soften adhesive), and stop if the substrate starts to warp or feel “soft.”
Sheet vinyl vs. planks/tiles: what changes in your technique
Sheet vinyl behaves like a large membrane; it resists lifting until you break the bond line. Vinyl planks/tiles behave more like individual parts; they often release in blocks but can leave transfer residue.
Here’s a practical contrast you can use on-site:
| Scenario | Your best move | Avoid | Why |
|---|---|---|---|
| Sheet vinyl (glued down) | Loosen at edge, pull back low and steady | Yanking upright | Upright lift increases tearing and leaves more backing on the stair |
| Vinyl planks/tiles (installed over adhesive) | Remove section-by-section and keep blade flatter | Digging into grooves or seams | Digging creates voids/ridges that telegraph through new flooring |
Using heat without damaging the stair
Heat can soften adhesives, but on stairs it also increases risk: warping wood, softening top finishes, and smearing adhesive deeper into the substrate. If you use heat, treat it like a short-range tool—apply briefly, test your lift, and stop when the vinyl releases.
As of 2026, many installation/removal guides still emphasize “controlled heat” rather than prolonged heating. —
If you’re unsure, start with a less-visible tread edge or hidden spot behind a stair skirt and observe how the substrate reacts.
Remove leftover adhesive and smooth the stair surface
You clean adhesive residue to a flat, solid surface because ridges and tackiness cause new flooring to buckle, separate, or show telegraphing. Start mechanical removal first, then escalate to the mildest chemical method only if needed.
A controlled, multi-pass scraping approach reduces the chance of gouging the stair surface compared with one aggressive scraping attempt. —
Surface contamination can reduce adhesion performance, which is why installers use appropriate cleaners and compatibility checks before re-flooring. —
– After vinyl comes up, scrape adhesive residue gently in passes rather than one aggressive attempt.
– Clean residue with the appropriate method for the adhesive type: start with mechanical scraping, then move to the mildest chemical option only if needed.
– Finish by checking flatness: any high spots, ridges, or deep scratches can telegraph through new flooring or prevent proper adhesion.
Adhesive removal: escalate in the right order
Think of cleanup as a ladder:
1. Mechanical scraping (scrape, re-scrape, vacuum, wipe)
2. Gentle solvent/cleaner compatible with the adhesive (test first)
3. Grinding/sanding only if appropriate (and only for the specific substrate condition)
What you should not do is “trial-and-error solvent bombing.” Some cleaners leave films that interfere with bonding systems. If you switch chemicals, test in a hidden area and confirm that residue wipes away cleanly.
If you’re working on wood stairs, aggressive scraping can permanently damage the grain and create shallow waves. If you’re working on concrete/mortar, scraping plus sanding must avoid turning localized gouges into broad irregularities.
Flatness check before you install anything new
Before you install new vinyl on stairs, confirm the surface is flat enough for the next system. As mentioned earlier, ASTM F710 (2023) provides guidance for acceptable flatness for resilient floor coverings. —ASTM International, ASTM F710 (2023)
In practical terms, that means: if you can feel ridges with your fingertips, you can expect problems later—especially on stair treads where foot traffic creates bending stress.
Also, if your project is in 2026 and you’re using an adhesive-based vinyl system, you’ll typically want to follow the adhesive’s surface prep and flash/installation instructions to maintain bond reliability. —
What can go wrong (and how to avoid it)
You avoid most problems by controlling tools, not forcing vinyl, and verifying compatibility during cleanup. If you push past stubborn areas without changing your approach, stairs will punish you with gouges and excessive residue.
Damaging the substrate during removal is a common failure point because it increases surface irregularities for the next flooring layer. —
Heat application that’s too aggressive can spread adhesives and create smeared residue, complicating flatness correction. —
– Damaging the stair tread/underlayment: using a sharp blade aggressively can gouge wood or wear down concrete/mortar. Keep the tool angle low and work in controlled sections.
– Trying to rip instead of loosening: if vinyl won’t lift, forcing it usually tears it and leaves more adhesive behind.
– Heat going too far: overheating can make adhesives spread, create residue “smears,” or damage nearby trim/finish.
– Over-cleaning or wrong solvent: using an incompatible cleaner can leave a film that blocks new adhesive—test any cleaner in a hidden spot first.
A quick “decision rule” for stubborn treads
If a section won’t lift after edge loosening:
– Stop ripping.
– Re-check whether you missed a seam, edge, or nail/tack strip.
– Use heat only in short controlled bursts (if appropriate), then resume lifting at a low angle.
This prevents a common spiral: tear the vinyl → increase residue → spend hours scraping → still end up with ridges that require patching.
Verdict: a practical approach (with downsides and who should skip)
This is a doable DIY project if you go slow, remove trim first, and focus on gentle scraping plus careful adhesive cleanup. The downside: stair removals often turn into time-consuming adhesive-residue work, and if the stair surface is already fragile, the scraping step can worsen it.
DIY stair removal is most successful when the installer follows a staged process: remove trim, loosen edges, lift carefully, then clean and flatten the substrate to meet resilient flooring requirements. —
If the substrate becomes gouged or uneven during removal, the next flooring layer may not bond uniformly and can telegraph defects under normal traffic. —
Consider skipping DIY (or at least getting help) if the stairs have major water damage, a very delicate substrate, unknown hazardous materials, or if you can’t identify what adhesive/finish is underneath—.
Quick checklist: vinyl stair removal at a glance
You can keep this job controlled by following a strict order: protect → remove trim → loosen/lift → clean/flatten. Use this checklist as a final pass before you start your next tread.
A step-by-step order (trim first, then lift, then adhesive cleanup) reduces both visible damage and hidden bond failures on stair surfaces. —
– [ ] Protect trim/walls and set up cleaning supplies
– [ ] Remove nosing/edge trim before lifting vinyl
– [ ] Identify vinyl type (sheet vs. planks/tiles)
– [ ] Lift slowly from edges; don’t tear or yank
– [ ] Scrape adhesive in controlled passes
– [ ] Clean residue enough for flat, solid bonding
– [ ] Check flatness before installing new flooring
📊 DATA
Stair Vinyl Removal Tools & Their Best Use (Practical Guidance)
| # | Tool | Typical form | Best for on stairs | Key caution |
|---|---|---|---|---|
| 1 | Stiff putty knives | 2–3 in wide, metal | Loosening edges of sheet vinyl and prying lift points | Keep pressure light to avoid gouging the tread face |
| 2 | Razor floor scraper | Single-edge razor blades | Thin adhesive film cleanup after vinyl lifts | Maintain a low angle to prevent digging |
| 3 | 3–4 in floor scraper | Swap blades or replaceable edges | Removing thicker residue chunks on treads | Don’t use like a chisel; keep it controlled and flat |
| 4 | Heat gun | Adjustable temperature, focused nozzle | Softening some pressure-sensitive adhesives at edges | Stop immediately if wood softens or finishes haze |
| 5 | Nylon abrasive pads | Non-metal scouring pads | Light residue shaping after scraping | Avoid aggressive scrubbing that changes wood sheen unevenly |
| 6 | Clean microfiber rags | Lint-minimizing | Wiping residue and checking that no film remains | Use clean surfaces to avoid re-depositing adhesive |
| 7 | Shop vacuum + crevice tool | Hose attachment | Dust control between scraping passes | Vacuum frequently to keep residue from turning into a slurry |
Sources
– ASTM International, ASTM F710 (2023). (Used for flatness guidance references in this article.) —ASTM International
Finally, the safest way to remove glued-down vinyl from a staircase is to keep the process staged: protect the area, remove trim first, loosen and lift the vinyl without tearing, then clean adhesive residue in controlled passes and verify flatness before installing anything new—especially in 2026 when installers increasingly expect tight surface-prep compliance. If you hit unexpected resistance, pause and change tactics rather than forcing the vinyl, because stair tread damage is hard to undo.
Frequently Asked Questions
What’s the safest way to remove vinyl flooring from a staircase?
Start by checking whether the vinyl is loose-lay, click-lock, or glued down, since the removal method changes. Use a heat gun or hair dryer on glued vinyl to soften the adhesive and reduce tearing. Protect stairs with cardboard, wear gloves and eye protection, and work one tread at a time to avoid damaging stair nosings.
How do you remove glued-down vinyl flooring on stairs without damaging the wood?
Score the vinyl surface with a utility knife to create small sections, then apply gentle heat to loosen the bond. Use a plastic floor scraper or putty knife to lift edges first, pulling slowly while keeping tension to prevent gouging the subfloor. If adhesive remains, use an adhesive remover appropriate for the stair surface and residue, then scrape lightly and clean thoroughly before refinishing.
Why is it important to remove all adhesive residue after taking up vinyl on stairs?
Leftover glue can interfere with new flooring adhesion and create bumps that show through when installing laminate, hardwood, or new vinyl. Residue can also affect transition strips and stair tread alignment, leading to uneven wear or squeaks. After removal, sweep, vacuum, and use a residue cleaner recommended for your substrate to leave the stairs smooth and dry.
Which tools work best for removing vinyl floor tiles or planks from stairs?
For vinyl planks or tiles, a heat gun, utility knife, and a plastic scraper are usually the most effective and least damaging combination. A pry bar can help with stubborn sections, but use it carefully near wood to avoid chipping stair edges. For finishing work, have extra blades, painter’s tape to protect surfaces, and a shop vacuum to manage debris.
What’s the best way to deal with vinyl around stair nosing and corners?
Begin by removing any tread trim, stair nosing pieces, or transition strips so you can access the vinyl edge cleanly. For corners and rounded nosings, use heat to soften adhesive and peel the vinyl in small increments rather than forcing it. After the vinyl is off, trim remaining material with a utility knife and sand lightly only if needed to create a flat, clean surface for the next step.
📅 Last Updated: October 26, 2026 | Topic: How to remove vinyl floors from a staircase? | Content verified for accuracy and freshness.
References
- Vinyl flooring
- Asbestos | US EPA
- https://www.cdc.gov/asbestos/
- https://www.cdc.gov/niosh/topics/asbestos/
- Asbestos – Overview | Occupational Safety and Health Administration
- Asbestos and Your Health | ATSDR
- Asbestos – FAQs – HSE
- https://scholar.google.com/scholar?q=remove+vinyl+flooring+staircase Google Scholar
- https://scholar.google.com/scholar?q=removal+of+resilient+vinyl+flooring+sheet+tile Google Scholar
- https://scholar.google.com/scholar?q=asbestos-containing+floor+tile+vinyl+removal+guidance Google Scholar


[…] Remove dust, old adhesive residue, wax, and any loose particles—especially along the step edges and where stair nose transitions […]
[…] or the bottom of a vacuum on your stairs, this is for you. The steps below work for most luxury vinyl planks/tiles, but you should still confirm details with your floor manufacturer’s care instructions (we flag […]