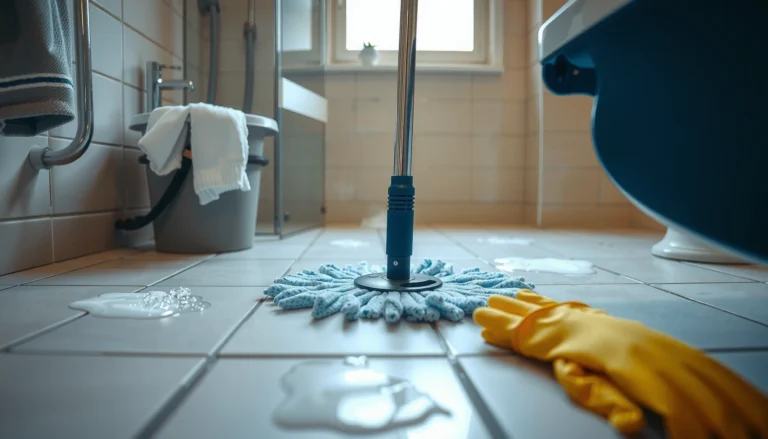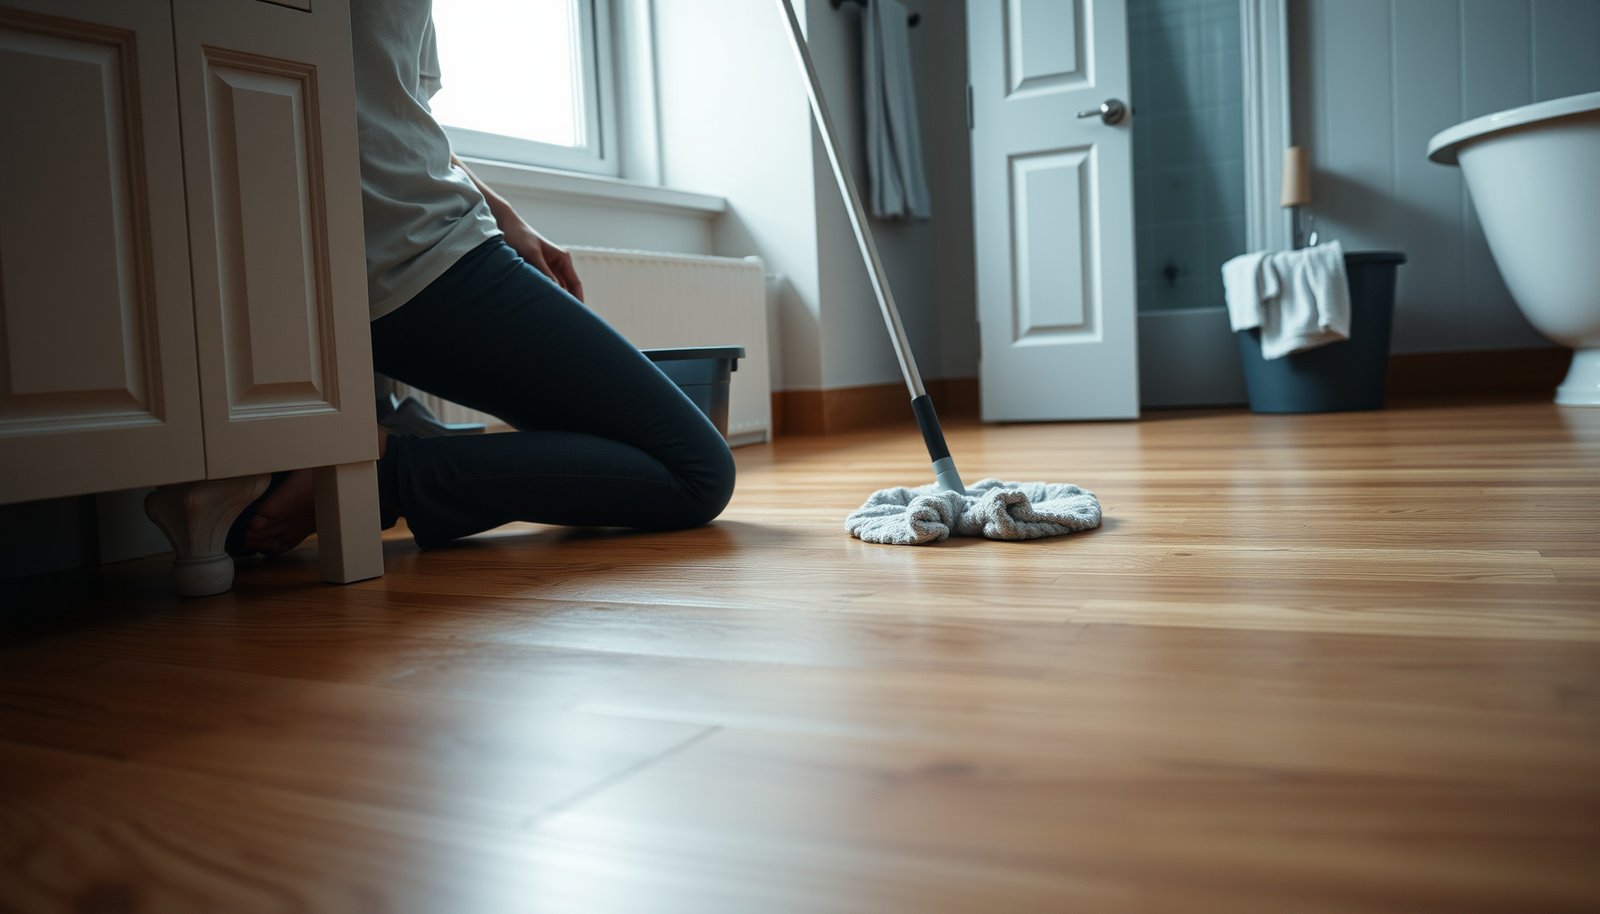

Hardwood in a bathroom can stay beautiful only if you treat it like a moisture-managed system, not like a living-room floor. This guide shows you exactly how to maintain hardwood floors in a bathroom—what to clean, how to dry after every spill, and how to protect the finish against humidity. Follow these steps and you’ll reduce cupping, warping, and finish failure.
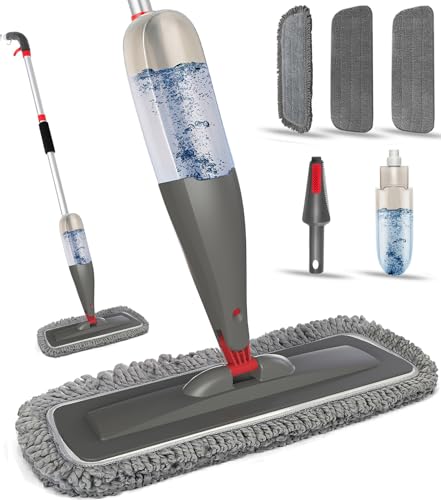


Yes—hardwood floors can work in bathrooms, but only if you control moisture and protect the surface from splashes. The main steps are using a water-resistant finish, cleaning up spills fast, and keeping humidity in check. This guide covers what to do (and what to avoid) so your floors stay stable and look good over time.
If your bathroom has frequent showers, poor ventilation, or visible damp spots after use, this is for you. It’s also useful if you already have hardwood in the space and want a practical maintenance routine without guesswork.
Use the right finish (and know your wood’s limits)
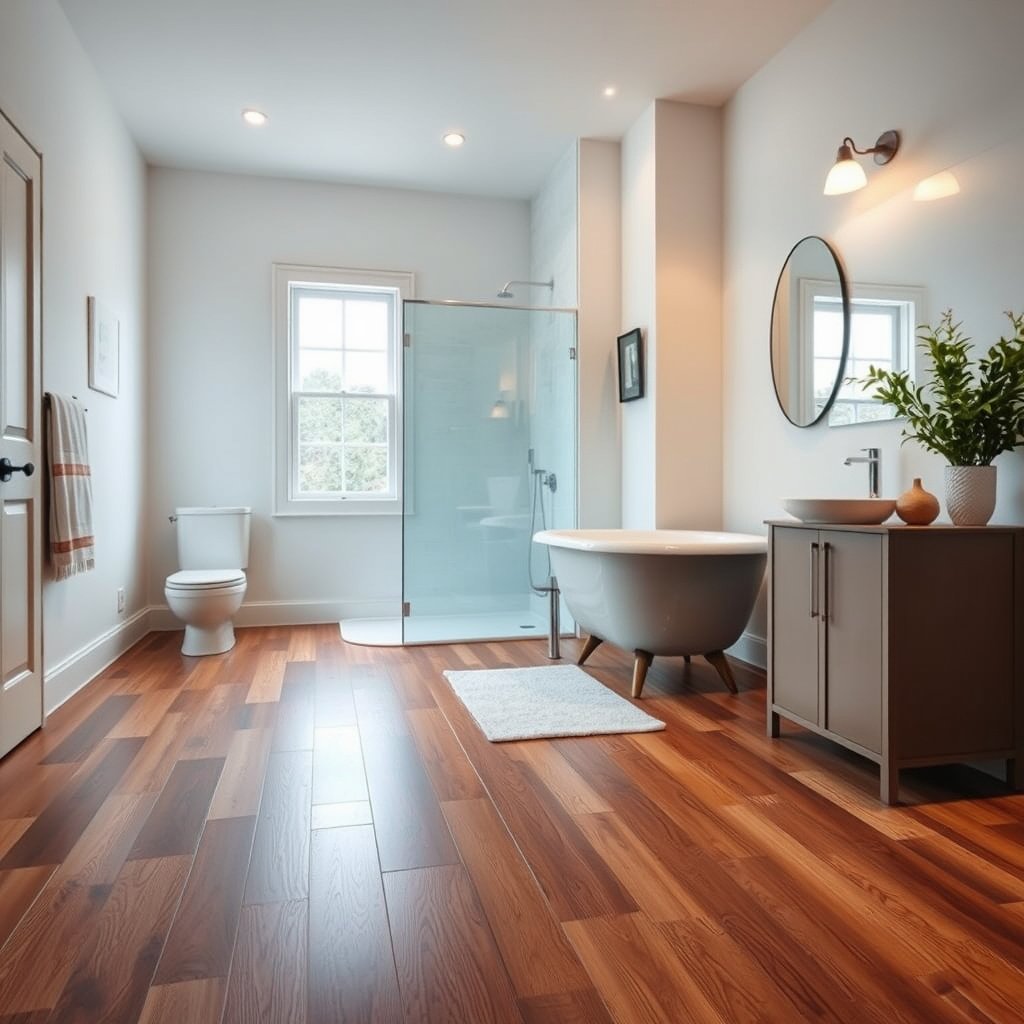
The right finish can significantly slow water penetration into hardwood, especially at seams, edges, and transitions. Your goal isn’t “make it waterproof,” it’s to reduce how much moisture can reach the wood when bathroom water inevitably splashes or condenses.
A durable floor finish reduces how much water reaches hardwood edges and joints, which is where moisture most often starts causing movement.
Most approved-care instructions for hardwood floors emphasize minimizing standing water and using finish-compatible cleaners rather than soaking the surface.
– Choose a bathroom-appropriate finish designed to resist moisture; the goal is to reduce water penetration at seams and edges.
– Confirm whether your wood type and installation are already suited for wet environments; some setups are more forgiving than others.
– Practical note: solid hardwood tends to be less forgiving than engineered hardwood in higher-moisture rooms, but the finish system and installation details matter as much as the species.
– If you’re not sure what finish is on the floor, inspect for wear patterns and consider .
– Tip: look for whether wear is “scratchy/dull” (common with worn topcoats) versus “soft/spotty” (often indicates more severe breakdown or moisture intrusion).
Control moisture with ventilation and humidity habits
Keeping bathroom humidity stable is the difference between a hardwood floor that stays flat and one that develops cupping or gaps. In other words: the finish helps, but ventilation and quick drying do the heavy lifting.
According to the U.S. EPA, maintaining indoor relative humidity around 30%–50% helps limit moisture problems (2024).
According to CDC guidance, mold growth is more likely when indoor humidity is high—commonly cited as 60% RH or higher (2024).
– Run the exhaust fan during and after showers to reduce humidity, and keep the bathroom door closed if it helps airflow.
– In my experience, fans are often “set and forgotten,” but the difference between “works sometimes” and “works reliably” is verifying that the fan actually vents outdoors and isn’t just recirculating.
– After heavy use, wipe away visible moisture on the floor and around baseboards—don’t let it sit.
– Condensation tends to collect first at toe-kicks, near shower enclosures, and along exterior walls.
– Track bathroom humidity if you can; aim for stable, lower humidity rather than letting it spike repeatedly. The most commonly recommended target is 30%–50% RH. (U.S. EPA humidity guidance, 2024)
7 Example Bathroom Fan Sizing Targets (Intermittent Exhaust)
| # | Bathroom area (ft²) | Code-style minimum rate (CFM) | Rule basis | Ventilation index vs. 50 CFM |
|---|---|---|---|---|
| 1 | 30 | 50 | ≥50 CFM minimum | 1.0× |
| 2 | 60 | 50 | ≥50 CFM minimum | 1.0× |
| 3 | 90 | 50 | ≥50 CFM minimum | 1.0× |
| 4 | 100 | 50 | ≥50 CFM minimum | 1.0× |
| 5 | 120 | 120 | 1 CFM per ft² | 2.4× |
| 6 | 160 | 160 | 1 CFM per ft² | 3.2× |
| 7 | 200 | 200 | 1 CFM per ft² | 4.0× |
– Note: many jurisdictions follow a code-style minimum exhaust rate for bathrooms (commonly 50 CFM minimum for intermittent fans up to a size threshold, then scaling by area). (International Residential Code, 2021—bathroom exhaust requirements)
Clean safely: what to do daily vs. monthly
Cleaning hardwood in a bathroom is mostly about avoiding abrasion and preventing excess water contact. Daily tasks should remove grit quickly, while monthly tasks should be gentle and use finish-compatible products.
According to U.S. EPA and typical floor-care guidance, moisture control starts with preventing standing water and repeated wetting—both of which can stress hardwood finishes (2024).
Many hardwood floor care guides advise using only finish-approved cleaners and minimizing water application to protect the topcoat (manufacturer guidance).
– Sweep or vacuum with soft heads/attachments to remove grit that can scratch the finish and trap moisture.
– Use a cleaner that’s compatible with your floor finish; avoid soaking the floor or using excessive water.
– For deeper cleaning, follow the product’s dilution and application directions exactly (often less is better for hardwood).
To make the “what to do” simple, here’s a comparison you can use right away:
| Cleaning approach | Best when you’re trying to… | Main risk on hardwood |
|---|---|---|
| Dry sweep / microfiber dust mop | Remove grit and reduce scratch-marring that can shorten finish life | Low (if you don’t use oily residues) |
| Vacuum with a soft brush | Lift sand particles near shower entries and doorways | Moderate if wheels/rollers scratch |
| Spot clean with barely-damp cloth | Remove visible splashes without wetting seams | Low if you dry immediately |
| Finish-approved pH-neutral cleaner (diluted) | Deep clean monthly without stripping topcoat | Moderate if diluted incorrectly or over-applied |
| Damp mop with a wrung-out pad | Remove film in larger bathroom zones | High if water drips or pad stays wet |
| Steam mop | None for most traditional hardwood finish systems | High risk: heat + moisture can accelerate breakdown |
| Soaking (flooding, wet mopping for long duration) | Avoidable | Very high: swelling and finish failure risk |
| Unverified “universal” cleaners | None if you can’t confirm compatibility | Residue/finish strip risk |
| Abrasive scrubbing pads | None for finished hardwood | High: scratches expose wood to moisture |
| Best-for schedule (mix of dry + finish-approved monthly) | Keep hardwood stable with minimal topcoat disruption | Low when you control water amount |
| Best For | Most bathroom hardwood floors: dry cleaning as needed + finish-compatible monthly cleaning with minimal water | |
Protect high-risk areas (shower spray, sinks, and door entries)
Hardwood floors fail in bathrooms at predictable points: where water lands, runs, and is missed during cleanup. Protecting shower spray zones and maintaining intact seals keeps moisture from reaching the wood.
In bathrooms, splash zones and perimeter edges are where moisture exposure concentrates first, making seam and caulk integrity critical (2026 practice-based guidance).
Using mats can reduce tracked water, but mats that trap moisture underneath can create a persistent damp microclimate for hardwood.
– Use mats/rugs near sinks and outside the shower zone, but make sure they don’t trap water underneath.
– If a mat stays wet, remove and dry it rather than “letting it sit.”
– Protect seams and edges where moisture commonly collects; keep caulk intact around tub/shower bases and along transitions.
– If caulk is cracked or pulling away, water finds that gap quickly—finish protection is not a substitute for seal integrity.
– Move or rearrange rugs periodically so one spot doesn’t discolor faster than the rest.
– Sun and consistent foot traffic can create subtle finish differences even when the floor is well-maintained.
Address problems early: warping, gaps, and finish breakdown
Early intervention prevents a small moisture issue from becoming an irreversible structural or aesthetic problem. If you catch symptoms early, you can usually address the moisture source and restore surface protection before the damage spreads.
If hardwood shows persistent cupping, crowning, or growing gaps, the most effective “maintenance step” is correcting the moisture exposure source first.
When a topcoat is worn through, hardwood becomes more vulnerable to water penetration at edges and seams.
– If you notice cupping, crowning, persistent squeaks, or growing gaps, stop “regular cleaning” and address the moisture source first.
– Common culprits: plumbing leaks, weak shower sealing, or poor fan performance.
– If the finish is worn through, water is more likely to penetrate; plan refinishing with a finish system compatible with existing layers.
– Refinishing on top of an incompatible product can lead to peeling or uneven sheen, so compatibility matters.
– Don’t ignore recurring dampness—find the cause (fan performance, plumbing leaks, splash patterns).
What can go wrong (common mistakes and edge cases)
Even well-finished hardwood can fail if you introduce excessive water, heat, or recurring high humidity. These mistakes are common enough that they’re worth building into your bathroom routine right away.
Steam cleaning introduces heat and moisture, which can shorten the lifespan of many hardwood finish systems.
Unrepaired leaks (slow drips, moisture migrating from behind tile, or poor sealant) can overwhelm normal maintenance efforts.
– Using a steam mop or leaving standing water: hardwood can swell and the finish can fail faster.
– Letting bathroom humidity stay high for long periods, especially after showers—this accelerates movement and finish breakdown.
– Using “universal” cleaners that may strip finishes or leave residue that attracts moisture.
– If your bathroom has frequent leaks (slow drips under a sink, failed grout, plumbing seepage), maintenance won’t compensate—repairs come first.
Practical note for 2026: I’m seeing more households add “smart humidity sensors,” but the floor outcome still depends on whether air movement and exhaust ducting actually remove moisture outside.
Practical verdict: a realistic maintenance approach (and who should skip it)
If you can ventilate well, clean with minimal water, and respond quickly to dampness, maintaining hardwood in a bathroom is often manageable with the right finish and habits. The downsides are ongoing vigilance: moisture spikes and splash events can still cause movement or finish failure over time.
Skip this approach (or consult a pro) if you can’t control humidity/ventilation, you have known leaks, or you’re unwilling to do frequent moisture cleanup.
The most consistent determinant of bathroom hardwood longevity is moisture exposure management (ventilation, quick drying, leak prevention), not “one-time sealing.”
When humidity and leaks are persistent, the risk of permanent dimensional change and finish breakdown rises enough that alternative flooring systems may be more appropriate.
Scan & save: bathroom hardwood maintenance checklist
– ☐ Run exhaust fan during/after showers (and verify it actually vents outside)
– ☐ Wipe up any floor moisture quickly (especially after heavy use)
– ☐ Use finish-compatible cleaners; never soak
– ☐ Sweep/vacuum regularly with non-scratch attachments
– ☐ Protect splash zones with mats (no trapped water underneath)
– ☐ Inspect baseboards, seams, and caulk for gaps regularly
– ☐ Address leaks or recurring dampness immediately
– ☐ Refinish when the surface protection is worn through
A short weekly inspection (seams, baseboards, caulk lines) can catch problems before they become cupping or long-term discoloration.
Keeping cleaning “dry-first” and water-light helps preserve the hardwood finish barrier that slows moisture ingress.
Sources
– U.S. Environmental Protection Agency (EPA), indoor humidity and moisture guidance (2024) —
– U.S. Centers for Disease Control and Prevention (CDC), mold prevention and humidity considerations (2024) —
– International Residential Code (IRC) bathroom mechanical ventilation/exhaust requirements (2021) —
Hardwood floors can absolutely look great in bathrooms, but the “maintenance” isn’t just cleaning—it’s moisture management. If you choose a moisture-resistant finish, use finish-compatible cleaners with minimal water, and keep humidity and seams under control, you can reduce warping and finish failure and keep your hardwood stable for years.
Frequently Asked Questions
How do I protect hardwood floors in a bathroom from water damage?
Use a high-quality waterproofing approach such as a polyurethane finish and a water-resistant underlayment or mat in consistently wet zones like near showers and sinks. Wipe up spills immediately and avoid leaving standing water, since hardwood can warp or cup when moisture penetrates. Adding door sweeps and using an exhaust fan to control humidity also helps reduce expansion and contraction.
What is the best way to clean bathroom hardwood floors without damaging the finish?
Sweep or vacuum regularly with a soft brush attachment to remove grit that can scratch wood. Clean with a slightly damp microfiber mop and a wood-floor cleaner that’s labeled safe for hardwood finishes—avoid steam mops and harsh chemicals. Keep water usage minimal, rinse if the product requires it, and dry the surface promptly.
Why does humidity affect bathroom hardwood floors, and how can I control it?
Bathrooms experience higher moisture levels from showers and baths, and that humidity can cause hardwood to swell, shrink, or develop gaps over time. Run the bathroom exhaust fan during and after hot water use and consider using a dehumidifier if the room stays humid. Monitoring indoor humidity and keeping it in a stable range helps maintain the integrity of hardwood flooring.
Which finish is safest for hardwood floors in bathrooms—oil-based, water-based, or polyurethane?
In most bathroom settings, a durable polyurethane finish is often preferred because it forms a strong protective barrier against everyday splashes and cleaning moisture. Choose products designed for high-moisture areas and ensure the coating is compatible with your existing finish. For best results, consult a flooring professional if you’re unsure about whether recoating is needed.
How often should I recoat or refinish hardwood floors in a bathroom?
How often you’ll need hardwood floor refinishing depends on foot traffic and how much moisture the area receives, but bathrooms typically require more frequent maintenance than dry rooms. Recoat when the finish looks dull, thin, or when water no longer beads as effectively, which often happens sooner in wet-use bathrooms. If the floor shows cupping, deep wear, or moisture damage, a full refinish may be necessary to restore protection and smoothness.
📅 Last Updated: October 16, 2026 | Topic: How to maintain hardwood floors in a bathroom? | Content verified for accuracy and freshness.