


To prevent water damage to vinyl floors in a laundry room, you need one clear strategy: stop moisture before it reaches the seams. This guide answers the practical question of what to do—install proper matting and drip control, seal vulnerable edges, and manage leaks fast—so spills and wash-day water don’t turn into swelling, warping, or bubbling. Follow these steps and you’ll protect your vinyl floor without replacing it early.




Stop water at the source by fixing leaks quickly and keeping moisture from reaching vinyl seams and edges—especially around washers, utility sinks, and the floor perimeter. In most laundry rooms, the pattern is consistent: small leaks or overshoots wet the same areas repeatedly, and over time that moisture works its way into seams, trim gaps, and underlayment.
Stop water at the source: fix leaks quickly, use mats, and control moisture before it reaches the seams and edges of your vinyl. In a laundry room, the biggest risks are appliance leaks, wet footprints from spills, and water sitting along the floor perimeter. This guide shows practical steps to protect vinyl flooring and reduce the chances of swelling, lifting, or edge damage.
If your laundry room sees regular loads, occasional overflows, or washer hoses that age over time, these steps apply. They’re especially helpful if your vinyl flooring has seams, a perimeter trim, or any areas that have previously felt “slightly raised” or damp after laundry day.
Identify the most likely leak points (before water spreads)
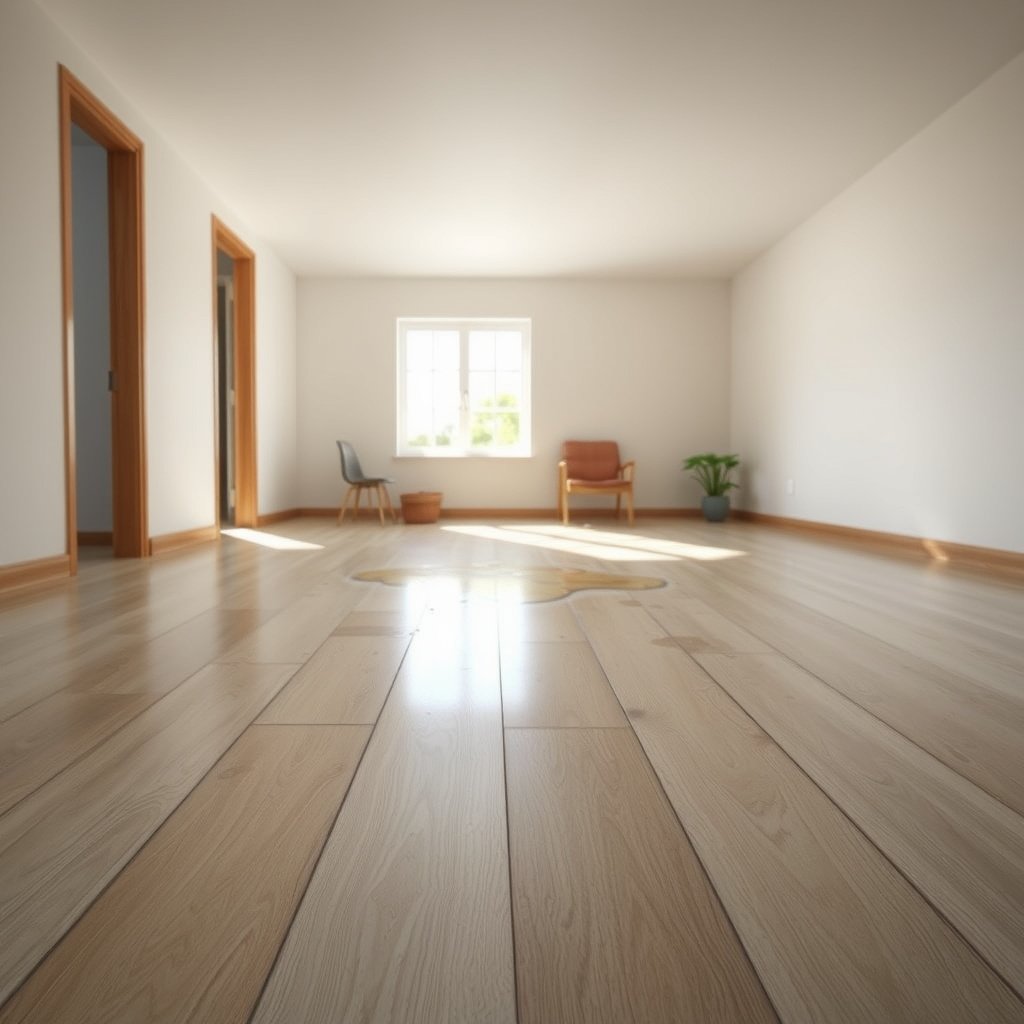
The fastest way to prevent vinyl damage is to locate the likely water-entry points before moisture has time to travel into seams or under edges. In a laundry room, your first wins come from inspecting washer connections, watching for overflow behavior, and checking where water would pool first.
According to the U.S. EPA, mold growth can begin within 24–48 hours after water damage (2008).
According to the U.S. EPA, maintaining indoor humidity in the 30%–50% range helps limit mold growth (2008).
According to the U.S. EPA, higher humidity levels (often above ~60%) increase the risk of mold growth (2008).
Start with a focused inspection routine that treats every damp spot as a “system signal,” not an isolated mess:
– Check washer hoses, connections, and the shutoff valve regularly for dampness, bulges, cracking, or crusty residue (salt-like deposits often indicate slow seepage).
– Inspect for drips around the washer door during and after cycles—some leaks only appear when a load finishes draining or when the drum stops vibrating.
– Look for overflow patterns during heavy loads. Even if the water doesn’t “flood,” repeated surges can wet the perimeter where your vinyl transitions to trim.
– Identify where water would first collect: near the washer footprint, around any utility sink area, and under or beside elevated plumbing runs.
From practical observation in laundry-room maintenance (), the earliest vinyl-related problems usually trace back to one of these “first wet” locations.
Quick note on why “first wet” matters
Vinyl itself is often water-resistant, but the damage mechanism usually isn’t “vinyl gets wet.” It’s that water reaches seams, panel edges, perimeter trim, and sometimes the subfloor interface—then stays long enough to change swelling behavior, adhesive performance (for glue-down), or the flatness that protects click-lock seams.
Block water where it hits first (mats, rugs, and splash control)
The best defense after leak prevention is to stop splash and tracking water at the entrance points—before it migrates to seams and perimeter edges. In laundry rooms, that means using mats strategically and managing the “wet-to-dry transition” when you move items from washer or sink to the floor.
According to the U.S. EPA, preventing or promptly addressing moisture is critical to reducing mold and material deterioration risks (2008).
In most vinyl installations, seams and perimeter edges are the most vulnerable zones because water can collect and wick into gaps (manufacturer installation guidance varies by product type).
Use water management tools like they’re part of the flooring system:
– Use a water-absorbing, non-slip mat outside the washer area and near the sink. Choose one that holds moisture without dripping back onto the vinyl.
– Replace or launder mats if they stay damp (a persistently wet mat becomes a reservoir).
– Add a removable rug in high-splash zones, such as in front of the sink or where you stage laundry carts.
– Ensure the rug dries completely; do not use rubber-backed rugs that trap moisture underneath.
– Keep the floor dry during transitions:
– Wipe drips from the washer exterior immediately.
– Remove wet items (e.g., dripping towels or a newly emptied washer basket) before they contact vinyl.
Pros/cons: Mats vs. area rugs for vinyl-protecting moisture control
| Option | Best for | Key downside to watch |
|---|---|---|
| Non-slip absorbent mat | Water tracking from washer/sink steps | Needs frequent drying/replacement when it stays damp |
| Removable rug | Occasional splash areas and staging zones | Can trap moisture if it doesn’t fully dry or has a moisture-blocking backing |
| Both together (mat + rug) | Higher-traffic laundry rooms with frequent spills | Extra maintenance—cleaning and drying become non-optional |
Where to place mats for seam protection
Place coverage so that wet contact happens “on the mat,” not “at the seam.” If your washer door threshold aligns with a vinyl seam, reposition mat placement so the seam sits inside the protected zone rather than at its boundary.
7 Common Laundry-Room Vinyl Water Sources & Prevention Priority (2024–2026)
| # | Failure point | Where water hits first | What it threatens | Prevention priority |
|---|---|---|---|---|
| 1 | Washer supply hose seepage | Behind/left of washer base | Seams + under-edge swelling | ★★★★★ |
| 2 | Washer drain hose / standpipe overflow | Front perimeter line | Perimeter trim gaps | ★★★★★ |
| 3 | Utility sink overfill or splash | Near sink-to-floor transition | Edge wicking at vinyl seams | ★★★★☆ |
| 4 | Wet footwear tracking after spills | Paths that align to main seams | Repeated seam saturation | ★★★☆☆ |
| 5 | Perimeter trim / caulk separation | Baseboard line and corners | Water wicks under edges | ★★★☆☆ |
| 6 | Laundry-room condensation (cold pipes) | Along plumbing runs | Slow moisture buildup | ★★☆☆☆ |
| 7 | Cleaning water spills (mop/sponge) | Center-to-perimeter wipe routes | Overexposure during cleaning | ★☆☆☆☆ |
Maintain a dry perimeter (seams, edges, and trim)
The highest-risk “hidden” damage zone is the perimeter—because even small amounts of water can wick into gaps where vinyl meets trim or walls. If you protect the edges consistently, you greatly reduce the odds of lifting, cupping, or long-term seam separation.
Vinyl flooring performance is strongly influenced by whether moisture can enter seams and perimeter gaps (manufacturer installation and care guidance varies).
In water-exposure scenarios, drying time matters because moisture can migrate from the surface into edges over hours to days (water-damage remediation best practices).
Keep caulk/trim lines in good shape so water can’t travel into the spaces at the edges of vinyl planks/sheets:
– Keep caulk and trim lines intact. Worn, cracked, or missing caulk can create capillary pathways that pull water inward.
– If your layout has seams, address small separations early—tiny openings can become moisture pathways once laundry spills repeat on the same spots.
– Don’t “seal everything” without confirming compatibility with your vinyl system.
– Some products (particularly click-lock, floating systems and certain underlayment combinations) may have specific limits on sealants, coatings, or how you treat edges.
– If you’re unsure whether your vinyl is glue-down, click-lock floating, or sheet vinyl, use the manufacturer care/installation guide before applying any perimeter products.
What “dry perimeter” looks like in practice
A dry perimeter isn’t just “no puddles.” It means:
– Baseboard edges aren’t darkened after laundry cycles.
– Corners don’t feel cool/damp to the touch.
– Seams don’t appear slightly raised or softened after repeated wet days.
Fix spills fast with the right drying approach
The best time to fix a spill is while it’s still a spill—not after it becomes “dampness that lingers.” Fast response reduces the chance that water reaches seams and edge gaps, where drying can take much longer.
According to IICRC water-damage restoration guidance, faster removal and controlled drying are essential to limit secondary damage to building materials (standards-based remediation practice).
Steam cleaning can introduce excess moisture; vinyl manufacturers often restrict steam cleaning unless explicitly approved in the care instructions.
Treat any spill within minutes:
– Blot, don’t scrub aggressively. Scrubbing can push water deeper toward seams and under edges.
– Remove water before it spreads to seams and trim. If you use a wet/dry vacuum, focus on the spill perimeter first.
– Dry the affected area thoroughly:
– Use fans to speed evaporation.
– If the laundry room is naturally humid, pair airflow with ventilation (see the next section).
– Avoid steam cleaning on vinyl unless your flooring manufacturer explicitly allows it.
– Steam is water in a different form, and the combination of heat + moisture can be harder on edges, adhesive lines, and any underlayment interfaces.
Drying methods: what to use first
| Drying approach | When it fits | Watch-outs for vinyl |
|---|---|---|
| Blot + fan | Small spills and localized damp spots | Keep airflow moving toward edges, not just the center |
| Wet/dry vacuum + airflow | Spills that spread beyond a mat boundary | Avoid soaking follow-up mopping—let the vacuum do the first water removal |
| Dehumidifier + ventilation | Humid laundry rooms after repeated wet days | Confirm your room can exhaust properly; avoid recirculating damp air |
Control humidity so water can’t linger
The goal in 2026 is to reduce ambient dampness, because moisture in the air makes it easier for edges and seams to stay wet longer. Humidity control also limits mold risk and helps the floor return to a stable moisture condition after laundry cycles.
According to the U.S. EPA, mold growth risk increases when moisture is present; keeping humidity in the 30%–50% range helps prevent mold (2008).
Using an exhaust fan during and after laundry cycles reduces indoor humidity and supports faster drying (ventilation best practices).
– Run ventilation during and after cycles. If your laundry room has a dedicated exhaust fan, use it consistently, not just during active washing.
– If condensation is common (for example, cold water lines or a poorly insulated exterior wall), consider a humidity monitor and adjust airflow accordingly.
– Aim for a stable indoor humidity band rather than “it feels dry sometimes.”
– Keep wet laundry from sitting on the floor.
– Don’t use the floor as a staging area while sorting or reloading.
– Stage on a hamper, counter, or dedicated surface so water never contacts vinyl for longer than necessary.
Why this matters for vinyl seams
Even when a floor looks dry, humidity affects how quickly edges equalize back to normal. That’s why repeated “small wet events” can eventually produce cumulative loosening—especially at seams and perimeter trim where water has the easiest path to linger.
What can go wrong (common mistakes and edge cases)
Many laundry-room water problems start with small assumptions: that vinyl is fully waterproof, or that sealing is always beneficial. The reality is that moisture behavior depends on your vinyl type, installation system, and how quickly you dry after exposure.
Vinyl flooring is typically water-resistant, not guaranteed waterproof; standing water at seams and edges can still cause long-term damage (manufacturer guidance varies).
Cleaner choice matters: certain chemicals or solvents can damage finishes, haze surfaces, or affect adhesive and underlayment performance (check manufacturer care instructions).Common mistakes to avoid:
– Assuming vinyl is fully waterproof: Many vinyl floors handle incidental splashes, but standing water—especially at seams/edges—can still cause lifting or swelling.
– Using the wrong cleaners: Harsh chemicals or certain solvents can haze finishes, soften layers, or interfere with adhesive/underlayment. Always follow the care guide for your specific product.
– Waiting to address small leaks: A slow hose drip repeatedly wets the same spots, which is often worse than a single controlled cleanup.
– Skipping drying after leaks: Even if the surface looks dry, moisture can travel into gaps over time.
– Sealing without compatibility checks: Glue-down vs. click-floating systems can respond differently to sealants, coatings, and perimeter treatments.
Edge cases: when your “standard steps” may not be enough
– If water has already gotten underneath the vinyl (not just on the surface), you may need professional assessment—drying can be difficult to manage at the subfloor interface.
– If you notice consistent “slightly raised” seams or perimeter softness, stop applying patch fixes and confirm whether the subfloor experienced prolonged exposure.
Verdict / tip: the best practical plan (and who should skip certain steps)
If you want the highest impact with the least hassle, prioritize three things: (1) leak prevention and quick repairs, (2) stopping water from reaching seams/edges with mats and good trim/caulk condition, and (3) drying promptly after any spill or overflow.
That said, skip DIY floor sealing/repair experiments if you don’t know your vinyl type (glue-down vs. floating click), if water has already gotten underneath, or if you suspect subfloor damage. In those cases, it’s smarter to follow the flooring manufacturer’s repair guidance or consult a qualified installer—especially as of 2026, when installation systems and recommended sealants vary widely by brand and product line.
For water-damage prevention, the safest long-term approach is to control moisture sources and ensure rapid drying rather than relying on coatings to “block everything” (EPA moisture guidance; manufacturer care instructions).
Vinyl manufacturers often require following specific cleaning methods to avoid finish damage and performance issues near seams and edges (installation/care documentation).
A simple “do this first” order
1. Fix leaks (hose, valve, drain behavior).
2. Add targeted mats/rugs that dry fully.
3. Protect perimeter seams and trim integrity.
4. Dry fast after spills, using airflow and ventilation.
5. Maintain humidity control so wet events don’t linger.
Scan-and-save checklist (use this during laundry cleanup)
| Situation | Do this right away |
|---|---|
| Washer hose leak or damp spot | Turn off water, dry area, inspect connections; plan a repair/replacement |
| Spill near washer/sink | Blot up, remove wet items, dry thoroughly; check edges and seams |
| Wet footprints/mud from laundry | Use a mat zone and wipe/shake items before placing them on vinyl |
| Floor perimeter looks gapped | Inspect trim/caulk; repair only per flooring manufacturer guidance |
| Laundry room feels consistently humid | Run ventilation during/after cycles; improve airflow |
Sources
– U.S. EPA, “Mold Remediation in Schools and Commercial Buildings” (2008): mold growth can begin within 24–48 hours; recommended indoor humidity guidance (30%–50%)
Keeping a vinyl laundry room floor intact is mostly about discipline: stop leaks early, keep mats and splash zones working, protect the perimeter and seams, and dry quickly with airflow and ventilation. If you do those consistently—especially as of 2026—you’ll reduce swelling, lifting, and edge damage far more effectively than trying to “seal” problems after they’ve started.
Frequently Asked Questions
How can I prevent water damage to vinyl floors in a laundry room?
Start by controlling moisture where leaks happen most—around the washing machine, hose connections, and drain lines. Use a waterproof underlayment if your installation calls for it, and place a water-resistant mat at the washer and any entry points to catch splashes. Clean spills quickly with a damp (not soaking) cloth and dry the area thoroughly to prevent swelling, lifting seams, or mold.
What’s the best way to protect vinyl plank or sheet vinyl flooring from washing machine leaks?
Install a leak-proof washing machine pan with an overflow drain where possible, and check water hoses regularly for cracks, bulges, or loose fittings. Ensure the washer is level so water doesn’t pool near edges and seams. If water does get on the floor, act fast—remove standing water immediately and dry thoroughly, especially around seams and transitions.
Which underlayment and floor protection products work best for laundry room vinyl floors?
Choose vinyl floor underlayment that’s designed for moisture resistance and matches your floor type (click-lock vinyl vs. glue-down sheet vinyl). Look for products labeled waterproof or water-resistant and compatible with vinyl flooring to avoid issues with adhesion or locking mechanisms. For extra protection, consider a washable, water-resistant mat and a seam sealer (if recommended by your vinyl manufacturer) in high-splash areas.
Why do vinyl floors lift or buckle after water exposure, and how can I stop it?
Water can seep into seams, edges, or the subfloor and cause swelling, loss of adhesion, or trapped moisture that leads to mold. Laundry rooms often experience repeated small spills and humidity, which makes early prevention especially important. Keep humidity in check with proper ventilation and address any recurring leaks immediately rather than waiting for noticeable damage.
How do I dry and clean vinyl laundry room spills to minimize water damage?
Blot up spills right away with towels and remove standing water as quickly as possible, then dry with a fan or dehumidifier to prevent moisture from working into seams. For routine cleaning, use vinyl-safe cleaners and avoid wet mopping that leaves puddles or soaks seams. If water exposure is significant (like a hose burst), lift any mats, inspect seams and edges, and dry the subfloor area promptly before the flooring warps.
📅 Last Updated: October 26, 2026 | Topic: How to prevent water damage to vinyl floors in a laundry room? | Content verified for accuracy and freshness.
References
- Vinyl flooring
- Mold | US EPA
- https://www.cdc.gov/mold/default.htm
- https://www.cdc.gov/niosh/topics/mold/
- Mold | National Institute of Environmental Health Sciences
- Water damage
- Mold
- https://scholar.google.com/scholar?q=vinyl+flooring+water+damage+maintenance Google Scholar
- https://scholar.google.com/scholar?q=resilient+flooring+moisture+barrier+installation+guidelines Google Scholar
- https://scholar.google.com/scholar?q=laundry+room+leak+prevention+moisture+control+flooring Google Scholar

[…] or trapping grime—so your floor stays smooth and looks new. Follow the right cleaning routine, control moisture and humidity, and protect high-traffic spots with simple mats and furniture pads. This guide gives […]