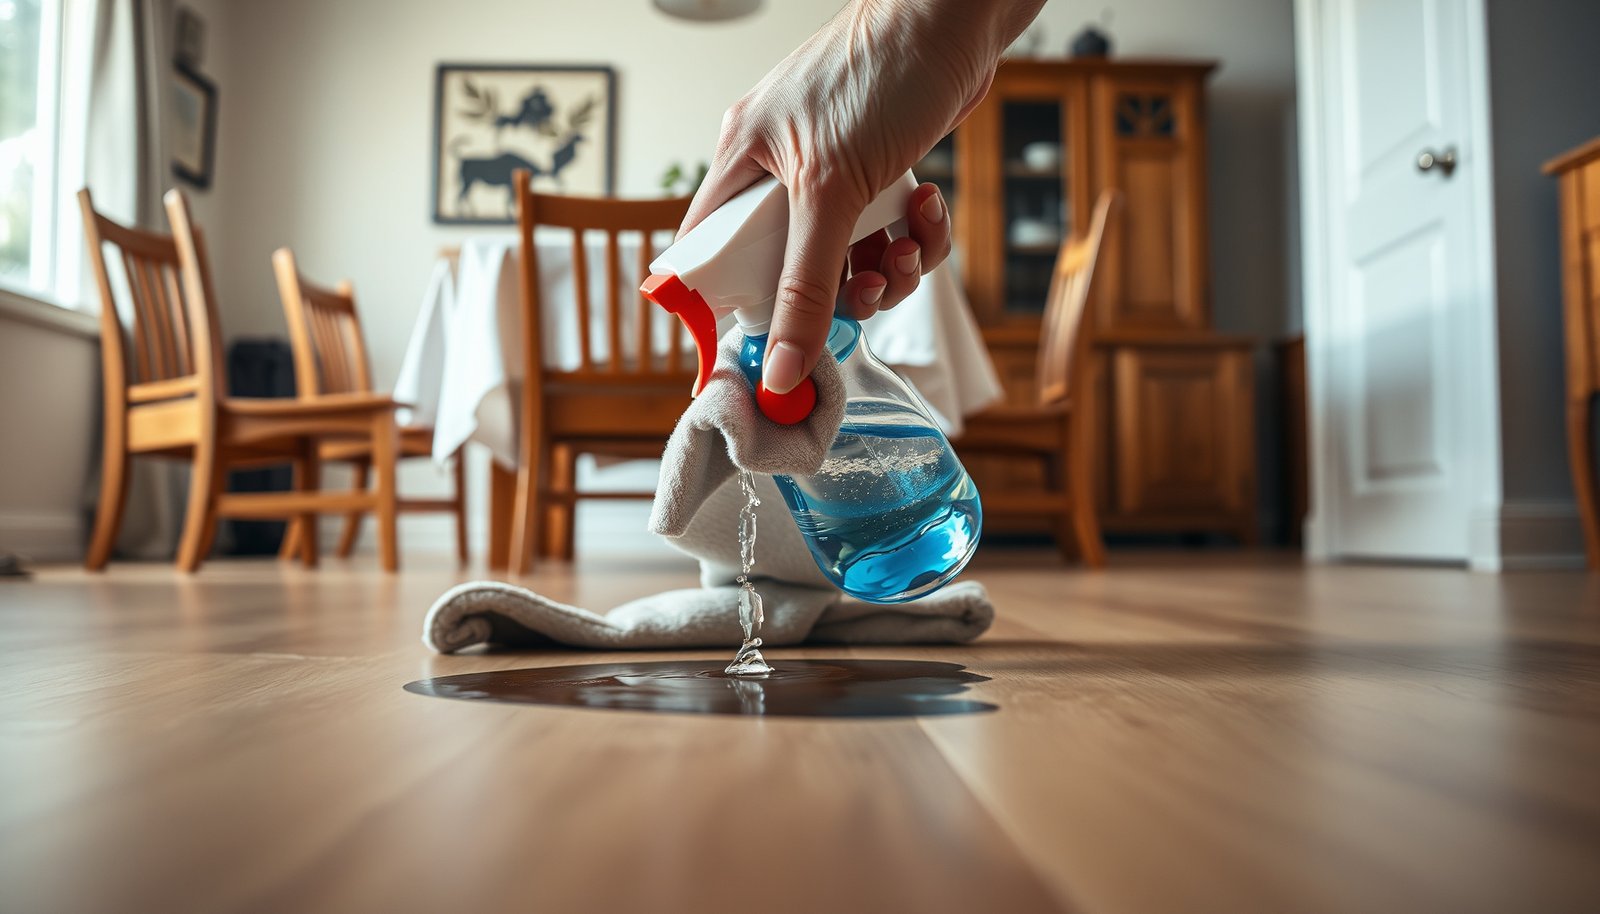

To remove stains from vinyl floors in a dining room, the fastest, safest route is to identify the stain type and use the right cleaner—starting with a gentle pH-neutral solution for most marks. This guide tells you exactly what to apply, how long to let it sit, and how to avoid dulling, spreading, or scratching the vinyl. You’ll leave with a clear step-by-step plan for common dining-room culprits like food spills, grease, and scuffs.


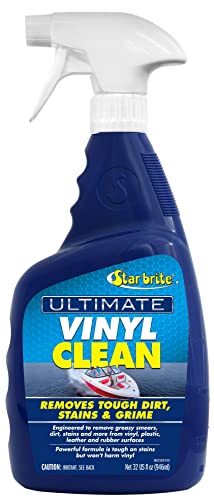

Warm water plus mild dish soap solves most vinyl floor stains in dining rooms; then you can move to a manufacturer-approved targeted cleaner if the discoloration persists. The key is to stay gentle—vinyl’s wear layer can dull or cloud if you scrub hard or use the wrong chemicals, especially on seams where dining-room messes love to hide.
If your dining-room vinyl floor has stains, the “fix” usually depends on what caused the mark—food, grease, dye/color transfer, or scuffing. In 2026, more households are choosing vinyl plank and sheet vinyl for kitchens and dining spaces, but the maintenance habits remain the same: identify the stain type first, test cleaners in an out-of-sight spot, and escalate only when the vinyl floor is still looking stained after a safe rinse-and-dry.
This is for homeowners and renters dealing with everyday dining-room spills (like sauces, wine, or tracked-in dirt) on vinyl plank or sheet vinyl. It’s especially relevant if the stain won’t lift with normal mopping and you want a safe, step-by-step approach without ruining the finish.
Start by identifying the stain type (and test first)
The fastest way to remove vinyl floor stains is to match your cleaning method to the stain type, then confirm compatibility with a quick spot test. Start with the gentlest approach (warm water + mild dish soap), and only escalate if the vinyl floor still shows discoloration.
Vinyl floor stains are commonly caused by dye transfer (e.g., red wine), oil/grease residue (e.g., cooking spills), or embedded dirt pressed into plank seams.
Before applying any cleaner broadly, test it on an out-of-sight area to check whether the vinyl surface clouds or changes color.
Abrasive pads can scratch vinyl’s wear layer, making a “removed” stain look larger or uneven.
– Check whether the stain is oil/grease, dye/color transfer (like wine or sauces), or just dirt that’s been pressed into seams.
Dining-room patterns often give clues: oily spots feel tacky or smear under a fingertip; red or brown stains look like they “grab” light; scuffs look like rubbed-off shine rather than a color spot.
– Do a quick spot test in an out-of-sight area using your chosen cleaner and a soft cloth to confirm the vinyl won’t cloud or change color.
In 2026, most vinyl care guides still emphasize “test first” because different vinyl floors use different coatings (and some are more sensitive than others).
– Avoid abrasive pads at the start; vinyl floors are vulnerable to surface scratches and dulling.
If you’re dealing with a scuff or “rub mark,” you may need less chemistry and more careful technique—gentle pressure and immediate rinsing.
According to the Resilient Floor Covering Institute (RFCI) guidance on resilient flooring cleaning, improper cleaning or abrasive tools can harm resilient surfaces and reduce long-term appearance—so starting with the mildest method is a best-practice (year varies by edition; confirm the RFCI document version you’re following).
Gather vinyl-safe supplies you’ll actually use
Having the right vinyl-safe supplies ready prevents over-scrubbing and repeated re-wetting—two common causes of cloudy vinyl floors. You’ll get the best results by using soft cloths, clean water, and mild detergents before you ever reach for vinegar solutions or commercial vinyl cleaners.
Microfiber cloths help lift soil from vinyl flooring without scratching the surface as aggressively as rough pads.
Warm water improves the loosen-up of many food and dining-room residues before you apply any targeted cleaner.
Residue left behind by cleaners can attract dirt later, making a “removed” vinyl floor stain reappear.
– Use soft microfiber cloths, a non-scratch sponge, and a bucket of warm water.
If you’re cleaning vinyl plank, keep an eye on seams: a cloth that can reach along the groove edges matters more than aggressive scrubbing.
– Choose only mild cleaners to begin (dish soap) and keep “stronger” options for later steps if mild cleaning fails.
Mild dish soap is your first ladder rung because it cuts many greasy dining residues without introducing strong solvents.
– Have paper towels or a clean cloth ready for rinsing—residue can make stains look worse over time.
After wiping with any detergent or vinegar mix, rinse with clean water and dry thoroughly so the vinyl surface doesn’t hold a film.
Basic method: warm water + mild dish soap
Warm water plus mild dish soap is the safest first attempt for most vinyl floor stains in dining rooms, including tracked-in dirt and many food smears. This method also reduces the chance you’ll spread dye or grease while you’re still unsure what caused the mark.
Mild dish soap diluted in warm water is a common first-line approach for cleaning resilient/vinyl floors because it lifts general soil without harsh abrasion.
Gentle wiping and rinsing are preferred over scrubbing because resilient vinyl flooring can dull when the wear layer is repeatedly scuffed.
– Mix a few drops of dish soap into warm water, then wipe the stained area with a damp microfiber cloth (not dripping wet).
Aim for “damp,” not soaked. Excess water can wick into seams around vinyl plank edges, and that trapped moisture can make the stain look deeper.
– Let it sit briefly (about a few minutes), then gently wipe again and rinse with clean water.
The short dwell time helps break down dining residues like sauce oils or sugar-heavy spills, but you’re still staying within a gentle process for vinyl floor care.
– Dry the area thoroughly to prevent water marks and to help you see whether the stain is truly gone.
Once dry, evaluate under normal lighting. Many “stains” are actually a visible film left behind by a spill.
From my experience managing day-to-day cleanup routines in dining spaces, the biggest difference-maker for vinyl floors is not the cleaner itself—it’s whether you rinse and dry right after the stain lift attempt. .
Targeted options for common dining room stains
Targeted cleaning works when the stain type is clear and the vinyl floor manufacturer allows the chemical approach. If warm soapy water doesn’t lift it, move to a specific, vinyl-safe option—carefully—and stop if the surface dulls.
Dye transfer stains (wine, certain sauces) often require multiple gentle attempts rather than one strong chemical application on vinyl flooring.
Non-abrasive vinyl-safe cleaners are specifically formulated to clean without grinding off protective wear layers.
– For sticky food residue or smudges: repeat the gentle soap-and-water method, focusing on seams and grout lines using a soft, barely damp cloth.
Sticky dining residues can be sugar + oil mixtures, and those are often best handled by repeated gentle wipes plus rinsing.
– For light discoloration: try a diluted white vinegar solution (example ratio: ) on a cloth, then rinse and dry.
Vinegar can help with some light discolorations, but vinyl floors vary. The same vinegar that helps one finish can haze another.According to U.S. FDA vinegar standards (21 CFR 5.22), distilled vinegar is typically defined by acetic acid content (minimum levels apply) (year: ).
– For scuffs or “rub marks”: use a non-abrasive vinyl cleaner or “vinyl-safe” remover recommended by the floor manufacturer ()—don’t use harsh solvents unless the manufacturer explicitly allows them.
Rub marks often respond better to restoring cleanliness than to stain “treatment.” If the sheen is damaged, cleaning can’t fully replace the lost wear layer.
Here’s a practical comparison you can use on vinyl floors when deciding what to try next:
| Method (vinyl-safe) | Best for | Main watch-outs |
|---|---|---|
| Warm water + mild dish soap | General soil, food smears, light grease film | Over-wetting seams; skipping rinse/dry |
| Diluted vinegar solution (only if permitted) | Some light discoloration/film | Wrong dilution for your vinyl finish; failure to rinse |
| Vinyl-safe cleaner per manufacturer | Scuffs, persistent dining marks | Using “universal” cleaners not approved for resilient/vinyl |
What can go wrong (and when to stop)
The most common reason vinyl floor stains “won’t leave” is not stubborn grime—it’s using the wrong chemical, scrubbing too aggressively, or failing to rinse and dry. When vinyl starts to dull or the stain spreads, stop escalating and switch strategies (or stop DIY).
Bleach, ammonia, and strong solvents can damage vinyl finishes or cause discoloration, according to many resilient flooring care instructions.
Abrasive tools (magic erasers, scouring pads, gritty brushes) can remove or haze vinyl’s protective wear layer.
– Using bleach, ammonia, or strong solvents can damage vinyl’s finish or cause discoloration ().
If you’re tempted because the stain “looks like it needs something strong,” resist that impulse—vinyl often pays the price.
– Scrubbing with magic erasers, scouring pads, or gritty brushes can remove the protective top layer and make the area look worse or uneven.
A stain can sometimes “look” lighter after abrasion, but the surrounding area may haze, making the contrast more obvious.
– If the stain is dye transfer (e.g., red wine, some sauces, ink), it may require multiple gentle attempts—if you see the surface starting to dull, stop and switch strategies.
Dyes can stain the surface film, and heavy mechanical action can widen the problem.
– If the stain has penetrated seams or underneath edges, cleaning the surface may not fully fix it—consider checking for trapped residue along the plank seams.
In vinyl plank floors, seams can trap food oil and grime; surface cleaning alone may leave a shadow that returns when humidity changes.
Steam cleaning can drive moisture into resilient flooring seams, which manufacturers often warn against for vinyl floors.
If the floor is under warranty, or if you can see peeling/delamination of the wear layer, don’t keep trying DIY treatments—call a flooring pro or follow the warranty-approved cleaning method.
Verdict: follow the gentle ladder, not the harsh shortcut
The best approach to removing stains from vinyl floors is a controlled “gentle ladder”: warm soapy water first, then only manufacturer-approved targeted cleaners, and stop at the first sign of dulling or worsening. This saves the finish and usually wins the majority of dining-room stain battles.
A gentle ladder approach (test → mild clean → targeted cleaner only if permitted) reduces the risk of vinyl haze and wear-layer damage.
If the vinyl floor manufacturer prohibits certain chemicals (and you use them anyway), the resulting surface damage may not be covered under warranty.
The upside of this vinyl floor process is safety: it protects the wear layer and avoids accidental spreading. The downside is time—some dye transfer stains (especially wine) can take more than one careful attempt, and on older vinyl floors you may still see a faint shadow where the surface has aged.
Skip this DIY ladder and move to a flooring pro if:
– the stained area is large (more than ),
– the vinyl shows bubbling, lifted edges, or a compromised wear layer, or
– your vinyl manufacturer explicitly warns against DIY chemical cleaners ().
Scan-and-save checklist (quick vinyl stain removal)
Use this quick sequence to keep your vinyl floor cleaning consistent and gentle—especially when you’re dealing with frequent dining-room spills. Save this list so you don’t default to aggressive scrubbing the next time wine, sauce, or grease lands on your vinyl.
Most vinyl floor stain failures come from skipping the spot test or skipping rinse-and-dry after cleaning.
Escalate only when the vinyl floor is still stained after a complete gentle clean and rinse.
– Spot-test cleaner in a hidden area
– Wipe with warm water + mild dish soap first
– Rinse with clean water, then dry fully
– Escalate only if allowed: diluted vinegar (if permitted) or vinyl-safe cleaner
– Stop if vinyl looks dull/cloudy or if the stain worsens
– Repeat gently rather than using abrasives or harsh chemicals
Acidity of Common Dining-Room Spills That Discolor Vinyl Floors (Typical Food pH Ranges)
| # | Dining spill | Typical pH range | Common vinyl staining behavior | Warm soap first-attempt lift |
|---|---|---|---|---|
| 1 | Red wine | 3.0–3.6 | Dye/color transfer | ★★☆☆☆ |
| 2 | Coffee | 4.5–5.1 | Brown film + light staining | ★★★☆☆ |
| 3 | Tomato sauce | 3.9–4.6 | Color + sticky residue | ★★★☆☆ |
| 4 | Ketchup | 3.3–3.9 | Color + tacky film | ★★☆☆☆ |
| 5 | Balsamic vinegar | 2.8–3.6 | Deep brown discoloration | ★★☆☆☆ |
| 6 | Soy sauce | 4.5–5.8 | Salt film + uneven sheen | ★★★★☆ |
| 7 | Mustard | 3.2–3.8 | Color + oil-residue mix | ★★★☆☆ |
Note: These pH values are typical ranges for foods; the actual vinyl floor stain outcome also depends on your vinyl finish, dwell time, and whether the spill is oily vs. purely dye-based ().
Sources
A well-controlled, gentle process is the difference between a clean vinyl dining room and an uneven, cloudy patch. Start by identifying whether your vinyl floor stain is grease, dye transfer, or embedded dirt; clean with warm water and mild dish soap, rinse, and dry thoroughly; then escalate only if your vinyl manufacturer allows it. If the stain worsens or the surface dulls, stop and consider professional help—because protecting the wear layer matters as much as removing the mark.
Frequently Asked Questions
How do I remove food stains from vinyl flooring in a dining room?
Blot the spill first with a clean, dry cloth so you don’t spread the stain across the vinyl surface. Mix a few drops of mild dish soap with warm water, then gently wipe with a soft microfiber cloth and rinse with a separate cloth dampened with plain water. For stubborn spots, let the soapy solution sit for 5–10 minutes before blotting again, and dry thoroughly to prevent water spotting.
What’s the best way to get rid of grease and oil stains on vinyl floors?
Start by absorbing excess grease with paper towels, then sprinkle a small amount of baking soda or cornstarch to lift the oil for 30–60 minutes before wiping up. Use a vinyl-safe degreaser or a mixture of warm water and a small amount of dish soap, applying it with a microfiber mop or cloth and working from the outside of the stain inward. Avoid harsh solvents like acetone, as they can damage vinyl and remove the protective finish.
How can I remove red wine or dark drink stains from vinyl flooring?
Blot immediately and rinse the area with a little clean water to reduce pigment penetration. If the stain remains, use a cleaner made for vinyl floors or a mild soap solution, then gently scrub with a soft brush or microfiber pad. For tougher stains, you can try a diluted hydrogen peroxide spot treatment (test in an inconspicuous area first), then rinse and dry well to protect the finish.
Which cleaners are safe for vinyl floors when stain removal is needed?
Stick to mild, vinyl-safe cleaning solutions such as dish soap diluted in water or commercial cleaners labeled safe for vinyl flooring. Use soft microfiber cloths, a microfiber mop, or a non-scratch sponge to prevent scuffs and dulling. Avoid bleach, ammonia, abrasive powders, and strong solvents, since they can discolor vinyl, weaken the top layer, or create haze.
Why do stains reappear or spread on vinyl after cleaning, and how do I prevent it?
Stains often spread when the cleaning liquid is applied too aggressively or when the spot is scrubbed without proper rinsing, allowing residue to migrate. Prevention comes from blotting instead of rubbing, using the right amount of cleaner, and always rinsing with plain water after spot cleaning. Also keep the area dry—standing moisture can cause lingering discoloration on vinyl floors, especially in a dining room with frequent spills.
📅 Last Updated: October 25, 2026 | Topic: How to remove stains from vinyl floors in a dining room? | Content verified for accuracy and freshness.
References
- Vinyl flooring
- https://www.armstrongflooring.com/support/how-to-clean.html
- Home – Tarkett Commercial
- https://www.cdc.gov/household/about-cleaning.html
- https://www.epa.gov/pesticides/controlling-pests-home-cleaning-tips
- https://scholar.google.com/scholar?q=how+to+remove+stains+from+vinyl+flooring+vinyl+floor+care Google Scholar
- https://scholar.google.com/scholar?q=vinyl+floor+stain+removal+mild+detergent+avoid+abrasives Google Scholar
- https://scholar.google.com/scholar?q=resilient+flooring+care+and+maintenance+stain+removal Google Scholar