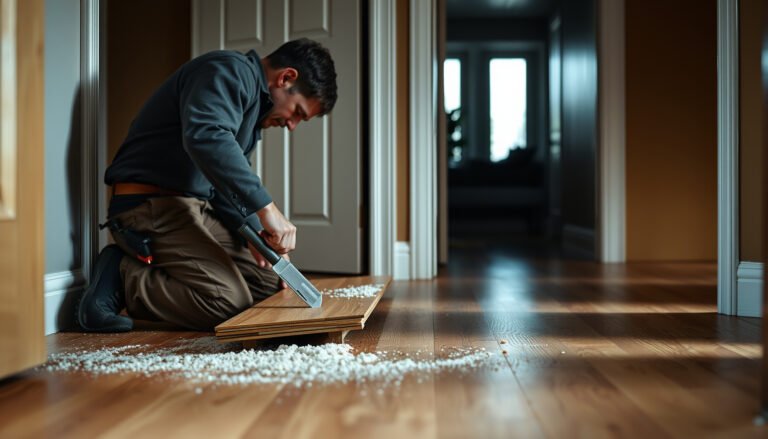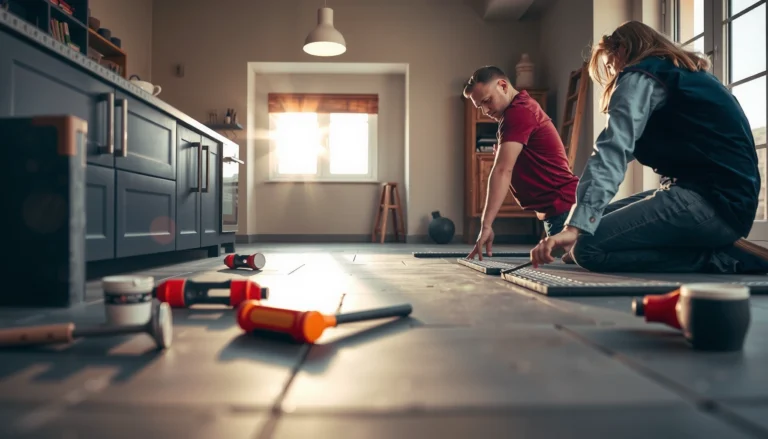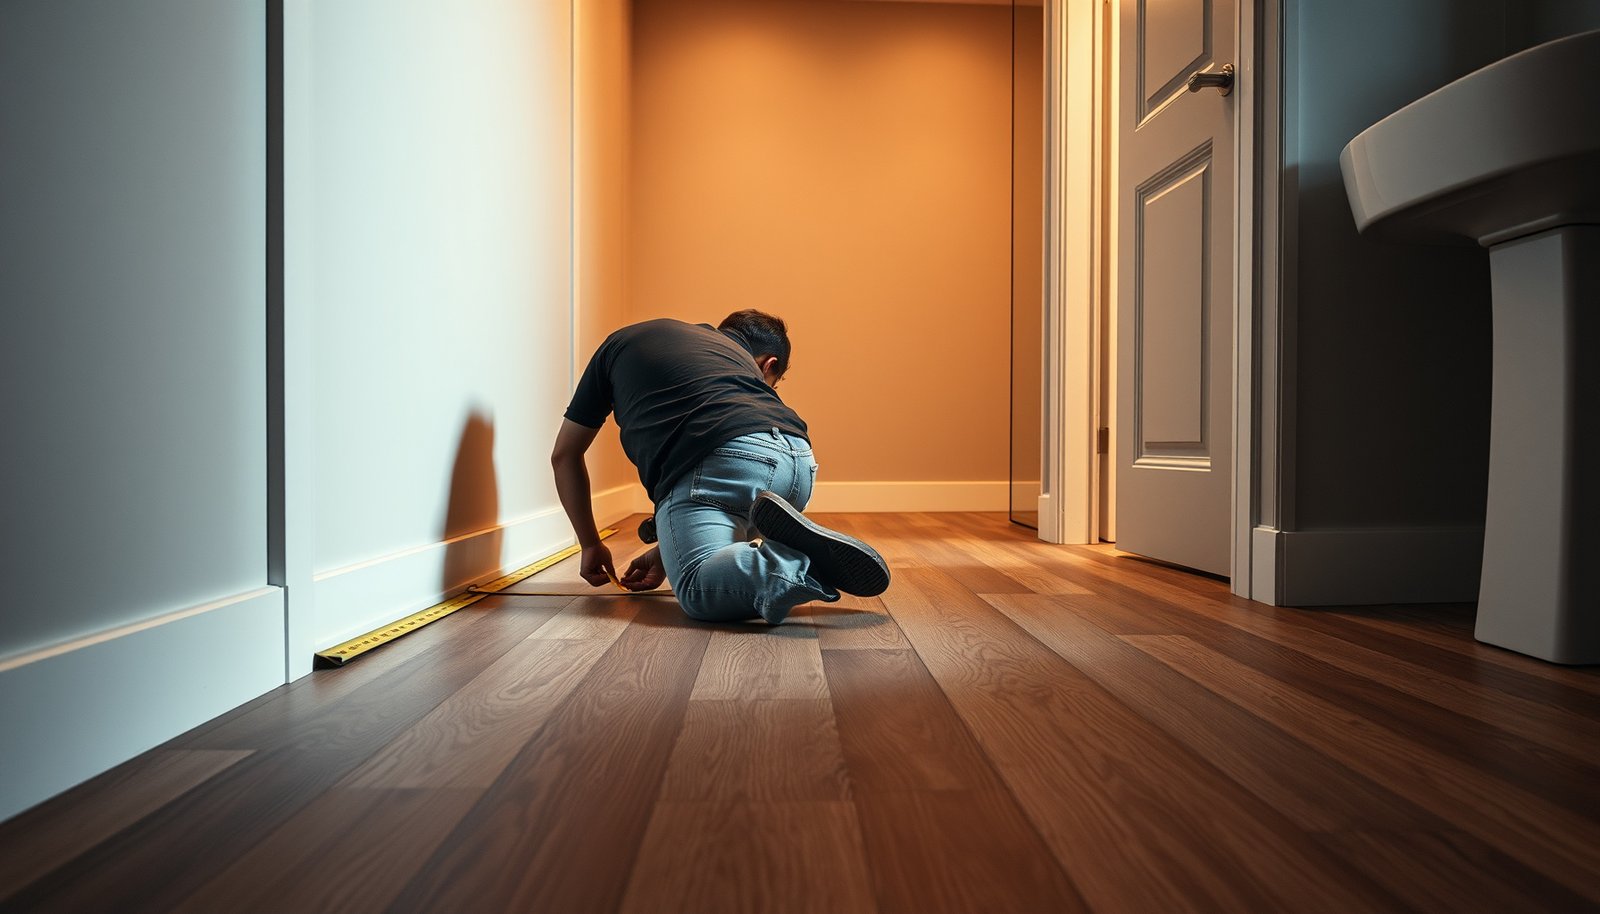

Need to measure laminate floors for a bathroom accurately? Start by measuring the room’s usable area, subtracting permanent fixtures, and mapping any transitions or trims that will hold the planks in place. Follow these steps and you’ll get the right plank count and layout so your install fits cleanly and minimizes waste.




Measure your bathroom laminate floor by calculating the *covered* square footage (not the whole room), then converting that area into box quantity using the laminate’s coverage per box. Accuracy hinges on subtracting excluded zones (like where the floor stops at a toilet flange or vanity) and leaving the manufacturer-required expansion gap around perimeter edges and doorways—especially in 2026-era bathrooms where humidity swings are common.
If you’re planning a floating laminate installation in a bathroom—especially with corners, a vanity, or an odd layout—this walkthrough helps you get accurate measurements and avoid common buying/counting mistakes. We’ll also point out the moisture-related things that affect what “measuring correctly” really means.
Gather your measurements tools (and check the flooring specs)
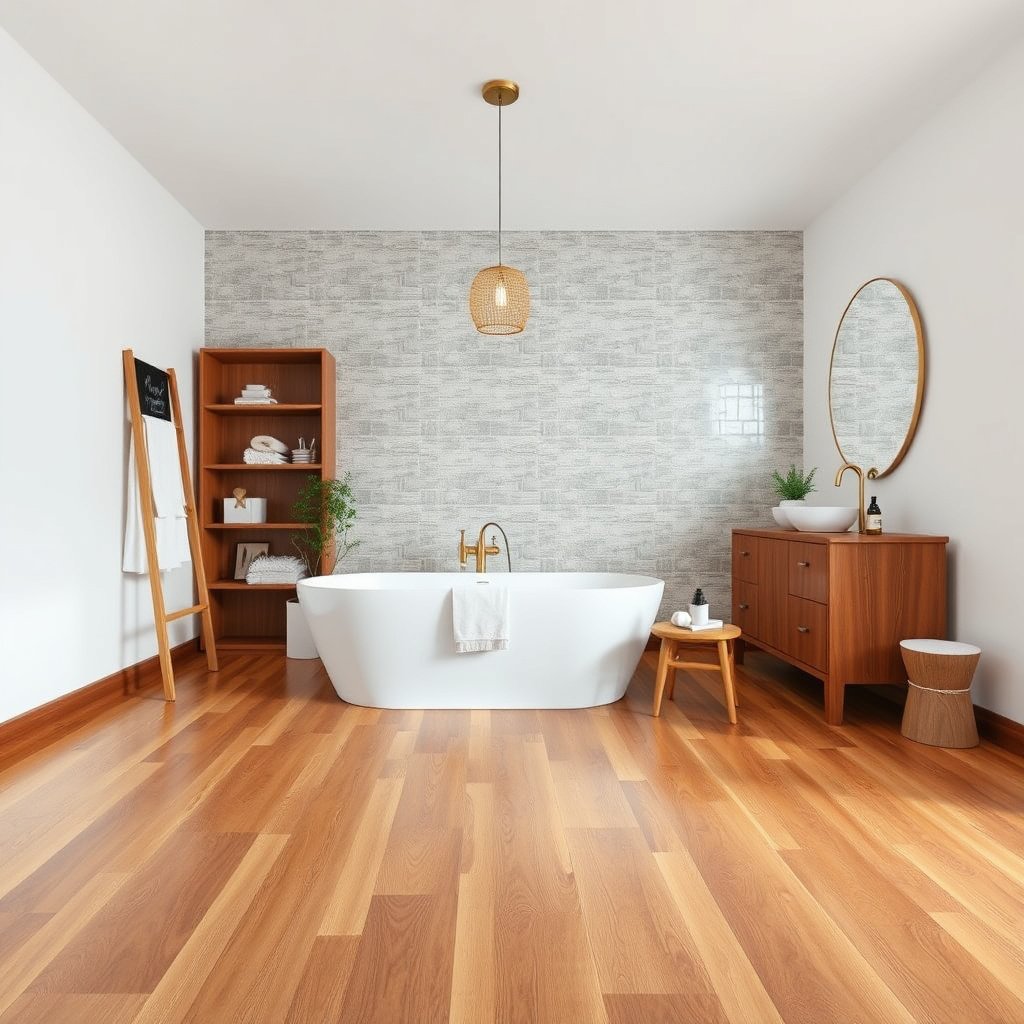
If you measure without first confirming the laminate’s rules, your math will be correct but your purchase can still be wrong. The right workflow is: gather tools, verify your specific laminate’s coverage per box, required expansion gap, and any moisture/underlayment requirements from the manufacturer—then measure around those constraints.
Before you pull out the tape measure, set yourself up to sketch cleanly and consistently. For laminate flooring, I’ve seen many “almost right” estimates come from messy diagrams where walls, thresholds, and toilet/vent cut zones don’t get labeled clearly. The goal is repeatable coverage-area math for laminate flooring, not just room-size measurements.
Laminate flooring box quantity planning starts with the product’s stated “coverage per box,” because boxes are the unit you can actually purchase.
Many laminate instructions also specify an expansion gap requirement as part of their installation system, so the “right” measured area depends on leaving that perimeter clearance.
Bathrooms require following the manufacturer’s moisture and underlayment guidance because a floating laminate floor is still sensitive to moisture at the subfloor and through the installation layers.
What to have on hand for laminate flooring measuring
Use a tape measure, plus something you can mark with straight lines (chalk line or a straight edge). Grab paper/graph paper (or a notes app with grid support) and plan to draw a simple top-down sketch of your bathroom layout for laminate flooring.
Keep your measurements and your sketch in the same order (for example: “Section A,” “Section B,” etc.). That makes it easier to sanity-check the laminate flooring area math later when you convert into boxes.
Confirm the specs that control counting accuracy
Pull up the laminate carton or installation manual and write down three things before measuring:
1. Coverage per box (square footage covered by one sealed box).
2. Recommended expansion gap around perimeter edges and transition areas.
3. Underlayment requirements (type and installation method, including whether seams must be taped).
If your laminate has a specific bathroom suitability statement (or humidity limit), record it too. As of 2026, installers increasingly expect you to follow these system specs exactly—because moisture performance is part of the warranty logic for laminate flooring.
Measure the bathroom floor area (square footage)
Measure the bathroom floor by calculating covered square footage for the areas you will actually install laminate flooring, then convert that area into boxes. For complex rooms, splitting into rectangles produces more reliable square footage than trying to estimate irregular shapes.
The key mistake with laminate flooring in bathrooms is measuring wall-to-wall. Bathrooms almost never behave like a simple rectangle you fully cover: transitions, thresholds, toilet flange clearance, and built-ins often change where laminate flooring can stop or how it must be detailed.
To compute rectangular laminate flooring area, use length × width for each installable section, then add section areas together.
Laminate flooring measuring should follow the “install line”—the point where your flooring layout actually stops—rather than assuming wall-to-wall coverage.
When you split an irregular bathroom layout into rectangles, you reduce rounding error and improve laminate flooring box accuracy for cut-heavy installs.
Break the room into installable rectangles
Measure and note the longest and shortest dimensions of each section you’ll cover with laminate flooring. Multiply length × width for each section to get square footage for that section.
If your bathroom layout includes an L-shape, bump-outs, or recesses, split it into multiple rectangles and add the results. This approach also makes it easier to track excluded areas later (like fixed zones that laminate may not cover).
Measure to the install line, not the walls
For laminate flooring, “where you stop” matters. Measure to the line where laminate flooring will actually end—commonly near transitions, thresholds, and fixed features—rather than automatically taking the full room dimensions.
This is especially important near:
– doorways to other rooms,
– hall entries where a reducer/transition strip will be installed,
– built-in cabinetry or vanities (depending on the system).
If your installation plan says the floating floor stops around a fixed fixture, your laminate area calculation must stop there too. That’s how you avoid overbuying.
Plan for obstacles and cuts (toilet, vanity, doorways)
Plan your laminate flooring measurement by deciding what you will cover and what the installation system tells you to leave out. Then subtract excluded zones and document cut zones so your box count includes waste where it’s actually needed.
Obstacles are where laminate flooring counting errors happen most often. Bathrooms don’t just “add cuts”—they often force end cuts near edges, special clearance around toilet flange areas, and layout changes around vanity bases. That directly affects the waste allowance you need and the best way to stagger seams.
Floating laminate floors typically require that fixed fixtures (and specified clearance zones) be treated according to the installation manual, which can limit where boards may go.
To avoid overbuying laminate flooring, excluded areas—zones you will not cover—must be subtracted from total measurable square footage before converting to boxes.
Cut zones around the toilet flange, vents, and transitions often increase waste compared with a simple rectangular room.
Decide whether laminate flooring stops around fixtures
Many floating laminate installations stop around fixed fixtures (for example, where the manual instructs). Check your laminate flooring instructions for what to do near:
– toilet flange clearance,
– vanity base/legs,
– floor vents and register openings,
– transition thresholds/strips.
Measure the “cut zones” you’ll need to plan
As you sketch your bathroom plan, mark the cut zones (for example, “toilet area clearance,” “vent penetration area,” “transition strip edge”). Even if you don’t know your final board layout yet, these notes let you estimate waste more realistically.
Subtract excluded areas before you do box math
A practical workflow for laminate flooring:
1. Calculate total potential install area by rectangles (covered outline).
2. Subtract excluded areas (fixed zones you won’t cover).
3. The remainder is your total covered square footage—the number you’ll later use to estimate boxes.
From my experience helping homeowners translate manual instructions into a measuring sketch, the biggest “oops” is counting a vanity footprint you’ll actually leave open. If you subtract it correctly, box count accuracy improves immediately.
Quick measurement comparison (choose your method)
| Approach | Pros | Cons |
|---|---|---|
| Rectangles + excluded zones | Most accurate for odd bathroom layouts; easier to subtract toilet/vent exclusions | Takes a little longer to sketch and label sections |
| Wall-to-wall estimation | Fast when the room is simple | High risk of overbuying because bathrooms often have exclusions and transition changes |
Convert your area into planks and boxes
Convert your bathroom laminate flooring measurement into box quantity by using the laminate’s coverage per box and adding a waste allowance based on your layout and cut complexity. The goal is to purchase whole boxes while still accounting for end cuts near bathroom edges and around obstacles.
This step is pure math—but it becomes “math with consequences” if you use the wrong coverage number or skip waste. As of 2026, most manufacturer instructions are strict about whole-box purchasing and waste planning because partial boxes can create seam patterns you didn’t intend.
Boxes needed = (covered square footage + waste allowance) ÷ coverage per box is the core calculation for laminate flooring planning.
Waste allowance should increase for bathroom layouts with more end cuts (toilet edges, vents, transitions) compared with a simple rectangular room.
Because laminate flooring is sold in sealed boxes, you generally round up to the next whole box to maintain the intended board stagger and coverage.
Calculate boxes needed using your laminate product’s coverage per box
Use the laminate’s coverage per box from the carton/spec sheet to calculate:
Boxes needed = (total covered square footage + waste allowance) ÷ coverage per box
Write down:
– total covered square footage (after subtracting excluded zones),
– waste allowance (see next step),
– coverage per box.
Add waste allowance based on your bathroom layout
Waste varies with:
– edge and end cut frequency,
– whether you’re doing a complex stagger pattern,
– how many boards must be trimmed around the toilet flange and doorway transitions.
If you don’t have an installer rule, use your laminate manufacturer guidance:
Then round up to the next whole box. Laminate flooring is typically shipped and sold so that you cannot safely mix partial coverage across boxes without impacting seams and pattern continuity.
Don’t skip expansion gaps and bathroom moisture considerations
Don’t treat measurement as the final step—laminate flooring needs expansion gaps and moisture-safe installation conditions to perform in a bathroom. Measure correctly, then install correctly: the expansion gap and moisture system requirements determine whether the floating floor stays flat instead of buckling.
Bathrooms amplify humidity changes, and laminate flooring is a floating system that relies on that perimeter clearance. If you ignore expansion gaps, the floor can’t “float” as designed when it expands or when conditions change after a few seasons.
Laminate flooring installation instructions commonly require an expansion gap at perimeter edges and transitions to prevent buckling from seasonal movement.
Indoor moisture control matters: U.S. EPA guidance recommends keeping indoor relative humidity around 30–50% to reduce moisture-driven problems.
According to the National Wood Flooring Association (NWFA), subfloor flatness variation beyond typical tolerances can contribute to installation failures, so substrate prep is part of “measurement success” for laminate flooring.
Leave the required expansion gap exactly as specified
Leave the required expansion gap at all perimeter edges and transitions (including doorways) exactly as stated in the installation instructions:
This gap impacts your measurement indirectly because you’re effectively defining where laminate ends and where transitions reduce pressure points.
Follow the laminate’s bathroom moisture suitability and system requirements
In bathrooms, laminate flooring outcomes depend on subfloor moisture, underlayment selection, acclimation, and vapor/condensation management—not just square footage accuracy. Follow the manufacturer’s direction for moisture limits, acclimation, and whether your laminate system is rated for bathroom use:
Also remember that guidance like humidity targets is supportive, not a substitute for the manufacturer’s spec. For example, the U.S. EPA recommends maintaining indoor relative humidity around 30–50%. U.S. Environmental Protection Agency (EPA) indoor humidity guidance (guidance accessed via official EPA materials; year varies by document revision).
Finally, don’t forget substrate flatness planning because laminate flooring systems are sensitive to uneven bases. NWFA provides industry guidance on acceptable subfloor flatness for successful installations. National Wood Flooring Association (NWFA) installation guidance (use the specific guideline section for laminate/engineered wood per your situation).
Plan transitions so the floating floor isn’t forced to bind
Doorways and hall transitions can create hard stops if you detail them incorrectly. If your laminate floating system needs movement room, you must plan transitions (reducers/threshold strips) so boards aren’t pinned against fixed elements.
In practice, this means:
– measure to the designed end line,
– maintain the expansion gap through transition planning,
– avoid “locking” the floor with poorly placed trims.
What can go wrong when measuring laminate for a bathroom
Several predictable errors cause most bathroom laminate overbuying or installation failures. Fix the inputs—covered area, excluded zones, waste allowance, expansion gaps—and you remove the majority of avoidable risk.
Bathrooms also introduce moisture-related performance factors that measurement can’t correct. Even if your square footage and box count are perfect, a laminate flooring system that’s not suited to your bathroom moisture conditions (or that skips an approved underlayment) can still fail.
Overbuying laminate often comes from not subtracting excluded areas such as vanity/fixture zones where laminate cannot or should not be installed.
Ignoring expansion gaps is a common root cause of buckling and peaking in floating floors after humidity and temperature cycles.
Complex bathroom cut planning increases waste beyond what you’d assume from a simple rectangular room, so waste allowances must reflect the actual layout.
Common slip points (and what they cause)
– Forgetting excluded areas: Your laminate flooring count rises, and you may end up with extra boxes that don’t match the stagger pattern you intended.
– Leaving no expansion gap: Boards can’t move; you risk edge lifting, peaking near doorways, and visible seam strain.
– Underestimating bathroom waste: Toilet and edge cuts create more end joins and shorter board lengths.
– Ignoring moisture guidance: Subfloor moisture or missing vapor controls can undermine the installation system even when square footage is accurate.
If you need a sanity check, verify flatness and moisture targets
Measurement errors are usually quantifiable, but bathroom moisture problems often require targeted verification (moisture testing methods vary by slab type). If you haven’t confirmed subfloor conditions are within the laminate’s spec, pause your box ordering and address that first.
Also note: some bathroom subfloors require moisture testing using approved methods (often ASTM-referenced procedures for concrete). ASTM standards on moisture testing for flooring installations (use the method specified by your laminate manufacturer)
Verdict / tip
The cleanest results for bathroom laminate flooring come from measuring in sections, using your laminate’s coverage per box, then calculating boxes only after subtracting excluded areas and applying a manufacturer-approved waste allowance. The downside is that bathroom layouts often involve extra obstacles and transition details, so your waste and cutting complexity may exceed what a simple rectangular-room estimate would suggest—and you still must follow the bathroom suitability and moisture requirements in the manual.
Consider skipping a DIY measurement approach and getting an installer help if your bathroom has an unusually complex shape, you’re unsure what the laminate system allows around the toilet/vanity, or your subfloor/moisture conditions aren’t clearly within spec. If you proceed, keep your plan as a sketch plus a simple “area → boxes” calculation so you can double-check quickly.
Measurement & planning checklist (scan/save)
| Measurement/Planning Step | What to do | Common slip |
|---|---|---|
| Covered area | Split into rectangles, multiply, add | Measuring too broadly wall-to-wall |
| Excluded areas | Subtract fixed zones you won’t cover | Forgetting toe-kicks/fixtures/transitions |
| Coverage per box | Use box label/spec | Estimating without checking the actual product |
| Waste allowance | Use guidance: | Assuming a simple room applies to bathrooms |
| Expansion gap | Use manual: | Leaving no gap at edges/doorways |
Sources
– U.S. Environmental Protection Agency (EPA) indoor humidity guidance
– National Wood Flooring Association (NWFA) installation guidance (flatness/subfloor preparation and related laminate/wood flooring recommendations)
– ASTM standards for in-situ moisture testing used for flooring installations (use the method referenced/approved by your laminate manufacturer)
Frequently Asked Questions
What measurements do I need to accurately measure laminate flooring for a bathroom?
Measure the bathroom floor area by calculating the length and width of the room, then multiply to get square footage. Don’t forget to measure any alcoves, closets, or recessed spaces, and subtract permanent fixtures like vanities or built-in cabinets. If you’re installing laminate flooring with trim or transitions, measure the lengths of doorways and edges that will need matching pieces.
How do I measure bathroom laminate flooring if the room has irregular shapes or odd angles?
Break the floor into smaller rectangles or sections, measure each section’s length and width, then add the square footage together. For curved edges or angled corners, measure the widest points and use a reasonable sectional approximation, then add 5–10% extra for cutting waste. Mark reference points on a sketch so you can align laminate planks correctly around bathroom features like toilets and built-in shelving.
How do I account for expansion gaps when measuring laminate floors for a bathroom?
Even before cutting panels, confirm your laminate flooring requires expansion gaps around walls and fixed objects, typically about 1/4 inch (6–10 mm). When measuring, include the gap allowance by planning to leave space along the entire perimeter and around pipes, door frames, and posts. This ensures the laminate can expand and contract with bathroom humidity without buckling or lifting.
Why should I measure and plan for underlayment and moisture considerations in bathroom laminate flooring?
Bathrooms have higher moisture levels, so measuring must account for the correct underlayment system thickness and coverage requirements. Check whether your laminate flooring is rated for bathrooms and whether you need an attached pad or separate moisture barrier underlayment. Accurate measurements help you avoid underlayment seams in high-wet zones and ensures proper fit under baseboards or floating floor transitions.
Which tools and steps are best for measuring laminate flooring in a bathroom to minimize waste?
Use a tape measure, a notepad or sketch, and a chalk line or straightedge for checking walls that aren’t perfectly square. Measure doorways, offsets, and any floor-to-wall height transitions, then dry-fit a few rows to confirm how the first and last plank widths will look. Add a realistic waste factor—often 5–10% for standard layouts and more for complex bathroom designs—to reduce the risk of running short during laminate flooring installation.
📅 Last Updated: October 20, 2026 | Topic: How to measure a laminate floors for bathroom? | Content verified for accuracy and freshness.
References
- Laminate flooring
- Floating floor
- https://www.pergo.com/en-us/installation/
- Quick-Step flooring
- https://www.armstrongflooring.com/resources/instructions.html
- MohawkFlooring
- https://scholar.google.com/scholar?q=measure+laminate+floor+for+bathroom+square+footage Google Scholar
- https://scholar.google.com/scholar?q=laminate+flooring+installation+how+to+measure+room+expansion+gap Google Scholar
- https://scholar.google.com/scholar?q=bathroom+laminate+flooring+installation+moisture+underlayment+planning+cuts Google Scholar