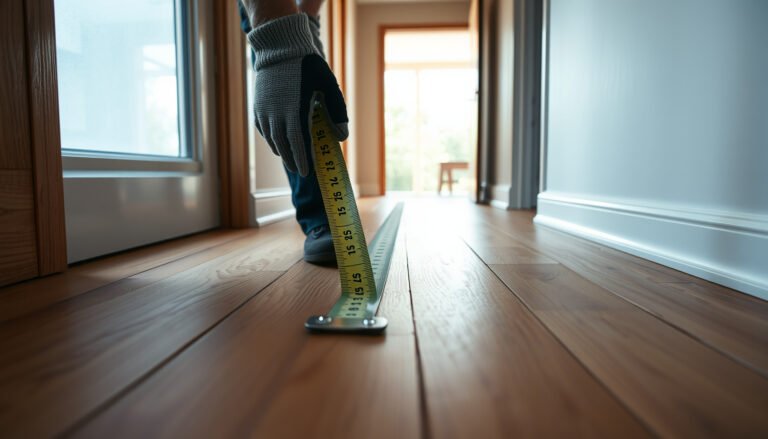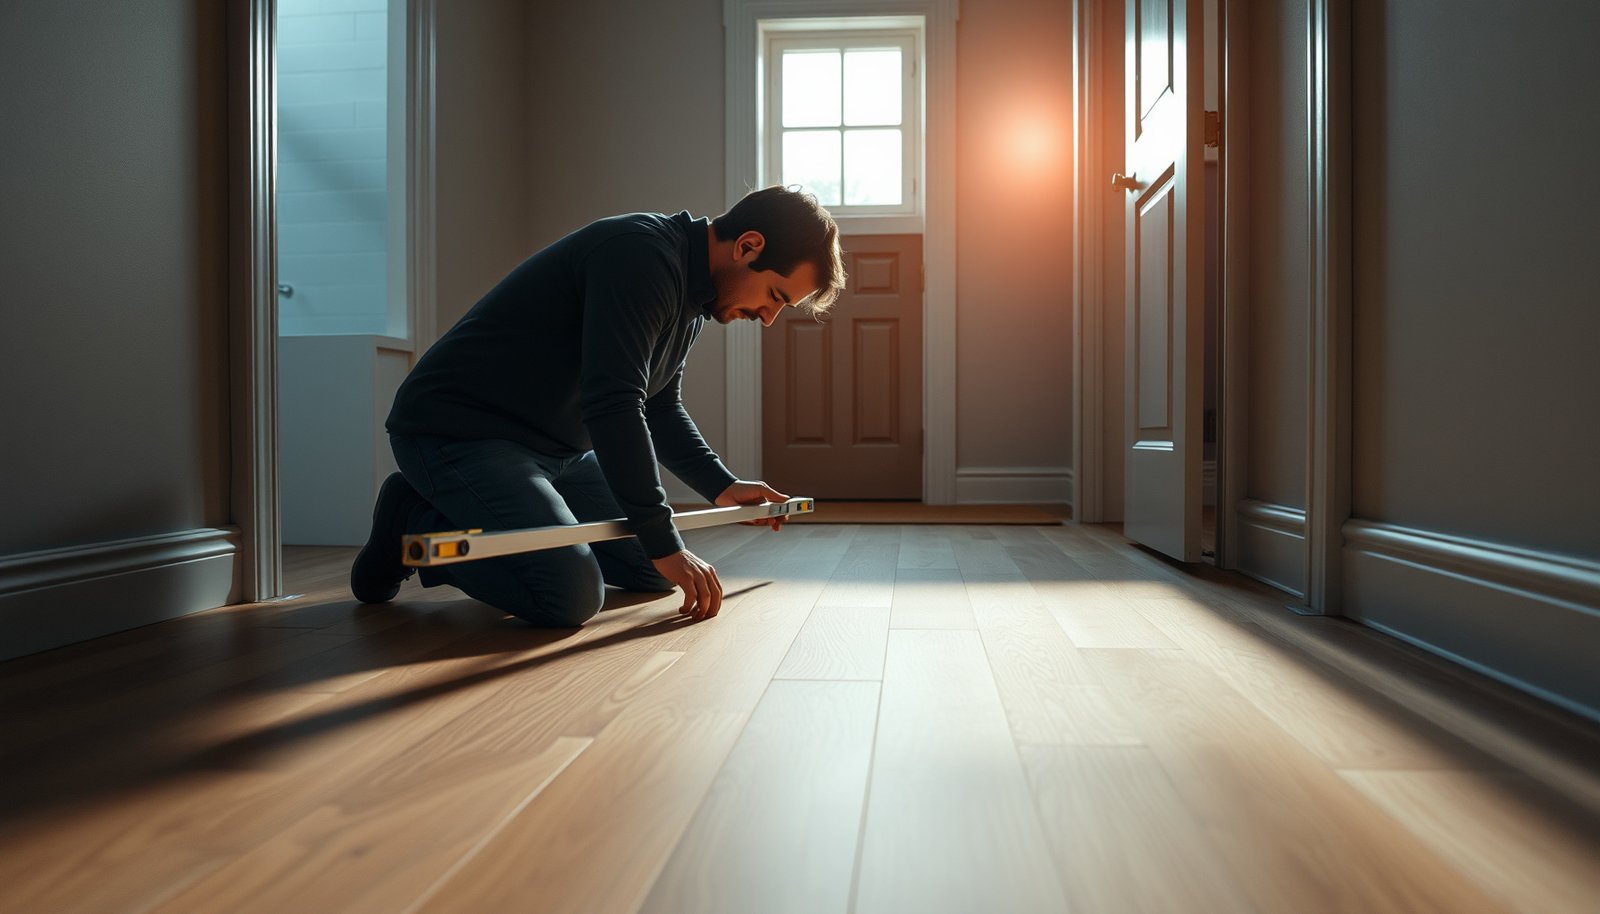

If your goal is to level laminate floors before installing a bathroom, the fastest route to a solid, no-lip finish is to prep the subfloor by identifying high spots, grinding or filling them to flatness, and using a moisture-appropriate underlayment. Do that and your boards won’t flex, squeak, or buckle when the bathroom’s humidity swings. This guide answers exactly how to level laminate flooring so the install is level, stable, and built to last.



Level your laminate floor by making the subfloor flat (not just smooth) and verifying moisture is within your laminate manufacturer’s limits before you install. Use a straightedge to find high/low spots, then correct them with patching or a self-leveling compound so the floor meets your product’s flatness requirement—especially important in bathrooms where trapped moisture can wreck laminate locks.
If your bathroom has a plywood/OSB subfloor, older tile/patchy concrete, or any visible dips/ridges, this is for you. It’s especially important in bathrooms because uneven spots and trapped moisture can cause laminate joints to separate or swell.
Why leveling matters in a bathroom

Leveling matters because laminate “floating” locks need consistent, rigid support across the entire floor—small dips and humps amplify joint stress. In a bathroom, moisture exposure increases the risk that even minor flatness problems become joint failures or swelling.
– Laminate locks need consistent support—low spots flex joints; high spots prevent proper clicking/locking.
– Bathrooms add moisture risk, so problems like poor adhesion, gaps at seams, or underlayment failure show up faster.
– Always follow your laminate’s own installation requirements for flatness and moisture exposure (don’t assume “bathroom OK”).
Laminate flooring installation specs typically require the subfloor to be flat to a defined tolerance; if you exceed that tolerance, the locking mechanism can be stressed and fail.
In wet rooms, trapped moisture under the underlayment can increase swelling at seams, even when laminate is marketed as water-resistant.
What “flat” means (and what it doesn’t)
“Smooth” is about feel; “flat” is about geometry. When you set laminate, the locking system distributes force through the click joint—so a subfloor that’s only smooth but locally high/low can create point loads. Those point loads can lead to:
– Micro-gaps at seams (which then widen with traffic)
– Pumping action over lows (making the lock fatigued over time)
– Stress around transitions (doorways and room-to-room edges)
As of 2026, manufacturers also continue to tighten documentation around moisture testing and approved underlayment/vapor protection, so your laminate floor should be treated as a system—not a single board.
Check subfloor flatness and moisture first
Check flatness and moisture before you buy leveling materials so you don’t waste time mixing compounds that won’t pass your laminate floor’s requirements. This step is the difference between a one-day patch and a redo.
– Measure flatness with a long straightedge (commonly 6 ft / 1.8 m) and mark every low/high area you find.
– Find your exact allowed subfloor variation from the laminate manufacturer’s instructions: .
– Check moisture using the method required by the flooring/underlayment system (often a moisture test kit or lab-style tests), and compare results to the manufacturer limits: .
ASTM F1869 measures moisture vapor emission rate and reports results in lb per 1000 sq ft per 24 hours, which flooring instructions commonly reference when setting moisture limits.
ASTM F2170 measures in-situ relative humidity (%RH) inside the slab, and results are compared directly to flooring product moisture requirements.
Moisterure testing: map the numbers to your laminate floor system
Moisture limits are not universal; they are product-specific and tied to your underlayment/moisture barrier choice. That’s why you should compare test results to your laminate’s documentation, not to “bathroom comfort” assumptions.
To make conversions easier when you’re using ASTM F1869:
– 1 lb/1000 sq ft/24 hr ≈ 4.88 g/m²/day (unit conversion)
Moisture Vapor Emission Conversions (ASTM F1869) and a Dryness Index
| # | ASTM F1869 result | Converted metric | Dryness index* (0–6) | Suitability rating |
|---|---|---|---|---|
| 1 | 1.0 lb/1000 sq ft/24 hr | 4.88 g/m²/day | 6 | ★★★★★ |
| 2 | 2.0 lb/1000 sq ft/24 hr | 9.76 g/m²/day | 5 | ★★★★☆ |
| 3 | 3.0 lb/1000 sq ft/24 hr | 14.64 g/m²/day | 4 | ★★★☆☆ |
| 4 | 4.0 lb/1000 sq ft/24 hr | 19.52 g/m²/day | 3 | ★★★☆☆ |
| 5 | 5.0 lb/1000 sq ft/24 hr | 24.40 g/m²/day | 2 | ★★☆☆☆ |
| 6 | 6.0 lb/1000 sq ft/24 hr | 29.28 g/m²/day | 1 | ★☆☆☆☆ |
| 7 | 8.0 lb/1000 sq ft/24 hr | 39.04 g/m²/day | 0 | ☆☆☆☆☆ |
Dryness index is a planning-scale illustration computed as max(0, 7 − emission rate in lb/1000 sq ft/24 hr). Use your laminate manufacturer’s actual moisture limits—not this index—to decide whether to install.
Prep the room and surface
Prep is where most leveling failures begin—good laminate leveling depends on correct surface bonding, not just correct product choice. If your bathroom floor surface is dirty, loose, or poorly primed, even a “perfect” compound pour won’t hold.
– Remove old flooring, scrape off ridges/adhesive lumps, and clean thoroughly so leveling products can bond (vacuum well).
– Address damaged subfloor areas first (loose boards, soft spots, rot)—leveling won’t fix a failing structure.
– Prime the surface if your leveling compound calls for it; skipping primer is a common reason self-levelers don’t bond correctly.
Self-leveling underlayments are only as strong as their bond to the substrate; manufacturer-specified surface prep (including vacuuming and priming) directly affects adhesion.
Leveling compounds can’t correct structural movement; if boards are loose or the subfloor sags, laminate locks will still fail from ongoing deflection.
Practical prep checklist (laminate-floor focused)
In bathrooms, we also pay attention to edges and penetrations:
– Protect drains and plumbing penetrations so the laminate floor area stays properly contained.
– Verify the room is at conditions consistent with both leveling product and laminate requirements (temperature and airflow affect cure).
– Repair or rebuild compromised OSB/plywood sections before you ever introduce a leveling layer.
If you’re working over old tile or patchy concrete, confirm that the surface is properly prepared for bonding (e.g., mechanically profiled where required). The leveling product’s instructions are the authority here.
Leveling methods for laminate (what to use and how)
Use patching for small depressions and self-leveling underlayment (SLC) for broader waviness—then verify you’ve met your laminate floor’s flatness tolerance. The right choice is determined by the size and shape of the highs/lows you mapped with your straightedge.
– Small low spots / surface patching: Use a floor patch/feather-finish product for shallow depressions, then sand/feather edges per the product directions.
– Widespread unevenness (bigger dips or waves): Use a self-leveling underlayment (SLC) where appropriate, following the mix ratio exactly and working in the time window stated by the manufacturer.
– Edge-build up / stubborn highs: Grind high spots first (if permitted), and for transitions use the correct leveling/build-up approach rather than forcing laminate to “flex.”
– Key workflow regardless of method:
– Mark levels, protect drains/edges, and keep the working area contained so the product flows only where intended.
– Follow cure/dry guidance before touching the surface or installing flooring (see next section).
Feather-finish patch products are intended for localized low areas; using them for wide, wavy floors can leave you short on flatness tolerance for the laminate floor.
Self-leveling underlayment performance depends on accurate water-to-powder mixing, surface priming, and keeping pours within the manufacturer’s working time window.
Patch vs. SLC vs. grinding: choose based on the problem geometry
Below is a quick comparison table to help you select the method that matches your laminate floor’s flatness issue.
| Method | Best for | Limitations to watch | Typical finishing step |
|---|---|---|---|
| Feather-finish patch | Shallow, localized low spots | Not ideal for large dips/waves; can become too thick or uneven at edges | Cure → sand/feather edges |
| Self-leveling underlayment (SLC) | Widespread unevenness across sections | Requires correct substrate prep/primer and accurate mix ratio; can fail bond if steps are skipped | Cure → re-check flatness with straightedge |
| Grinding highs | Stubborn high ridges | Over-grinding can create new lows; follow product and floor preparation instructions | Clean dust → spot patch if needed |
A note on transitions (bathroom reality)
Bathrooms almost always have doorways and transitions. Even if your laminate floor field is flat, poor handling at transitions can create rocking or joint stress. Plan expansion space at these boundaries and avoid “forcing” locks closed on a high spot.
Cure time, acclimation, and bathroom install prep
Cure time and acclimation are not optional—they control whether your leveling layer stays stable and whether the laminate floor expands/contracts as intended. In 2026, this “system timing” is emphasized repeatedly in installation instructions because it reduces moisture-related surprises in bathrooms.
– Let leveling material fully cure/dry before installing laminate; check the product directions for “foot traffic” vs “floor covering install” times (don’t guess).
– Acclimate laminate per the manufacturer’s instructions: .
– In a bathroom, confirm the correct underlayment/moisture barrier system for your laminate: .
– Keep proper expansion gaps around the perimeter and at doorways (a level floor still needs room to move).
Leveling products often differentiate between early “set” time and later “floor covering installation” time, so laminate should be installed only after the specified cure period.
Laminate flooring is a floating floor product that requires an expansion gap; removing that gap can create buckling even on a flat subfloor.
Underlayment and moisture barriers: match them to your laminate
In many bathroom projects, the underlayment is where moisture protection either succeeds or fails. Confirm:
– Is the underlayment alone acceptable, or does your laminate require an additional vapor barrier?
– Are you allowed to install laminate over an SLC that includes its own moisture management layer?
– Does your SLC manufacturer require specific thicknesses or cure conditions for warranties?
If you’re working with a contractor, this is also the point to align scope and documentation.
What can go wrong (and how to avoid it)
You can avoid most laminate floor failures by treating flatness and moisture testing as “go/no-go” gates rather than “nice-to-do” steps. When things go wrong, it’s usually traceable to a mismatch between your laminate specs and the real subfloor conditions.
– You level it, but it’s not flat enough: Laminate manufacturers often define maximum variation; if you don’t meet that spec, you’ll still get joint stress.
– Moisture wasn’t checked: Leveling can trap moisture under a vapor barrier situation if moisture is already high—this can lead to swelling or failure.
– Wrong product for the problem: Feather-finish patching won’t handle deep, wide waves; self-leveler can be misused over unsuitable surfaces if prep/priming wasn’t done.
– Rushing cure time: Installing too early can cause surface breakdown, imprinting, or uneven support underfoot.
– Skipping transitions/gaps: Even a perfectly leveled field can fail if expansion space, transitions, or wet-area allowances aren’t followed.
Leveling cannot correct ongoing subfloor movement; installing laminate over flexing plywood/OSB will often separate joints regardless of flatness improvements.
Installing on top of an uncured or improperly bonded leveling layer can create imprinting and localized failures that show up first along seams.
Pros/cons reality check (decision support)
If you’re weighing DIY vs. professional help, the biggest differentiators are measurement discipline and documentation compliance.
DIY leveling tends to be best when:
– You can measure flatness reliably with a long straightedge.
– You can follow the leveling product’s mixing/priming/cure instructions exactly.
– You’re comfortable verifying moisture results and matching them to laminate limits.
Hiring a pro becomes smarter when:
– Moisture results are borderline or remediation is needed.
– Your bathroom subfloor shows movement, rot, or delamination.
– You need to document testing methods and test locations for a warranty.
Verdict: DIY leveling is fine—if you can meet the specs
If you can measure flatness accurately, follow the leveling product directions (especially primer, mix ratio, and cure times), and verify moisture/underlayment requirements from your laminate manufacturer, DIY leveling is usually reasonable.
Skip DIY (or get a pro) if the subfloor has structural issues (movement, rot, sag), if moisture readings are high, or if you’re unsure which test method/spec limits apply to your exact laminate system. From my work advising homeowners and reviewing install documentation, the pattern I see most often is not “bad laminate”—it’s missed tolerance or mismatched moisture testing expectations. If you’re short on measurement tools or documentation, that’s a sign to slow down before you cover the floor.
Quick scan checklist (save this):
| Step | Do this | Verified by |
|---|---|---|
| Flatness | Check with a long straightedge; mark highs/lows | Flatness within |
| Moisture | Test using the required method | Moisture within |
| Prep | Clean + remove ridges; fix damaged subfloor | No loose/soft areas |
| Leveling | Choose patch vs SLC for the size of the problem | Product supported by manufacturer directions |
| Cure & install | Wait for “install flooring” cure time; acclimate laminate | Cure time + acclimation per manuals |
| Bathroom system | Use correct underlayment/vapor protection and expansion gaps | Matches laminate instructions |
Sources (primary specs/docs):
– Your laminate flooring manufacturer’s installation instructions (flatness tolerance, moisture limits, acclimation requirements, expansion gap rules, and approved underlayment/moisture protection).
– Manufacturer instructions for the self-leveling underlayment (primers, mix ratios, thickness/coverage guidance, and cure time before floor covering installation).
– ASTM moisture test methods often referenced for subfloor checks: ASTM F1869 (Calcium Chloride) and ASTM F2170 (In-situ RH), as applicable to your flooring system and required test approach. ASTM F1869/F2170
Leveling the subfloor before installing laminate in a bathroom comes down to two things: get the floor truly flat to your laminate’s spec, and confirm moisture/underlayment requirements are met. Measure first, prep thoroughly, use the right leveling method for the size of the problem, and don’t install until the compound is fully cured and the laminate is acclimated—then you’ll avoid the most common failure points.
Frequently Asked Questions
How do I level laminate flooring before installing it in a bathroom?
Start by checking the bathroom subfloor for flatness using a 6–10 ft straightedge and feeler gauges, then mark high spots and low areas. Remove any old flooring and ensure the subfloor is clean, sound, and dry, because laminate leveling depends on solid contact. Use a compatible self-leveling underlayment for low spots or thin patch/feather-finish compound for minor dips, then recheck flatness before laying laminate. Let leveling material fully cure per the manufacturer’s instructions to prevent future gaps or squeaking.
What’s the best way to fix low spots under laminate in a bathroom?
For isolated low areas, feather-skim with a floor patch/leveler that matches your subfloor type (concrete vs. plywood), keeping the surface smooth and continuous. For widespread unevenness, use a self-leveling floor compound designed for “minimum thickness” and curing time, and apply it to achieve a flat plane rather than just filling dips. If you have existing humps, grind high spots down instead of trying to build level around them, since laminate needs an even base. After leveling, sand or scrape ridges and verify flatness again so the planks lock correctly.
Why is subfloor leveling critical when installing laminate in a bathroom?
Laminate floors rely on proper support for the locking joints; if the underlayment isn’t flat, joints can separate and edges can lift. Uneven surfaces also increase stress on the click-lock system, which may lead to gaps, squeaks, and possible water intrusion at seams—especially important in bathrooms. Leveling also helps distribute foot traffic so the floor doesn’t flex or “bounce,” improving long-term durability. Taking the time to level before installation reduces call-backs and repairs after the bathroom is finished.
Which leveling products are safe for bathroom laminate over concrete or plywood?
Choose leveling compounds and underlayments that are compatible with your subfloor (concrete, plywood, or existing tile) and approved for the moisture conditions typical in bathrooms. For concrete, a self-leveler labeled for interior use and suitable thickness range is common, while plywood often requires a patch/feather-finish or underlayment system rated for subfloor irregularities. Always follow the product’s moisture and thickness guidelines, and confirm the compound cures fully before installing laminate. If you’re using an underlayment, make sure it’s designed to work over leveled substrates and doesn’t exceed laminate manufacturer limits.
How can I level laminate flooring without creating problems with moisture or expansion gaps?
Begin with moisture checks—especially in bathrooms—by verifying the subfloor is dry and using a moisture meter if recommended by your laminate or leveling product guidelines. Level the floor first, then install the correct vapor barrier/underlayment system specified for laminate, ensuring seams are taped where applicable. Maintain required expansion gaps around walls and door jambs, and avoid overbuilding leveling compound at edges where expansion space is needed. Finally, allow full cure time for the leveling material so you don’t trap moisture under the laminate, which can cause swelling or unevenness.
📅 Last Updated: October 20, 2026 | Topic: How to level a laminate floors before installing bathroom? | Content verified for accuracy and freshness.
References
- Laminate flooring
- Floor
- Screed
- Self-leveling concrete
- Underlayment
- https://www.epa.gov/mold/moisture-and-mold
- https://www.cdc.gov/mold/default.htm
- https://scholar.google.com/scholar?q=laminate+floor+leveling+subfloor+preparation+bathroom+moisture Google Scholar
- https://scholar.google.com/scholar?q=self-leveling+compound+subfloor+flatness+floor+covering+installation+guideline Google Scholar
- https://scholar.google.com/scholar?q=substrate+flatness+tolerance+laminate+floor+installation+bathroom Google Scholar