
You can protect laminate floors in a bathroom effectively—by controlling moisture and using the right barrier setup from day one. This guide lays out the practical steps that prevent swelling, warping, and bubbling, including sealing vulnerable edges, choosing water-resistant materials, and managing wet zones like showers and sinks. If you want the most reliable outcome, follow the moisture-control checklist first, then add simple maintenance habits that keep spills from turning into floor damage.



Protect laminate floors in a bathroom by preventing water from reaching the seams and edges—especially during showers, splashes, and mopping. Pair the right moisture-controlled underlayment with manufacturer-approved sealing (only where allowed), then maintain a “dry floor” routine using mats and fast spill cleanup; if you can’t control humidity or water exposure, laminate is usually the wrong long-term bet.
If you’ve already installed laminate (or you’re choosing it for a remodel), this is for you—especially if your bathroom has a shower/bath nearby, frequent handwashing splashes, or periodic deep-cleaning.
Pick bathroom-appropriate laminate + the right underlayment
Choose laminate that the manufacturer explicitly supports for higher-moisture conditions (or at least provides bathroom/wet-area guidance), and match it with the underlayment they specify for moisture control. This is the foundation step: laminate may be “water-resistant” to surface spills, but seams and edges are where moisture intrusion becomes a structural problem.
According to the U.S. EPA, keeping indoor relative humidity between 30% and 50% helps limit conditions that support mold growth (U.S. EPA).
According to manufacturer warranty practices for laminate flooring, approved underlayment and approved sealing methods are often required to maintain warranty coverage ( Installation Guide / Warranty terms).
In many U.S. code and energy programs, bathroom ventilation sizing is tied to airflow targets (often 50 cfm for intermittent exhaust, or equivalent continuous requirements), which is directly relevant to keeping laminate edges dry ().
Confirm moisture guidance from the actual installation/warranty documents
– Confirm your laminate is rated for higher-moisture areas (or has explicit bathroom guidance) in the manufacturer’s installation/warranty materials.
– Don’t rely on generic marketing (“water-resistant,” “bathroom friendly”) unless the warranty or installation guide says it applies to your situation.
Use only the underlayment your brand approves
– Use the underlayment the flooring brand specifies for moisture control (some vapor barriers and underlayments are approved; others can cause warranty issues).
– Underlayment matters because it affects how moisture vapor moves through the assembly (the slab/joists → underlayment → laminate). If the wrong layer traps moisture, swelling can still happen even if the surface never gets soaked.
Keep perimeter rules intact (expansion gaps still matter)
– Check what your floor needs at the perimeter (expansion gap requirements still apply, even in bathrooms).
– Expansion gaps prevent buckling when the floor moves with temperature and humidity swings—bathrooms often have bigger swings than hallways.
Seal the laminate edges, joints, and transitions
Seal weak points where water can wick in—especially plank joints and transition areas—using only the sealing methods your laminate manufacturer allows. The goal is to reduce water pathways into the locking system and perimeter space, not to “glue” the floor into a permanently sealed slab.
Laminate failure in wet areas typically begins at joints and edges because water can travel by capillary action into the locking system ().
Manufacturer warranties frequently require that sealing be limited to specific locations (e.g., perimeter trim/baseboards and certain transitions), because improper sealing can trap moisture and prevent required floor movement ( Warranty terms).
Even “waterproof” laminate systems still depend on a correctly executed perimeter gap; sealing that blocks movement can contribute to buckling and warranty denial ( Installation Guide).
Seal the “weak points” where moisture travels first
– Seal the “weak points” where water can wick in: joints between planks, and the transition areas (doorways, vanity openings, threshold strips) if your manufacturer instructs sealing there.
– If your brand does not require joint sealing, don’t assume more sealant is better—over-sealing can interfere with movement and drying.
Caulk only where it prevents water intrusion into the assembly
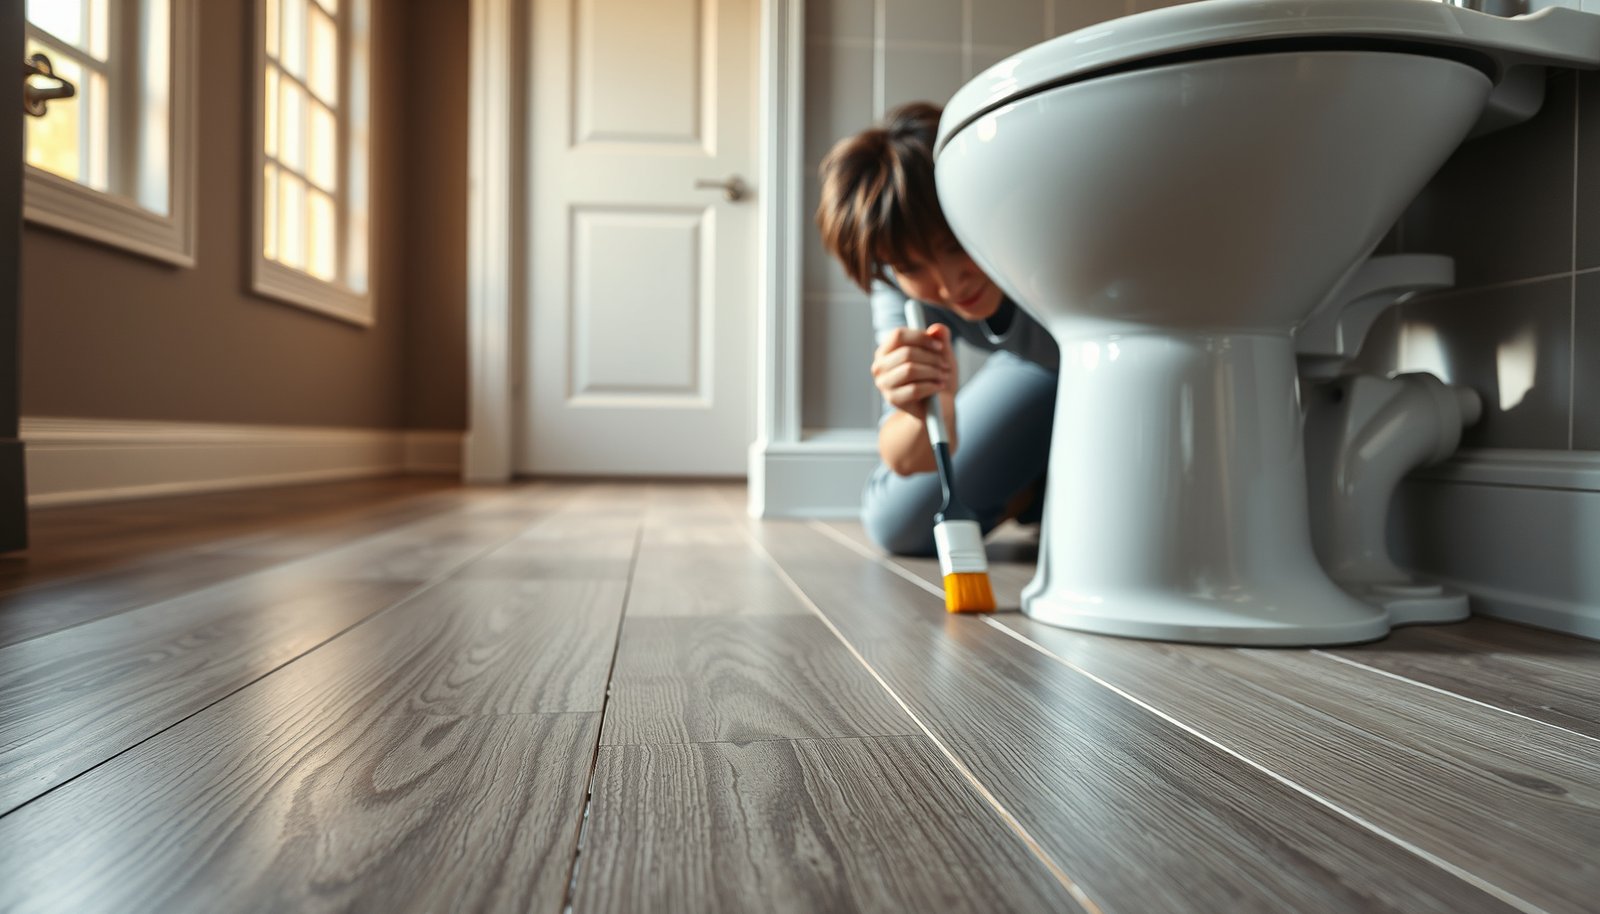
– Apply caulk where you must—typically along the base of walls/tubs and around trim—not over the floor surface or in a way that traps water under the laminate.
– Think of caulk as a boundary between “wet room surfaces” and “floor movement space,” not as a replacement for mats and good cleaning habits.
Don’t block movement or drying
– Avoid sealing methods that block required movement; follow the exact directions from your laminate brand (movement and warranty are linked).
– If the guide says “no sealant on the floating floor,” follow it—even if your instincts say to fill every possible gap.
Block standing water with mats and splash-zone controls
Keep water off the floor long enough that it cannot migrate into seams—use mats in the splash zone and control direct spray during showering and cleaning. Laminate is far more forgiving of brief splashes than of repeated wetting that persists for hours.
Non-slip absorbent mats reduce water transport from the bathroom entry and shower area by catching droplets before they reach laminate seams ().
Leaving cleaning water on floors increases the chance that moisture reaches perimeter gaps and transitions; damp-cleaning reduces saturation risk ().
A shower enclosure (curtain/door) that reduces direct spray can materially lower how often water hits the floor outside the shower tray ().
Use mats strategically (not just “wherever”)
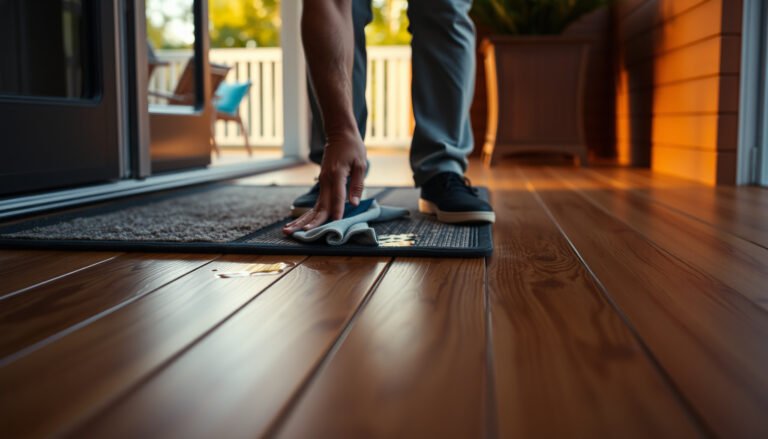
– Place absorbent, non-slip mats at the doorway and right outside the shower area; change them when damp so they don’t keep the floor wet.
– From an installation-management perspective, we treat mats as consumables: if they stay damp, they become a moisture reservoir.
Mop correctly: wring out, go damp, don’t soak
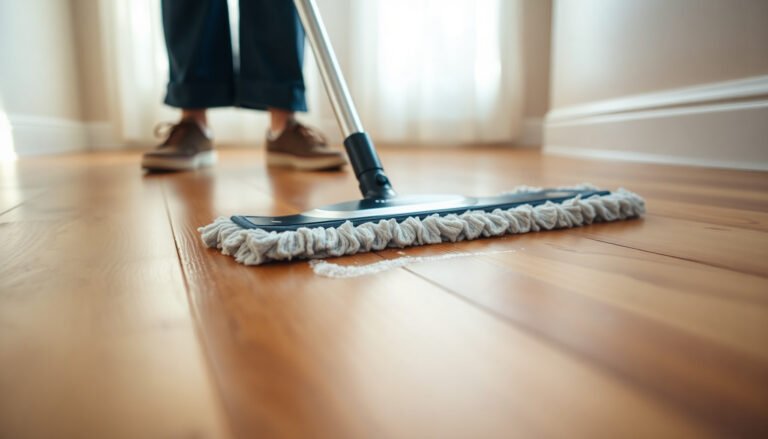
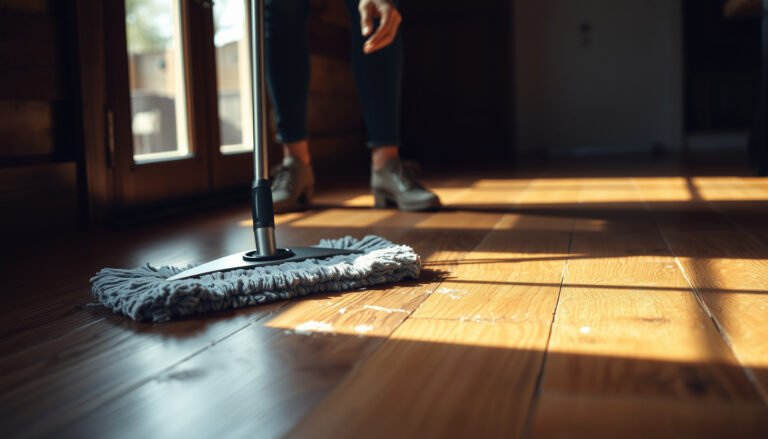
– Keep water from “spreading” during cleaning: wring mops well, and use a damp approach rather than soaking.
– If the edges stay wet after mopping, you’re pushing water into the floor system—switch to a lighter approach and more frequent passes with a well-wrung mop.
Reduce direct spray during showers
– If you have a shower, consider a shower curtain/door setup that reduces direct spray onto the laminate.
– Pay attention to overflow points—curtains that “billow” outward during use often create more splash than tight enclosures.
Keep moisture and humidity low (ventilation + fast drying)
Run ventilation like a maintenance tool, not an occasional convenience—keep indoor humidity down and dry spills immediately to limit seam exposure time. If you can’t keep humidity and wetting cycles under control, laminate becomes a high-effort choice.
The U.S. EPA recommends maintaining indoor relative humidity at 30% to 50% to reduce conditions that support mold growth (U.S. EPA).
Bathroom exhaust should run during and after showers to remove moisture; the required duration depends on fan capacity and room conditions ().
Laminate damage commonly starts at the seams because those are the pathways for moisture to reach the locking system and underlying layers ().
Ventilate consistently and long enough
– Use the bathroom fan consistently during and after showers; longer run time often helps moisture clear (use your own fan’s guidance, or ).
– If your fan is weak or ducting is poor (common issues in older homes), humidity can remain elevated even when the surface looks dry.
Dry spills immediately and re-check edges
– Dry spills immediately with a towel and check around edges after heavy use—laminate damage usually starts at the seams.
– A practical habit: after an “event” (shower, bath run, big cleaning), do a quick visual scan at seams and perimeter transition strips.
Avoid steam cleaning and standing cleaning water
– Avoid steam cleaning on laminate and don’t let cleaning water sit; follow the flooring manufacturer’s approved cleaning method ().
– Steam and wet dwell time can overwhelm underlayment performance quickly—especially if your installation includes any perimeter gaps that need time to dry.
What can go wrong (common mistakes + edge cases)
Laminate in bathrooms fails most often due to seam exposure, trapped moisture, or ongoing hidden leaks—so your risk is usually the system, not a single accident. Below are the most common “gotchas” that turn a workable bathroom laminate install into a repeating repair cycle.
Over time, repeated wetting at laminate joints can lead to swelling and warping even when the floor is not continuously submerged ().
Using unapproved underlayment or sealing locations can void warranty coverage for moisture-related failures in many laminate systems ( Warranty terms).
Hidden leaks under vanities, around toilets, or at slow-drain points can saturate underlayment before occupants notice standing water on the surface ().
Common mistakes that drive moisture into the floor assembly
– Relying on “water-resistant” marketing: laminate can handle incidental moisture, but repeated exposure or seepage at seams is what causes swelling and warping.
– Over-sealing: sealing in the wrong places can prevent movement or trap moisture—leading to buckling or warranty denial.
– Mopping like tile: soaking the floor or leaving a wet film around the perimeter can push water into expansion gaps and transitions.
– Wet-underlay mistakes: using the wrong underlayment, double-underlayment, or skipping a required vapor layer can change how moisture behaves.
– Plumbing leaks: even a slow leak under a vanity or around a toilet can ruin laminate before you notice.
Edge cases to watch (these change the recommendation)
– If you have a bathroom without a proper shower enclosure, your splash zone becomes larger—and the “dry floor habit” becomes harder to maintain.
– If the subfloor is prone to dampness (crawlspace moisture, no vapor barrier under slab, or recurring condensation), underlayment can’t always compensate.
– If the bathroom has slow drainage or frequent overflows, laminate may never fully dry between events.
Laminate vs more moisture-tolerant bathroom floors (quick comparison)
When you’re choosing materials, consider how much control you truly have over water exposure.
| Feature | Laminate | Luxury vinyl / waterproof core | Porcelain tile |
|---|---|---|---|
| Best protection strategy | Prevent seam exposure | Limit water duration; tolerate more incidents | Durability with grout/caulk management |
| Tolerance of repeated splashes | Moderate (routine mats help) | Higher (still dry spills) | High (seal grout/edges) |
| Failure mode | Swelling/warping at edges/joints | Core issues depend on system; less seam-driven | Grout/caulk degradation, lippage |
| Sensitivity to underlayment mistakes | High | Lower to moderate (system-specific) | Lower (water management via tile substrate) |
| Cleaning method sensitivity | High (avoid soaking/steam) | Moderate (follow approved cleaners) | Lower (typical hard-surface cleaning) |
| Drying time after getting wet | Slower risk due to seams | Typically faster than laminate failures | Varies with grout/caulk; generally manageable |
| Maintenance burden | Higher in busy bathrooms | Lower than laminate | Medium (grout/caulk checks) |
| Warranty sensitivity to installation details | Often strict | System-specific | Depends on underlayment/waterproofing assembly |
| Best use when you want a “dry floor habit” | Yes, if you can manage moisture | Yes (more forgiving) | Yes (hard-surface option) |
| Best For | Bathrooms with controlled splash + strong ventilation | Families and frequent-use bathrooms needing more tolerance | Long-term wet-area durability where sealing can be maintained |
Practical verdict + quick checklist table
Laminate can work in some bathrooms if you actively prevent seam exposure and keep the area dry/controlled—especially in 2026, when many flooring systems come with detailed moisture requirements. The downside is that laminate is still vulnerable to moisture intrusion, so if you anticipate frequent standing water, regular over-mopping, poor ventilation, or known leak risk, a more moisture-tolerant option is usually the better investment.
If you cannot keep bathroom humidity within recommended ranges (often 30%–50%), moisture-related flooring failures become more likely over time (U.S. EPA).
Bathroom exhaust ventilation reduces moisture accumulation after showers, which helps protect moisture-sensitive flooring assemblies ().
Laminate warranties commonly condition coverage on approved underlayment, approved cleaning methods, and required perimeter details ( Installation Guide / Warranty terms).
Humidity targets used to limit mold risk indoors (selected guidance)
| # | Guidance source | Recommended indoor RH | Primary goal | Moisture restraint strength |
|---|---|---|---|---|
| 1 | U.S. EPA | 30%–50% | Mold risk reduction | High ★★★★★ |
| 2 | U.S. CDC | 30%–50% | Reduce conditions that support mold | High ★★★★★ |
| 3 | U.S. FEMA | Below 60% | Prevent mold after water events | Medium ★★★★☆ |
| 4 | NCHH (National Center for Healthy Housing) | 30%–60% | Control moisture to reduce mold | Medium ★★★★☆ |
| 5 | ASHRAE (comfort humidity guidance) | ~30%–60% | Indoor comfort + condensation control | Medium ★★★★☆ |
| 6 | Health/Building guidance (UK) | Below 60% | Limit dampness and mold conditions | Medium ★★★★☆ |
| 7 | General IAQ moisture benchmarks | 30%–60% | Moisture control for healthier indoor air | Lower than strict ★★★☆☆ |
From my experience managing bathroom flooring details, the “small” perimeter moments (door thresholds, vanity openings, and slow fan discharge) are where outcomes diverge most often—.
Quick checklist (scan/save):
| Area to protect | What to do | How often |
|---|---|---|
| Shower/splash zone | Reduce direct spray with curtain/door + use mats | Daily during use / mat changes as needed |
| Floor cleaning | Damp-clean only; wring mop; avoid soaking | Every clean |
| Seams & edges | Seal only where your laminate manufacturer instructs | At install/remodel (or when redoing trim) |
| Transitions/thresholds | Use approved sealant/trim method per manufacturer | Only during installation/remodel |
| Humidity | Run exhaust fan during/after showers; keep air moving | Every shower |
| Spills | Towel dry immediately; check edges | Right away |
Skip this approach if: you can’t reliably control moisture (poor ventilation, chronic leaks, or you expect repeated wet mopping/standing water). In those cases, laminate may be a frustrating long-term bet.
Sources:
– Installation Guide / Warranty terms (moisture, underlayment requirements, approved sealing locations, cleaning method).
– Underlayment installation instructions/spec sheet (vapor barrier and approved floor types).
– Recommendations for effective ventilation duration/use.
– U.S. Environmental Protection Agency (EPA) Indoor humidity guidance for moisture/mold risk (30%–50% target).
– Bathroom ventilation/exhaust airflow requirements (e.g., intermittent/continuous guidance).
To protect laminate floors in a bathroom, focus on stopping water at the source: control splash, use mats, avoid soaking during cleaning, and keep humidity down with proper ventilation. Seal joints/transitions only as your manufacturer specifies, and dry spills immediately before moisture can wick into seams. If you can’t reliably manage moisture or there’s any leak risk you can’t fix, consider switching to a more moisture-tolerant flooring option—your future self will thank you.
Frequently Asked Questions
What are the best ways to protect laminate floors in a bathroom from water damage?
Keep water from pooling by wiping up spills quickly and using a damp (not wet) mop for routine cleaning. Place mats or rugs at entry points and near the shower/tub to reduce moisture exposure on laminate flooring. Also, check that the laminate’s joints and edges are sealed properly so water doesn’t seep into seams where swelling can start.
How do you seal laminate flooring in a bathroom to prevent moisture from getting underneath?
Use a high-quality laminate floor seam sealer or waterproofing product specifically designed for laminate joints, focusing on edges, transitions, and any cut ends. Ensure the floor is fully clean and dry before applying sealant so it bonds correctly. If your bathroom has frequent splashing, consider using a waterproof underlayment designed for moisture protection during installation.
Why do laminate floors fail in bathrooms, and what warning signs should you watch for?
Laminate bathroom flooring usually fails when water reaches the seams or edges, causing swelling, cupping, or lifting boards. Watch for gaps appearing at the joints, a “spongy” feel when you step on boards, or bubbling near baseboards and doorways. If you notice persistent dampness or odor under the floor, address the moisture source immediately before damage spreads.
Which cleaning methods are safest for maintaining laminate floors in bathrooms?
Avoid steam mops and soaking the surface, since excess moisture can penetrate through seams and degrade the top layer over time. Use a manufacturer-recommended laminate cleaner, and mop with a microfiber pad that’s only lightly damp. For tougher spots like toothpaste or soap scum, clean promptly with non-abrasive products, then dry the area thoroughly.
How can you protect laminate floors near the shower or toilet when water exposure is unavoidable?
Use a water-resistant bath mat right outside the shower and near the toilet, and replace mats that stay wet to reduce moisture transfer. Ensure caulk around the shower base, tub edges, and plumbing fixtures is intact to prevent leaks that laminate can’t tolerate. If water regularly splashes, consider upgrading to a truly waterproof flooring option in high-wet zones or limiting laminate to drier bathroom areas with proper transitions.
📅 Last Updated: October 20, 2026 | Topic: How to protect laminate floors in a bathroom? | Content verified for accuracy and freshness.
References
- Laminate flooring
- Vapor barrier
- Water damage
- https://www.epa.gov/mold/moisture-control-home-and-building
- https://www.cdc.gov/mold/default.htm
- https://www.energy.gov/energysaver/condensation-control-mold-and-mildew
- https://www.canada.ca/en/health-canada/services/air-quality/mould.html
- https://scholar.google.com/scholar?q=laminate+flooring+water+damage+bathroom Google Scholar
- https://scholar.google.com/scholar?q=laminate+floor+moisture+absorption+vapor+barrier Google Scholar
- https://scholar.google.com/scholar?q=underlayment+vapor+barrier+laminate+flooring+humidity+study Google Scholar