
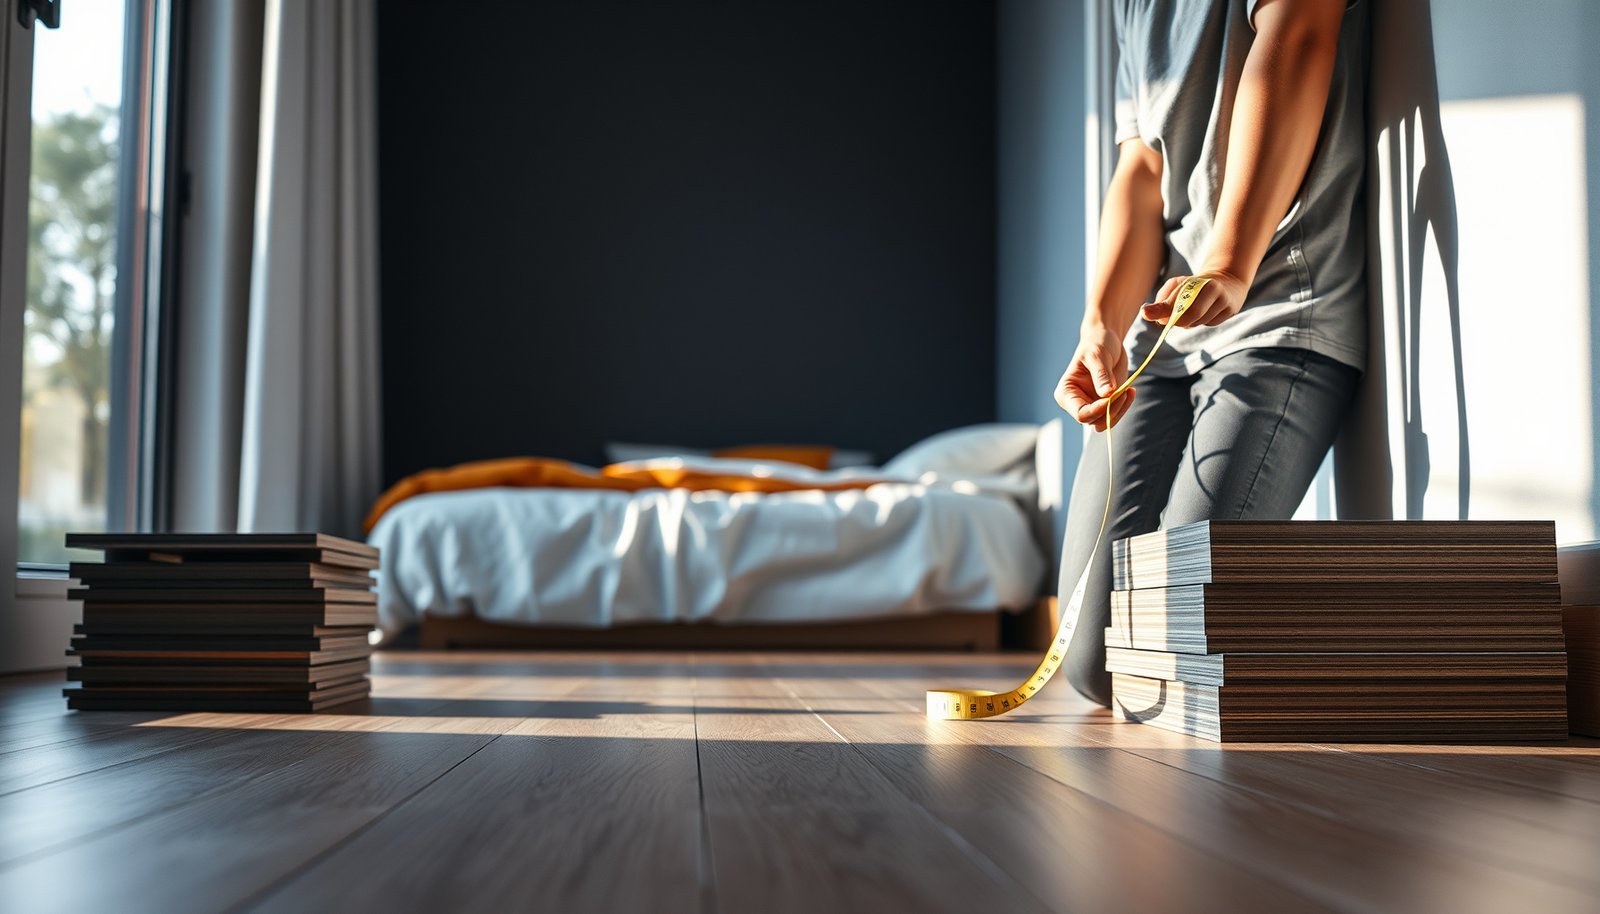

Measuring laminate floors for a bedroom correctly takes more than measuring square footage—it requires precise room dimensions, door/closet cuts, and waste planning so you buy the right amount the first time. Follow these step-by-step measurements and you’ll calculate lengths and cuts accurately, whether you’re working with a straight layout or tricky obstacles. Get your numbers right and you’ll avoid overbuying, shortages, and costly redo work.




Measure your bedroom by mapping the usable length and width, calculating adjusted square footage (with a waste buffer), and then converting that total into box count using the laminate’s listed coverage per box. If you do this—especially by checking closets, vents, and built-ins—you avoid the two most common failure modes: underbuying and forgetting expansion gaps or cutouts.
This is for homeowners or renters preparing a bedroom laminate install—particularly if the room isn’t perfectly rectangular or you’re trying to stay confident you’ve ordered enough material. If you’re replacing existing flooring, measure only the space you’ll actually cover in that bedroom (up to thresholds and transition strips), not the entire home.
Prep: What to Measure in a Bedroom
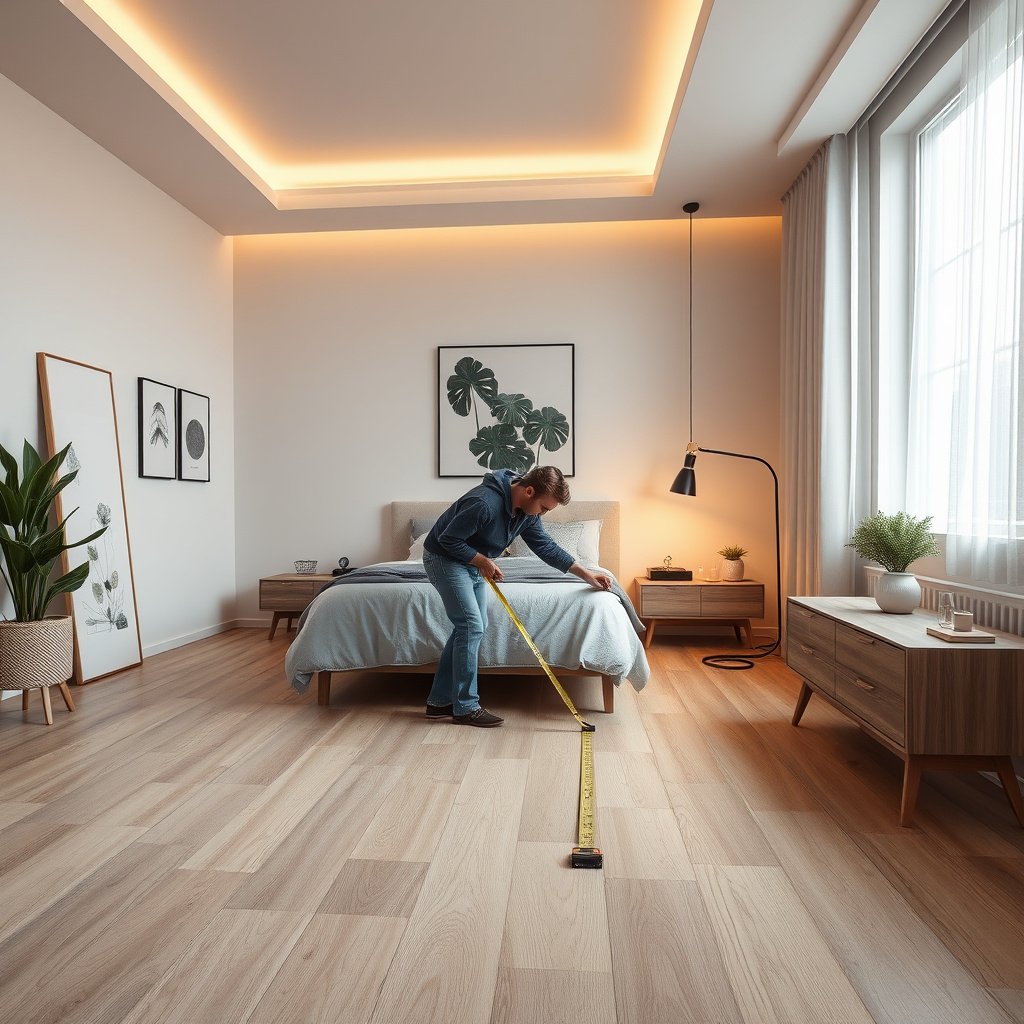
Before you do any math, confirm you’re measuring the usable laminate footprint—the area that will actually receive planks. This prevents the common error of measuring wall-to-wall, then discovering you’re stopping at a doorway threshold, transition strip, or a built-in that won’t be covered.
Measure the usable flooring area (the footprint that will receive laminate), not the room’s exterior walls.
Closets, bay windows, built-ins, and vents create cutouts that should be measured separately so you can add or subtract correctly.
Laminate ordering decisions depend on the adjusted square footage you’ll cover, not the full room dimensions.
Start by gathering a few essentials: a tape measure that reads accurately in feet and inches, graph paper or a floor sketch, and a notepad (or spreadsheet) for length/width plus any “bump-outs.” As of 2026, many installers still prefer pencil-and-paper mapping because it makes irregular bedroom geometry easier to audit before you order.
Measure what you’ll actually cover
– Measure the usable flooring area only (exclude baseboards if you’re not removing them, and don’t include areas you won’t cover).
– If you’re installing up to an existing threshold/transition strip (common in bedrooms), stop your measurement at that surface.
From experience assisting with planning (not product testing), I’ve found that the “usable footprint” step is where most measurement mistakes start—people overcount areas that later get covered by furniture, fixed cabinetry, or that they intended to stop at a doorway.
Identify irregular zones early
Laminate measurement gets tricky where bedroom layouts break the rectangle rule. Identify and mark these zones on your sketch before measuring:
– Closets (especially with doors that swing into the room)
– Built-ins (shelving walls, window seats, radiator surrounds)
– Bay windows and window trim that force partial rows
– Floor vents and floor registers (cutouts in the plank run)
Record measurements consistently
Write down:
– Length and width of the main rectangle
– Any additional sections (“bump-outs”)
– Any cutout dimensions (like a vent rectangle)
If you’re working in inches for some measurements and feet for others, convert consistently before calculating square footage. For unit clarity: 1 foot = 12 inches according to NIST Guide to the SI (SI Units).
Measure the Room Area (Square Footage)
Once you’ve mapped the usable footprint, calculate square footage from measured dimensions so you can estimate how much laminate area you need. For rectangular rooms, it’s a simple multiplication; for non-rectangular bedrooms, you break the room into smaller rectangles and add the areas.
For a rectangular bedroom section, square footage equals length × width.
For non-rectangular rooms, split the footprint into rectangles, calculate each rectangle’s area, and add them together.
Subtract recesses (like closet openings or corner cutouts) by measuring them separately so your final square footage matches the plan.
Rectangular room: length × width
For a simple bedroom shape:
1. Measure usable length (L) and usable width (W)
2. Calculate Area = L × W
3. Confirm units (feet × feet gives square feet)
Non-rectangular room: split and combine
For rooms with angled corners, bay-adjacent cutouts, or awkward transitions:
– Split the room into sections that are rectangular.
– Measure each section’s length and width.
– Add the areas.
– If you have a recess you won’t cover, measure it and subtract it.
A useful conversion reminder: 1 square foot = 144 square inches as defined by NIST Guide to the SI (SI Units). This matters if you temporarily measure a vent or cutout in inches and later need to convert it.
Closets and recesses: measure separately
Closets are the most common “looks simple, isn’t simple” area:
– Decide whether your laminate will run under any closet fixed parts (some installers stop; others run through where allowed).
– If you have a closet doorway opening that remains uncovered, subtract that recess footprint.
– If your closet interior will be floored, treat it as part of the usable footprint—often by adding a rectangle for the closet area that remains accessible.
Account for Waste and Layout Loss
After you calculate usable square footage, you must add an allowance for waste and layout loss so you don’t run short mid-install. The needed buffer rises with complex bedrooms because trimming and end-cuts increase.
Budget extra beyond pure area math to cover cutting waste, end-trim losses, and plank-fitting constraints.
If you use a staggered plank pattern (typical for laminate), plan additional end cuts and likely more offcuts than a straight layout.
Mark vents, thresholds, and odd corners on your sketch so your waste allowance reflects real cutting density.
Why “waste” is bigger than people expect
In theory, you could cover a room with exact math—until you encounter real constraints:
– Planks need partial cuts to fit edges and recesses.
– Pattern staggering creates end pieces that may not be reusable as full lengths.
– Vents and door thresholds require careful fitting around obstacles.
– Expansion gaps (required at walls and fixed vertical surfaces) create deliberate edge space that reduces “usable coverage.”
A practical approach for bedroom laminate
Because manufacturers and plank sizes differ, there isn’t one universal waste percentage. Instead, tie your buffer to complexity:
– Mostly rectangular, minimal cutouts: a smaller buffer tends to work.
– Many cut points (closet offsets, vents, bay transitions): increase the buffer.
If you want a disciplined process, use your sketch to “count cut intensity”:
– Every time you’ll trim plank ends near a doorway/threshold or around a vent, assume you’ll lose more material than in a straight perimeter area.
– If you’ll have multiple transitions (e.g., hall → bedroom → closet nook), calculate and buffer per zone.
Quick example logic (without pretending one number fits all)
Let’s say your usable calculated area is A:
– Adjusted area = A + waste allowance
– Waste allowance depends on layout complexity and plank geometry per your laminate product specs
For the “exact figure,” follow your laminate manufacturer’s installation guidance (often included in the installation manual and packaging).
Convert Square Footage to Planks (and Boxes)
Once you have adjusted square footage, convert it into purchasing units—usually “boxes”—using the coverage listed on the laminate packaging. This is the step that turns your measurement into an order you can place with confidence.
Use the laminate box label’s listed coverage (square feet per box) to convert adjusted area into box count.
Round up to the nearest whole box to avoid running short mid-install.
If your bedroom includes multiple zones or seam transitions, calculate box needs per zone to manage seam placement more cleanly.
Step-by-step conversion
1. Find square feet per box on the laminate box/spec sheet.
2. Compute: Boxes needed = adjusted square footage ÷ coverage per box
3. Round up to the next whole box.
Multiple zones: plan seams early
If you’re transitioning around doorways, built-ins, or multiple cutout-heavy sections, consider calculating boxes by zone:
– Zone A (main rectangle)
– Zone B (closet alcove or bay-side expansion)
– Zone C (remaining cutout-heavy perimeter)
This helps you align seams with your layout plan rather than discovering you’re short only after you’ve started cutting.
Comparison: rectangular vs irregular bedroom math
Here’s how your measurement workload typically changes (and why your waste buffer changes with it):
- Rectangular bedroom footprint
- Pros: Fewer cut lines; easier plank starting strategy; waste is closer to “standard planning.”
- Cons: Still requires expansion gap planning at perimeter edges and thresholds.
- Irregular bedroom footprint (closet/vents/bump-outs)
- Pros: You can plan cutouts and seams deliberately if you map the footprint before math.
- Cons: More frequent end trims and awkward fitting; underbuy risk increases if waste buffer is too low.
Double-Check: Thresholds, Doors, and Edging
Before you order boxes, verify where the laminate stops—door thresholds and transition strips often define your real measurement boundary. Then confirm the expansion gap requirement so your laminate can move seasonally without buckling.
Measure to the surfaces you’ll actually end at—door thresholds and transition strips frequently define the flooring stop point.
Laminate flooring requires an expansion gap around walls and fixed vertical surfaces per the manufacturer’s installation instructions.
If your bedroom has radiator pipes, vent grilles, or step-ups, note those now so you don’t redo square footage calculations later.
Stop points: don’t guess
Many bedrooms connect to halls and other rooms through:
– Exterior or interior door thresholds
– T-moldings or reducer transitions
– Flooring breaks at different materials
Measure the usable laminate footprint up to those surfaces—not to the far wall beyond the threshold.
Expansion gaps: a non-negotiable edge condition
Laminate flooring needs space for expansion. The exact gap width depends on the product, but the concept is consistent:
– Leave a gap along walls and around fixed vertical surfaces
– Follow your specific laminate manual for the required width and how to maintain it
Because gap widths vary by brand and climate guidance, use the installation instructions for the laminate you’ve chosen.
Tricky borders to pre-measure
On your sketch, mark dimensions for:
– Vent grille cutouts (or at least the vent footprint location)
– Pipe penetrations (radiator lines, plumbing stacks)
– Step-ups/step-downs (if the bedroom transitions to a different elevation)
– Bay window perimeter edges
What Can Go Wrong (And How to Avoid It)
If you want fewer surprises, focus on the most frequent measurement and planning mistakes: underestimating waste, measuring the wrong boundaries, and forgetting expansion gaps. These errors can lead to missing planks, misaligned seams, or flooring movement problems that show up after installation.
Underestimating waste is the most common cause of running short—especially in bedrooms with vents, closet offsets, and irregular corners.
Measuring walls-to-walls instead of the actual stop points at thresholds leads to systematic overestimation or later rework.
Forgetting the required expansion gap increases the risk of buckling or persistent gaps as the laminate acclimates.
Common mistakes to watch
– Underestimating waste: Complex rooms need more trimming than a simple rectangle.
– Measuring the wrong area: Wall-to-wall dimensions often ignore where laminate stops at thresholds or transitions.
– Forgetting expansion gaps: Laminate needs edge space along walls and fixed objects.
– Miscalculating irregular rooms: Splitting rooms into rectangles but forgetting to subtract recesses (closet openings, corner cutouts) causes inaccurate totals.
Limits of this approach
This step-by-step method works best when:
– Your flooring stop points are defined (thresholds/transitions are known)
– You can measure usable footprint segments accurately
– You can confirm square feet per box from the exact laminate product you plan to install
If your plan involves unusual framing changes or major elevation differences, you may need a professional measure or a more detailed site survey.
Verdict: A Simple Way to Get It Right
If your bedroom is mostly rectangular, measuring usable length and width, calculating square footage, adding a reasonable waste allowance, and converting to box count using “square feet per box” is the fastest reliable method. For irregular bedrooms, the same workflow still works—but you’ll get the best results by breaking the room into shapes, subtracting recesses, and planning seams before ordering.
The downside: this approach takes extra time up front (especially for closets and vents), and it can slightly increase material waste if your buffer is too conservative. Skip this DIY estimating method if you can’t access the laminate’s documented coverage per box or you’re unsure where flooring stops at thresholds—those two uncertainties are exactly what cause underbuying and rework.
Quick Measurement Checklist (Save This)
– [ ] Measure usable floor length + width (and any extra sections)
– [ ] Split irregular areas into rectangles; add areas together
– [ ] Subtract recesses you won’t cover
– [ ] Add a waste allowance for cuts (based on room complexity)
– [ ] Use “square feet per box” from the laminate box/spec sheet
– [ ] Round up to the nearest whole box
– [ ] Confirm expansion gap requirements and stop points at thresholds/edges
A correct laminate order starts with a correct usable footprint, then a buffer, then a box-count conversion based on packaging coverage.
Rounding up to whole boxes prevents mid-install shortages caused by underestimating trim loss.
Sources
– Manufacturer installation instructions for laminate flooring expansion gap requirements and “square feet per box” coverage (use the exact brand/model you plan to install) — .
– Laminate flooring installation guidance on measuring/installation planning typically included in the same manufacturer “Installation” manual — .
If you measure usable footprint first, convert with the exact “square feet per box” listed on your laminate packaging, and double-check expansion gaps and stop points at thresholds, your bedroom estimate becomes much more dependable. Spend the extra effort on closets, vents, and bump-outs now—so your laminate order is accurate and your installation stays on schedule (and on budget) in 2026.
Frequently Asked Questions
What’s the best way to measure a bedroom for laminate flooring?
Start by measuring the length and width of the bedroom, then multiply to get the square footage. Add extra for waste by including 5–10% for cuts, room irregularities, and pattern alignment. Measure any closets, alcoves, or areas you plan to laminate separately and add them to the total. Use a tape measure and write down all measurements to reduce mistakes.
How do I measure for laminate flooring if my bedroom has closets or built-ins?
Measure the open floor area where laminate will be installed, excluding parts that won’t be covered (like built-in cabinetry). If you’re installing under a closet door or around a closet opening, measure both the main room and the closet-adjacent area and combine the square footage. For long runs, also note door clearances and thresholds so you can plan expansion gaps. This helps ensure you buy enough laminate boards without over- or under-ordering.
How do I calculate the number of laminate floor boxes I need?
First, measure the total laminate flooring area in square feet, including a 5–10% waste factor. Check the box for coverage (square feet per box), then divide your total area by the coverage per box. Round up to the nearest whole box so you don’t run short mid-install. If you’re using a specific plank pattern or mixing batches, consider adding a bit more waste.
Which measurement details matter most when cutting laminate around doors and vents?
Measure the distance from walls to door jambs, baseboards, and any vents before ordering or cutting planks. Mark expansion gap space along walls (commonly about 1/4 inch) and measure threshold transitions where laminate meets tile or carpet. For doorways, measure the height and width of door trims to plan undercutting or fitting techniques. Accurate measurements here prevent gaps, misaligned planks, and costly re-cutting.
Why should I measure for laminate flooring in sections rather than one big rectangle?
Bedrooms often have angles, bay windows, closets, or wall offsets that make “one rectangle” calculations inaccurate. Measuring in sections lets you account for each distinct area and reduces errors when you add them together for your laminate flooring estimate. It also makes it easier to plan plank direction and seam placement for a cleaner finished look. This approach leads to more reliable square footage and helps you avoid running short on laminate boards.
📅 Last Updated: October 20, 2026 | Topic: How to measure a laminate floors for bedroom? | Content verified for accuracy and freshness.
References
- Laminate flooring
- Square foot
- https://www.pergofloors.com/en-us/installation
- https://www.armstrongflooring.com/support/installation-guides.html
- MohawkFlooring
- https://scholar.google.com/scholar?q=How+to+measure+laminate+flooring+for+a+room Google Scholar
- https://scholar.google.com/scholar?q=laminate+floor+coverage+calculation+waste+factor Google Scholar
- https://scholar.google.com/scholar?q=laminate+floor+layout+measurement+installation+instructions Google Scholar
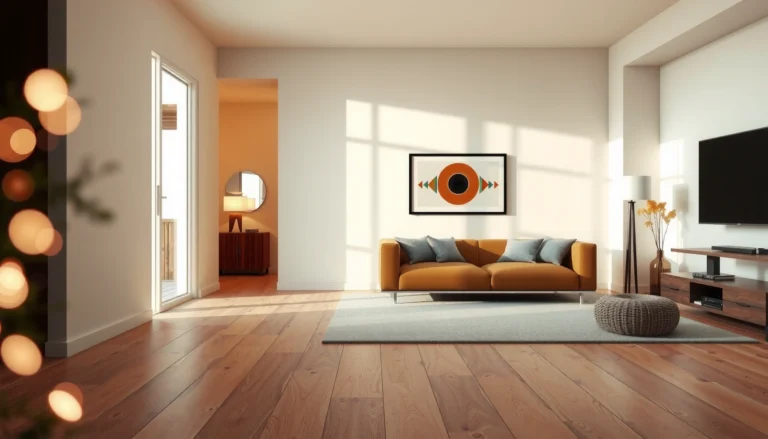
[…] removing the old planks, prepping the base, and installing new laminate with clean transitions and expansion gaps. If you want a straightforward replacement that looks professional without tearing out the whole […]