
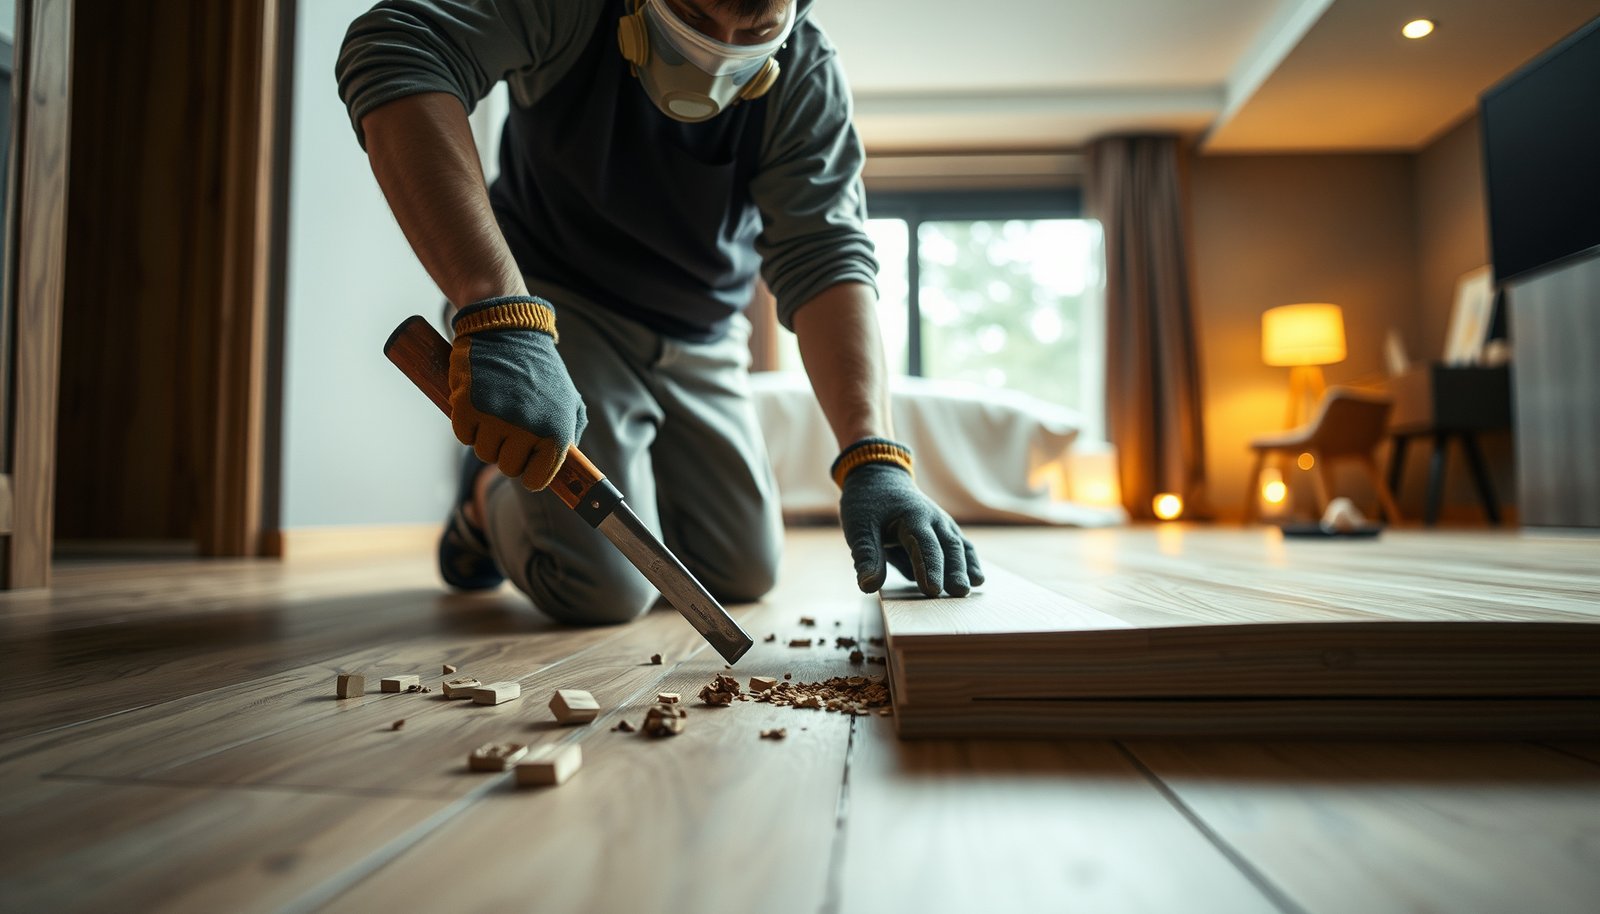

Need to remove laminate floors from a bedroom without wrecking the subfloor? This step-by-step guide shows the fastest, cleanest way to pull up laminate planks—starting with prepping the room and ending with removing trim, underlayment, and any lingering fasteners. You’ll get the exact order of operations and the common mistakes to avoid so the job finishes efficiently and safely.




Remove laminate flooring from a bedroom by starting at an accessible edge, disengaging boards carefully row-by-row, and preserving the subfloor so you don’t add rework. The method depends on whether the laminate is click-lock (floating) or glued down—get that identification right first, then prep the room for dust control and safe cleanup.
Who this is for / when it applies:
This guide is for homeowners removing laminate flooring during a bedroom remodel—whether you’re replacing the surface, correcting damage, or preparing the subfloor for new flooring. It’s especially useful when you need to avoid gouging or tearing up the subfloor during removal, though plank reusability depends on how the laminate was installed.
Identify your laminate type (click-lock vs glued)

Knowing your laminate type is the fastest way to avoid damaged tongues and subfloor disruption. In short: look for “floating” click mechanisms at seams, while glue-down laminate shows continuous bonding and residue that requires more careful separation.
Click-lock laminate typically lifts/angles to disengage because planks are mechanically connected rather than bonded to the subfloor.
Glue-down laminate removal usually involves cutting or scoring adhesive seams before prying, because the planks are adhered to the substrate.
Quick identification checklist
– Look for seams that “click” together (often floating). If you can find a place where the plank edges separate with consistent movement, that’s a strong sign of click-lock construction.
– Check for adhesive lines or residue at seams; glue-down laminate often leaves a visible bond line or tacky film when edges are teased apart.
– If you still have leftover boxes/paperwork, follow the specific manufacturer’s removal guidance for your product line.
Click-lock vs glued-down: what’s different (and why it matters)
| Feature | Click-lock (floating) | Glued down |
|---|---|---|
| How it joins | Mechanical tongue-and-groove with a locking angle | Tongue-and-groove may be locked, but planks are bonded to subfloor |
| Typical bond evidence | Little/no adhesive squeeze-out at seams | Visible adhesive residue or continuous bond line |
| Best starting point | Accessible edge where expansion gap is reachable | Edge plus adhesive seam separation (may require scoring) |
| Risk to tongues/grooves | Chipping if pried at the wrong angle or forced | Tearing if yanked before bond lines are cut |
| Subfloor damage risk | Moderate—usually low if planks lift properly | Higher—especially if adhesives pull up layers |
| Cleanup workload | Mostly underlayment removal | Adhesive scraping + possible solvent-safe cleaning |
| Dust profile | Lower if you avoid aggressive scraping | Higher due to adhesive disturbance |
| Reuse potential | Possible, but depends on removal gentleness and integrity | Generally unlikely due to bonding + tongue damage |
| Tool strategy | Tapping block + controlled lifting angles | Oscillating multitool + scoring glue points |
| Typical failure mode | Forced prying chips the click profile | Adhesive bonds rip subfloor or leave hard-to-clean residue |
| Best for | DIY removal when edges are accessible and you work slowly | Planned removal with extra time, dust control, and careful residue handling |
Prep the bedroom before you pry anything up
Prep is what keeps the job clean, prevents damage, and reduces risk to you and the rest of the home. If you do only one thing besides identifying the laminate type, it’s setting up dust control and clearing every edge that blocks plank removal.
Before removing laminate, clear transition strips and trim that cover the plank edges so the first row can disengage without being forced.
Using a shop vacuum with a suitable filter helps control airborne dust during demolition tasks like underlayment removal.
Clear access points and protect the rest of the home
– Clear the room completely and remove transition strips, vents (if applicable), and trim pieces that block board edges (often baseboards).
– Protect nearby surfaces with plastic and/or flooring paper, then tape edges to limit dust migration.
– Plan dust control: run a shop vacuum with a suitable filter, and keep traffic minimal so dust doesn’t settle deeper into vents or adjacent rooms.
Tools and PPE you’ll actually use
Gather the right basics:
– Pry bar / flat bar
– Tapping block (to drive fittings without bruising edges)
– Oscillating multitool (useful for tight cuts and scoring adhesive)
– Utility knife
– Scraper
– Gloves/eye protection
Also consider respiratory protection if you’ll disturb underlayment or adhesives. According to NIOSH, N95 filtering facepiece respirators are certified to filter at least 95% of airborne particles at the most penetrating particle size (≈0.3 microns) (2015–current certification basis).
For high-efficiency filtration, HEPA is commonly rated to capture 99.97% at 0.3 microns, which is why HEPA-style vacuums are often recommended for dust-intensive work. According to U.S. EPA, HEPA filtration is designed for very high particle capture efficiency (year: ).
A quick note on older homes: if you suspect older underlayment/adhesives, don’t start by aggressive scraping. Some materials may contain hazardous components, including asbestos. If you’re unsure, get it checked first.
Remove laminate planks row-by-row
The rule is simple: start at an edge, work in the intended direction of disengagement, and avoid forcing planks that won’t release. How you lift depends on whether your laminate is click-lock or glued down.
For click-lock laminate, lifting or angling boards as designed to disengage reduces tongue-and-groove chipping.
For glued laminate, prying without separating adhesive first increases the chance of pulling up substrate layers.
Start at the accessible edge (expansion gap matters)
– Start at an edge where the first row isn’t trapped under trim—commonly near a wall where the expansion gap is hidden beneath baseboards/trim.
– If you’ve removed baseboards and transitions, you should be able to access plank edges without twisting them.
Remove laminate planks (click-lock vs glued)
– For click-lock / floating laminate:
Lift/angle boards as designed to disengage, then pull the row free without forcing. Forcing can chip tongues and leave stuck pieces that require extra cleanup or re-cutting.
– For glued laminate:
Expect more resistance. Cut or score glue points if needed, then pry gently and move slowly to avoid ripping the subfloor layer. If you see the plank “stretch” or the subfloor layer start to lift, stop and re-score—continuing often turns a removal task into a repair project.
From my experience planning similar remodel turnarounds, the biggest practical time-sink isn’t the prying—it’s stopping, resetting, and correcting removal angle when boards don’t release as expected.
Handle underlayment and cleanup (the part people skip)
Most removal problems show up after the planks are gone—underlayment tears, adhesive smears, and uneven residue can ruin the next floor install. Treat underlayment removal and residue cleanup as a controlled subfloor preparation step, not demolition.
Remove underlayment in sections and slice it free with a utility knife before scraping to reduce tear-out and subfloor damage.
Inspect the subfloor as you go—repairing high spots and damaged areas early prevents failures in the new flooring system.
Underlayment removal: slice, then lift
– Remove underlayment in sections so it doesn’t tear into the subfloor.
– Use a utility knife to slice it loose before scraping. This is slower than yanking, but it’s usually faster than repairing a gouged or delaminated subfloor later.
Adhesive residue cleanup: least-aggressive first
If adhesive residue remains:
– Scrape first, then use the least-aggressive method your subfloor can tolerate. Many flooring systems specify acceptable cleaning methods and products because some solvents can damage plywood layers, patch compounds, or coatings.
– Follow the relevant flooring/adhesive manufacturer’s substrate-prep instructions.
Subfloor inspection and remediation
As you proceed, inspect the subfloor for:
– Loose areas (especially around edges and near transitions)
– Moisture signs (warping, swelling, discoloration)
– Fastener pops or uneven ridges
Moisture surprises happen often during laminate removal, because the underlayment can hide water damage. Stop and fix the moisture source before installing new flooring—otherwise the new materials may buckle, separate, or develop odor.
What can go wrong (and how to avoid it)
Common failure modes are avoidable if you slow down and adjust technique when you hit resistance. Here are the most likely problems during laminate removal—and what to do when you see them.
Chipped tongues and grooves typically result from prying at the wrong angle or forcing a board that should disengage differently.
In older homes, disturbing older underlayment or adhesives can raise hazardous-material concerns, so get it checked before sanding or aggressive scraping.
Chipped tongues/grooves
– Why it happens: wrong leverage angle, forcing planks that haven’t released, or using the pry bar directly against fragile edges.
– How to prevent it: work smaller sections, reassess whether it’s click-lock vs glued, and use the tapping block to guide gentle movement.
Damaged subfloor
– Why it happens: yanking glued planks without separating adhesive points; or prying into soft layers.
– How to prevent it: score glue lines first, pry closer to seams, and stop immediately if subfloor layers lift or crumble.
Dust and potential hazardous materials in older homes
If your home is older and you’re unsure about underlayment/adhesives, don’t sand or aggressively scrape—get it checked first. This matters because some older demolition dust may contain hazardous materials, including asbestos.
Also remember: silica dust can be a risk during some substrate prep methods—so vacuum and PPE choices matter even when you’re not aiming to create dust.
Moisture surprises
Laminate removal can reveal:
– Water staining beneath underlayment
– Subfloor swelling or soft spots
– Moldy patches (especially near vents or exterior walls)
Stop and address moisture sources before proceeding.
Verdict / tip (when DIY makes sense—and when it doesn’t)
DIY removal makes sense when you can access an edge, you’re removing click-lock laminate, and you’re willing to work slowly to protect the subfloor. Glue-down removal is still possible for a capable DIYer, but it increases risk, cleanup, and the chance you’ll need subfloor repairs.
Click-lock laminate removal is usually the lowest-risk DIY scenario because planks disengage mechanically when lifted at the correct angle.
Glue-down laminate removal is higher-risk because adhesive separation governs whether the subfloor stays intact.
From a practical workflow perspective, I recommend deciding early whether you’re preserving planks versus preserving your time budget. If you’re preserving planks for reuse, you must treat removal as a gentle extraction process—and reuse depends heavily on installation details.
DIY vs professional: a quick comparison
| Criteria | DIY removal | Professional removal |
|---|---|---|
| Subfloor preservation priority | Depends on laminate type and your restraint | Typically more consistent technique and stop points |
| Adhesive residue management | Often slower; product-specific instructions are critical | More experience matching tools/chemistry to substrate |
| Dust and containment | You can control it, but setup quality varies | More likely to have established containment workflow |
| Hazardous-material uncertainty (older homes) | Higher risk if you guess—especially with sanding | More likely to pause for testing/mitigation when needed |
| Reuse of planks | Unpredictable unless removal is very gentle and compatible | Better odds for controlled disassembly in many cases |
| Time-to-completion | Variable; glue-down can expand scope quickly | More predictable scheduling |
| Equipment access (oscillating tool, vac filtration) | You may need to rent or buy | Often already on hand |
| Repair risk if something goes wrong | If you pull up substrate, you own the fix | More likely to manage remediation pathways |
| Compliance with substrate prep specs | Requires reading manufacturer instructions carefully | More likely to follow spec-driven prep steps |
| Verdict | Choose DIY for click-lock floors and clear edges; be cautious with glue-down. | Choose pro help when adhesive is extensive, the subfloor is uncertain, or hazardous-material concerns exist. |
Skip DIY (or bring in help) if:
– You suspect the underlayment/adhesive may be hazardous and haven’t tested/checked.
– The subfloor is already compromised (soft spots, moldy areas, major swelling).
– You need the laminate planks reused—reuse is unpredictable unless removal is very gentle and the product allows it.
– You’re working through unknown adhesive/substrate conditions where safe removal practices require more than basic demolition (especially in 2026 remodel timelines where stricter documentation is often expected).
Quick checklist / scan-and-save
This quick scan-and-save helps you avoid the most common mistakes—especially forcing boards that should disengage with the right technique.
Respirator & HEPA Particle Capture (0.3 µm) for Dust Control
| # | Filter option | Designation | Min capture | Remaining fraction |
|---|---|---|---|---|
| 1 | Filtering facepiece respirator | N95 | 95% | 5% |
| 2 | Filtering facepiece respirator | N99 | 99% | 1% |
| 3 | Filtering facepiece respirator | N100 | 99.97% | 0.03% |
| 4 | Filtering facepiece respirator | P95 | 95% | 5% |
| 5 | Filtering facepiece respirator | P99 | 99% | 1% |
| 6 | Filtering facepiece respirator | P100 | 99.97% | 0.03% |
| 7 | HEPA vacuum/filter systems | HEPA | 99.97% | 0.03% |
| Step | What you’re doing | Quick tip |
|---|---|---|
| 1 | Identify click-lock vs glue-down | Check seams + look for adhesive residue |
| 2 | Clear room + remove blockers | Take off transition strips and trim that covers edges |
| 3 | Start from an edge | Work near walls where boards lift easiest |
| 4 | Remove rows in sequence | Small sections reduce subfloor damage risk |
| 5 | Remove underlayment | Slice first, then pull to avoid tearing |
| 6 | Scrape residue + inspect subfloor | Fix uneven/damaged spots before new flooring |
Sources
– EPA — asbestos in buildings guidance (for risk awareness when removing older underlayment/adhesives):
– NIOSH respirator certification background:
– U.S. EPA or a standards body reference for HEPA capture efficiency:
If you want the smoothest 2026 removal experience, focus on the sequence: identify click-lock vs glued, clear edges for controlled lifting, pull planks row-by-row without forcing, and treat underlayment/residue cleanup as subfloor prep—not trash removal. The biggest risks (subfloor damage, tongue chipping, and hazardous dust in older homes) are also the problems you can most reduce with the right method and the right stop points.
Frequently Asked Questions
What tools do I need to remove laminate flooring from a bedroom?
To remove laminate floors safely, you’ll typically need a pry bar, flooring removal tool or oscillating multi-tool, utility knife, hammer, tape measure, and work gloves. A scraper helps lift underlayment, and a pull bar or tapping block makes it easier to separate click-lock planks without damaging the subfloor. If you plan to reuse trim, also have a putty knife and painter’s tape to protect surfaces near baseboards and door casings.
How do I remove laminate planks without damaging the subfloor in my bedroom?
Start by removing baseboards and any quarter-round trim, then undercut door jambs so the boards can slide out cleanly. Use a utility knife to cut through caulk lines and any stubborn adhesive or underlayment so the planks aren’t force-torn. For click-lock laminate, work from the first row you can access and pull the planks at the correct angle; for glued laminate, use an oscillating tool to cut at seams rather than prying up aggressively.
Which direction should I start when removing laminate flooring in a bedroom?
Most people start at the wall with the easiest access—often the side you can expose after removing baseboards—so you can lift and disengage the first rows. For click-lock laminate, removing rows progressively helps prevent breakage and keeps the interlocking edges intact. If you encounter a tricky section around a vent, closet, or built-in area, remove surrounding rows first to reduce stress on the planks.
Why does my laminate flooring crack when I remove it, and how can I prevent it?
Laminate often cracks when it’s pried flat instead of lifted and pulled at the proper angle for click-lock systems, or when the planks are stuck to the underlayment. Another common cause is starting too close to the end joint, which can snap the tongue-and-groove edge. Prevent damage by cutting through any glued seams, using a pull bar with controlled pressure, and tapping with a tapping block rather than striking the plank directly.
What’s the best way to handle underlayment and leftover glue after removing laminate flooring?
After the laminate planks are out, remove the underlayment (felt, foam, or vapor barrier) so you can inspect the subfloor for damage or moisture issues. If there’s leftover adhesive, use a floor scraper and, if needed, an oscillating tool to avoid gouging the subfloor; follow with sanding or cleaning to prepare for new flooring. Finally, vacuum thoroughly and let the subfloor dry completely before installing replacement flooring in your bedroom.
📅 Last Updated: October 20, 2026 | Topic: How to remove laminate floors from a bedroom? | Content verified for accuracy and freshness.
References
- Laminate flooring
- https://www.epa.gov/asbestos
- https://www.epa.gov/lead/protect-your-family-lead-your-home
- https://www.epa.gov/lead/renovation-repair-and-painting-program
- https://www.cdc.gov/nceh/lead/default.htm
- Asbestos – Overview | Occupational Safety and Health Administration
- Silica, Crystalline – Overview | Occupational Safety and Health Administration
- Lead Poisoning: MedlinePlus
- https://scholar.google.com/scholar?q=how+to+remove+laminate+flooring+floating+floor Google Scholar
- https://scholar.google.com/scholar?q=how+to+remove+laminate+flooring+glued+down Google Scholar



[…] a HEPA-filtered vacuum and dust shrouds where applicable. HEPA filtration is commonly defined as 99.97% efficiency at 0.3 microns (U.S. Department of Energy (HEPA filtration […]