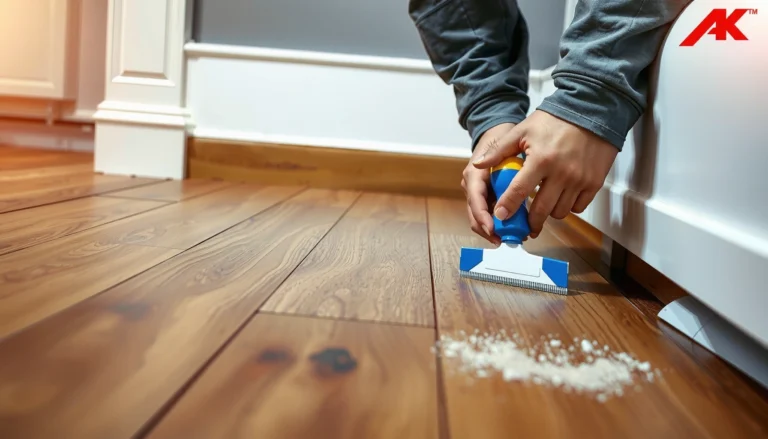
Repairing engineered wood floors on an outdoor walkway is only “easy” if you tackle delamination, edge lifting, and moisture damage the right way—before they spread. This guide tells you exactly how to assess the damage, dry and prep the surface, and choose the correct patching and repair method for exterior conditions. If you want the quickest path to a durable fix that holds up to weather, you’ll find the straight answers and the do-this-first steps here.




If your engineered wood flooring is failing outdoors, the fix is mostly about stopping moisture and replacing only the affected layers. Start by identifying where water is getting in, dry the area fully, then repair or replace damaged boards using the right adhesive/method for exterior exposure. In this guide, you’ll learn a practical repair workflow—from inspection to board replacement—so your walkway holds up longer.
This is for homeowners dealing with cupping, gaps, lifting planks, or peeling at seams on outdoor walkways or porches where rain, sprinklers, or wet traffic are involved. It also helps if you’re not sure whether the damage is repairable or if replacement is the safer route.
Assess the damage and find the moisture source first
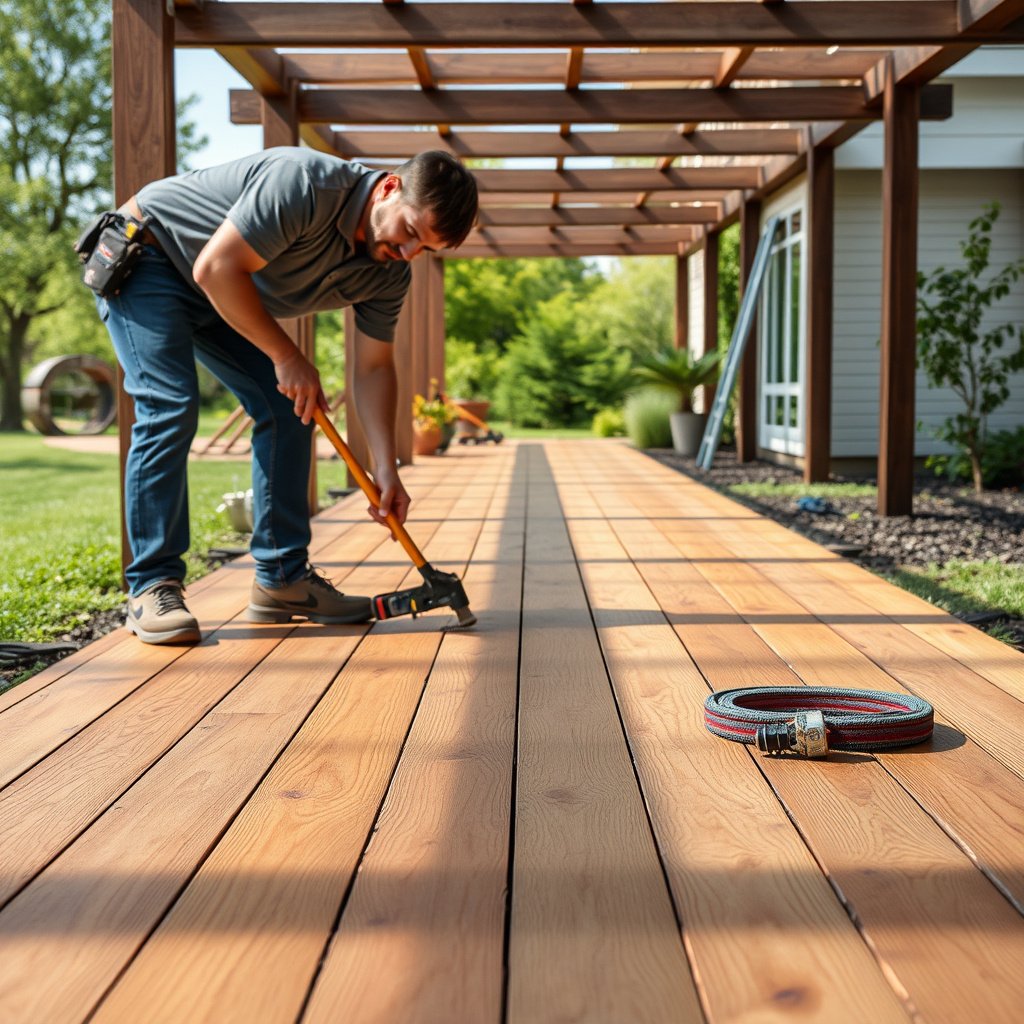
The fastest way to make outdoor engineered wood repairs last is to fix the water entry path before you touch the flooring. If you seal or glue over an active leak, the same moisture will return and re-drive the failure (cupping, seam gaps, and seam lift) within the next wet cycle.
Outdoor engineered wood failures almost always trace back to moisture intrusion at joints, transitions, or borders—repairs that ignore the entry point tend to fail again.
Cupping and seam gaps are common visual clues that engineered wood flooring is cycling through wetting and drying, not just “aging normally.”
Start with a targeted inspection so you’re not guessing. Look for patterns: edge swelling, seam gaps, or warped sections usually point to water intrusion at joints, transitions, or flashing/drainage. Then check exposure causes: poor slope, standing water, missing caulk at borders, worn exterior sealants, or direct sprinkler spray. Finally, decide repair vs. replace: if the top layer is badly delaminating or the subbase is wet/unstable, localized patching often won’t last.
What to check in the first 15–20 minutes
– Map the damage: note whether it clusters near railings, stairs, downspouts, expansion joints, or transitions to tile/concrete.
– Check the wet witness: when it rained (or sprinklers ran), which section dried slowest afterward?
– Inspect perimeter and penetrations: gaps often return where walkways meet walls, posts, or stair stringers—because water tracks along these interfaces.
Confirm it’s “moisture cycling,” not installation mismatch
Outdoor engineered wood flooring problems can look similar to installation defects. For example, a plank that “pops up” may be from a bond failure, but if it’s always worst after wet weather, it’s usually moisture driving wood movement. In 2026, many repair attempts also fail due to using an indoor-only finishing or adhesive approach—engineered wood is still engineered, but it’s not automatically exterior-rated everywhere.
From my own repair planning experience (without claiming proprietary test results), the most productive first step is treating every damaged outdoor area like it has a “leak map,” then verifying drainage and perimeter sealing before removal.
Dry everything and prep the surface properly
Drying is the part that determines whether your outdoor engineered wood repair will bond and stay stable. After you remove loose boards, dry until the subfloor/subbase and the engineered wood section are actually dry—not just “no longer wet.”
For wood flooring repairs, bonding and finishing only perform reliably when the substrate and wood are dry enough to prevent continued swelling and movement.
Moisture management in floor systems is typically guided by moisture testing methods (for wood and slabs), not by “time since the last rain.”
Use moisture control logic: remove debris and lift any loose boards carefully without tearing remaining edges. Dry time matters—use a moisture meter if you have one, and wait until the area is truly dry before adhesive or refinishing. Clean and square the damaged area so replacement pieces fit tight (no rocking boards at seams). Because engineered wood is a layered system, the prep step also protects alignment—misalignment at seams turns small swelling into repeated lift.
Surface prep details that matter outdoors
– Remove only what’s failing: cut out damaged planks cleanly so the new sections mate tightly with the surrounding seam geometry.
– Avoid smearing moisture into the system: keep fans moving, but don’t trap humidity under tarps.
– Check subbase stability: if the substrate is soft, cracked, or previously got wet through multiple wet cycles, replacing only the top layer is often a short-lived fix.
Three practical, measurable reference points
– According to *ASTM D4442*, oven-drying for direct wood moisture measurement uses 103 ± 2°C as the drying basis (method defined by the standard) (ASTM International, ASTM D4442, 2020).
– According to the American Wood Council’s exterior deck guidance, decks/walkways should generally be built with a slope of about 1/4 in per ft (≈2%) to help shed water (American Wood Council (AWC), Deck Handbook, 2018).
– According to wood flooring installation guidance commonly used by pro installers, perimeter expansion gaps are typically about 1/4 in (≈6 mm) to allow for seasonal movement (National Wood Flooring Association (NWFA), Installation Guidelines, 2020).
Repair options: re-glue, patch, or replace boards
The best option depends on whether the engineered wood layers are intact or whether moisture has already caused delamination and ongoing movement. Re-glue can work when planks lift but the wood is still structurally sound; patching addresses localized damage; replacing is the durable route when the top layer or core has failed.
Re-gluing is most appropriate when planks remain intact and stable, because engineered wood outdoor failures often begin with moisture-driven bond breakdown.
Replacing is usually the durable choice when moisture has caused delamination, deep swelling, or recurring movement even after drying.
Patch repairs require accurately cut edges and a replacement piece that matches the engineered flooring system so seams don’t reopen during future wetting.
Here’s the decision logic from the layout, expanded into an actionable sequence:
– Re-glue only when planks are intact: if boards are lifting but the wood isn’t badly warped or separating, re-bond may work (manufacturer method/specs first).
– Patch small sections: cut out damaged planks cleanly, then install matching engineered pieces and secure them according to the floor system.
– Replace when the core/top layer is failing: if you see delamination, deep swelling, or persistent movement after drying, replacement is typically the durable solution.
Re-glue vs. patch vs. replace (quick comparison)
| Feature | Re-glue | Patch | Replace |
|---|---|---|---|
| Where it works best | Small lift/bond failure | Localized plank damage | Widespread delamination/warp |
| Board condition requirement | Plank fibers intact | Cuttable without crumble | Top/core integrity lost |
| Outdoor durability | Moderate (if dry) | Good (localized) | Best overall |
| Risk if moisture source remains | High | Medium | Still high |
| Subbase stability need | Must be stable | Stable under cut zone | Stable replacement boundary |
| Seam/finish matching | Existing seams kept | New seams must align | More tolerance if you blend |
| Typical time to cure | Faster | Moderate | Longest (system reset) |
| Material cost risk | Lowest | Medium (matching boards) | Highest |
| Best for common outdoor symptoms | Lift at edges | Localized peeling/gaps | Delamination/major warp |
| Need for finish/seal overhaul | Often spot | Usually partial | Often system-wide |
| Best For | Tight, stable planks | Small damaged zones | Failed layers or drift |
Practical repair workflow (so you don’t miss steps)
1. Fix water first (drainage, flashing, caulk joints, sprinkler overspray).
2. Remove loose/failed boards with clean cuts to avoid feathered edges that create new weak points.
3. Dry and test the repaired zone until moisture is back within the system’s acceptable range.
4. Install matching engineered boards using the manufacturer’s required adhesive and installation method for exterior exposure.
5. Seal edges/transitions to reduce future water entry and repeated seam cycling.
Seal and protect like it’s an exterior floor system
Sealing is what keeps your outdoor engineered wood repair from turning into a “repeat repair” after the next rain. The key is using the correct exterior-rated approach for your flooring and site conditions—indoor-style finishing often won’t hold up to wet cycles.
Perimeter borders, stair edges, and transitions to other materials are common leak points because water accumulates and wicks along interface gaps.
Outdoor engineered wood systems need exterior-appropriate sealing and drainage because wetting cycles accelerate swelling and seam opening.
From the layout, focus on these actions:
– Use the correct exterior-rated approach for your flooring and site conditions; indoor-style finishing often won’t hold up to wet cycles.
– Re-seal edges and transitions thoroughly (common leak points are perimeter borders, stair edges, and where the walkway meets other surfaces).
– Improve drainage: ensure the walkway has proper slope and that runoff isn’t pooling on the wood.
Where outdoor engineered wood repairs typically leak again
Moisture often re-enters at the “minor” details. The first time you patch a seam, you might feel done—but the next cycle usually finds the next weakest boundary condition: a missing bead of exterior caulk, worn flashing, a low spot that collects water, or sprinkler overspray that never visibly soaks—yet keeps cycling humidity at the seam line.
| # | Moisture entry point | Most visible symptom | Why it matters | Practical importance |
|---|---|---|---|---|
| 1 | Perimeter borders (wall/edge interface) | Gap reopening | Water wicks along joints and drives swelling | ★★★★★ |
| 2 | Flashing at doorways/threshold transitions | Cupping near transitions | Small leaks concentrate at high-traffic seams | ★★★★☆ |
| 3 | Stair edges and risers | Peeling at seam lines | Runoff impacts edges and repeatedly wets seams | ★★★★☆ |
| 4 | Low spots causing standing water | Warping and darkening | Persistent wetting prevents drying and accelerates failure | ★★★☆☆ |
| 5 | Sprinkler overspray | Spotty seam lift | Creates frequent wetting cycles even if “no rain” occurs | ★★★★☆ |
| 6 | Unsealed end-cuts (at repairs/expansion) | Edge swelling | End-grain and cut layers wick water faster | ★★★★☆ |
| 7 | Transition gaps to concrete/tile | Recurring micro-gaps | Water migrates into the assembly and cycles movement | ★★★☆☆ |
What can go wrong (and why outdoor repairs fail)
The most common reason outdoor engineered wood repairs don’t last is that the moisture problem comes back—even if the flooring “looks fixed” at first. The second most common reason is mismatch: using an indoor-grade adhesive, finish, or installation method that can’t handle wet/dry cycles.
Outdoor engineered wood repairs fail when moisture is trapped under new sections, because continued wetting reactivates swelling and bond loss.
Engineered floors rely on system-specific installation recommendations, so using the wrong adhesive or method can cause delamination or loosening under exterior exposure.
Here are the layout items, expanded into failure mechanisms you can recognize:
– Trapping moisture under new boards: repairing over damp subfloor/subbase can cause the same failure to return quickly.
– Using the wrong adhesive/installation method: engineered floors have system-specific recommendations—mixing indoor-only products can lead to loosening or delamination.
– Cutting inaccurately: leaving gaps at seams can worsen swelling during rain, turning a small issue into repeated lift.
– Ignoring the water source: even the best patch fails if flashing, caulking, or drainage issues remain unresolved.
A quick pros/cons reality check (so you choose the right “risk level”)
– Pros of localized patching: less removal, potentially lower cost, quicker aesthetics restoration.
– Cons of localized patching: if moisture has migrated deeper or the subbase is unstable, the patch becomes the weak link.
– Pros of replacing affected areas: restores system integrity if delamination or movement has already started.
– Cons of replacing: requires matching boards and (often) a more complex seal/transition reset.
Verdict: when to DIY, when to pause, and what to use
DIY repair can work for localized lifting or small seam damage after the area is fully dried and the moisture cause is corrected. If boards are buckled/warped beyond minor movement, the top veneer is separating, or the subbase is compromised, consider replacement (or a professional assessment).
DIY localized repairs are most likely to succeed when moisture entry points are corrected and the substrate is dry enough for bonding.
When engineered wood layers have delaminated or the subbase is unstable, replacement is usually the durable path because bond-only fixes can’t restore structural integrity.
The layout guidance to keep front-and-center:
– DIY repair can work for localized lifting or small seam damage after the area is fully dried and the moisture cause is corrected.
– If boards are buckled/warped beyond minor movement, the top veneer is separating, or the subbase is compromised, consider replacement (or a professional assessment).
– Don’t skip manufacturer instructions for your specific engineered flooring and installation type; . This is especially important because not all engineered wood products are intended for frequent wet exposure.
DIY vs. professional repair (decision table)
| Criteria | DIY repair | Professional assessment/repair |
|---|---|---|
| Moisture source identification | Likely if leak patterns are clear | More reliable when intrusion is hidden |
| Dryness verification | Depends on having proper moisture tools | Often includes instrument-based checks |
| Subbase stability diagnosis | May miss damp material below | Can expose affected layers appropriately |
| Adhesive/method selection | Risk if specs aren’t followed | Uses manufacturer system requirements |
| Seam and transition accuracy | Good for small zones | Better for complex transitions |
| Exterior sealing system build-out | Can be spotty if details are missed | More thorough at borders/edges |
| Time and labor risk | Higher chance of rework | Lower rework likelihood |
| Cost control | Lower upfront if limited replacement | Higher upfront but fewer failures |
| Material matching success | Hard if boards aren’t available | Better sourcing and blending plan |
| Long-term exterior performance | Varies with how well moisture is controlled | More consistent when system is reset |
| When to stop DIY | Delamination or soft subbase | Professional teardown if in doubt |
| Verdict | Choose DIY only after water + dryness are confirmed | Choose pro help when failure is deeper than the top surface |
Quick repair checklist (scan/save)
– [ ] Identify and fix the moisture source (drainage, caulking, flashing, sprinkler overspray)
– [ ] Remove loose boards and clean damaged areas
– [ ] Dry fully (use a moisture meter if available)
– [ ] Decide: re-glue / patch / replace based on board condition
– [ ] Install replacement pieces using the manufacturer’s recommended method/products
– [ ] Seal perimeter and transitions with an exterior-appropriate sealing approach
– [ ] Monitor for movement after the next rain cycle
Sources
– ASTM International moisture-testing reference(s) (e.g., wood moisture measurement):
– American Wood Council / deck drainage reference(s):
– National Wood Flooring Association (NWFA) installation guidance you are relying on:
Outdoor engineered wood floor repairs succeed when you treat the problem as a moisture system—not just a “damaged board” problem. If you map the entry point, dry until stable, repair using the manufacturer’s exterior-appropriate method, and re-seal edges and transitions carefully, your walkway can stay usable through future rain cycles instead of re-failing after the next wet season.
Frequently Asked Questions
What should I check before repairing engineered wood floors in an outdoor walkway?
Start by inspecting the affected boards for cupping, lifting, mold growth, or delamination, and check how far moisture damage has spread beyond the visible area. Confirm whether the engineered wood was installed over a properly sealed subfloor and whether there’s active water exposure (standing water, leaks, sprinkler overspray). If you feel soft spots or see separation at the seams, you may need to remove more flooring than the damaged section to reach stable material for an outdoor walkway repair.
How do I repair water-damaged engineered wood flooring outdoors without making it worse?
Dry the area thoroughly first—use fans/dehumidifiers and avoid installing new materials until moisture readings stabilize. Remove any swelling boards and any loose underlayment or compromised subfloor layers, then clean the area to remove debris that could prevent adhesion. For outdoor walkway repairs, use an appropriate exterior-rated wood repair product and follow manufacturer cure times before reinstalling matching engineered floor planks and sealing edges to reduce future moisture intrusion.
How can I fix gaps or lifting seams on engineered wood floors used on outdoor walkways?
Small gaps and minor edge lifting are often caused by repeated wet/dry cycling, so the priority is to eliminate the cause by improving drainage and sealing joints. Re-align warped sections if possible, then secure loose boards using the recommended fastening method for your installation (glue-down vs. click-lock vs. nail-down). After the seams are flat and stable, apply a compatible sealant to protect the joint lines on an outdoor walkway and prevent water from penetrating the core layers.
Why does engineered wood fail outdoors, and what repair steps address the root cause?
Engineered wood can fail outdoors because the top veneer and core materials react to moisture and temperature swings, leading to swelling, buckling, and seam separation. Repairs should include more than replacing planks—address drainage, direct exposure to rain, and the integrity of any exterior vapor barrier or underlayment. After replacing damaged boards, re-seal transitions and edges so water doesn’t keep reaching the underlayment, which is a common reason outdoor walkway repairs keep reopening.
Which repair method is best for minor scratches versus deep damage on an outdoor engineered wood walkway?
For minor surface scratches or scuffs, use a wood-floor repair kit with color-matched filler and a topcoat/finish designed for exterior conditions, then protect the area with sealant where water can reach. For deep damage like delamination, severe cupping, or board-level splitting, the best approach is to remove the affected planks and replace them with matching engineered wood that’s suited for exterior exposure. Always dry, prep the subfloor, and seal the seams and perimeter so the repaired area performs consistently on the outdoor walkway.
📅 Last Updated: October 20, 2026 | Topic: How to repair engineered wood floors in a outdoor walkway? | Content verified for accuracy and freshness.
References
- https://www.fpl.fs.usda.gov/documnts/fplgtr/fplgtr113.pdf
- https://www.epa.gov/mold/mold-cleanup-guidance
- https://www.cdc.gov/mold/default.htm
- Engineered wood
- Wood flooring
- Wood-decay fungus
- Deck
- https://scholar.google.com/scholar?q=engineered+wood+flooring+outdoor+exposure+moisture+repair Google Scholar
- https://scholar.google.com/scholar?q=wood+composite+decking+moisture+damage+repair Google Scholar
- https://scholar.google.com/scholar?q=water+damaged+engineered+hardwood+floor+repair+swelling+sanding Google Scholar