
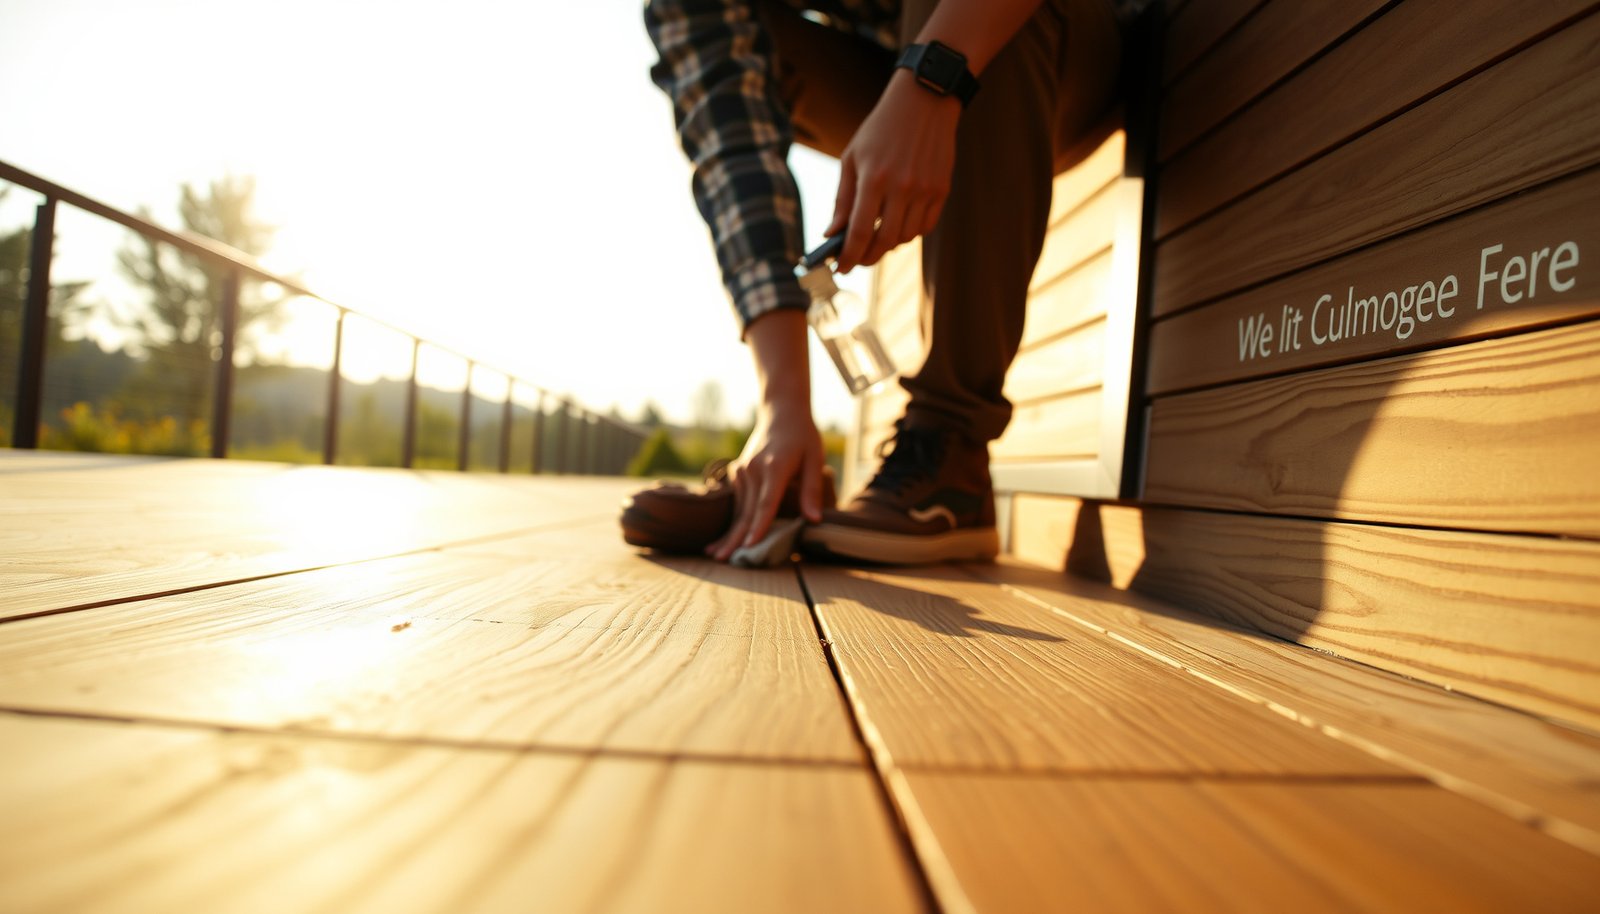

Engineered wood floors on an outdoor walkway can last years—but only if you follow the right maintenance routine for moisture, UV, and abrasion. This guide answers exactly how to maintain engineered wood floors outdoors, with step-by-step cleaning methods, drying and sealing best practices, and a clear schedule for inspections and touch-ups. If you want the most durable finish and the fewest swelling or cupping issues, this is the playbook to follow.



Engineered wood floors in an outdoor walkway last longer when you control moisture, clean gently, and protect the finish from standing water. In practice, that means you sweep grit often, wipe up splashback immediately, and use only cleaners or sealers that your floor’s specific top finish (urethane, oil, etc.) explicitly allows—because water exposure is what drives seam swelling and edge failure.
This advice is for homeowners maintaining engineered wood installed outdoors (or in an exterior walkway area) where the planks can get wet from rain, splashback, or track-in dirt. It’s especially important if your product’s warranty depends on using specific cleaners and maintaining the finish.
Check if your engineered wood is actually rated for outdoor use

If your engineered wood isn’t approved for exterior exposure, no maintenance routine can reliably prevent swelling, delamination, or finish breakdown. Start with the manufacturer’s language on “outdoor use,” “covered/overhang only,” and required maintenance products, then verify installation details that protect seams and edges.
Outdoor ratings are not marketing fluff—they determine whether the top layer and the assembly (including adhesives) are designed to survive changing moisture conditions. As of 2026, many brands still allow exterior exposure only when the walkway is covered or water is aggressively managed, and warranties commonly require documented “approved cleaner + finish maintenance” steps after installation.
If your installation area is not explicitly covered by the manufacturer’s exterior approval, warranty coverage often excludes moisture-related damage, even if the floor looks fine initially.
Outdoor failures typically start at transitions, seams, and board ends because these areas hold water and debris longer than the plank faces.
– Look for manufacturer language that permits outdoor/exterior exposure (or clearly states limits like “covered/overhang only”).
– Confirm whether the floor has an exterior-rated top coat and whether the warranty requires specific maintenance (cleaner/sealer/recoat).
– Verify your installation details (underlayment, drainage, expansion gaps, and how edges/ends are finished), since outdoor failures often start at transitions and seams.
Keep outdoor grit under control with a gentle cleaning routine
Grit and sand act like fine sandpaper, and they also hold moisture against the finish. A maintenance routine that starts with dry cleaning, uses minimal water, and finishes by fully drying the surface is the most reliable way to protect an outdoor engineered wood walkway in 2026.
From a practical standpoint, you’re managing two threats at the same time: abrasion (from sand) and moisture transfer (from damp grime). Outdoor engineered wood floors are especially sensitive because their top finish can be thin relative to “true outdoor decking finishes,” and seam edges are the first places where water can migrate.
Dry-cleaning first (sweeping or dust mopping) removes abrasive grit before you apply any damp cleaner, reducing finish scuffing.
Moisture-driven movement is strongly related to equilibrium moisture content (EMC): wood reaches a moisture balance with surrounding air humidity over time.
– Dry-clean first: sweep, dust mop, or use a soft-bristle broom to remove sand/grit that can abrade the finish.
– For damp cleaning, use a lightly damp mop and a cleaner that’s compatible with your floor’s finish—avoid soaking the boards.
– After washing, remove excess moisture and let the surface dry fully before it’s exposed to the next rain cycle.
Equilibrium Moisture Content (EMC) vs. Relative Humidity for Wood (Practical Outdoor Context)
| # | Outdoor air RH (typical) | Approx. EMC | Moisture-movement urgency | Recommended priority |
|---|---|---|---|---|
| 1 | 30% RH (dry spells) | ~7% EMC | ★ ★ | Low |
| 2 | 40% RH (comfortable) | ~9% EMC | ★ ★ ★ | Moderate |
| 3 | 50% RH (typical overcast) | ~11% EMC | ★ ★ ★ ★ | Elevated |
| 4 | 60% RH (humid days) | ~12% EMC | ★ ★ ★ ★ | Elevated |
| 5 | 70% RH (rainy stretches) | ~14% EMC | ★ ★ ★ ★ ★ | High |
| 6 | 85% RH (fog/mist) | ~16% EMC | ★ ★ ★ ★ ★ | High |
| 7 | 90% RH (heavy humidity) | ~18% EMC | ★ ★ ★ ★ ★ | Highest |
According to the U.S. Forest Products Laboratory’s wood moisture guidance, wood moisture content trends toward equilibrium with surrounding relative humidity over time (2010). U.S. Forest Products Laboratory, Wood Handbook (2010)
Protect the finish and prevent water from pooling in seams
A properly maintained top finish reduces how long water contacts the planks, and controlling pooling prevents water from migrating into seams. If rain repeatedly hits the same spot or if debris blocks drainage, outdoor engineered wood behaves like a moisture sponge at the edges.
This is where your “floor + site” become one system. Even an exterior-rated top coat can fail early if water is allowed to stand long enough at board ends, around transitions, or where the walkway slope is off. In 2026, the most common homeowner fixes are still the most effective: clear joints, improve runoff paths, and follow manufacturer-approved recoat schedules.
Removing debris from joints reduces “held water” time, which lowers the chance of water wicking into seams.
A surface finish doesn’t stop gravity-driven water entirely; it slows absorption and helps the surface shed water until the next drying cycle.
– Fix splash paths: keep water from repeatedly hitting the same spots (for example, redirect sprinklers and manage runoff).
– Clean out debris from joints and around edges so water doesn’t sit there long enough to work into seams.
– If your manufacturer recommends it, maintain exterior protection by reapplying an approved sealer/finish—use only what’s compatible with the existing top coat.
Compatibility notes (quick, practical)
When you’re unsure about compatibility, err toward removal-free maintenance: use the exact cleaner and finish system the manufacturer specifies. Mixing incompatible products can leave the surface cloudy, reduce adhesion, or create peeling layers that compromise seam protection during the next wet season.
Repair scuffs, swelling, and finish wear before it spreads
Fast intervention matters because outdoor moisture turns small finish damage into larger edge problems. If the surface top coat is compromised, water has an easier path to reach the seam and the construction layers beneath.
Outdoor engineered wood owners often wait until they see major gaps or cupping, but swelling typically begins earlier—often as subtle darkening, slight board ridges, or localized finish dulling. Stop ongoing wetting first (standing water and repeated splash are usually the root cause), then address the finish and any mechanical movement.
Touch-ups only work if they match the existing top coat system; otherwise the repaired area can fail at the interface.
If edges start lifting or you see cupping/waviness, continuing to expose the floor to wetting usually accelerates water-driven dimensional change.
– Touch up scratches and worn areas using only products intended for your engineered wood finish (e.g., an approved touch-up kit).
– If edges start to lift or you see cupping/waviness, stop ongoing wetting and address the water source first (standing water and repeated splash are usually the root cause).
– For any repair/refinish work, follow the manufacturer’s process; outdoor floors can require different prep than indoor-only maintenance.
Seasonal maintenance for outdoor walkway exposure
Seasonal inspections reduce surprise failures because you can catch water intrusion pathways before they worsen. Do your most careful check right after heavy weather, and then confirm your drainage and finish performance before the next wet cycle in 2026.
A good outdoor routine isn’t “clean more”—it’s “inspect smarter.” Check for early seam separation, edge darkening, trapped debris, and transition gaps where water can collect. When the top coat starts losing its water-shedding behavior (e.g., water no longer beads or spreads evenly), it may be time for an exterior-approved refresh.
A simple post-storm inspection often reveals early seam/edge issues (darkening, micro-gaps, or finish breakdown) before noticeable warping appears.
Drainage problems typically show up as recurring water-darkened spots; improving runoff is usually more effective than repeated chemical cleaning.
– Do an inspection after heavy weather: check seams, edges, and transition points for early separation or water darkening.
– Re-check drainage and clearance: make sure water has a path to escape and that the walkway isn’t trapping moisture against the floor.
– Reapply protection only when recommended by the manufacturer (or when the finish shows loss of water beading/coverage).
What can go wrong (and when to stop DIY)
DIY maintenance helps when the problem is limited to surface grime, light finish wear, or minor touch-ups. DIY usually can’t fix—or may worsen—structural issues caused by water intrusion, delamination, or incorrect outdoor-rated installation.
Some mistakes are predictable: pressure washing, using waxes or strong solvents/unknown “wood cleaners,” and leaving puddles. Pressure washing in particular combines high force with oversaturation, which can strip or etch the finish and push water into seams. In other words, the faster you “get it clean,” the faster you may be creating a water entry point.
Pressure washing and oversaturation can strip finishes and increase the chance of water migrating into plank seams, especially at board ends.
Outdoor edge failures commonly concentrate at transitions, stair nosings, and plank ends where water and grit collect.
– Common mistakes: pressure washing, using waxes/strong solvents/unknown “wood cleaners,” or leaving puddles—these can strip the finish or push water into seams.
– Outdoor edge failure: transitions, stair nosings, and board ends often fail first because they collect water and grit.
– If the floor isn’t rated for exterior use, or if water intrusion has already happened, further DIY maintenance may not stop swelling or separation—repairs could be limited to replacement.
Quick comparison: maintenance choice vs. risk
| Method | Best for | Main risk in outdoor walkways |
|---|---|---|
| Soft broom + dry mop | Grit control before damp cleaning | Low (mostly abrasion from sand if delayed) |
| Lightly damp microfiber + approved cleaner | Routine outdoor grime removal | Moderate if you over-wet (water reaching seams) |
| Pressure washing | None for most exterior-engineered wood | High (finish stripping + seam water intrusion) |
Verdict / tip: Prioritize moisture control and compatibility—use gentle cleaning and only finish/cleaners your manufacturer allows. This approach reduces risk, but it can’t guarantee longevity if your specific model isn’t meant for outdoor exposure or if drainage/standing water is ongoing. Skip DIY and consult a flooring pro if you see significant edge lifting, repeated cupping after rain, or if your warranty requires documented maintenance you can’t match.
Scan-friendly checklist + FAQ + sources
Quick checklist (save this)
| Task | When | Why it matters |
|---|---|---|
| Sweep/dry clean | Weekly or as needed | Removes grit that abrades the finish |
| Damp clean with approved cleaner | Periodically | Avoids finish stripping and over-wetting |
| Wipe up spills/splash fast | Immediately | Prevents water from working into seams |
| Inspect seams/edges | After heavy rain or seasonal change | Catches early lifting or water darkening |
| Maintain exterior finish only if approved | When recommended | Keeps water out without damaging the top coat |
Frequently Asked Questions
What’s the best way to protect engineered wood floors on an outdoor walkway from water damage?
Outdoor exposure can cause swelling, cupping, and edge lifting, so moisture control is critical. Use a high-quality exterior-grade sealant or outdoor-rated finish designed for engineered wood, and make sure the walkway has proper drainage so standing water doesn’t pool on the boards. Place doormats or anti-splash mats at entry points and wipe up spills quickly to reduce water intrusion and dirt abrasion.
How do I clean engineered wood floors in an outdoor walkway without scratching the surface?
Sweep or vacuum regularly with a soft-bristle brush attachment to remove grit that can act like sandpaper outdoors. For damp cleaning, use a manufacturer-recommended wood floor cleaner and a microfiber mop that’s only slightly damp—never soak the surface. Avoid steam cleaners, harsh detergents, and abrasive pads, since they can break down the finish and make outdoor moisture problems worse.
Why does mold or mildew appear on engineered wood in outdoor walkway areas, and how can I prevent it?
Mold and mildew thrive when moisture gets trapped in seams or under the finish, especially in shaded or humid spots. Improve air circulation and drying by keeping leaves, debris, and organic matter off the floor and addressing any water sources or poor drainage. Reapply exterior-rated sealing as recommended, and consider spot-treating with a wood-safe mildew control product before growth spreads—especially after rainy seasons.
Which maintenance schedule works best for engineered wood floors outdoors—weekly, monthly, or seasonal?
A practical plan is routine weekly sweeping/inspection, monthly gentle cleaning, and seasonal protection checks. After wet seasons, inspect edges, joints, and transitions for lifting or gaps, and re-seal the surface if water resistance is declining. In colder or wetter climates, seasonal maintenance is especially important because freeze-thaw cycles and repeated moisture exposure can accelerate finish wear.
How can I repair minor scratches or finish wear on engineered wood floors used in outdoor walkway locations?
Start by cleaning the area thoroughly and letting it dry completely to ensure proper adhesion. For small surface scuffs, use a wood floor touch-up kit or color-matched filler that’s compatible with your existing finish, then lightly buff before applying an outdoor-rated topcoat. If damage reaches the wood layer or the finish is peeling, you may need professional refinishing or partial board replacement to restore water protection and prevent future swelling.
📅 Last Updated: October 20, 2026 | Topic: How to maintain engineered wood floors in a outdoor walkway? | Content verified for accuracy and freshness.
References
- https://www.fpl.fs.usda.gov/documnts/fplgtr/fpl_gtr190.pdf
- https://www.epa.gov/mold
- Wood preservation
- Wood finishing
- Wood stain
- Sealant
- Water content
- https://scholar.google.com/scholar?q=engineered+wood+floor+outdoor+maintenance Google Scholar
- https://scholar.google.com/scholar?q=exterior+engineered+wood+flooring+care+cleaning+sealing Google Scholar
- https://scholar.google.com/scholar?q=wood+deck+maintenance+cleaning+sealing+prevent+moisture+damage Google Scholar


