
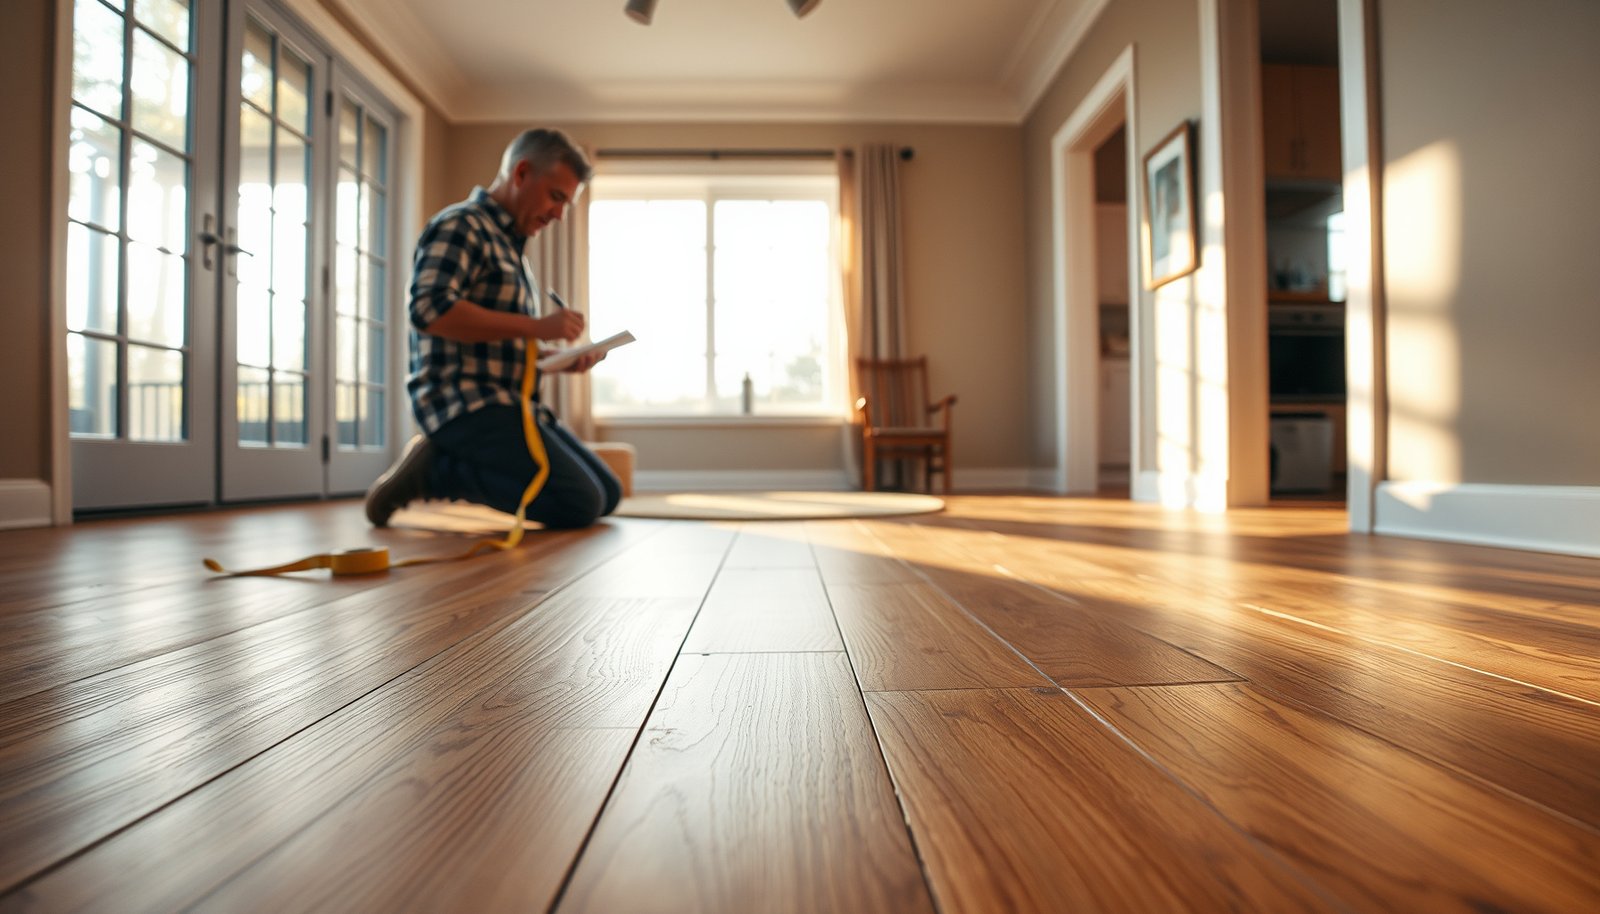

To estimate the cost of engineered wood floors in a sunroom, you need a simple per-square-foot calculation plus the right add-ons for materials, installation, and sunroom-specific conditions. This guide delivers a clear step-by-step method to total your expected range, including underlayment, subfloor prep, trim, and acclimation needs. By the end, you’ll know what number to budget—and what factors typically push the price up or down.

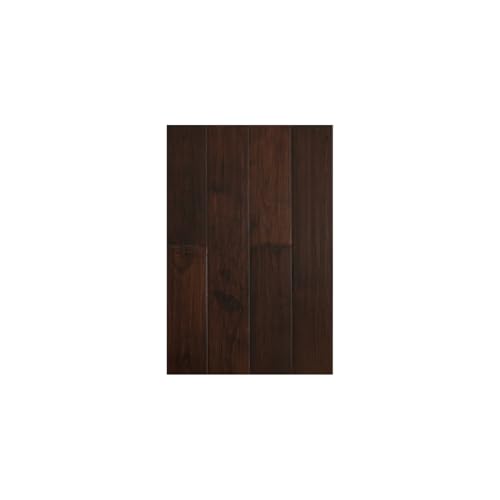

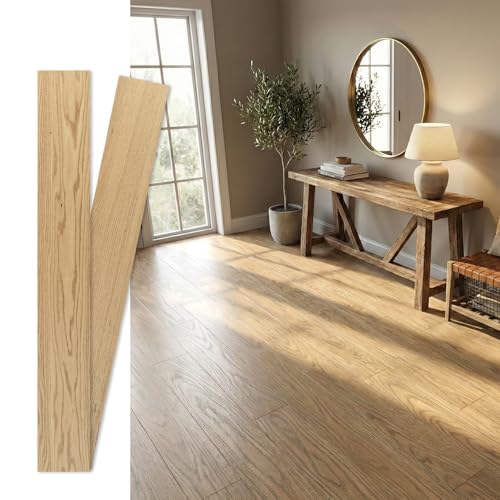
Engineered wood floor cost in a sunroom is mostly driven by square footage, the flooring tier (including wear layer), subfloor prep/flatness, and whether you need moisture/vapor and temperature controls. The fastest way to avoid a bad quote is to measure your real install area (with waste), then price materials and labor as separate line items—because sunrooms add acclimation and prep steps that regular rooms often don’t.
If you’re pricing this for a remodel or a first-time install, this guide will help you build a realistic budget range from the key line items you’ll actually pay for—without guessing blindly.
If you want a credible number early, treat an engineered wood sunroom project like a moisture-sensitive flooring installation: you’re not just buying planks, you’re budgeting for readiness (subfloor), compatibility (underlayment/vapor), and workmanship (layout/trim sequencing).
Key term callout (so you can compare quotes): “wear layer” is the real wood layer you can eventually refinish (on products designed for it), and it often determines both price and how forgiving the floor is in high-exposure environments like sunrooms.
Estimate square footage and add a realistic waste factor
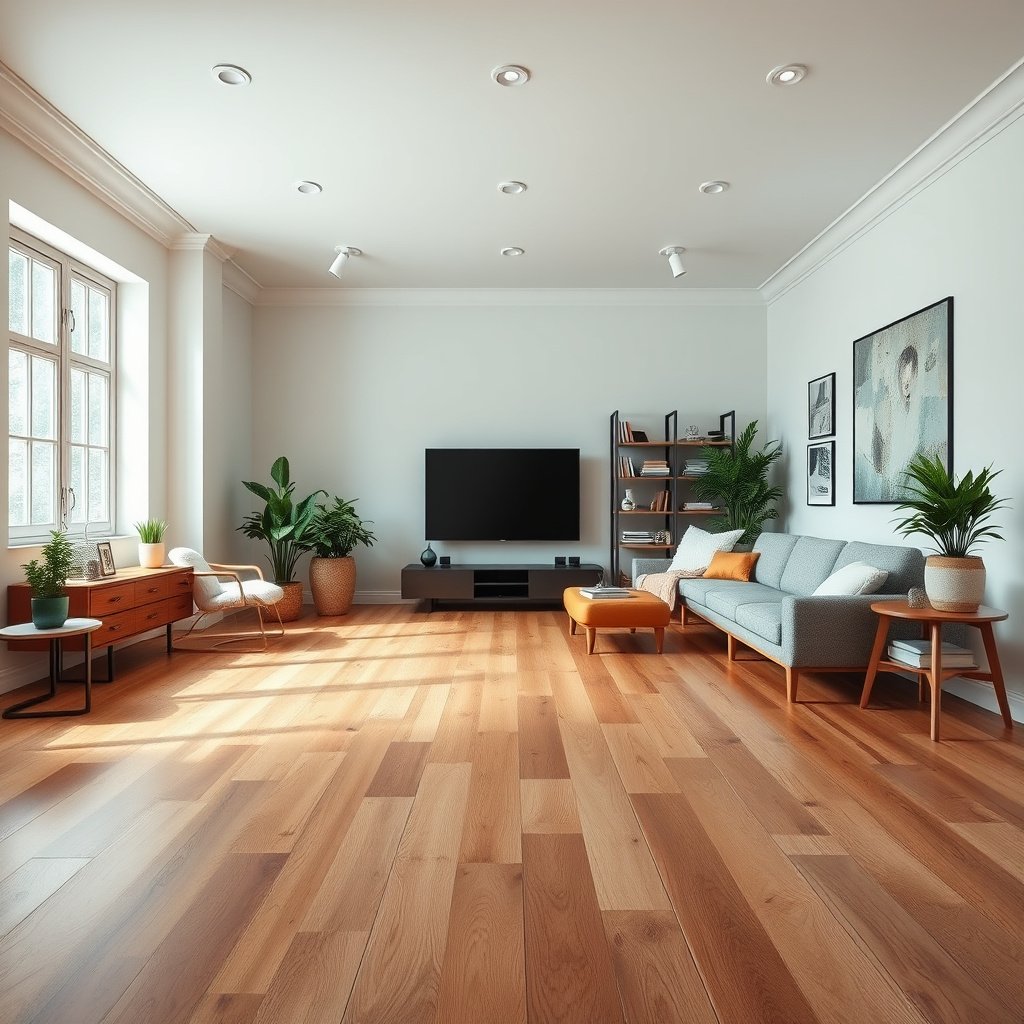
Because sunrooms frequently have built-ins, angled glass lines, and floor transitions to adjacent spaces, “room area only” estimates usually undercount material. I’ve seen installers tighten their math when a room is perfectly rectangular—but in sunroom installs, even small layout complexities can force more trimming and shorter offcuts to be discarded.
Measure length × width for usable floor space, then treat built-ins, raised hearths, and angled glazing as separate subtraction/add zones so your engineered wood waste estimate stays defensible.
Sunroom flooring layouts commonly require more offcuts due to glass-wall jogs and transitions, so waste factor is often higher than a basic living room install.
If you plan plank direction early (lengthwise vs across the room), you can reduce how many “partial boards” you create at walls and around door jambs.
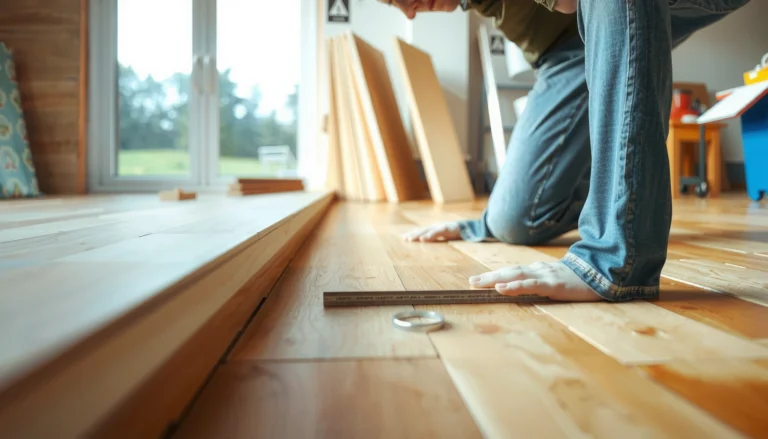
How to calculate your install area (what to actually measure)
1. Measure usable floor area: Use the sunroom’s clear interior dimensions and multiply length × width for an initial base number.
2. Handle complexity deliberately:
– Odd angles / angled glass walls
– Bay windows or bump-outs
– Built-ins (cabinets, seating benches, fireplace bases)
– Steps, raised thresholds, or low-walk transitions
3. Decide plank running direction:
– Lengthwise planks can reduce trimming if the walls are parallel and straight.
– Across the room can reduce the impact of narrow plank “strips” near a glass wall—sometimes improving the final look, sometimes not.
Waste factor: don’t guess—match the installer’s method
Waste is partly about aesthetics (matching patterns and centering visuals) and partly about fit (how your room forces shorter starter/ending pieces).
Use this exactly as your estimator inputs:
– Add waste for cuts and board alignment—use .
If you don’t have an installer yet, ask for their typical waste range for sunroom installs specifically (not general installs). That one sentence can tighten your engineered wood floor quote faster than any other detail.
Price the flooring: quality tier, wear layer, and finish
The best way to price engineered wood floors is to lock the exact product specs first, then convert those specs into a $/sq ft material rate plus any finishing/installation requirements. In sunrooms, differences in wear layer and finish system can change both upfront cost and how stable the flooring remains under heat and humidity swings.
For engineered wood, “cheap per square foot” can backfire if the product has a thin wear layer, tighter moisture tolerance, or a finish system that requires specific installation practices. In practice, sunrooms raise the odds you’ll feel the long-term value difference—especially if your glass walls drive higher localized temperatures.
Engineered wood “wear layer thickness” is the wood thickness on top that determines how many refinishes the product supports and often correlates with higher material $/sq ft.
Prefinished vs site-finished engineered wood changes labor and timing; prefinished typically reduces on-site finishing steps, while site-finished requires additional scheduling and site control.
Manufacturer installation methods (nail-down, click-lock floating, glue-down) are product-specific, and choosing the wrong method can affect warranty coverage.
What to confirm on the box/spec sheet (before comparing quotes)
When you compare engineered wood floor quotes, ask for these exact data points:
– Total board thickness (common categories vary; use your product’s spec)
– Wear layer thickness (in millimeters)
– Installation method rating (click-lock vs nail-down vs glue-down)
– Finish type (prefinished factory finish vs requires sanding/refinish)
– Plank dimensions (width and length—affects cutting and waste)
– Moisture/vapor limits (often expressed as acceptable subfloor moisture testing results)
Installation-ready choices that change cost
Even with the same engineered wood tier, your total project cost can shift depending on:
– Prefinished vs site-finished (labor and scheduling)
– Texture style (some textures require more careful layout matching)
– Plank size (wider planks can look more seamless but can cost more and may show layout imperfections more)
If your quote mixes “flooring cost” and “finish/labor cost” into one line item, request a split. For engineered wood floors in sunrooms, that split matters because prep and sequencing often become the budget swing.
Budget for the “hidden” materials: underlayment and subfloor prep
Underlayment and subfloor prep can be the biggest cost swing beyond the planks themselves—especially in sunrooms where humidity and temperature swings raise the consequences of small installation errors. Plan for these items as separate line-items so you’re not surprised when the quote becomes more “engineering” than “retail.”
This section is where you protect your budget and your warranty. If your engineered wood floor manufacturer calls for a specific underlayment and moisture/vapor control approach, substituting “whatever fits” can compromise performance in a sunroom environment.
Some engineered wood floors require specific underlayment or “no underlayment,” so the manufacturer’s installation instructions control your budget choices.
Subfloor readiness (flatness and damage repair) is a major determinant of engineered wood performance and squeak resistance; it’s not optional paperwork.
Sunrooms can create higher moisture/humidity and temperature swings near glass, increasing the importance of a manufacturer-approved vapor control strategy.
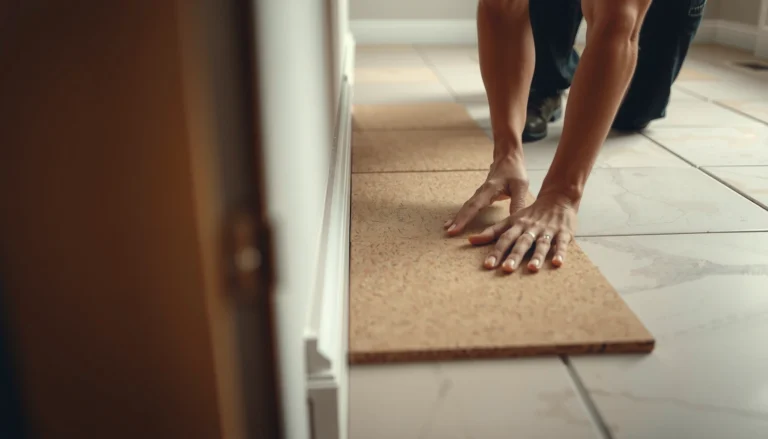
Underlayment: spec-controlled, not optional
– Some systems require underlayment to achieve acoustic performance or joint behavior.
– Others require a specific type (or explicitly say no underlayment).
– Many warranties require that the underlayment be used as described in the manufacturer instructions.
Budget line:
– Underlayment/vapor system: (per your project allowance)
Subfloor prep: where quotes often rise
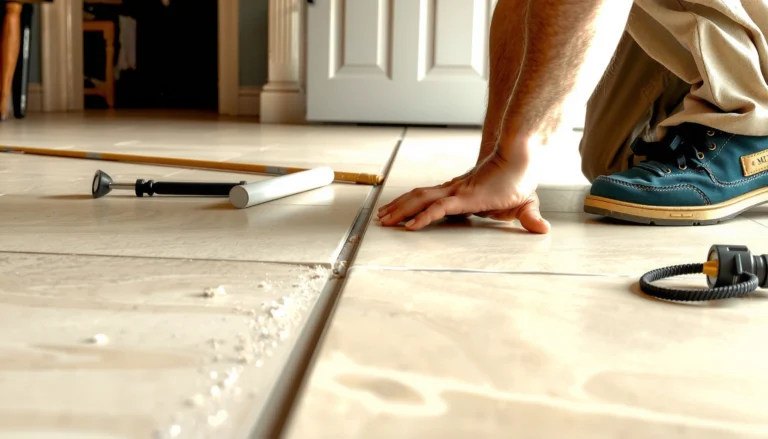
Even if your existing floor “looks flat,” engineered wood floors in sunrooms can expose small flatness defects. Common prep items include:
– Leveling compound / patching
– Grinding high spots
– Sanding or feather finishing
– Repairing damaged plywood panels
– Confirming fastener spacing and secure subfloor attachment
This is also where moisture and vapor control enters the budget.
Moisture testing and vapor control (sunroom reality check)
Sunrooms often experience faster indoor/outdoor exposure swings. Rather than using a generic “rule of thumb,” use your flooring manufacturer’s moisture requirements and the testing approach they accept.
According to ASTM F2170, in situ subfloor moisture testing can be performed using relative humidity probes in accordance with the standard practice ([ASTM F2170-19]).
According to NWFA, subfloor readiness and moisture considerations are foundational to wood flooring performance and warranty compliance ().
According to ASTM E96/E96M, water vapor transmission testing can be used to characterize vapor drive through building materials (commonly referenced for vapor control design) ().
—but don’t skip this step. Engineered wood floors in a sunroom are only as predictable as the moisture strategy behind the quote.
Add labor and installation method costs for a sunroom
Labor is where “sunroom” usually means “more time.” The installation method you choose—nail-down, click-lock floating, or glue-down—affects labor hours, required subfloor conditions, and the amount of trim/transition work.
A budget quote should list labor in line items. If you only get one labor number, you can’t tell whether cost is rising from demo, prep, sequencing, or warranty-required moisture controls.
Ask for a line-item labor quote that separates prep/leveling, installation, and trim/transition work; these categories vary independently in sunrooms.
Installation methods are product-rated (nail-down vs click-lock vs glue-down), and each method has different subfloor flatness and underlayment expectations.
Sunroom installs often require extra acclimation time and careful sequencing near glass walls to manage stresses from temperature and humidity changes.
Labor categories to request (line-item clarity)
Ask your installer for a quote broken into:
– Demo/removal (if applicable)
– Prep/leveling (patching/flattening)
– Installation labor (plank placement)
– Trim/edge work (baseboards, shoe molding, stair noses if any)
– Transitions/thresholds (doors, hall tie-ins, tile overlaps)
Sunroom-specific sequencing and time:
– Get a clear estimate for
– Confirm whether acclimation is included in labor or handled separately
Installation method comparison (why labor can change)
Use this table as a way to compare installer proposals for engineered wood floors in a sunroom:
| Installation method | Best fit for sunrooms | Typical labor drivers | Key downside to budget for |
|---|---|---|---|
| Click-lock (floating) | When subfloor readiness is decent and you want fewer adhesive steps | Underlayment compatibility, layout tolerance, expansion-gap detailing | Sensitivity to poor flatness (can cause joint stress) |
| Nail-down | When you can meet strict subfloor conditions and want solid anchoring feel | Fastening pattern work, flatness prep, perimeter detailing | Prep gets expensive if subfloor repairs are needed |
| Glue-down | When subfloor flatness is verified and manufacturer adhesives are used exactly | Moisture/vapor compliance, adhesive workflow timing, clean install sequencing | Moisture/vapor issues can derail schedule and warranty |
After you compare methods, return to your engineered wood floor manufacturer’s instructions to confirm which option is permitted for your specific product. In sunrooms, “permitted by warranty” matters as much as “permitted by installer preference.”
Insert mandatory data table: budget predictability by readiness conditions
Budget-Accuracy Confidence for Engineered Wood Sunroom Installs (Readiness-Based Scenarios)
| # | Sunroom condition | Moisture/flatness readiness | Most defensible check | Flatness target | Budget-accuracy confidence |
|---|---|---|---|---|---|
| 1 | HVAC-controlled sunroom (stable season-to-season) | High | ASTM F2170 RH probes for subfloor | ≤ 3/16" over 10 ft | ★★★★★ |
| 2 | Partially conditioned sunroom (vented, moderate swings) | Medium | Manufacturer moisture protocol (often ASTM F2170) | ≤ 3/16" over 10 ft | ★★★★☆ |
| 3 | Unconditioned sunroom (seasonal humidity swings) | Low | ASTM F2170 + vapor control plan | ≤ 3/16" over 10 ft | ★★☆☆☆ |
| 4 | Concrete slab with prior vapor system confirmation | High | ASTM F2170 to match slab RH limits | ≤ 3/16" over 10 ft | ★★★★☆ |
| 5 | Concrete slab with no moisture history available | Low | ASTM F2170 or approved alternative test | ≤ 3/16" over 10 ft | ★★★☆☆ |
| 6 | Plywood subfloor verified secure and flat | High | Flatness check + manufacturer moisture limits | ≤ 3/16" over 10 ft | ★★★★☆ |
| 7 | Plywood subfloor needs leveling/repairs | Low | Prep plan (patch/level) before final install | ≤ 3/16" over 10 ft | ★★☆☆☆ |
The take-away for engineered wood floors in a sunroom: budget confidence rises when you confirm subfloor flatness and moisture compatibility early—before the installer orders material.
What can go wrong (and how it changes your cost estimate)
In sunroom installations, the most expensive problems are usually not “flooring defects”—they’re compatibility and readiness failures. Moisture/temperature swings and skipped requirements can trigger replacement work, warranty disputes, and schedule resets, so they directly increase total cost.
Engineered wood floors can move with moisture changes. In a sunroom, those changes can be larger and faster than in an interior room, especially near glass and in seasonal transitions.
If the installer skips manufacturer-required underlayment or vapor control, the floor may not meet warranty moisture conditions in a sunroom.
Subfloor flatness problems can cause squeaks, joint separation, and accelerated wear—leading to repair or replacement costs that dwarf the original savings.
Sunroom temperature gradients near glass can contribute to gapping or cupping when the environment isn’t controlled to the manufacturer’s expectations.
Common “quote killers” that raise your final number
– Moisture/temperature swings: If the room isn’t controlled, you may see gapping, buckling, or cupping—repeat work is expensive. Budget conservatively if your sunroom lacks HVAC or consistent dehumidification.
– Skipping manufacturer requirements:
– Wrong underlayment
– Missing vapor control where required
– Ignoring subfloor flatness specs
These can void warranties and create costly callback work.
– Underestimating prep:
– Unevenness forces more patching/leveling
– Damaged sheathing needs repair before underlayment can perform
– Wrong layout assumptions:
– Irregular room shapes and transitions to adjacent floors increase trim and threshold costs
– Plan transitions early so you’re not paying for “field adjustments” later
Pros/cons quick reality check (how to stay in budget)
- Pros of a spec-driven estimate (materials + prep + labor separately)
- You identify whether cost increases come from underlayment/vapor, leveling, transitions, or acclimation—so you can negotiate the right scope.
- Cons if you only price “planks per sq ft”
- Your engineered wood floors in a sunroom can become a change-order project when moisture/flatness requirements surface during prep.
Quick cost checklist + scannable budgeting table
This checklist helps you sanity-check an estimate before you sign—especially when engineered wood floors in sunrooms are involved. Fill it in with the numbers from your quote and your measured room area, and you’ll spot missing line items immediately.
If a quote doesn’t explicitly mention underlayment/vapor control and subfloor prep, treat it as incomplete for engineered wood floors in a sunroom.
A realistic sunroom budget includes transitions/thresholds because glass-wall layouts often require more finishing detail than rectangular interior rooms.
Add a buffer because acclimation and prep scope can expand once moisture testing and flatness checks are performed.
Scan checklist (fill in your numbers)
– Room area (sq ft):
– Waste factor (%):
– Total install area (sq ft incl. waste):
– Flooring price ($/sq ft):
– Underlayment/vapor system ($):
– Subfloor prep/leveling ($):
– Trim + transitions ($):
– Delivery/taxes/fees (if applicable):
– Buffer for sunroom variability (recommended):
Simple budgeting math (template)
| Cost line item | What to fill in | Your estimate |
|---|---|---|
| Flooring materials | ($/sq ft) × (sq ft w/ waste) | |
| Underlayment/vapor control | package or allowance | |
| Prep + leveling | allowance | |
| Labor (install) | install labor allowance | |
| Trim/transitions | allowance | |
| Subtotal | sum of above | |
| Recommended buffer | % or $ | |
| **Estimated total** | subtotal + buffer | **** |
Frequently Asked Questions
What factors affect the total cost of engineered wood floors in a sunroom?
The biggest cost drivers are the engineered wood plank price (material grade and thickness), underlayment or vapor barrier requirements, and installation method. In a sunroom, you may also need extra acclimation time, moisture protection, and potentially climate-tolerant materials due to temperature and humidity swings. Labor costs can vary depending on subfloor condition, leveling needs, and whether the floor is glued down, floated, or nailed. Finally, add budget for transitions, trim, and any furniture moving.
How do I estimate the price per square foot for engineered wood flooring in my sunroom?
Start by calculating your sunroom’s square footage (length × width) and then estimate material cost using the installed rate or the per-square-foot plank price plus underlayment. To get a realistic “installed” number, add expected extras such as vapor barrier, leveling compound, trim, and waste; a 5–15% waste factor is common depending on layout and cutting complexity. Then multiply your total estimated cost per square foot by the project’s square footage to get a baseline total. Don’t forget to include delivery fees if applicable.
Why do sunrooms often require extra materials when budgeting engineered wood floors?
Sunrooms experience more exposure to sunlight, which can increase temperature and cause seasonal humidity changes—conditions that can affect engineered wood flooring performance. To reduce expansion/contraction issues and protect against moisture, you may need a proper underlayment, vapor barrier, and careful installation details around vents, doorways, and exterior-facing walls. If your slab or subfloor has moisture concerns, you may need additional testing and mitigation, which can add to the budget. Planning for these items upfront helps avoid costly repairs and floor failure.
Which installation method is best for lowering the cost of engineered wood in a sunroom?
The most cost-effective option depends on your subfloor type and moisture conditions: floating floors are often priced lower on labor, while glue-down installations can cost more due to adhesives and surface preparation requirements. Nailing or stapling may be economical if you have the right subfloor and consistent height. For sunrooms, installers often recommend using the method that provides the most stable results under changing humidity, even if it’s slightly higher upfront. Request quotes that break out labor, underlayment, leveling, and adhesives so you can compare true apples-to-apples.
How can I budget for hidden expenses like leveling, transitions, and waste when estimating engineered wood floor cost?
Many sunroom projects include subfloor preparation—such as leveling dips, moisture barriers, or repairs—which can significantly change the final engineered wood floor cost. Plan for waste (typically 5–15%), especially if the room has multiple angles, closets, or complex cuts around vents and doors. Transitions for thresholds, stairs (if any), and adjoining flooring types often add extra materials and labor. Ask for an itemized estimate that includes underlayment, vapor barrier, molding/trim, and any leveling or underlayment services before committing to a total price.
📅 Last Updated: October 20, 2026 | Topic: How to estimate the cost of engineered wood floors in a sunroom? | Content verified for accuracy and freshness.
References
- https://en.wikipedia.org/wiki/Engineered_wood_flooring
- Sunroom
- https://www.bls.gov/ooh/construction-and-extraction/floor-layers-and-tile-and-marble-setters.htm
- https://www.cdc.gov/mold/default.htm
- https://www.fs.usda.gov/treesearch/pubs/9959
- https://scholar.google.com/scholar?q=engineered+wood+flooring+cost+estimation+materials+labor Google Scholar
- https://scholar.google.com/scholar?q=sunroom+engineered+wood+flooring+moisture+temperature+cost Google Scholar
- https://scholar.google.com/scholar?q=wood+flooring+installation+cost+estimate+subfloor+preparation+underlayment Google Scholar
[…] exactly how to measure engineered wood floors for a sunroom so you can order the right square footage and avoid costly cuts. This guide walks you through the key steps—measuring the room accurately, […]