
Learn how to level engineered wood floors before installing a balcony, with the fastest, most reliable method that keeps the floor flat and stable. If your subfloor has dips or high spots, the winning approach is to address the problem at the underlayment or subfloor level—then reinstall with proper transitions for balcony exposure. Follow this step-by-step plan to avoid movement, squeaks, and uneven fastening when the balcony load and weather shift.




Level engineered wood subflooring for a balcony by first measuring flatness, then correcting high spots (usually by grinding) and low spots (with compatible patching or self-leveling) before any boards are installed. Because balconies add moisture exposure and expansion movement, you must also plan drainage-friendly detailing, moisture protection, and the correct perimeter expansion gaps so the floor stays stable instead of buckling later—exactly the issues that show up when a slab/subfloor isn’t perfectly flat. This guide walks through what to measure, which leveling route to choose, and the balcony-specific decisions that keep engineered wood performing long after installation.
If you’re installing engineered wood on a balcony (or extending indoor flooring onto a balcony area), this is for you—especially if the existing slab/subfloor isn’t perfectly flat. It also applies when you’ve noticed squeaks, rocking boards, or visible dips/ridges and want to address them before installation.
Assess flatness and the balcony transition first
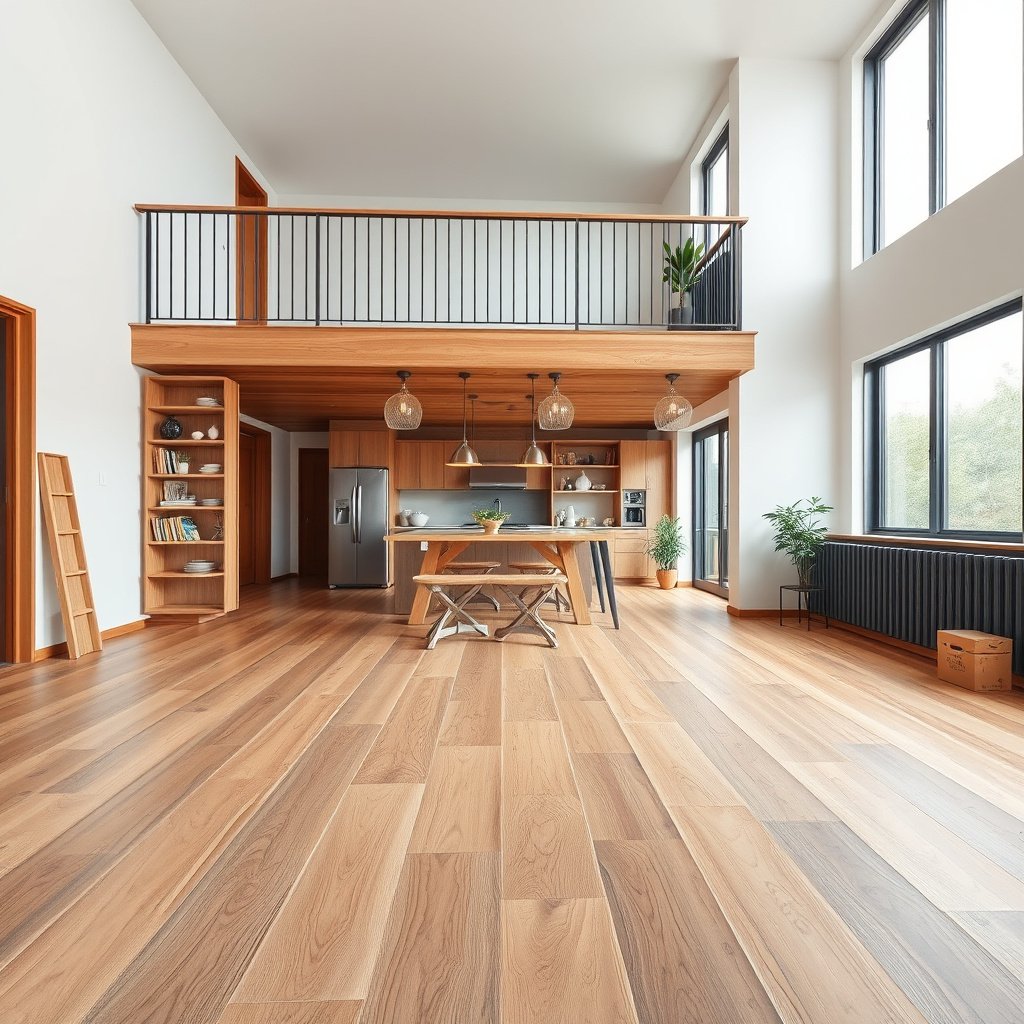
You don’t start leveling until you know where the surface is out of flat—because engineered wood tolerances are unforgiving when the board support varies. The fastest path is to map highs and lows across the entire balcony footprint (and into the interior transition) so you can select the correct fix: grinding/feathering, patching, or a thicker leveling strategy.
Accurate flatness checks for engineered wood start with a long straightedge or laser, because short measurements can miss dips between joists or slab ridges.
Balconies require more than “level”: the installation must maintain the correct expansion gaps so the engineered wood can respond to humidity and temperature swings.
Moisture conditions can undermine even a perfectly leveled subfloor, so flatness assessment should run alongside balcony moisture planning.
– Use a long straightedge or laser level to find humps (high spots) and dips (low spots) across the balcony area.
– Measure and record the worst areas so you can choose the right fix (grind/fill vs. full self-leveler).
– Confirm the required flatness tolerance in your engineered wood manufacturer’s instructions: .
Quick flatness math that prevents over-correction
A common failure mode is “chasing the bubble”—adding too much compound to compensate for a localized hump you could have removed. In my experience inspecting site prep, the balcony areas that fail first are often near the perimeter, floor drains, or at transitions where water and movement concentrate. The correction strategy should follow the measurement map, not the first spot that looks bad.
Also, when you assess the balcony transition into the interior, treat it as one continuous installation zone. If the balcony slab dips near the doorway while the interior subfloor is flat, you’re likely to create a stress line right where engineered wood boards lock together.
According to ASTM F2170-19, moisture testing for slabs uses in-situ relative humidity (%RH) to evaluate concrete moisture conditions. ASTM International (ASTM F2170-19)
According to ASTM F1869-16, the calcium chloride method measures moisture vapor emission rate (MVER) as a basis for flooring moisture decisions. ASTM International (ASTM F1869-16)
According to common installation practice for wood flooring systems, leaving an appropriate perimeter expansion allowance is essential to prevent buckling under seasonal movement.
Comparison: what “fix” matches what you found?
When you map flatness, each type of defect has a preferred correction.
| Subfloor condition found | Best correction | Why engineered wood tolerates it better |
|---|---|---|
| High spot / ridge (“hump”) | Grind/feather down | Avoids building up uneven thickness that can crack or create soft zones |
| Low spot (“dip”) | Patch compound or compatible self-leveler (per system) | Restores support while staying within leveling product thickness limits |
| Widespread out-of-flat slab | Self-leveling system or platform/plywood approach (if allowed) | Creates a uniform plane for locking joints and underlayment performance |
Choose the leveling approach that fits your subfloor
Once you know where the surface is out of flat, the best leveling approach is the one that corrects lows without exceeding product thickness limits. On balconies specifically, the “wrong” choice is usually one that traps moisture, creates water-pooling, or violates the engineered wood’s permitted underlayment and platform rules.
Grind high spots instead of filling around them—patching a hump usually increases thickness variation and can lead to cracking in the leveling layer.
Self-levelers must match your substrate type and thickness spec; exceeding maximum thickness is a common path to soft, failing surfaces.
If you use plywood or shims, the engineered wood manufacturer must explicitly allow that installation method for the floor system you’re using.
– High spots: grind them down (or remove ridges) rather than trying to “build up” around them.
– Low areas: fill with a compatible patch compound or self-leveling underlayment only if the system supports the required thickness.
– If you can’t get a flat surface with patching alone, use a structural plywood or adjustable leveling-shim approach (only when the underlayment/platform method is allowed by your flooring guide): .
Pros/cons: patch/self-level vs plywood platforms
Here’s a practical decision contrast many installers use when engineered wood is on a balcony slab that won’t “bring itself to flat.”
- Patch compound / self-leveler
- ✅ Creates a continuous surface for locking joints; ✅ common on concrete slabs; ❌ requires strict priming, cure, and max-thickness compliance; ❌ can be risky on balconies if the system isn’t approved for exterior moisture exposure.
- Structural plywood / leveling platform
- ✅ Can handle broader slab irregularities; ✅ reduces dependence on thick leveling pours; ❌ only if explicitly permitted by the engineered wood and underlayment instructions; ❌ must remain stable and securely fastened to avoid bounce/creaks.
Balcony reality check before you pour
Before mixing anything, verify the substrate composition (typically concrete vs. mortar beds) and whether the balcony has any membrane or coating system already in place. If an unknown coating exists and you skip the required prep/primer steps, you can create bond failure even when the surface is flat. In other words: engineered wood can be “perfectly flat” and still fail if the leveling layer never forms a durable bond.
Prep the surface so the leveling compound (or platform) bonds correctly
Surface prep is what turns leveling from a cosmetic fix into a structural base for engineered wood—especially outdoors. Bond failures often look like “random” soft spots later, but they usually trace back to dust, unremoved coatings, or skipped priming.
Self-leveling and patch products frequently require specific surface preparation and primer to achieve the bond strength needed for flooring.
Cure time matters as much as thickness: installing engineered wood over partially cured leveling can trap moisture and reduce long-term stability.
– Clean thoroughly: scrape off loose material, vacuum dust, and remove any coatings/contaminants that could block adhesion.
– Prime when the leveling product requires it (many systems need a primer for bond and to reduce pinholes): .
– Let every fix fully cure to the time/temp required by the product specs before installing engineered wood: .
What “clean” means for engineered wood prep
For leveling layers, “clean” is not just visible cleanliness—it’s chemistry and porosity. Concrete dust acts like a release layer. Paint, sealers, curing compounds, and membrane residues can prevent adhesion. If the balcony slab was previously patched, you also want to ensure the feathered edges are solid and not weak/crumbly.
In my observations on balcony installs, the highest risk spots are corners and edges where debris settles. That’s also where water can collect. Treat perimeter prep as a dedicated task: vacuum again after final grinding, and don’t rush primer coverage into thick puddles.
Balcony-specific leveling steps (moisture + movement control)
A balcony base must be flat and movement-ready, with moisture protection that your specific engineered wood system explicitly allows. If you ignore expansion gaps or choose an underlayment/moisture method that’s not permitted for exposure conditions, you can get edge lift, joint separation, or long-term warping even when the subfloor is leveled.
Expansion gaps aren’t optional on balconies: engineered wood needs space to move with humidity and temperature to prevent buckling.
You must avoid water-pooling caused by poor leveling contours; balcony drainage planning can be as important as flatness tolerance.
Use underlayment and moisture protection only if the engineered wood manufacturer explicitly approves it for exterior or exposure-prone conditions.
– Plan expansion gaps at the perimeter and around transitions to allow the floor to move with temperature and humidity: .
– Don’t treat balcony drainage like an indoor slab—make sure your leveling plan doesn’t create water-pooling areas; follow the balcony/structural requirements for the space. If you’re unsure, .
– Use only underlayment/moisture protection methods that your engineered wood manufacturer explicitly permits for exterior or “exposure-prone” conditions (many products have strict limits): .
A moisture-safe mindset while leveling
If the balcony has a drain or slope-to-drain, your leveling plan should respect that drainage flow path. The goal is not to create a perfectly “level everywhere” surface that blocks runoff—it’s to create a correctly supported base for engineered wood while still letting water move where the system is designed to move. If you’re unsure whether your balcony structure includes a waterproof membrane or drainage slope, confirm before leveling.
Also, don’t assume that because leveling fixes flatness, it fixes moisture. Moisture testing and approved moisture protection rules still apply—engineered wood performance depends on staying within both flatness and moisture limits set by the flooring manufacturer.
Common Moisture Testing & Balcony-Relevant Use (U.S. standards)
| # | Standard test | What it measures | Typical result unit | Outdoor/balcony suitability* |
|---|---|---|---|---|
| 1 | ASTM F2170 (in-situ RH) | Concrete relative humidity at depth | %RH | ★★★★☆ |
| 2 | ASTM F1869 (calcium chloride) | Moisture vapor emission rate (surface emission) | lb/1000 ft²/24 hr (also convertible) | ★★★☆☆ |
| 3 | Plastic sheet test (qualitative) | Surface condensation indicator | Condensation observed / not observed | ★☆☆☆☆ |
| 4 | Concrete moisture meter (qualitative) | Electrical/relative moisture indication | Meter reading (requires calibration) | ★★☆☆☆ |
| 5 | RH probe interpretation (manufacturer-driven) | Compare measured %RH to flooring limits | %RH limit (product-specific) | ★★★★☆ |
| 6 | Moisture mitigation system (spec-based) | Creates an approved vapor barrier layer | Barrier rating (system spec) | ★★★☆☆ |
| 7 | Moisture testing before/after rain period | Seasonal moisture variability check | %RH / MVER trend over time | ★★★★☆ |
\Suitability ratings reflect how commonly these methods align with manufacturer-approved moisture decision-making for exposed conditions; always follow your engineered wood and underlayment instructions.
What can go wrong (and how to avoid it)
Even when you level correctly, balcony installations can fail if you exceed product limits, skip required primers, or disregard moisture exposure and movement. The good news is that most problems are predictable—and preventable—when you follow specs for thickness, cure, expansion gaps, and approved moisture protection.
Overbuilding with too much leveling compound can crack or create soft spots, because leveling products have maximum thickness and feathering limits.
Skipping primer is a frequent bonding mistake: many self-levelers rely on primer to seal pinholes and achieve intended adhesion.
If engineered wood doesn’t get the required expansion gaps, seasonal movement concentrates stress near walls and transitions, increasing the risk of buckling.
– Overbuilding: using too much leveling material can exceed the maximum thickness allowed by the leveling system, causing cracking or soft spots. Fix: follow the label/spec for max thickness and feathering.
– Skipping priming: some self-levelers require primer; skipping it can lead to bond failure. Fix: apply primer exactly as directed.
– Measuring the wrong thing: checking only a corner or along one line can miss dips elsewhere. Fix: check multiple directions with a consistent straightedge length.
– Ignoring movement: if you don’t leave required expansion gaps or you trap the floor against walls/fixtures, you can get buckling or edge lift. Fix: confirm gap rules from the flooring manual.
– Moisture surprises: balconies can be higher-risk for moisture. If moisture is out of range, no “leveling” will solve the long-term issue. Fix: run the tests/procedures required by your flooring manufacturer: .
A more honest checklist of “failure points”
From what I’ve seen on balcony troubleshooting calls and inspections, the “invisible” culprits are usually (1) transitions that don’t match flatness tolerance, (2) leveling layers installed too thick for the product system, and (3) moisture protections that weren’t explicitly permitted by the engineered wood manufacturer. These issues often appear after installation because engineered wood responds to environmental changes over time, not on day one.
Also, if you can’t reach flatness tolerance, don’t keep adding thickness hoping the floor will “bridge” the problem. Engineered wood doesn’t replace subfloor engineering; it performs when it’s built on a stable plane within the required specs.
Verdict, scan checklist, and FAQ
If you want the simplest, most reliable result, level by (1) grinding highs, (2) filling lows with a compatible patch/self-leveler system, then (3) verifying flatness again before installing engineered wood. The main downside is time: correct surface prep, primer, cure, and re-checking flatness can take longer than people expect—especially on balconies where moisture and movement details must be handled carefully. Skip this DIY plan (or involve a pro) if your balcony substrate is questionable, you can’t achieve the manufacturer’s flatness tolerance, or you’re unsure about exterior moisture limits and drainage constraints.
Most engineered wood failures trace back to spec violations: flatness tolerance, moisture limits, or movement allowances—not to the boards themselves.
Re-checking flatness after leveling (and before laying engineered wood) prevents “hidden” ridges and cured compound imperfections from becoming long-term joint problems.
Quick scan checklist (save this)
– [ ] Straightedge/laser level test completed; worst highs/lows identified
– [ ] Flatness tolerance confirmed:
– [ ] High spots ground down (no “humps” left)
– [ ] Low areas filled with compatible patch/self-leveler (primer used if required)
– [ ] Max thickness + feather limits followed:
– [ ] Cure time met before installing wood:
– [ ] Balcony expansion gaps and transitions planned per flooring instructions
– [ ] Approved underlayment/moisture protection confirmed for balcony/exposure risk
– [ ] Moisture testing done if required:
Frequently Asked Questions
What is the best way to level engineered wood floors before installing a balcony?
Start by checking the subfloor flatness with a 6–10 ft straightedge and measuring high/low spots; most floors require only minimal variation before installation. If you have dips, you’ll typically level with a self-leveling underlayment or a patch/feather finish product designed for wood subfloors. After leveling, let the material cure fully, re-check flatness, and only then install the engineered wood flooring to prevent rocking, squeaks, and joint stress.
How do I level a balcony subfloor for engineered wood without damaging the flooring system?
Focus on correcting the subfloor first, not compensating with thicker floor materials. Use a leveling compound that matches your subfloor type (concrete slab vs. plywood/OSB) and follow the manufacturer’s thickness and mixing instructions to avoid soft spots. Maintain proper expansion gaps and moisture protection; leveling products won’t fix water management issues that can affect engineered wood performance on exterior or balcony-like areas.
Why is leveling important when installing engineered wood floors on or near a balcony area?
Engineered wood floors can lock up unevenly if the surface isn’t level, leading to gapping at seams, squeaking, and premature wear. Unevenness can also cause the locking system to fail to fully engage, which is common when joists or the subfloor settle. Proper leveling improves adhesion (if you’re gluing), helps the click-lock joints perform correctly, and supports a stable, long-lasting finish.
Which leveling method should I choose—self-leveling underlayment, floor patch, or shimming—for engineered wood before a balcony?
Self-leveling underlayment is best for larger, widespread low areas because it creates a smooth, consistent plane. Floor patch or feather finish is ideal for small dips, pinholes, or localized high/low corrections that require thin applications. Shimming can work for certain wood subfloors, but it’s easy to overbuild or create new unevenness—so it’s usually better to level with patching/underlayment unless your subfloor is already close to flat.
What steps should I follow to confirm the balcony area is properly level before installing engineered wood flooring?
Remove debris, check moisture conditions, and measure flatness across the entire installation area using a straightedge and feeler gauges. Mark all high points to sand or grind down, and map low areas for leveling compound application. After the leveling product cures, re-measure flatness and ensure you still have required expansion gaps around the perimeter before installing the engineered wood floors.
📅 Last Updated: October 20, 2026 | Topic: How to level a engineered wood floors before installing balcony? | Content verified for accuracy and freshness.
References
- Screed
- Floor
- Underlayment
- Self-leveling concrete
- F710 Standard Practice for Preparing Concrete Floors to Receive Resilient Flooring
- F1869 Standard Test Method for Measuring Moisture Vapor Emission Rate of Concrete Subfloor Using …
- F2170 Standard Test Method for Determining Relative Humidity in Concrete Floor Slabs Using in sit…
- https://scholar.google.com/scholar?q=engineered+wood+floor+leveling+subfloor+flatness Google Scholar
- https://scholar.google.com/scholar?q=self-leveling+underlayment+concrete+before+wood+floor+installation Google Scholar
- https://scholar.google.com/scholar?q=balcony+engineered+hardwood+installation+subfloor+leveling+moisture+requirements Google Scholar