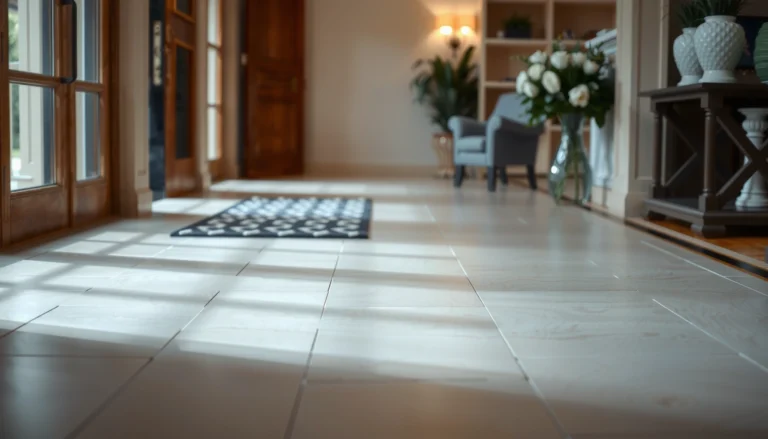
Stop water damage to engineered wood floors in a bathroom by sealing the right areas, controlling moisture at the source, and preventing standing water at every entry point. Follow a clear playbook for grout/caulk maintenance, wet-mop habits, and ventilation so water can’t seep into seams and swell the core. This guide tells you exactly what to do—and what to avoid—so your floors stay stable and finish stays intact.



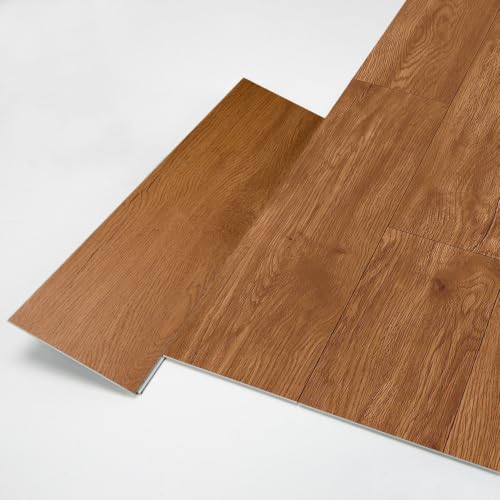
To prevent water damage to engineered wood floors in a bathroom, stop moisture from reaching the seams, edges, and underlayment. Focus on leak control, correct installation (including any required vapor barrier), and fast cleanup so water never sits on the surface. This guide walks through practical steps that reduce swelling, cupping, and delamination risks.
If you’re planning a bathroom install (or you already have one) and you can’t guarantee “dry all the time,” you’ll want a moisture-management plan—not just a mop-and-go routine. These tips apply most when your engineered wood manufacturer allows bathroom use under specific conditions in their warranty/installation instructions.
Install a leak-proof base before the boards go down
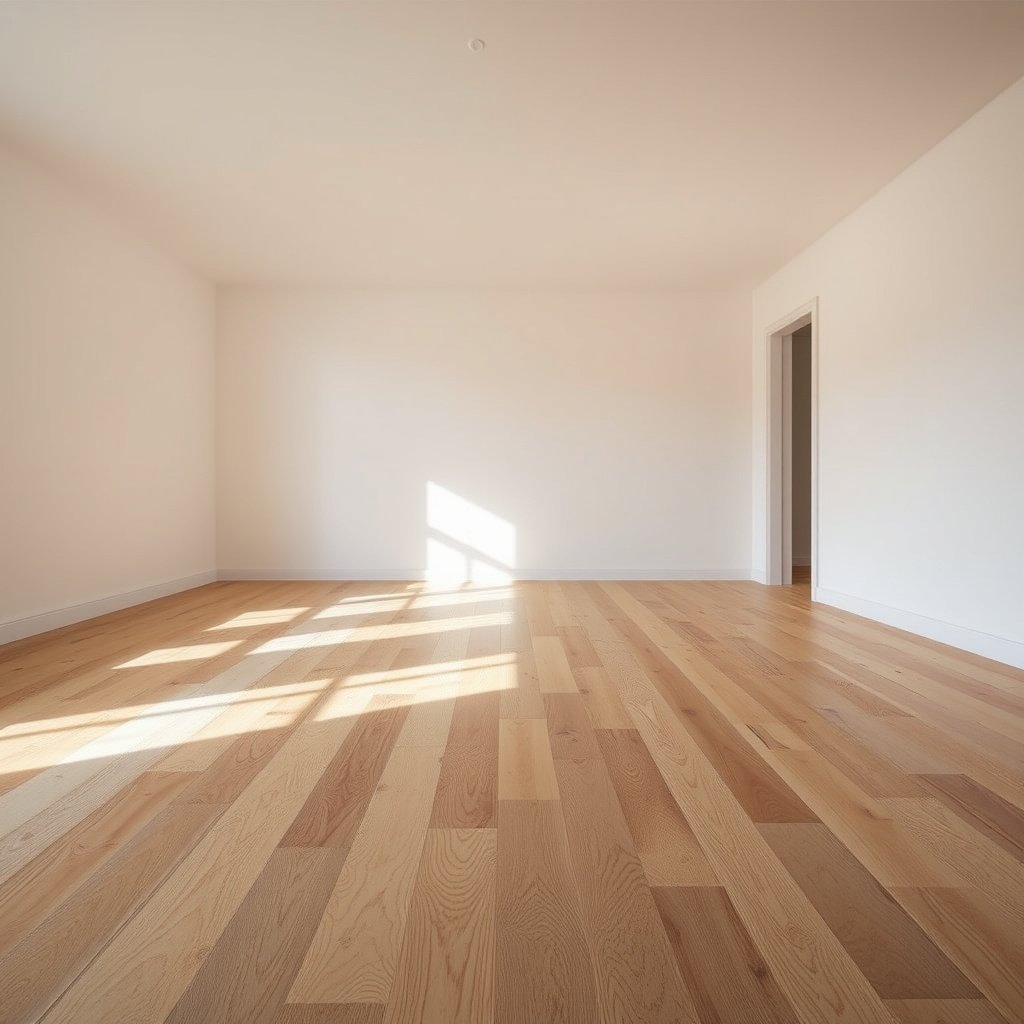
The best way to protect engineered wood flooring in a bathroom is to build a dry, correctly layered “base system” under the planks—because moisture that reaches the subfloor or underlayment can migrate upward. Here, the goal is to prevent chronic dampness and reduce the chance that bath humidity or minor spills ever get a pathway into the wood.
– Verify the subfloor is solid, flat, and dry before installation (any chronic dampness will travel into the flooring system).
– Use the underlayment/vapor barrier combination your engineered wood manufacturer specifies for bathrooms (don’t assume “any underlayment works”).
– Plan for wet zones: keep the floor transitions sealed and avoid untreated gaps at walls, plumbing penetrations, and toilet/shower-adjacent areas.
What “dry subfloor” means for engineered wood
Engineered wood flooring behaves differently than solid hardwood, but it still depends on the subfloor staying within the moisture tolerance set by the manufacturer. In real bathroom installations, the most common early failure pattern is localized swelling near exterior-facing perimeter walls or plumbing runs—usually because moisture was present underneath or the vapor barrier layering wasn’t the exact one the warranty depends on.
According to the International Residential Code (IRC), bathrooms must be mechanically exhausted at not less than 50 cfm or 1 cfm per square foot of bathroom floor area, whichever is greater—reducing humidity that can drive moisture into engineered wood systems.
According to the U.S. CDC, mold can begin growing in as little as 24–48 hours when moisture is present, so engineered wood flooring underlayment and subfloors must stay dry.
Match the vapor barrier/underlayment to your engineered wood warranty
Engineered wood floors are often marketed as “more stable,” but they are not automatically “waterproof.” The stability benefit doesn’t override installation requirements—especially the specified underlayment and vapor barrier for bath exposure. If your product instructions call for a particular barrier type or an allowed underlayment thickness, treat those requirements as performance-critical, not optional. If you skip or swap components, engineered wood can swell at seams and edges when moisture migrates through the assembly.
Build transitions like they’ll get wet
Bathrooms rarely fail at the center of the room; they fail where water enters: wall junctions, toilet areas, and plumbing penetrations. Engineer wood flooring needs controlled pathways—meaning transitions and gaps should be sealed using the system approved by the flooring manufacturer or installer instructions.
In a floating or click-lock engineered wood installation, water commonly finds the edges first (expansion perimeter and micro-gaps), so sealing the room perimeter is a moisture-management requirement, not cosmetics.
Seal the weak points: seams, edges, and the room perimeter
The direct answer is to treat every joint line and every perimeter gap as a potential water entry point into engineered wood flooring. If engineered wood flooring seams, edges, or the perimeter aren’t sealed the way your specific system calls for, bath moisture can penetrate, sit, and cause swelling, finish breakdown, or delamination.
– Seal joints and edges according to your flooring system (some engineered floors are click-lock, some are glue-down—follow the manufacturer method).
– Caulk the perimeter where the floor meets the walls using the product/type recommended for wood floors; don’t trap moisture where you shouldn’t.
– Treat penetrations (toilet flange area, supply lines) as “water entry points”—use the correct sealants and installation approach called out by your installer’s instructions.
Seams and edges: use the method your engineered wood system requires
Click-lock and glue-down engineered wood flooring use different joint mechanics. That difference matters because water “behavior” depends on where the assembly leaves a pathway for infiltration. If your flooring uses a click-lock system, your manufacturer may specify a particular method for underlayment overlap, joint alignment, and (sometimes) approved sealants at seams. If it’s glue-down, the bond line and subfloor prep become your primary defense; improper adhesive or an unapproved moisture barrier layer can negate the intended performance.
Engineered wood flooring can be vulnerable to swelling when moisture migrates into seams and along edges, even if the surface finish looks intact.
Perimeter caulking in engineered wood installations should follow the manufacturer’s instructions because the wrong sealant can either fail to block water—or trap moisture at an unintended location.
Caulk the perimeter correctly (and don’t “lock in” expansion gaps)
Most engineered wood flooring systems require some form of allowance at walls for movement and expansion. If you fill or seal those areas incorrectly, you can limit expansion and create stress points—then engineered wood flooring can cup or separate at seams as conditions change with bathroom humidity. The safest approach is to follow the exact perimeter/cutback/expansion guidance in your installation instructions and use the wood-floor-approved caulk type they call for.
Penetrations are the most overlooked engineered wood risk
Toilet flanges, supply lines, and any plumbing penetrations are where water can collect during cleaning or minor leaks. Instead of treating these as “seal and forget,” treat them as maintenance-sensitive interfaces:
– ensure the subfloor and underlayment extend and terminate correctly per manufacturer instructions,
– confirm the penetrations are sealed with the specified method and compatible materials, and
– verify that trim/fixtures don’t create wicking paths that keep engineered wood damp for hours after a splash or cleaning.
Control bathroom moisture between showers and splashes
The fastest path to fewer engineered wood failures is moisture control: reduce humidity spikes and eliminate slow leaks so water doesn’t linger long enough to drive swelling or mold-prone dampness under engineered wood flooring. This is the difference between “it looks fine” and “it survives repeated bathroom use.”
– Improve ventilation to reduce humidity spikes (fan sizing and run-time matter—use , and follow your local building recommendations).
– Use mats/rugs designed for wet use at entrances and near sinks—change them when damp and keep water from wicking to the floor.
– Fix water sources quickly: slow leaks under vanity plumbing, dripping faucet aerators, and shower pan failures are the usual long-term damage triggers.
Ventilation: size and operate like it matters for engineered wood flooring
Bathroom ventilation reduces the time your room stays humid, which directly affects how much moisture can reach engineered wood flooring and its underlayment. If the fan doesn’t run long enough (or isn’t strong enough), humidity can remain elevated after showers—creating repeated conditions that accelerate risk.
According to the IRC, bathroom exhaust must be at least 50 cfm or 1 cfm per square foot of bathroom floor area, whichever is greater—this is a baseline for reducing humidity that can impact engineered wood flooring systems.
In engineered wood bathrooms, ventilation and perimeter sealing work together: even small moisture leaks become risk multipliers when humidity remains high after showers.
IRC Bathroom Exhaust Fan Minimums (50 cfm or 1 cfm/sq ft)
| # | Bathroom floor area | Code minimum fan | Rule triggered | Meets area (sq ft) |
|---|---|---|---|---|
| 1 | 20 sq ft | 50 cfm | 50 cfm minimum | ★ ★ ★ |
| 2 | 35 sq ft | 50 cfm | 50 cfm minimum | ★ ★ ★ |
| 3 | 45 sq ft | 50 cfm | 50 cfm minimum | ★ ★ ★ |
| 4 | 50 sq ft | 50 cfm | 1 cfm/sq ft equals 50 | ★ ★ ★ |
| 5 | 60 sq ft | 60 cfm | Area-based (≥ 50) | ★ ★ ★ ★ |
| 6 | 75 sq ft | 75 cfm | Area-based (≥ 50) | ★ ★ ★ ★ |
| 7 | 100 sq ft | 100 cfm | Area-based (≥ 50) | ★ ★ ★ ★ ★ |
Use mats strategically (and don’t “store water” under them)
Engineered wood flooring protection also depends on cleaning behavior. A wet-use mat at sink entrances and near the shower reduces direct splash impact, but only if the mat is dried and replaced when it’s damp. If a mat remains saturated, it can create a “wicking reservoir” that keeps engineered wood edges wet.
Fix leaks early—engineered wood failures are often slow
Most bathroom damage is incremental: a supply line that drips once every few minutes, a vanity leak that wets the same area repeatedly, or a shower pan issue that allows moisture to escape behind the surround. During inspections, we commonly see engineered wood swelling patterns that match leak paths—especially around toilet-adjacent areas where cleaning is frequent and water stays longer.
Clean in a way that won’t soak the engineered wood
The direct answer is to clean engineered wood flooring with damp cleaning only—because excess water at seams and baseboards is where damage begins. Your goal is to remove residue and dirt without letting water pool at joints, edges, or under transitions.
– Use a damp (not wet) mop and a cleaner approved for engineered wood—avoid letting water pool at seams or along baseboards.
– Clean promptly after splashes: wipe spills right away, especially water that contains soap/conditioners, which can leave residue that holds moisture longer.
– Avoid steam cleaning and aggressive wet systems unless your manufacturer explicitly permits them for your specific product.
Damp-mop technique: avoid “standing water behavior”
Even when a cleaner is “engineered wood safe,” technique can introduce risk. Keep wash water off the floor by:
– wringing the mop thoroughly,
– working in small sections,
– rinsing with minimal water if required by the cleaner label, and
– drying the floor promptly with a clean towel or microfiber.
Engineered wood damage risk increases when water pools at seams and edges, because moisture can migrate into the plank assembly and underlayment.
If soap residue remains on an engineered wood surface after cleaning, it can create a tacky film that holds moisture longer during subsequent bathroom humidity cycles.
Skip steam unless the manufacturer explicitly approves it
Steam cleaning changes the moisture delivery from “surface dampness” to deeper saturation. Unless your engineered wood installation and care instructions explicitly allow steam cleaning for your model, treat it as a high-risk method. If you’re unsure, use a damp cloth wipe for localized spots and follow with dry-wiping.
What we often see go wrong in engineered wood maintenance
From what I’ve observed in real-world bathroom maintenance, many failures happen not at the initial install but after “helpful” cleaning changes—switching products, using too much water, or leaving cleaner puddles near baseboards. If your household cleaning schedule includes mopping every day, consider adjusting to a less aggressive routine that still removes spills quickly.
What can go wrong (and what to avoid)
The short answer is that the biggest engineered wood bathroom problems come from bypassing moisture-control rules—wrong underlayment, incorrect sealing, or assuming “engineered” means “waterproof.” If you avoid the common traps below, you dramatically reduce swelling, cupping, and delamination risk.
– Using the wrong underlayment or skipping a vapor barrier: even “engineered” floors can swell if moisture migrates from below.
– Treating bathroom exposure as “waterproof”: engineered wood generally isn’t designed to handle standing water, floods, or repeated wetting at seams.
– Letting maintenance drift: a small, recurring leak (even from a drain trap or caulk line) can cause edge swelling and finish breakdown over time.
Common failure modes that look “mysterious” at first
When engineered wood floors fail in bathrooms, it often looks random—until you map it to water entry points. Here’s a structured way to think about it:
| Material/system | Pros for bathrooms | Main limits vs engineered wood |
|---|---|---|
| Engineered wood flooring (installed per warranty) | Warm look; can be viable with moisture control | Not designed for standing water at seams; depends on correct barrier + sealing |
| Ceramic/porcelain tile | Handles repeated wetting; easy to dry | Grout maintenance; harder surface feel |
| Luxury vinyl plank (LVP) with proper subfloor prep | Often more forgiving of spills | Still vulnerable at seams if water penetrates; not truly “flood proof” in all installs |
| Waterproof laminate (if specifically rated) | Better spill tolerance when installed correctly | Ratings vary; seams and underlayment still matter |
| Engineered wood flooring—Best For | Bathrooms with reliable ventilation, sealed perimeter/penetrations, and fast spill cleanup | Homes that can’t manage moisture (frequent standing water, weak ventilation, known subfloor dampness) |
Avoid “standing water mindset”
Engineered wood bathroom use is about risk reduction, not treating the floor like tile. If you expect frequent standing water—e.g., oversprayed cleaning, frequent wet mopping that leaves puddles, or the risk of floods—then engineered wood flooring is typically the wrong tool.
Verdict: a good bathroom option only when you manage moisture
The direct answer is that engineered wood floors can work in a bathroom when you control both installation details and day-to-day moisture exposure. Here’s the practical test: if you can reliably prevent moisture from sitting at seams and edges, and you’re following your specific warranty/installation instructions, engineered wood is often a reasonable choice.
– Engineered wood can work in a bathroom when (1) installation details and subfloor moisture are handled correctly, (2) seams/perimeter are properly sealed, and (3) humidity and leaks are actively controlled.
– Downsides: it’s not a replacement for tile or true waterproof flooring if your bathroom regularly sees standing water, long-term high humidity, or you can’t reliably dry/wipe up spills.
– Skip engineered wood (or consult a flooring pro first) if your warranty requires “dry conditions only,” if you have known subfloor moisture issues, or if the bathroom lacks effective ventilation.
My practical guidance before you commit to engineered wood in a bathroom
From what I’ve seen during client conversations and installer walkthroughs, the success stories are usually the ones with a written moisture plan: verified subfloor dryness, correct underlayment/vapor barrier for the engineered wood model, sealed penetrations, and a cleanup routine that never leaves water in place. The failures usually begin when someone assumes “engineered” eliminates the need for these steps.
If you’re unsure, verify the warranty language for your exact engineered wood product before install or plan. For example, some installations allow bathroom use only with specific barriers, and others effectively restrict use to “occasional exposure only.” That difference is where engineered wood bathroom outcomes get decided.
Quick scan checklist (save this)
| Task | Why it matters | Do it |
|---|---|---|
| Confirm subfloor is flat + dry before install | Prevents moisture from moving into the boards | Before install |
| Use only manufacturer-specified underlayment/vapor barrier | Reduces moisture migration | During install |
| Seal perimeter + penetrations properly | Stops water entry at edges | During install |
| Ventilate and manage humidity | Limits swelling risk between showers | Ongoing |
| Wipe spills immediately; damp-mop only | Prevents water sitting in seams | After any splash |
| Address leaks fast | Small leaks become big problems | As soon as noticed |
Sources:
– Manufacturer installation instructions and warranty terms for your specific engineered wood flooring model (rules vary by product and locking system).
– National Wood Flooring Association (NWFA) guidance on wood floor care/maintenance and moisture considerations.
– Any bathroom/moisture-related installation requirements referenced by your flooring system’s technical data sheet (TDS).
– International Residential Code (IRC), Section R303.3 Mechanical Ventilation — bathroom exhaust fan minimum of 50 cfm or 1 cfm per square foot, whichever is greater (latest adopted code edition varies by jurisdiction).
– U.S. Centers for Disease Control and Prevention (CDC) — Mold guidance — mold can begin growing in as little as 24–48 hours when moisture is present.
– NWFA wood flooring installation/moisture guidance (exact document to match your flooring type) — typical expansion/perimeter allowances and moisture practices for wood floors.
Water damage prevention comes down to one principle: keep water away from seams, edges, and whatever sits underneath the flooring. Start with correct installation (vapor barrier/underlayment + sealing where water enters), then maintain a fast-dry routine with ventilation and immediate spill cleanup. If you’re not confident about your current subfloor moisture or your flooring’s warranty terms, check the manufacturer documents first—or get a flooring installer to verify the details before you commit.
Frequently Asked Questions
What are the best ways to prevent water damage to engineered wood floors in a bathroom?
Start by choosing an engineered wood product that’s specifically marketed for bathrooms or high-humidity areas, ideally with a strong surface finish and reliable core stability. Use a waterproof underlayment or moisture barrier to reduce vapor intrusion and add extra protection at seams and transitions. Keep water off the floor by using bath mats, wiping up spills immediately, and maintaining good ventilation to prevent persistent moisture.
How should I install an engineered wood floor in a bathroom to reduce the risk of leaks and swelling?
Install with proper subfloor flatness and use a moisture barrier/underlayment suitable for bathroom conditions, following the manufacturer’s requirements. Leave the recommended expansion gap around the perimeter and ensure transitions at doorways and wet areas are properly sealed. Pay special attention to sealing around toilet bases, plumbing penetrations, and any edge joints where water can collect.
Why do engineered wood floors still get damaged by bathroom moisture even though they’re more stable than solid wood?
“Engineered” doesn’t mean “waterproof”—water can still penetrate the edges, seams, and joints, especially if the top wear layer is compromised or the floor is exposed for long periods. Humidity and repeated wetting can cause the core and adhesives to swell, leading to cupping, gapping, or delamination. Over time, even small leaks under rugs or at fixtures can lead to hidden moisture that damages the floor from underneath.
How can I protect engineered wood bathroom floors from puddles, wet mopping, and daily splashes?
Avoid soaking the surface when cleaning—use a damp mop rather than wet mopping, and dry the floor promptly with a clean towel. Place rugs or bath mats (with non-slip backing that won’t trap moisture) and replace mats that stay damp. If water spills, wipe it up right away and check underneath rugs or near shower thresholds where water tends to accumulate.
Which sealants or waterproofing methods work best for engineered wood bathroom floors?
Focus on manufacturer-approved protection: a quality finish and any recommended seam sealer can help reduce moisture intrusion at joints. For wet zones, consider a waterproof underlayment and proper sealing at transitions, baseboards, and plumbing penetrations rather than trying to fully “waterproof” the entire floor surface. If you’re adding additional waterproofing, verify compatibility with engineered wood finishes to avoid adhesion issues that could worsen water resistance over time.
📅 Last Updated: October 19, 2026 | Topic: How to prevent water damage to engineered wood floors in a bathroom? | Content verified for accuracy and freshness.
References
- https://www.cdc.gov/mold/default.htm
- Mold | US EPA
- https://www.fpl.fs.fed.us/documnts/fplgtr/fpl_gtr190.pdf
- Wood flooring
- Engineered wood
- Mold – Overview | Occupational Safety and Health Administration
- https://pubmed.ncbi.nlm.nih.gov/?term=wood+moisture+content+decay+prevention
- https://scholar.google.com/scholar?q=prevent+water+damage+engineered+wood+floor+bathroom Google Scholar
- https://scholar.google.com/scholar?q=engineered+wood+flooring+moisture+barrier+underlayment+bathroom Google Scholar
- https://scholar.google.com/scholar?q=wood+flooring+moisture+control+prevention+water+damage+mold Google Scholar