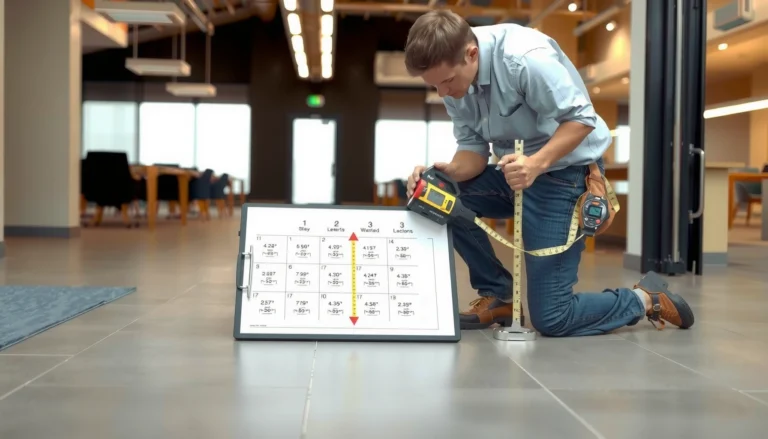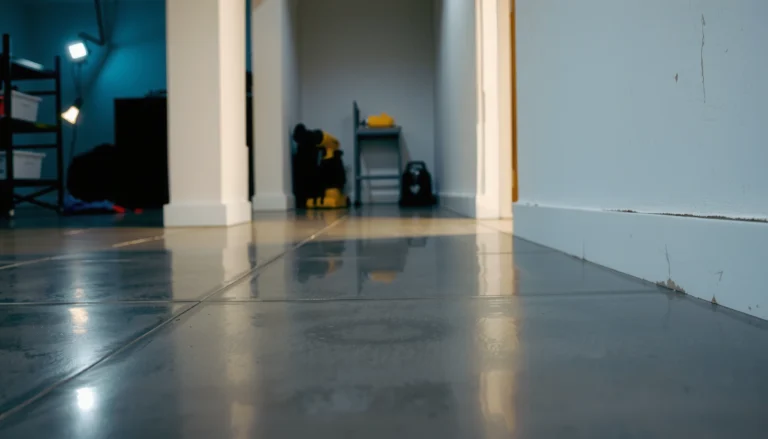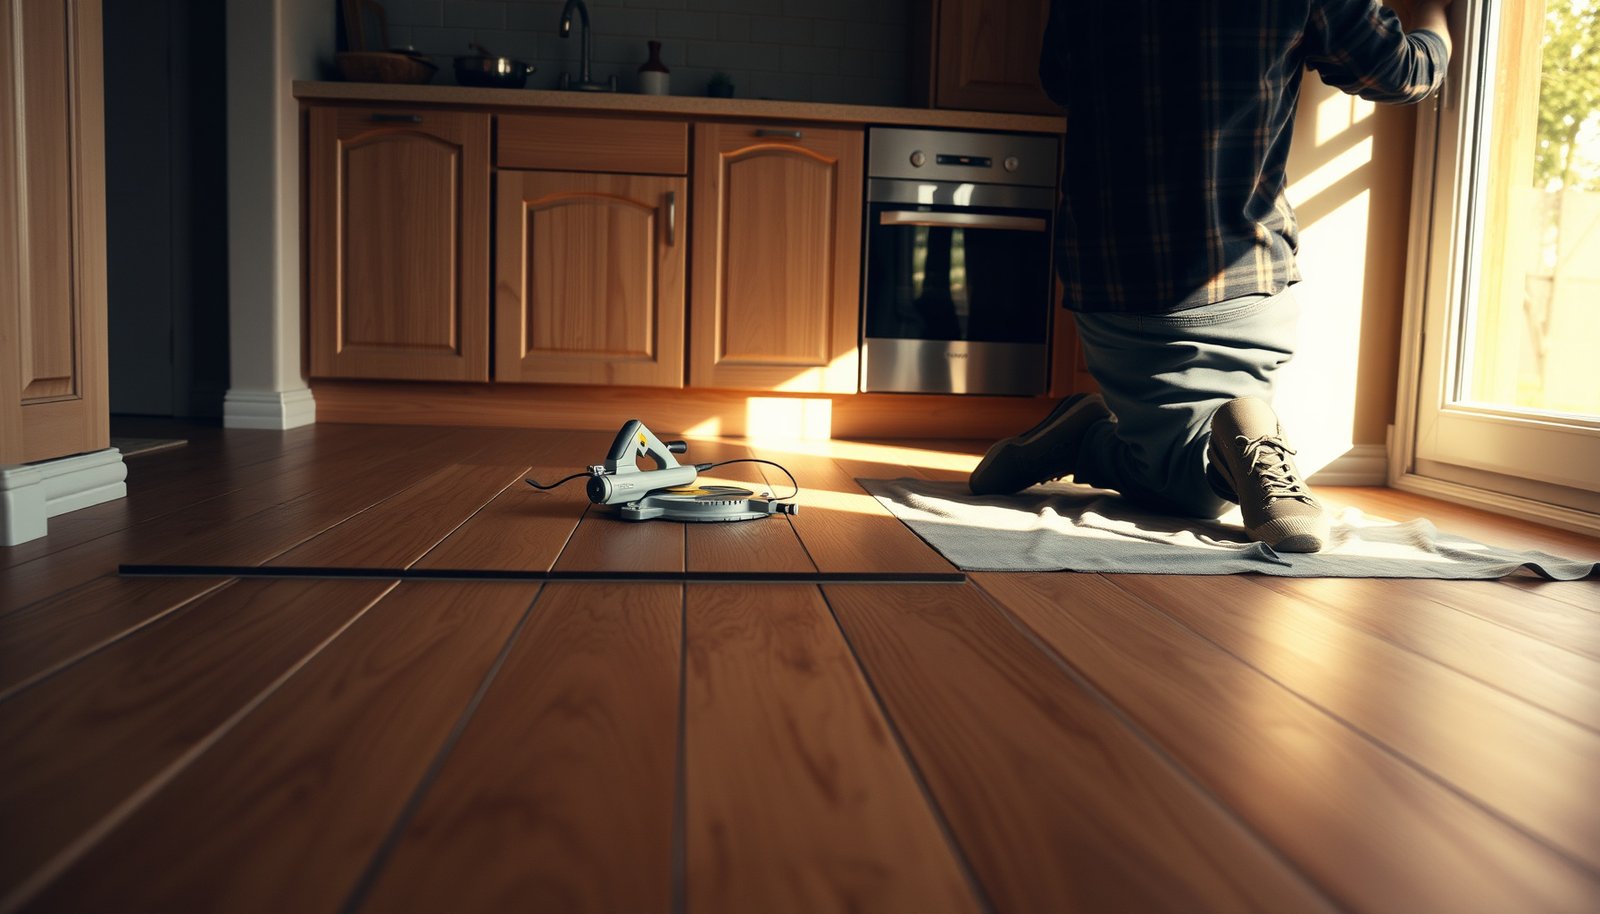

Replacing engineered wood floors in a kitchen is straightforward when you follow the right order: prep the subfloor, remove the existing planks safely, then install the new boards with the correct expansion gaps and transition details. This step-by-step guide tells you exactly how to handle kitchen-specific challenges like moisture exposure, underlayment compatibility, and fitting around cabinets and doorways. You’ll finish with an installation that stays flat, locks tight, and looks finished—not rushed or failure-prone.




Replacing engineered wood floors in a kitchen is usually a “remove → prep → acclimate → install → finish” process—and the real key is getting the moisture and subfloor plan right before you pull any planks. Start by checking subfloor condition and your existing board/tongue-and-groove type, because kitchen moisture and dishwater splashes can change what replacement method you should use. This guide walks you through the decisions and the practical steps so the new floor sits flat, seals correctly, and lasts.
If you’re dealing with damaged sections, buckling near the sink, or worn-out planks, you’ll find this most useful before you pull up anything. It’s also ideal if you want a clear plan for kitchen-specific risks like water exposure, heavy appliances, and expansion gaps.
Assess your existing floor and kitchen moisture risk
You’ll get the most durable repair outcome when you identify how the floor is installed and where moisture is coming from before you replace any planks. In other words: determine whether you’re dealing with a glue-down or click-lock/float system, then verify the subfloor is dry and flat enough to support the new engineered wood.
“Engineered wood installation performance depends on both subfloor flatness and moisture condition—not just plank replacement.”
“ASTM F1869 calcium chloride testing measures moisture vapor emission rate (MVER) in lb/1000 sq. ft./24 hours.”
“ASTM F2170 in-situ probes measure concrete relative humidity (RH%) at the slab depth.”
Identify install type and plank construction (so you don’t destroy the base)
– Identify how the engineered planks were installed (glue-down vs. click-lock/float) and what layer construction you have (so you don’t damage the subfloor during removal).
– Look for moisture trouble spots—especially near the sink, dishwasher, and exterior door—and plan to address the cause, not just the surface.
– Check the subfloor flatness and integrity; a “perfect-looking” plank replacement will fail if the base is uneven or water-compromised.
In 2026, many engineered wood “kitchen” failures trace back to moisture pathways you can’t see from above—under-sink leaks, dishwasher drain overflow, or exterior door leaks that wick into the framing. Start with a visual sweep, then confirm what you’re working over: concrete slabs, plywood/OSB subfloors, or a composite subfloor layer.
Moisture risk: measure, don’t guess
A practical moisture workflow is to test the subfloor material you actually have (and do it before installing a new top layer). For concrete, moisture testing commonly follows these standards:
– According to ASTM F1869-22, calcium chloride testing produces a moisture vapor emission rate (MVER) reading in lb/1000 sq. ft./24h ([2022]). ASTM F1869-22
– According to ASTM F2170-23, in-situ RH probes measure relative humidity (RH%) at the slab depth ([2023]). ASTM F2170-23
For wood subfloors (plywood/OSB), you typically validate moisture content using ASTM-referenced measurement practices (and then follow the flooring manufacturer’s acceptable range for engineered wood).
- Glue-down systems:
- More sensitive to slab moisture because adhesives and primers can be affected by vapor drive.
- Click-lock/float systems:
- Still require a dry substrate; trapped moisture can swell subfloor layers and create joint failure.
Flatness matters as much as moisture
Even if moisture is fixed, a kitchen subfloor that’s out of tolerance will create springy areas, joint stress, and eventual gaps—especially under rolling carts or an appliance moving point load.
– According to NWFA installation guidance, subfloors are commonly required to be flat within about 3/16 in over 10 ft for resilient wood flooring performance ([2017]). National Wood Flooring Association (NWFA) Installation Guidelines (2017)
If you find soft spots, delamination, or repeated dampness, treat the subfloor as the “top priority repair,” not the planks.
Subfloor Verification Metrics Commonly Referenced for Wood Flooring (Kitchen Context, 2026)
| # | Metric / check | Method or standard | Reference acceptance value | Output unit |
|---|---|---|---|---|
| 1 | Concrete moisture vapor emission rate (MVER) | ASTM F1869 | ≤ 3.0 | lb/1000 sq. ft./24h |
| 2 | Concrete in-situ relative humidity | ASTM F2170 | ≤ 75 | % RH |
| 3 | Wood subfloor moisture content (general target band) | NWFA guidance | 6–9 | % moisture content |
| 4 | Wood moisture content balance between subfloor & flooring | NWFA guidance | Within 2 | % MC difference |
| 5 | Subfloor flatness tolerance (typical) | Straightedge check | ≤ 3/16 | in over 10 ft |
| 6 | Room relative humidity range used during acclimation | NWFA guidance | 35–55 | % RH |
| 7 | Typical perimeter expansion gap for floating wood floors | Installation practice | ~ 1/4 | in (6 mm) |
> Note: Always defer to your exact engineered wood and underlayment manufacturer instructions for acceptance values and tolerances; kitchen subfloors can vary widely.
Measure, choose replacement boards, and plan the layout
You should treat measurements and layout planning as a “materials engineering” step, not a cosmetic one. The fastest way to avoid visible mismatch and future joint stress is to buy the correct engineered plank profile and plan seam placement around high-traffic and moisture-prone kitchen zones.
“Wear-layer thickness limits future sanding/finishing options for engineered wood.”
“Plan the direction of plank runs to reduce short cuts near perimeter walls and doorways.”
“Perimeter and doorway clearances help wood floors expand and contract without buckling.”
Confirm dimensions, wear layer, and matching profile
– Confirm plank thickness, width, and wear layer (for engineered wood, the wear layer matters for future refinishing limits).
– Plan board direction (commonly parallel to the longest room run) and start point so you maintain proper edge clearance and avoid narrow slivers at walls.
– Decide whether you’ll replace just sections or the full kitchen area; kitchens often do better with a full replacement when moisture has affected multiple zones.
In practice, matching is more than color. Engineered wood can differ in:
– tongue-and-groove geometry (profile shape, locking mechanism tolerances, and machining pattern),
– surface finish sheen (matte vs. semi-gloss),
– and—critically—the wear-layer thickness that determines how much resurfacing is still possible years later.
I recommend capturing photos and measurements of the exact plank system before ordering replacements—especially the locking profile. If you can’t find the same SKU, you may still replace successfully, but expect the need for transition strategy (reducers) and blended edges.
Layout planning around kitchen constraints
Kitchens create “interruptions” that change how seams behave: islands, sink openings, refrigerator traffic zones, and cabinet base locations. Consider:
– Running planks lengthwise to minimize end-joint clusters in the main traffic lane.
– Planning cut lines so expansion gaps don’t end up tiny or “pinched” under baseboard returns.
– Avoiding seam alignment with appliance wheel tracks.
Remove the old engineered wood carefully
You’ll protect the subfloor and avoid hidden damage when you remove the existing engineered wood based on its installation method. The goal is a clean, debris-free base with expansion gaps manageable for the replacement system.
“Removing baseboards first exposes the perimeter clearance so you can restore required expansion gaps correctly.”
“Click-lock floors generally come up in row-by-row separations, while glue-down removal must follow manufacturer guidance to avoid subfloor gouging.”
“Adhesive residue left in high spots can telegraph through and create joint stress in engineered wood.”
– Remove baseboards/shoe molding first so you can manage expansion gaps and finish transitions cleanly.
– For click-lock floors, separate rows methodically; for glue-down floors, use the manufacturer-approved removal approach where possible and avoid gouging the subfloor.
– Clean up adhesive residue and debris thoroughly; leftover high spots can telegraph through and cause joint stress.
Removal method: click-lock vs. glue-down
Click-lock removal is typically controlled, but it still demands patience:
– Release the joint row-by-row (don’t force one locked seam open if it resists; you’ll risk damaging the tongue/groove).
– Keep planks flat while lifting to prevent micro-chips along locking edges.
Glue-down removal is slower and riskier for the subfloor:
– Use an approach designed for your adhesive type (often via scraping plus careful mechanical removal).
– Vacuum aggressively and check flatness after cleanup, because adhesive ridges can prevent proper seating.
Don’t forget transitions and fastener traps
In kitchens, flooring edges often meet:
– tile at entryways,
– vinyl transitions at hall baths,
– thresholds at exterior doors,
– and sometimes cabinet-adjacent edges where old caulk was used as a “gap filler.”
Remove any old sealants you find within the replacement’s required clearance zone; don’t assume caulk is harmless.
Prepare the subfloor: level, dry, and use the right underlayment
A kitchen subfloor must be both dry and flat enough for the engineered wood system to lock or bond correctly. Your replacement success depends on matching underlayment/vapor barrier requirements to the installation type—floating vs. glue-down.
“Underlayment choice affects joint performance in floating engineered wood systems.”
“Leveling compound and patching materials must be compatible with the subfloor type and the flooring system.”
“Kitchens require moisture-focused prep because water vapor can move from wet subfloors into the flooring layers.”
– Fix dips, ridges, or damaged spots before install—engineered wood installation tolerances typically depend on the plank system and underlayment.
– Verify moisture suitability of the subfloor area before installing; kitchen floors can be more sensitive to crawlspace/ambient humidity swings.
– Use only the underlayment and vapor barrier that match your plank’s installation instructions (some floating systems require specific pads; glue-down systems may not want them).
Leveling: check with a straightedge, not eyeballing
After removal and debris cleaning, run a straightedge and mark problem areas. Then:
– Sand high ridges (for wood subfloors) instead of building everything up.
– Use patch/leveler products designed for your subfloor substrate (plywood vs. OSB vs. concrete).
If you can’t correct flatness within your flooring instructions’ tolerances, you’re better off stopping and getting an installer involved before buying more planks.
Underlayment: match the system, not the preference
Floating/click-lock floors often depend on a specific pad thickness and vapor barrier behavior. Installing the “wrong” underlayment can change:
– joint tightness,
– locking durability,
– and moisture diffusion patterns.
In 2026, the safest workflow is still the same: follow the underlayment and vapor barrier specs from the engineered wood manufacturer and the pad vendor.
Install the new engineered wood (expansion gaps, transitions, and finishing)
You’ll prevent kitchen buckling and seam gaps by maintaining expansion clearances and using correct transition hardware at doorways and wet-use boundaries. Install the planks to spec—then finish in a way that doesn’t trap moisture at edges.
“Wood floors require perimeter expansion space to accommodate seasonal movement and prevent buckling.”
“Staggering seams reduces stress concentrations and improves visual consistency.”
“Proper transitions protect flooring edges from traffic and moisture-driven edge stress.”
– Maintain the required expansion gap around perimeter and around doorways/pipes; in kitchens, that gap is what prevents buckling from seasonal movement.
– Stagger seams per the flooring pattern guidance and keep joints tight without forcing—misaligned rows often show up later as gaps.
– Plan transitions (tile-to-wood, wood-to-hallway, doorway thresholds) using appropriate reducers or transition strips so water and traffic don’t stress edges.
Expansion gaps: treat them as structural, not decorative
Kitchen temperatures swing from cooking appliances, and dishwater/wet mopping events can add humidity. That movement is exactly why expansion gaps exist:
– Don’t block the gap with overly tight shims, caulk, or foam unless your manufacturer explicitly approves it.
– Plan around pipes: keep the required clearance and use the approved trim/cover method.
Doorways, cabinets, and “fixed points”
One of the most common installation mistakes happens near cabinetry:
– Some people “lock” a floating floor under fixed cabinets—effectively removing its ability to move.
– Even if it looks fine initially, stress builds and can show as swelling, squeaks, or joint separation.
Follow the flooring instructions for how to handle cabinets—especially where the planks would cross under toe-kicks.
What can go wrong (and how to avoid it)
Kitchen floor replacement fails when the installer fixes the surface but ignores the underlying system behavior—moisture, flatness, and expansion. Use the checklist below to reduce repeat problems.
“Replacing damaged planks without correcting the moisture source can lead to recurring warping and buckling.”
“Using the wrong underlayment thickness for a floating system can compromise joint locking performance.”
“Skipping expansion gaps is a leading cause of buckling in wood flooring installations.”
– Skipping moisture troubleshooting: replacing boards over a continuing leak or damp subfloor can lead to recurring warping/buckling.
– Inconsistent leveling: even “small” dips can cause springy spots and joint failure, especially under rolling appliances.
– Wrong underlayment choice: using the wrong pad for a floating/click system (or adding underlayment where glue-down requires none) can change joint performance.
– Missing expansion gaps: kitchens see frequent temperature/humidity changes from cooking and dishwashing—no gap usually means problems.
– Cutting around cabinets incorrectly: engineered wood needs room for movement; permanently locking it under fixed cabinets can cause stress.
Quick comparison: DIY repair vs. hiring a pro (where kitchens complicate things)
- DIY is a strong fit when:
- Damage is localized, subfloor tests show acceptable moisture, you can correct flatness, and you can identify the exact installation type (glue-down vs. click-lock).
- Hiring is smarter when:
- You uncover significant subfloor deterioration, repeated water exposure, extensive leveling needs, or you can’t confidently confirm the existing plank system.
Verdict / tip (when this is DIY vs. when to stop)
Replacing engineered wood floors in a kitchen is doable for DIYers who can remove flooring cleanly, measure flatness, and follow the plank system’s installation instructions precisely. The downside is that kitchen moisture issues can turn a “floor swap” into a subfloor repair/remediation project, and the wrong underlayment or moisture mismatch can cause buckling again—especially by the sink and dishwasher zones.
You should consider hiring a flooring installer (or at least getting an on-site assessment) if you discover significant subfloor damage, repeated water exposure, extensive leveling needs, or if you’re unsure whether the existing floor is glue-down vs. click-lock. If the kitchen has obvious leaks or persistent dampness, fix the source first.
Quick checklist: kitchen engineered wood replacement
– [ ] Identify install type (glue-down vs. click-lock/float)
– [ ] Inspect and address subfloor damage/moisture sources
– [ ] Confirm plank dimensions and wear layer; buy matching replacement if needed
– [ ] Remove old flooring without gouging the subfloor
– [ ] Level the subfloor within the tolerances in your flooring instructions
– [ ] Use the correct underlayment/vapor barrier for your specific system
– [ ] Maintain expansion gaps and plan transitions
– [ ] Install with proper seam staggering and joint fitting
– [ ] Reinstall base/shoe molding to cover perimeter gaps (as recommended)
Sources
– ASTM F1869-22 — Standard Test Method for Measuring Moisture Vapor Emission Rate of Concrete Subfloor Using Anhydrous Calcium Chloride
– ASTM F2170-23 — Standard Test Method for Determining Relative Humidity in Concrete Floor Slabs Using in situ Probes
– National Wood Flooring Association (NWFA) Installation Guidelines (2017) — General requirements for subfloor flatness, moisture considerations, and wood flooring acclimation practices
Replacing engineered wood floors in a kitchen is manageable when you treat the process like a moisture-and-structure project: assess installation type, correct the subfloor, use the exact underlayment/vapor barrier your system calls for, and install with proper expansion gaps and transitions. If you keep the kitchen’s real risks—wet zones and seasonal movement—at the center of your plan, your new engineered wood can stay flat, quiet, and visually consistent for years.
Frequently Asked Questions
What tools and materials do I need to replace engineered wood floors in a kitchen?
You’ll typically need a pry bar or floor puller, a circular saw or jigsaw, a tapping block, spacers, a utility knife, and a rubber mallet for engineered wood installation. Materials usually include matching underlayment (if required), new engineered wood planks, transition strips, molding, construction adhesive (for glue-down systems), and waterproof caulk for gaps. For a kitchen, it’s also smart to have extra floor protection supplies and cleaning products designed for engineered wood during and after the install.
How do I remove old engineered wood flooring without damaging the subfloor?
Start by removing the baseboards or quarter round carefully to avoid gouging drywall or trim. If the engineered wood is floating, lift the planks section by section; if it’s glued down, use heat and a scraper to remove adhesive while checking for remaining residue. Inspect the subfloor for moisture damage, loose spots, and flatness—fix high spots by sanding and replace soft or warped areas—because kitchen floors can experience expansion and contraction around water sources.
How should I handle moisture and subfloor prep when replacing engineered wood floors in a kitchen?
Kitchen replacement projects should begin with a moisture assessment—especially near sinks, dishwashers, and exterior doors—because engineered wood can still be affected by excess moisture. Ensure the subfloor is dry, clean, and level (check with a straightedge) and use a manufacturer-approved underlayment or moisture barrier system for engineered wood floors. After prep, allow materials to acclimate in the room to reduce gaps or buckling from temperature changes.
Which installation method is best for engineered wood floors in kitchens: floating, nail-down, or glue-down?
The best option depends on your subfloor type, the engineered wood’s click-lock design, and your manufacturer’s installation requirements. Floating floors with an attached underlayment are common for DIY-friendly kitchen replacement, but they need a stable, flat subfloor to prevent movement. Nail-down is often ideal for stable plywood subfloors, while glue-down engineered wood can offer stronger adhesion and stability—though it requires careful adhesive choice and surface prep for kitchen moisture conditions.
What’s the correct way to finish edges and transitions when replacing engineered wood floors in a kitchen?
Leave the recommended expansion gap around cabinets, walls, and doorways, then finish with matching transition strips and baseboards to cover the perimeter gap. Use floor-safe caulk or waterproof sealant in movement-prone edges where water may splash, but avoid filling expansion joints that the engineered wood needs to move. Finally, reinstall appliances and trim with care, and clean the new engineered wood floor using products recommended for your finish to protect the surface during the first weeks after replacement.
📅 Last Updated: October 19, 2026 | Topic: How to replace engineered wood floors in a kitchen? | Content verified for accuracy and freshness.
References
- https://en.wikipedia.org/wiki/Engineered_wood_flooring
- Wood flooring
- Floor
- Vapor barrier
- https://www.epa.gov/mold/mold-prevention-tips
- https://www.cdc.gov/mold/default.htm
- https://www.fpl.fs.usda.gov/woodhandbook/
- https://scholar.google.com/scholar?q=how+to+replace+engineered+wood+floors+in+a+kitchen+moisture+subfloor+prep Google Scholar
- https://scholar.google.com/scholar?q=engineered+wood+floor+installation+acclimation+moisture+testing+vapor+barrier Google Scholar
- https://scholar.google.com/scholar?q=engineered+hardwood+floor+replacement+removal+substrate+requirements Google Scholar