


Choosing engineered wood floors for a living room comes down to whether you prioritize real-wood warmth, dent resistance, or long-term stability. If you want the clear best pick for everyday family life, choose engineered hardwood with a thicker top wear layer—about 3/4″ overall with a 2–4 mm hardwood veneer—on a quality plywood or HDF core rated for your humidity range. This guide answers which specs actually matter, how to match them to your space, and what to avoid so your floors look great for years.
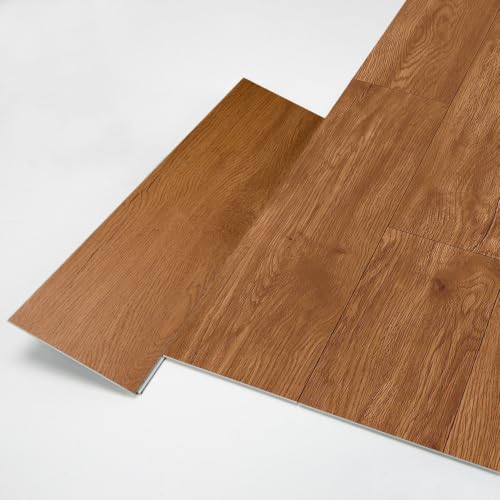


Engineered wood floors are a smart choice for living rooms when you match the construction and wear layer to your subfloor conditions and your household’s moisture and scratch risk—then install it using the manufacturer-approved method. In this guide, you’ll learn what to check before you buy so you don’t end up with cupping, gaps, or premature wear in 2026.
If you’re planning a living room remodel—or replacing existing floors—this is for you. It’s especially useful when you want the look of real wood but need performance that’s better suited to real-world conditions than many solid hardwood installs.
Check the engineered wood structure (ply count and overall thickness)
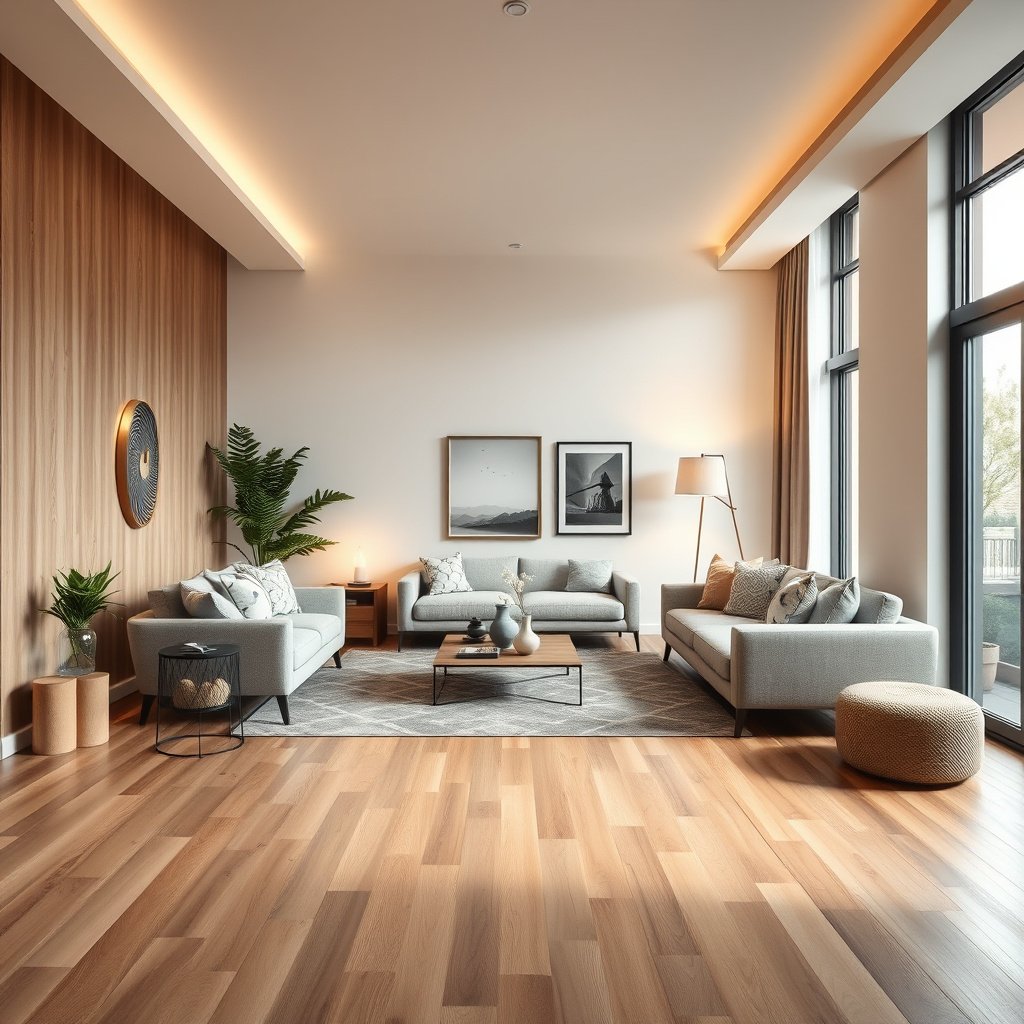
The fastest way to improve stability is to choose engineered wood floors with a well-built multi-ply core and an overall thickness that matches your subfloor and transitions. Here’s why: a stronger cross-laminated core resists seasonal movement, which helps your living room stay tight around vents, windows, and exterior walls.
Higher ply count and proper cross-lamination matters because engineered wood is built to balance movement in different directions. In practice, that means fewer “waves” and less gapping after the floor acclimates. Overall thickness also affects how the plank interfaces with your existing flooring heights (tile, carpet, vinyl) and how forgiving the floor is over minor subfloor irregularities.
What to inspect in the product specs
Look for the following on the box or spec sheet:
– Core construction: multi-ply construction (often described as multiple layers with cross-grain orientation).
– Overall thickness: thickness of the finished plank (not just the wear layer).
– Plank thickness vs. install depth: whether you need transitions to stay flush.
Engineered wood floors rely on layered (often cross-laminated) cores to improve dimensional stability compared with single-direction wood grain.
NWFA installation guidance commonly emphasizes subfloor flatness requirements (often expressed as a maximum height variation over a reference length) to prevent engineered wood from developing gaps.
Overall plank thickness and build-up determine how flooring heights transition to tile, carpet, and door thresholds in real living rooms.
Choose the right wear layer for real life
The wear layer determines how scratch-resistant your engineered wood floors look over time—and whether you can refinish if the living room takes on deeper scuffs. For most households, selecting a wear layer that fits your lifestyle matters more than chasing the most dramatic grain or darkest stain.
Think about how you’ll actually use the space: living rooms see dragged furniture, pet nails, vacuuming impacts, and “just one more time” foot traffic. Even if the plank locks correctly, a thin wear layer or a finish that isn’t tough enough can lead to dulling, visible wear paths, and faster appearance fade.
Wear layer thickness: what it really affects
When you compare products, focus on:
– Wear layer thickness (top wood layer): thicker usually means more material remaining if refinishing is ever needed.
– Finish system: some engineered floors use factory-applied UV-cured finishes that resist abrasion better than basic finishes.
– Warranty alignment: the warranty often assumes the use conditions (pets, rolling loads, cleaning methods).
A thicker wear layer generally gives you more “refinishing depth” before you reach the core, but the number of refinishes depends on the manufacturer’s refinishing method and minimum remaining thickness.
Factory-finished engineered wood floors can include UV-cured coatings designed to improve scratch and abrasion resistance compared with some site-finished systems.
Common Engineered Wood Wear-Layer Thickness Tiers (North American Market Examples)
| # | Wear-layer tier | Wear layer (mm) | Typical living-room fit | Refinishing potential |
|---|---|---|---|---|
| 1 | Micro-wear | 0.5 | Light use / minimal pets | ★★☆☆☆ |
| 2 | Thin | 1.0 | Moderate foot traffic | ★★★☆☆ |
| 3 | Entry-plus | 1.5 | Families planning occasional touch-ups | ★★★☆☆ |
| 4 | Standard | 2.0 | Most living rooms | ★★★★☆ |
| 5 | Comfort | 3.0 | Pets + rearranged furniture | ★★★★★ |
| 6 | Durable | 4.0 | Higher-traffic living rooms | ★★★★★ |
| 7 | Heavy duty | 5.0 | Long-term “keep it for years” planning | ★★★★★ |
Match finish and color to your lighting and maintenance comfort
The right finish sheen and color tone help engineered wood floors stay visually “forgiving” between cleanings. If you choose based only on how the showroom plank looks, your living room can betray you later—especially under direct sun or strong contrast from white trim.
The two biggest variables are:
1. Sheen (matte/satin vs semi-gloss): higher sheen shows dust, scuffs, and reflections more readily.
2. Color tone (light, medium, dark, warm vs cool): high-contrast floors can highlight wear patterns, footprints, and vacuum marks.
Practical selection guidance
– High-traffic living rooms: favor satin/matte for less visible cleaning marks.
– Rooms with lots of daylight: mid-tones often hide micro-wear better than very high-gloss or very light/very dark extremes.
– If you have pets: consider finishes that resist abrasion and avoid textures that collect debris (unless the texture is part of the finish warranty).
Finish sheen affects how visible dust and scuff marks appear because higher sheen increases reflected light and glare in living spaces.
Sun exposure can change wood appearance over time through natural light effects, so choosing an engineered wood floor involves long-term visual expectations, not just initial color.
Maintenance practices (cleaners, damp-mopping frequency, and residue) directly influence whether engineered wood floors keep their finish uniform.
From my experience reviewing flooring failures (mostly warranty claims), the most common “it looked fine in the sample” issue is visible wear showing up sooner because the floor’s sheen and undertone don’t forgive real-life traffic paths.
Plan the installation method around your subfloor
The correct installation method is what prevents engineered wood floors from gapping or separating—even when the product itself is good. Here’s why: floating, glue-down, and nail-down (or stapled) systems each assume a specific subfloor condition and a specific movement strategy.
Before you commit, verify:
– Which method the flooring is rated for (floating/locking vs glue-down vs nail/staple).
– Subfloor flatness and moisture conditions, because installation success depends on both.
Floating vs glue vs nail: what changes
– Floating/locking: relies on a click-lock system and requires good flatness; it’s often easier over tolerable subfloors but still needs correct underlayment.
– Glue-down: can improve some stability, but adhesives are sensitive to moisture and surface prep.
– Nail/staple-down: requires suitable subfloor material and fastening patterns; it’s less common for many floating-style engineered products but still available.
Pros/cons comparison (useful for decision-making)
| Method | Pros | Cons / risks |
|---|---|---|
| Floating (locking) | Easier replacement planning, often less sensitive to minor fastening constraints | Requires very good flatness to reduce movement at joints |
| Glue-down | Can reduce hollow-sounding areas and may improve stability on some subfloors | Moisture and adhesive selection are critical; mis-match can trigger failure |
| Nail/staple-down | Can lock the floor mechanically to a suitable subfloor | Only works when the engineered wood is specifically designed for it and the subfloor supports fastening |
The manufacturer’s installation method rating (floating vs glue vs nail/staple) is a key spec; choosing the wrong method can break the assumptions behind the locking mechanism or the adhesive bond.
Subfloor flatness requirements exist because engineered wood floors can show joint stress or gaps when the floor plane is uneven.
Consider underlayment, moisture control, and radiant heat compatibility
Yes—you can integrate engineered wood floors with underlayment and radiant heat, but only if the specific floor model is rated for it. This section is where many living-room projects succeed (or fail) because moisture behavior and heat cycling are predictable only when you follow the manufacturer’s limits.
Underlayment: don’t treat it as generic
Underlayment (or attached pad) can help with comfort and sound, but it must be compatible with:
– the engineered wood’s locking system (floating floors),
– any vapor/moisture barrier needs,
– and sometimes the floor’s installation clearance requirements.
Moisture control: protect the plank-core balance
Engineered wood floors are still wood. If the subfloor or slab moisture is out of bounds, your living room can develop:
– gapping at joints,
– cupping in localized areas,
– or adhesive/lock system performance issues.
A helpful starting benchmark:
– According to NWFA guidance, maintaining indoor relative humidity often falls in a mid-range band (commonly cited around 35%–55% RH) to support stable wood flooring conditions.
Radiant heat: surface temperature is the guardrail
Radiant heat compatibility is not “yes/no” by aesthetics—it’s about the floor’s operating limits.
– Many hardwood/radiant heat guidelines reference keeping wood flooring surface temperatures below ~85°F (29°C).
Also, radiant systems must ramp up/down gradually to avoid shock movement.
Underlayment compatibility matters because some engineered wood locking systems require a specific pad type and thickness to maintain joint performance.
Wood floors remain moisture-sensitive; controlling jobsite moisture and maintaining indoor humidity supports dimensional stability and reduces gapping risk.
Radiant heat installations should follow manufacturer temperature ramp and operating limits, since excessive surface temperatures can accelerate finish wear and movement.
As of 2026, many flooring failures still trace back to moisture and flatness noncompliance rather than defects in the engineered wood floor itself.
What can go wrong (and how to avoid it)
Most engineered wood failures aren’t mysterious—they come from mismatched specs or skipped pre-install checks. Here are the recurring problems that create gaps, cupping, or fast wear in real living rooms, plus how to prevent them.
Common failure modes
– Buying based only on appearance
– Thin wear layers can look “fine” for months and then show dulling, wear-through, or finish breakdown.
– Ignoring acclimation and moisture/flatness
– Even stable engineered wood floors can shift when the subfloor is out of moisture balance or not flat.
– Overlooking transitions
– Incorrect height transitions can compromise expansion spacing and create trip risks.
Where engineered wood floors often disappoint
From the spec perspective, the floor can be compatible “in theory” but still fail “in the jobsite.” If you’re planning a large living room open to hallways, plan for expansion pathways and transitions early so you don’t trap the floor against fixed cabinetry or mismatched flooring planes.
A common warranty theme is that incorrect installation method or insufficient subfloor flatness leads to joint failure or visible gapping that is not covered as a manufacturing defect.
Ignoring acclimation and jobsite moisture limits can lead to dimensional changes—so follow the flooring manufacturer’s acclimation procedure, not just “let it sit overnight.”
Expansion spacing is required so engineered wood floors can move seasonally; blocking the perimeter or trapping planks at transitions increases stress at seams.
Verdict: what to prioritize—and who should skip DIY guessing
If you want a dependable living-room floor, prioritize engineered wood floors’ stability (core construction), long-term value (wear-layer thickness and refinishing allowances), and a verified installation plan for your subfloor. Then choose finish sheen and color based on how your 2026 lighting actually behaves—matte and mid-tones usually keep the room looking cleaner between maintenance cycles.
That said, there’s a real downside: engineered wood floors still depend on proper prep and product-specific installation details. If your subfloor flatness is unknown, your moisture readings aren’t documented, or your radiant heat setup isn’t verified against the product rating, skip DIY guessing and involve a flooring installer or confirm specs with the manufacturer.
The safest decision rule is to buy engineered wood flooring only when the subfloor condition, underlayment choice, and installation method all match what the manufacturer approves.
In living rooms, finish sheen selection can materially affect visible dust and scuffs, so the “best” look is often the one that matches real cleaning routines.
Quick checklist to save (scan before you buy)
– Wear layer thickness:
– Construction:
– Installation method: floating vs glue vs nail (must fit your subfloor)
– Subfloor readiness: flatness + moisture conditions within manufacturer specs
– Underlayment/moisture barrier: approved for your specific product
– Radiant heat (if applicable): confirm it’s rated + follow temperature limits
– Finish: sheen level and color tone for your lighting + cleaning habits
Sources
A living room floor should look great on day one and stay tight through everyday life—so engineered wood floors are a strong option when you match core construction, wear layer, finish choices, and installation method to your actual subfloor and climate. If you verify compatibility (including underlayment, moisture control, and radiant heat ratings), you reduce the odds of gaps, cupping, and early finish failure while getting the wood look you want in 2026.
Frequently Asked Questions
What should I look for when choosing engineered wood floors for a living room?
Focus on the core construction and the thickness of the real wood veneer (the wear layer). For living rooms, a thicker veneer (often 3–6 mm) helps resist dents and allows more refinishing over time. Also check the installation method (click-lock vs. glue-down) and make sure the product is rated for your subfloor condition and home humidity levels.
How do I choose the right thickness and wear layer for engineered wood flooring?
Start by matching thickness to your needs: thicker planks generally provide better stability and comfort underfoot. Look at the wear layer in millimeters or inches—if you want longer-term durability and possible refinishing, choose engineered wood with a thicker top layer. If you’re installing over an uneven subfloor, consider options that tolerate slight imperfections or ensure proper leveling to prevent gaps.
Which engineered wood finish is best for a living room with pets or kids?
Choose a finish designed for high-traffic areas, such as a hardwax oil or a durable polyurethane coating, and look for scratch- and stain-resistant labeling. Consider a matte or wire-brushed texture if you want to reduce the appearance of minor scuffs and daily wear. For pets, prioritize a stable core and robust topcoat to minimize edge swelling and surface damage from claws or accidents.
Best way to match engineered wood floors to my living room style (color, plank size, and grain)?
Pick a color temperature that complements your room’s light—warm oak tones work well with warmer decor, while cooler gray browns suit modern or minimalist interiors. Choose plank width based on the size of the living room: wider boards can make the space feel more open, while narrower planks often look more traditional. Also decide between smooth, hand-scraped, or wire-brushed textures depending on how much character you want and how well you want the floor to hide everyday marks.
Why does the construction of engineered wood matter for long-term performance in living rooms?
Engineered wood floors are built with layers that improve dimensional stability compared to solid wood, which helps them handle seasonal humidity swings common in living rooms. The quality of the plywood or HDF core, the bonding method, and the overall stability rating affect how well the floor resists cupping, gapping, and squeaks. Choosing a reputable engineered wood flooring product with clear specifications for acclimation and installation reduces the risk of future issues.
📅 Last Updated: October 19, 2026 | Topic: How to choose engineered wood floors for a living room? | Content verified for accuracy and freshness.
References
- Engineered wood
- Wood flooring
- Formaldehyde | US EPA
- https://www.epa.gov/indoor-air-quality-iaq/volatile-organic-compounds-vocs
- https://www.epa.gov/formaldehyde/tsca-title-vi-formaldehyde-emissions-composite-wood-products
- F2170 Standard Test Method for Determining Relative Humidity in Concrete Floor Slabs Using in sit…
- F1869 Standard Test Method for Measuring Moisture Vapor Emission Rate of Concrete Subfloor Using …
- https://scholar.google.com/scholar?q=how+to+choose+engineered+wood+flooring+living+room Google Scholar
- https://scholar.google.com/scholar?q=engineered+wood+flooring+wear+layer+thickness+durability Google Scholar
- https://scholar.google.com/scholar?q=engineered+wood+flooring+formaldehyde+emissions+VOC+indoor+air Google Scholar



[…] gives you a clear per-square-foot worksheet that converts your room size, plank thickness, and installation method into a realistic total cost. You’ll also see the cost add-ons that most estimates miss—subfloor […]