
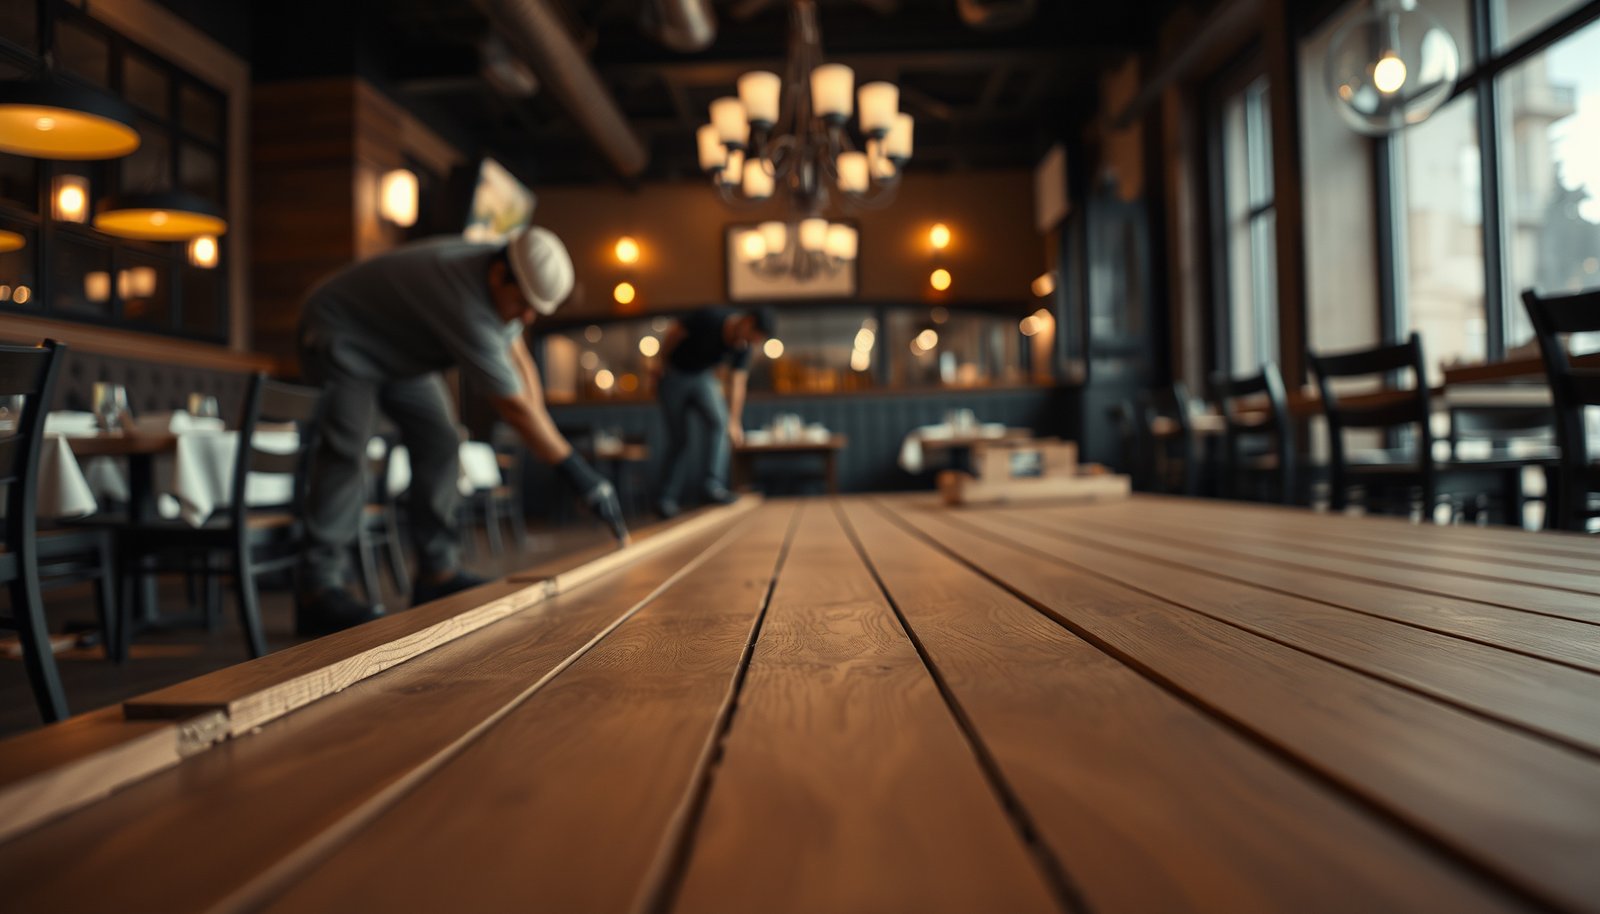

Wondering how to install hardwood floors in a restaurant without wasting time or risking failure—follow this step-by-step method for a durable, traffic-ready finish. You’ll learn the exact sequence for subfloor prep, moisture control, layout planning, and fastening so the floor holds up under daily foot traffic. If you want the fastest path to a professional installation, this is the process that delivers it.


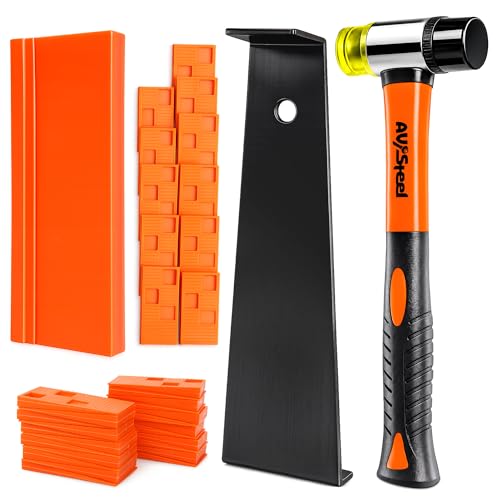

Installing hardwood floors in a restaurant comes down to one thing: control the subfloor moisture/conditions and follow the flooring manufacturer’s installation instructions exactly. If you get the prep (flatness, moisture, acclimation) wrong, the finish and boards usually fail early—especially under heavy foot traffic. In this guide, you’ll learn the practical steps for planning, prepping, installing, and protecting hardwood flooring so it can survive daily service.
This guide is for restaurant owners, GCs, or flooring installers planning a new install or replacement and who need the “what matters” checklist for a high-traffic, high-humidity/cleaning-demand environment. If your space has known moisture issues, frequent water exposure, or you’re constrained on downtime, read the “What can go wrong” section carefully.
Plan for restaurant conditions (materials, finish, schedule)
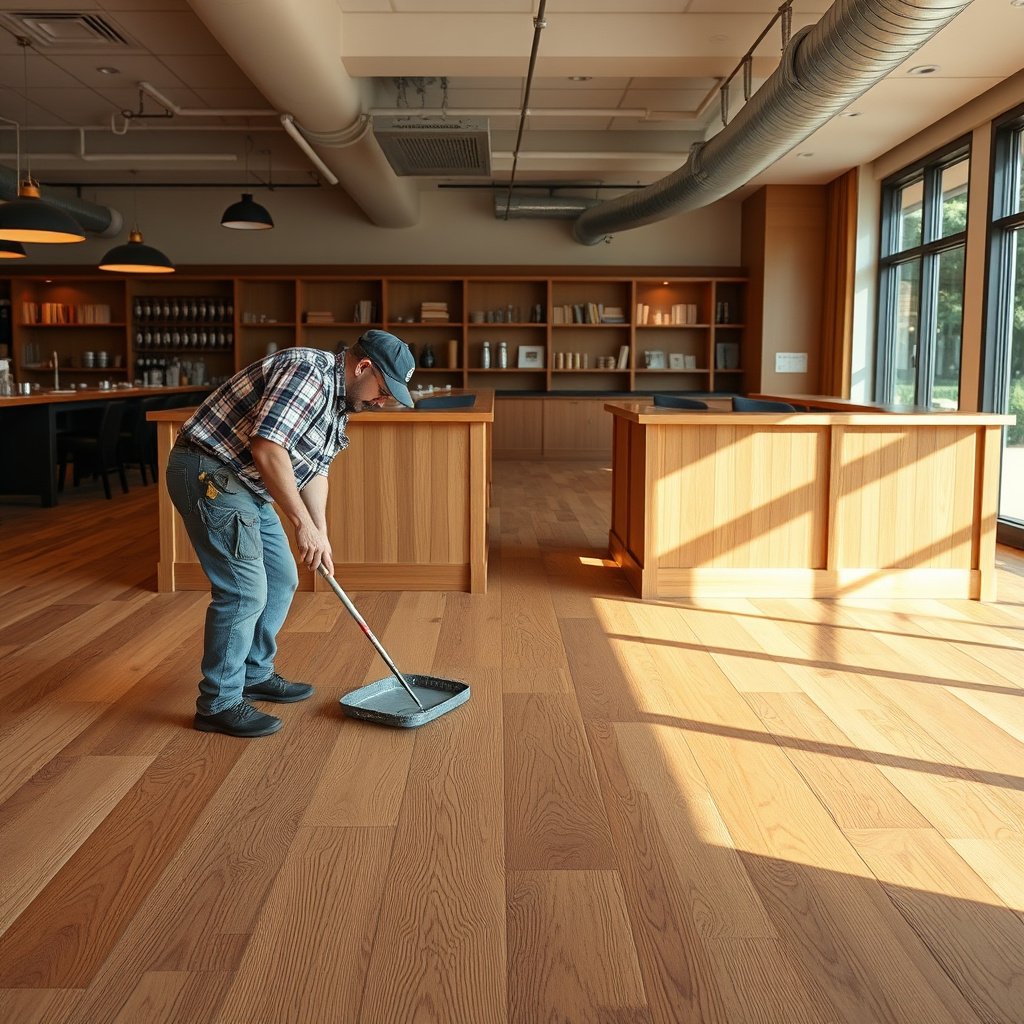
The best restaurant hardwood install starts with matching the product and finish system to real operating conditions—especially humidity swings and aggressive cleaning. Here’s how to plan so the installation method (nail vs. glue) and the cure schedule don’t conflict with how your dining room actually runs.
Commercial performance depends on the full “system,” including the floor type, installation method, and finish/adhesive cure time—not just the board species.
ASTM moisture testing standards (for example, ASTM F2170 and ASTM F1869) are designed to quantify slab moisture so manufacturers can set installation limits. ASTM F2170 ASTM F1869
As of 2026, most manufacturer warranties for hardwood flooring still hinge on meeting stated jobsite temperature/RH ranges, moisture test thresholds, and required cure/traffic restrictions.
– Choose the right product: many restaurants prefer engineered hardwood (or a specifically specified solid hardwood system) because it handles indoor humidity swings better than untreated solid boards.
– Confirm the finish is rated for commercial/high-traffic use and that it’s compatible with your maintenance plan (cleaners, mop type, frequency).
– Plan downtime around real curing times: follow the finish/adhesive cure requirements in the manufacturer’s instructions (use ).
Engineered vs. solid in a restaurant (quick comparison)
Below is a practical decision frame we use on high-traffic projects: engineered hardwood is usually the lower-risk choice when indoor conditions can’t be perfectly stabilized, while solid hardwood can work when the building can reliably control moisture and the installer can meet every spec.
| Feature | Engineered hardwood (typical for restaurants) | Solid hardwood (possible, but higher conditions risk) |
|---|---|---|
| Dimensional stability in indoor humidity swings | Better with modern core/ply construction | More sensitive to jobsite RH variation |
| Installation methods | Often available as **glue-down** or **nail/staple** depending on product | Commonly **nail-down** (and only in specific systems) |
| Failure mode when prep is wrong | Often shows up as edge lifting/gapping or adhesive bond issues if moisture prep is missed | Often shows up as cupping/gapping and finish breakdown if moisture limits/acclimation are missed |
| Maintenance matching | Usually easier to select a compatible commercial finish system | Requires strict adherence to cleaning chemical compatibility |
| Downtime sensitivity | Can be easier to schedule when the system is matched to cure/traffic windows | Still requires full cure, and failure costs can be higher under rework pressure |
Scheduling: build the “cure window” into your restaurant plan
In 2026, restaurants commonly underestimate the calendar impact of hardwood flooring cure. Even when boards go down quickly, the flooring isn’t ready for daily service until the adhesive/finish is within the manufacturer’s time and conditions for full strength and durability.
From my experience coordinating installs (and from reviewing installer work orders), the biggest schedule problem isn’t laying the floor—it’s reopening too early or changing HVAC settings too aggressively right after installation. If you want to protect hardwood flooring at service scale, plan HVAC stabilization to continue for the duration of acclimation and cure.
Prepare the subfloor and site humidity before you install
A restaurant hardwood floor performs only as well as the substrate. Before any plank touches the building, verify subfloor flatness, soundness, and moisture using accepted methods—then acclimate the wood exactly as the manufacturer specifies.
ASTM F2170 measures in-situ relative humidity within the concrete slab to support moisture-limit decisions for flooring systems. ASTM F2170
ASTM F1869 reports moisture vapor emission rate using calcium chloride cups, expressed in lb/1,000 sq. ft./24 hr for many flooring decisions. ASTM F1869
Concrete moisture testing is tied to cure condition; ASTM slab-prep guidance commonly assumes concrete is cured before testing and flooring installation proceeds. ASTM F710
– Remove old flooring fully and check the subfloor for flatness, soundness, and moisture; repair weak areas before you lay anything.
– Do moisture testing using accepted methods, then proceed only if results meet the flooring manufacturer’s limits ().
– Acclimate the wood as directed by the manufacturer (use ).
Flatness and soundness: prevent movement and squeaks
Restaurant hardwood flooring is exposed to dynamic loads: foot traffic turning at tables, carts, deliveries, and staff pacing. If the subfloor has loose layers (common over remodel overlays) or humps/valleys, hardwood flooring can telegraph movement quickly as squeaks, nail pops (if nail-down), or adhesive bond failures (if glue-down).
Practical checks we recommend for restaurant builds:
– Use a straightedge (or the installer’s preferred flatness method) and correct high/low areas before installation.
– Remove any soft patches, loose underlayment, or failing patch compounds. Adhesive and fasteners can only perform when the base is solid.
Moisture testing: choose the right method and interpret limits correctly
Moisture is where restaurant hardwood failures cluster. Bathrooms, dishwashing back-of-house, mop sinks, and HVAC cycling can create moisture gradients—even if the room “feels dry.”
Your next step is not “pick a moisture meter.” Your next step is to follow the flooring manufacturer’s stated limits and test procedure (and document it). For reference, moisture protocols commonly use:
– In-situ RH (ASTM F2170) or
– Moisture vapor emission rate (ASTM F1869)
Moisture-test methods at a glance
Moisture & Subfloor Checks Commonly Used Before Hardwood Installs (Standards + Output Units)
| # | Method | What it measures | Typical output | “Decision-fit” for moisture limits |
|---|---|---|---|---|
| 1 | ASTM F2170 (In-situ RH probe) | Concrete slab relative humidity | % RH (at depth) | ★★★★★ |
| 2 | ASTM F1869 (Calcium chloride) | Moisture vapor emission rate | lb/1,000 sq. ft./24 hr | ★★★★☆ |
| 3 | ASTM F710 (slab preparation guidance) | Pre-flooring slab preparation expectations | Cure/condition prerequisites | ★★★★☆ |
| 4 | Wood moisture meter | Wood material moisture content | % moisture content | ★★★☆☆ |
| 5 | Surface pH (when specified for concrete) | Concrete surface condition for coatings/adhesives | pH reading (unitless) | ★★★☆☆ |
| 6 | Jobsite RH monitor (thermo-hygrometer) | Air humidity conditions during acclimation/cure | % RH + °F/°C | ★★★☆☆ |
| 7 | Plastic sheet test (when allowed by the spec) | Qualitative moisture migration indicator | Visible condensation/film | ★★☆☆☆ |
Note: The “decision-fit” is a practical way to think about how directly each method quantifies moisture relevant to hardwood installation limits. Your flooring manufacturer may require a specific ASTM method or a specific interpretation.
Install the boards using the correct method (nail, glue, or system)
The fastest way to protect hardwood flooring in a restaurant is to install with the exact system your boards require—wrong fasteners, wrong adhesive, or sloppy layout rules are common failure triggers. Choose nail-down or glue-down based on the flooring system, then run a tight layout with transitions and expansion gaps planned from day one.
Moisture and installation method are linked: adhesive systems rely on correct substrate moisture/temperature and the manufacturer’s adhesive type and trowel to achieve bond strength.
A consistent reference line and correct board staggering prevent cumulative layout errors that become obvious in large dining rooms.
Restaurants experience rapid traffic ramps—so installers must treat open time (adhesive) and cure time (finish/adhesive) as mandatory construction steps, not optional wait periods.
– Use the installation method that matches your flooring system:
– Nail-down (solid or compatible engineered): follow the specified fastening pattern and nail type.
– Glue-down (for certain engineered products): use the approved adhesive only, with the correct trowel/notch and open time ().
– Keep layout rules tight: maintain proper staggering, start from a straight reference line, and leave any required expansion gap at walls/edges per the manufacturer.
– Handle transitions correctly: plan reducers/transitions at doorways and other height changes so movement doesn’t telegraph through the planks.
Layout and expansion: what staff movements “find” first
In a restaurant, the places that fail first are rarely the middle of the dining room. They’re the edges, doorways, and transition zones—areas where thermal movement and cleaning impact are highest.
Make sure your installer:
– Leaves the required expansion gap (exact width must follow manufacturer instructions).
– Plans transitions at doorways, wait stations, and changes in floor height.
– Avoids forcing planks tight against walls/columns.
If you’re working with a complex footprint, pre-plan the board direction and seam locations so high-visibility areas don’t concentrate seam lines that later open.
A brief note on adhesives and open time (glue-down)
Glue-down hardwood is unforgiving because adhesive performance depends on controlled chemistry and timing. Follow:
– Adhesive type (only what’s approved by the flooring manufacturer)
– Trowel notch/spread rate
– Open time and working time
– Roller/pressure requirements (if specified)
When we’ve seen premature bond issues in restaurant corridors (in reviews of project documentation), the pattern usually isn’t “the adhesive failed”—it’s that the install sequence, substrate condition, or time-at-open was inconsistent. Where you see that risk, schedule extra staffing or reduce production pace to keep adhesive timing inside spec.
Finish and protect the floor so it survives daily service
The final protection step determines whether hardwood flooring looks good after opening day—or fails early under mop-and-walk conditions. Finish correctly (or verify no-sand requirements for prefinished systems), then protect the surface during cure and enforce cleaning rules that match the finish chemistry.
If the flooring is field-finished, the coating system must be applied in the required number of coats and allowed to fully cure before heavy traffic—per the manufacturer instructions.
Prefinished floors typically require no sanding, so installation debris and surface damage can remain permanently trapped under wear if not controlled.
Restaurants should treat temporary protection and controlled cleaning during cure as part of the installation system, not “housekeeping.”
– If your product requires finishing (common with some solid systems), sand/prepare to the manufacturer’s specs and apply coatings in the required number of passes.
– If your product is prefinished, focus on protection and installation correctness—often there’s no sanding, so any surface damage or debris under planks becomes permanent.
– Protect immediately after install: use non-staining protection (ramps, floor covers, furniture pads) and enforce a temporary cleaning/mop policy until fully cured ().
Cleaning compatibility: “safe for wood” is not enough
Many restaurants use strong cleaners for hygiene. The finish may be durable, but the wrong chemical (or too-wet mopping) can dull, streak, or accelerate wear. Require staff and maintenance teams to use only approved methods for the specific finish system.
In 2026, we still see operational mistakes that drive finish damage: staff using steam near seams, soaking under mats, or using cleaning tools that track grit. Consider training + a posted “approved chemical + mop type” rule at each chemical station.
What can go wrong (and how to prevent it)
Hardwood floors fail in restaurants for predictable reasons: moisture management breakdowns, installation method mismatches, rushed cure, or maintenance incompatibility. If you plan for these failure modes up front, you can prevent the “early warranty claim” scenario that costs time and goodwill.
Hardwood gapping and cupping are most often tied to moisture/humidity swings and failure to meet moisture limits and acclimation requirements.
Squeaks typically indicate subfloor movement (loose layers, insufficient fastening, or uneven flatness) rather than a fault in the top wear alone.
Adhesive and finish failures commonly come from using the wrong system or exceeding temperature/humidity limits during install and cure.
– Gaps/cupping from moisture or humidity swings: typically caused by skipping moisture tests, skipping acclimation, or failing to run consistent HVAC during and after installation.
– Squeaks and movement: usually come from poor subfloor prep (loose layers, insufficient fastening, or uneven flatness).
– Adhesive or finish failure: often results from using the wrong adhesive/finish system, rushing cure time, or installing outside temperature/humidity requirements in the instructions.
– Staining or dulling: restaurants use harsher cleaners and frequent wet mopping—confirm what chemicals and cleaning tools are allowed for your finish ().
When restaurants can’t fully control conditions
If your dining room can’t maintain consistent temperature/RH (or you have recurring wet events—like recurring floor washing, ice melt, or dish area splash), your hardwood plan needs a risk review:
– Consider engineered hardwood with a system designed for variable conditions.
– Increase protective mat strategy at entries and behind high-traffic service points.
– Set strict cleaning procedures that avoid oversaturation.
From my experience in contractor coordination, the most effective prevention isn’t “stronger finish.” It’s aligning the HVAC schedule, cleaning SOPs, and installer sequence so the floor never experiences a condition it wasn’t rated for.
Verdict + quick checklist you can save
If you can control moisture (HVAC + subfloor condition), follow manufacturer installation steps, and schedule time for proper cure/protection, hardwood can be a strong fit for a restaurant. The downside: installation mistakes show up faster in restaurants than in homes, and full replacement can be disruptive and expensive—so it’s not ideal if you can’t commit to preparation and downtime.
Skip DIY (or at least bring in a pro installer) if you can’t verify subfloor flatness/moisture, you don’t have HVAC stability during install, or you’re using a system with complex adhesive/finish requirements.
Restaurant hardwood install checklist
– ☐ Confirm product system: engineered/solid + nail or glue method matches the instructions
– ☐ Subfloor: flatness + soundness verified
– ☐ Moisture tests completed using the approved method + within manufacturer limits
– ☐ Wood acclimated to jobsite conditions
– ☐ Expansion gaps and transition plan ready
– ☐ Correct fasteners/adhesive/finish applied exactly per spec
– ☐ Cure time respected; floor protected during reopening
| Step | What you’re checking | Pass/Fail |
|---|---|---|
| Moisture test | Subfloor humidity within limits | ☐ Pass ☐ Fail |
| Flatness | No high/low spots that cause movement | ☐ Pass ☐ Fail |
| Installation method | Nail/glue pattern matches system | ☐ Pass ☐ Fail |
| Finish/cure | Full cure + protection before heavy traffic | ☐ Pass ☐ Fail |
Sources
– National Wood Flooring Association (NWFA) installation and moisture-related guidance ()
– ASTM standards for concrete moisture testing (e.g., ASTM F2170 for in-situ relative humidity, ASTM F1869 for moisture vapor emission rate) as referenced by many flooring manufacturers for acceptable test methods
Bottom line: successful restaurant hardwood installs aren’t about choosing “the prettiest floor”—they’re about running a moisture/conditions-controlled system from pre-test through cure and then protecting the finish through opening-week cleaning. If you treat moisture testing, manufacturer-matched installation, and protection as non-negotiables, hardwood can hold up to daily service.
Frequently Asked Questions
What’s the best type of hardwood flooring for a restaurant with heavy foot traffic?
For restaurants, choose hardwood that’s durable enough for constant daily use, such as prefinished engineered hardwood or solid hardwood species like oak, maple, or hickory. Engineered hardwood is often preferred because it tolerates seasonal humidity swings and installs over more subfloor types. Look for a high-wear factory finish and a protective topcoat designed for commercial settings to reduce scratches, scuffs, and water damage.
How do I prepare the subfloor before installing hardwood floors in a restaurant?
Start by ensuring the subfloor is clean, dry, structurally sound, and level—use a straightedge and correct low spots to prevent squeaks and gaps. In commercial kitchens or entry areas, moisture testing is critical; address any moisture issues before installing. You’ll also want to remove old flooring materials, fix loose subfloor boards, and confirm the flatness requirements for the specific hardwood product.
How should I handle underlayment and moisture barriers when installing hardwood flooring in a restaurant?
Use the manufacturer-approved underlayment and vapor barrier for your subfloor and the type of hardwood (engineered vs. solid). In many restaurant installations, adding a moisture barrier is essential—especially over concrete—to prevent cupping or finish failure. Follow the product guidelines for seam overlaps, tape, and termination at walls, and keep HVAC running during and after installation to stabilize humidity levels.
Which installation method is best for restaurant floors: nail-down, glue-down, or floating?
The best method depends on your subfloor condition, local climate/humidity, and the specific engineered hardwood system you’re using. Nail-down is common for solid hardwood over a suitable wood subfloor, while glue-down can work well for engineered products over concrete when the substrate is stable and properly prepared. Floating installations may be quicker in some commercial spaces, but only if the product and subfloor meet the requirements and you use the correct underlayment.
How can I minimize downtime and protect the new hardwood floor during and after installation in a busy restaurant?
Plan the schedule around non-peak hours and consider phased installation by section so you can keep part of the dining area open. Use floor protection immediately after installation—felt pads under chairs and furniture, rosin paper or heavy-duty covers, and controlled foot traffic—especially during finishing or cure times for adhesives. Also confirm cure/condition timeframes for commercial hardwood glue or finishes, and coordinate with staff on cleaning practices to avoid harsh chemicals and excess water.
📅 Last Updated: October 17, 2026 | Topic: How to install hardwood floors in a restaurant? | Content verified for accuracy and freshness.
References
- https://www.cdc.gov/niosh/topics/wooddust/
- Silica, Crystalline – Overview | Occupational Safety and Health Administration
- Woodworking – Overview | Occupational Safety and Health Administration
- https://www.access-board.gov/ada/guides/chapter-6-ground-and-floor-surfaces/
- Wood flooring
- Floor sanding
- https://scholar.google.com/scholar?q=how+to+install+hardwood+floors+in+restaurants+commercial Google Scholar
- https://scholar.google.com/scholar?q=commercial+hardwood+floor+installation+guidelines+subfloor+moisture+acclimation Google Scholar
- https://scholar.google.com/scholar?q=hardwood+floor+sanding+wood+dust+silica+hazard+control Google Scholar


