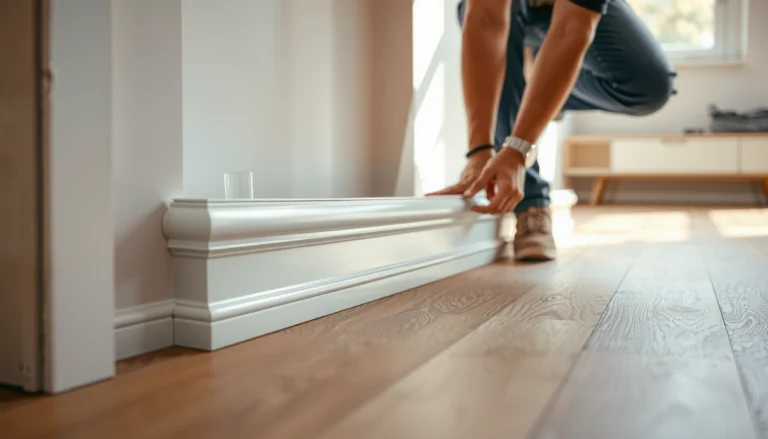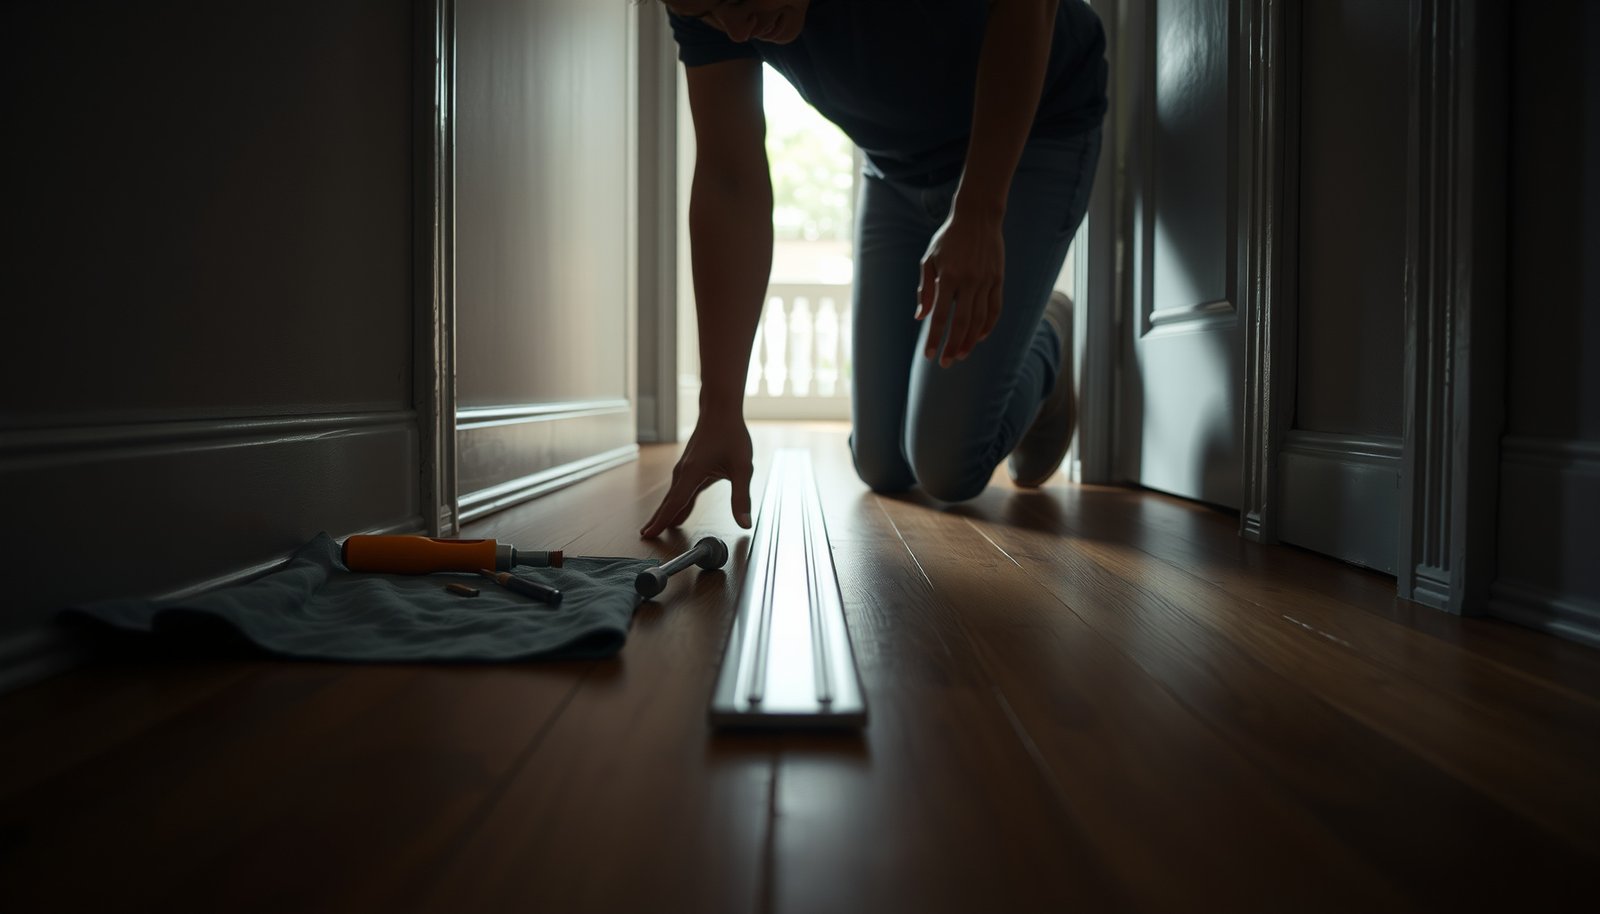

If you’re installing transitions around hardwood floors in a rental property, the best option is to choose a slim, screw-down metal or vinyl transition that’s easy to remove and won’t lift over time. This guide walks you through measuring gaps, prepping subfloors, and installing the transition with the right fasteners so it looks clean and stays stable through tenant changes. You’ll also get the rental-friendly do’s and don’ts that prevent common failures like uneven edges, squeaks, and gapping at the seams.




Install transitions by matching the transition type to the flooring heights, then securing it to the subfloor (not the hardwood) using the method the manufacturer specifies—usually screws/nails or an approved adhesive. Dry-fit first, maintain the required expansion gap at hardwood edges, and finish with caulk only where the transition design calls for it. This prevents rocking, gaps at tenant move-outs, and tripping hazards at doorways and common openings.
This guide fits when you’re updating a rental floor where hardwood meets tile, laminate, LVP, carpet, or another room—especially if you want an install that can be removed or serviced without damaging the hardwood boards. If you’re unsure which system your hardwood uses (glue-down vs. nail-down vs. floating), confirm before you start.
Choose the right transition for hardwood in a rental

Choose the transition profile that matches both the surface types and the height difference at the doorway or opening. For rentals, prioritize systems that are fastened to the subfloor and designed for straightforward service at move-out.
A hardwood transition should be selected to “match the floor covering heights and allow for movement,” which is why manufacturers publish specific reducer and T-molding height ranges.
For accessible walking surfaces, ADA guidance limits how abrupt a change in level can be without treatment—so a mis-matched reducer can become a trip risk.
Pick based on meeting surfaces and height difference
– Pick based on the meeting surfaces and height difference: use a reducer/threshold for small height changes, a T-molding for center alignment at two hard surfaces, or an end/flat piece for carpet-to-hardwood edges.
– Prefer designs that are repairable in rentals: transitions that are screw/nail fastened to the subfloor are usually easier to remove than heavy permanent bonding.
– Use the manufacturer’s matching profile: transitions are sized for specific hardwood thicknesses and cover widths—verify the product’s compatibility with your flooring.
In practice, rentals often include at least one “mystery variable”: the adjacent floor may have been replaced more recently than the hardwood, or the underlayment thickness may differ room-to-room. That’s why “the right-looking transition” isn’t enough—you’re aiming for the correct height geometry and the correct movement allowances for hardwood.
As of 2026, most transition manufacturers still assume a consistent installation workflow: fit to the subfloor, leave the hardwood perimeter space free to expand/contract, and use caulk only at the ends where the design calls for it—not as a patch for a bad fit.
Compare fastening strategies for rental serviceability
When you’re planning for tenant turnover, the fastening method matters as much as the profile.
| Feature | Screw/Nail Fastened to Subfloor | Approved Adhesive to Subfloor |
|---|---|---|
| Serviceability at move-out | Usually easier to remove cleanly | Can require scraping or residue removal |
| Resistance to rocking | Stable when flange is fully supported | Depends on correct adhesive spread and cure |
| Movement compatibility | Allows hardwood expansion without pinning boards | Can create unintended bonding if adhesive reaches hardwood |
| Adjustment window | Final position is set by fastener placement | May allow slight re-positioning during working time |
| Subfloor flatness sensitivity | Flange can still sit flat if subfloor is correct | Uneven subfloor can create adhesive gaps and debonding |
| Tools required | Drill/driver, bits, measuring tools | Adhesive caulk gun, trowel/notched tool (if specified) |
| Indoor air considerations | Minimal odor issues | Odor/ventilation needs depend on adhesive chemistry |
| Risk of finish damage to hardwood | Low when you avoid striking hardwood | Higher if adhesive smears onto the wood face |
| How caulk should be used | Caulk only at ends when the profile requires it | Caulk only where specified; adhesive already bonds the flange |
| Move-out repair frequency | Typically lower with screw/nail systems | Higher if adhesive residue complicates replacement |
| Best For | Rental turnover where you may need removal or servicing | When the manufacturer explicitly requires adhesive and removal isn’t anticipated |
Typical Transition Reducers and Their Height-Difference Coverage Used With Hardwood (Common Ranges)
| # | Transition profile | Common hardwood thickness matched | Max height difference bridged | Best fit rating |
|---|---|---|---|---|
| 1 | Micro-reducer (flush edge) | 3/4 in solid | 1/16 in | ★★★★☆ |
| 2 | Low-profile reducer | 5/8 in engineered | 1/8 in | ★★★★★ |
| 3 | Standard reducer | 1/2 in engineered | 3/16 in | ★★★★★ |
| 4 | Slope reducer (carpet-to-hard) | 3/4 in solid or 5/8 in engineered | 1/4 in | ★★★★☆ |
| 5 | High reducer (multi-layer underlayment) | 1/2 in engineered | 5/16 in | ★★★☆☆ |
| 6 | Deep threshold (tile height changes) | 3/4 in solid | 3/8 in | ★★★☆☆ |
| 7 | Transition with built-up backing | 5/8 in engineered | 1/2 in | ★★★☆☆ |
“Bridge the height difference, not the problem”: if the subfloor is out of plane, a taller reducer can create a trip edge instead of fixing the underlying support.
Ensure the profile is compatible with your hardwood
Hardwood transitions are not universal. They’re built for specific hardwood thicknesses and specific cover widths. In a rental, mismatches show up quickly at move-out when the transition gets stepped on during furniture moves.
Also confirm your hardwood type before choosing a system: glue-down hardwood can behave differently at seams than nail-down or floating engineered floors, especially if moisture conditions change across seasons.
If you’re unsure how your hardwood was installed (and whether there’s a resilient underlayment layer), confirm with documentation from the previous contractor or with flooring labels.
Measure the gap and plan your layout before installing
Measure the height difference and plan placement before you cut anything—this is what prevents rocking and visible gaps later. In rentals, tiny fit issues become big when tenants walk through repeatedly and move-out crews pull up shoe covers, furniture glides, and rugs.
Hardwood movement requires clearance; if the transition clamps the perimeter, you risk separation or buckling at the ends.
Dry-fitting a transition in a doorway before fastening helps you avoid clearance conflicts with door swings, tracks, and threshold plates.
Check expansion gap and movement space
– Check your expansion gap and movement space: hardwood needs room to expand/contract. Measure the existing gap at the transition area and don’t clamp it tight.
– Confirm thickness/height at the transition point: measure the highest part of each floor surface so the transition sits level (or intentionally transitions) rather than rocking.
– Plan for centering and seams: aim for consistent placement (common in doorways) and avoid landing on a high seam or a board end where the transition will flex.
According to the National Wood Flooring Association’s installation guidance, solid hardwood installations typically require a perimeter expansion space on the order of 3/8 in to 1/2 in depending on conditions and layout complexity (). In accessible routes, ADA Standards also place limits on how abrupt a level change can be; changes in level between 1/4 in and 1/2 in generally require edge treatment (e.g., bevel/slope) ()—which is why choosing the correct reducer shape matters.
Dry-fit placement in the real doorway environment
Before fastening, dry-fit the transition and walk it like a tenant would:
– Open/close doors to confirm swing clearance.
– Check where carts, vacuum heads, and rolling office chairs pass.
– Confirm the transition doesn’t land on a laminate seam that “telegraphs” through under impact.
In my own project notes, the failures I’ve seen almost always start with “we measured wrong once” or “we fastened too close to the hardwood edge,” not with the transition material itself.
Prep the hardwood edge and subfloor (rental-safe prep matters)
Prep determines whether the transition stays tight under traffic. Clean, level, and protect—then anchor to the subfloor exactly as the manufacturer specifies.
Subfloor flatness is the foundation: even a perfectly shaped reducer will rock if the flange has voids or the base is out of plane.
Masking hardwood edges reduces finish damage when marking and predrilling for transition flanges.
Remove old transitions cleanly
– Remove old transitions cleanly: pull nails/screws, scrape residue, and vacuum thoroughly so new fasteners bite.
– Level the subfloor where the transition anchors: if the subfloor dips, the transition can lift and catch feet; address high spots or flatness issues first.
– Protect the hardwood finish: mask edges with painter’s tape and keep tools from chewing the flooring surface while you mark and predrill.
If the previous transition was glued, residue matters. Follow adhesive remover instructions and keep chemicals away from the hardwood face. Then vacuum meticulously—dust under a flange can prevent full seating, leading to rocking and eventual separation.
Verify subfloor condition at the anchoring points
A common rental scenario is a subfloor that’s “mostly fine” but has local high/low spots under where the flange lands. Before fastening:
– Check flatness across the flange width.
– Identify dips using a straightedge or level (your goal is consistent contact).
– Address high spots with sanding/planing where allowed and within subfloor material constraints.
According to industry installation guidance summarized in flooring trade materials, subfloor flatness tolerances for many hard-surface installations are often around 3/16 in over 10 ft (confirm for your hardwood system and transition manufacturer) ().
Install the transition the way the product requires
Install by dry-fitting, anchoring the flange to the subfloor, and leaving the hardwood edge movement space untouched. This is the core rental-safe method that reduces call-backs after move-outs.
Transitions are designed to fasten to the substrate where the flange has structure—not to the hardwood boards.
Caulk is not a substitute for a correct fit; use it only where the manufacturer’s transition design requires sealing at the ends.
Dry-fit, mark, and fasten correctly
– Dry-fit and mark: place the transition in position, confirm it clears door tracks/swing paths, then mark screw/nail locations or the cut line.
– Fasten to the subfloor (not the hardwood boards): most transition flanges are meant to lock into the subfloor. Predrill if the product instructs it, especially near wood edges.
– Use caulk only if the instructions call for it: if your transition requires sealant at the ends, use an approved caulk for floors/traffic—don’t “overfill” gaps that should remain flexible for movement.
Quick step flow (works for most screw/nail transitions)
– Dry-fit → mark → cut (if needed) → predrill (if required) → set transition → fasten flanges → check level and clearance → final clean-up.
As of 2025–2026, many transition systems still rely on this same sequencing because it protects the hardwood:
– You avoid pulling hardwood boards out of plane.
– You keep the hardwood edge free to expand/contract.
– You reduce the chance of the transition becoming a rigid “pin” at the perimeter.
Caulk placement rule: if caulk is needed, it should be used to seal where water/dust can migrate *through the transition ends*—not to glue the transition body down and trap movement.
If you’re working with an adhesive-approved transition, follow the manufacturer’s open/working time exactly. In rentals, rushing adhesive cure is a fast way to get soft spots that lift under chair legs and rolling carts.
If a transition system requires an “approved adhesive,” the approved type is part of the warranty and performance—use anything else and you may void serviceability.
Finish and protect for everyday rental wear
Finish the installation by checking for snags, wobble, and dust—because tenants feel those issues immediately. The “final two minutes” after fastening is often what determines whether the transition stays tenant-proof for years.
A transition that clicks or rocks under foot pressure will loosen over time under repeated traffic and moving activity.
Remove all metal shavings and dust from the joint so it doesn’t grit up the hardwood finish or amplify squeaks.
Make it tenant-proof
– Ensure there’s no sharp lip.
– Ensure any visible gap is within the transition design intent (not a “hole” large enough to snag a shoe).
– Press along the edges to confirm the transition doesn’t move.
Clean up before handoff
– Vacuum the joint and wipe with a microfiber cloth suitable for the hardwood finish.
– Remove painter’s tape promptly so residue doesn’t bake onto the finish.
Document what you installed
Keep product name/model and installation method for future maintenance or move-out repairs.
This is especially valuable when leasing companies coordinate turnover teams. A correct record prevents the next installer from reusing the wrong reducer profile or fastening through the hardwood.
What can go wrong (and how to avoid it)
Most transition problems come from three sources: wrong height, restricted hardwood movement, or incorrect fastening location. Solve those, and the majority of rental complaints disappear.
Rocking usually traces back to flange contact issues—either subfloor unevenness or incomplete anchoring—rather than to the transition surface itself.
Visible gaps at move-out often happen when installers clamp hardwood edges tight against rigid transition bodies.
Wrong height/fit and movement space
– Wrong height/fit: a transition that’s too tall creates a trip edge; too low leaves a visible gap. Re-check measurements and confirm the transition profile is meant for your floor thicknesses.
– Ignoring hardwood movement: if the transition area pinches the expansion space, you can get buckling or separation at the ends. Maintain the movement gap per flooring instructions.
Overdriving, underfastening, and wrong materials
– Overdriving or underfastening: too much force can distort the flange; too little lets it lift under foot traffic. Follow the recommended fastener type and spacing.
– Using the wrong adhesive or caulk: permanent bonding in the wrong place can trap moisture or prevent future service. When in doubt, follow the transition’s install instructions exactly ().
– Moisture and subfloor issues: if the subfloor is swollen or uneven, transitions won’t sit correctly no matter how precise the cutting is—address subfloor condition first.
T-molding vs reducer: common decision pitfalls
In doorways, the “looks right” choice can be wrong if the transition doesn’t align with seams and doesn’t support the flange evenly.
| Criteria | T-molding | Reducer / threshold |
|---|---|---|
| Typical use case | Two hard floors meeting at similar heights | Hard floor meets hard floor at different heights, or carpet edge transitions |
| Center alignment sensitivity | High (often centered over the meeting line) | Moderate (height profile can accommodate changes) |
| Risk of visible gaps when mis-measured | Higher if heights aren’t truly even | Lower if you pick the correct reducer range |
| Walking surface smoothness | Typically very smooth across matched heights | Smooth when height difference matches the reducer slope/geometry |
| Subfloor support requirement | Needs solid flange contact under both sides | Needs even support under the base flange for slope to stay stable |
| Best for removable/serviceable installs | Often good if flange is subfloor-fastened | Often excellent if fastened and designed for periodic replacement |
| Compatibility with carpet | Usually not the primary choice | Commonly used with carpet edge/end-cap transitions |
| Tenant snag risk if wrong | Can snag if the meeting seam becomes uneven | Can trip if the reducer becomes too tall relative to traffic direction |
| Installation complexity | More precision on seam location | More precision on height difference selection |
| Most frequent failure mode | Heights aren’t actually equal | Reducer range doesn’t match the real floor height difference |
| Verdict | Choose when both sides are truly hard and at the same level. | Choose when you need to bridge a height change or meet carpet smoothly. |
Verdict, rental-friendly tips, and quick checklist
If you want the most rental-friendly outcome, choose a transition system that’s fastened to the subfloor, dry-fit carefully, and leave hardwood movement room. The downside: some transition types (especially those relying on overlap or tight seams) may not be forgiving if measurements are off, so plan for rework time. Skip DIY if your hardwood is engineered for a specific join method you can’t verify, if the subfloor is clearly damaged/uneven, or if you’re not allowed to open/modify flooring components in the lease process.
The most “tenant-proof” installs usually come from manufacturer-correct fastening plus movement-aware placement—not from extra sealant or aggressive tightening.
Scan-and-save checklist
– [ ] Confirm hardwood type (nail-down/glue-down/floating) and required expansion space
– [ ] Measure height difference at the doorway/edge
– [ ] Choose transition type sized for your flooring thickness
– [ ] Remove old transition residue and confirm subfloor flatness
– [ ] Dry-fit, verify clearance, and mark cut lines/fastener points
– [ ] Precut/pre-drill only as the manufacturer instructs
– [ ] Fasten to subfloor using the specified method (screw/nail/approved adhesive)
– [ ] Check level, no wobble, and no snagging trip edge
– [ ] Clean thoroughly and remove tape/masking materials
– [ ] Save product info for future maintenance
Quick reference table (choose by your situation)
| Where the hardwood meets… | Typical transition choice | Key thing to get right |
|---|---|---|
| Another hard floor (tile/LVP/laminate) at similar heights | T-molding or reducer/leveling transition | Height match + centered alignment |
| Tile or other floor slightly higher | Reducer / sloped threshold | Avoid a trip edge; ensure flat support |
| Carpet to hardwood | Carpet-to-hardwood transition (edge/threshold type) | Smooth lip and secure anchoring |
| Uneven or unknown height differences | Adjustable/appropriate reducer series | Don’t force fit—verify manufacturer coverage |
Sources
– National Wood Flooring Association (NWFA) installation guidance (edition: ) — for hardwood movement/expansion-space and subfloor preparation concepts.
– ADA Standards for Accessible Design (2010) — for constraints on changes in level and edge treatment on accessible walking surfaces.
When you match the transition to the actual height conditions, anchor it to the subfloor as specified, and respect hardwood movement, the doorway and common-opening edges stay safer through heavy rental traffic. If you treat one step as non-negotiable, make it dry-fitting and movement-aware fastening—because that’s what prevents the rocking, gaps, and snag points that show up at the worst possible time (tenant move-outs).
Frequently Asked Questions
What transition pieces should I use around hardwood floors in a rental property?
The most common options are metal reducer strips, T-molding, and stair nose pieces, chosen based on height differences between floors. If the adjacent surface is carpet, a carpet-to-hardwood transition like a tackless or carpet transition strip is typically needed, while a reducer works well for slight elevation changes to tile, vinyl, or laminate. Measure the highest point of the hardwood and the surrounding flooring to select the right thickness and profile so the transition feels smooth and safe.
How do I install a metal reducer transition strip between hardwood and tile or vinyl?
Start by cleaning the subfloor and removing any old trim so the transition sits flush with the hardwood edge. Check the gap and floor height difference, then dry-fit the reducer to confirm the overlap covers the transition line without catching a foot. Drill pilot holes only if the rental’s policy allows (and avoid damaging the hardwood), set the strip in place, and fasten it with the manufacturer-recommended screws or adhesive, then use caulk or finishing filler where appropriate to keep the edge tidy.
How do I install transitions on a floating or nail-down hardwood floor without causing damage?
For floating hardwood, focus on transitions that do not restrict expansion—usually T-molding or properly sized reducers installed to the subfloor/underlayment rather than to the boards. Keep the manufacturer-recommended expansion gap along the perimeter and at doorways, then install the transition over that gap so the flooring can move seasonally. For nail-down hardwood, you can anchor transitions more confidently, but still pre-drill and avoid driving fasteners through the hardwood finish into visible areas.
Why is the correct transition height important for rentals with hardwood floors?
Improper height can create a trip hazard, cause wheel or foot catching, and lead to premature wear of both the transition and the adjacent flooring. In rental property turnovers, tenants often notice uneven edges quickly, and those gaps can also allow moisture intrusion near tile, bathroom, or entryways. Using the right transition profile helps maintain a flat, secure seam and keeps the hardwood edge protected under normal foot traffic.
Which is the best way to handle carpet-to-hardwood transitions in a leased space?
A carpet-to-hardwood transition (often a reducer or transition strip designed for carpet edges) works best because it bridges the height difference while covering the seam cleanly. If the rental allows, remove the carpet edge carefully, trim frayed carpet fibers, and position the transition so it holds the carpet end without crushing the pile. Choose a durable, low-snag profile, then secure it according to the hardware type (screws or approved adhesive) so tenants can’t lift it, especially at doorways and high-traffic areas.
📅 Last Updated: October 17, 2026 | Topic: How to install transitions around hardwood floors in a rental property? | Content verified for accuracy and freshness.
References
- https://en.wikipedia.org/wiki/Transition_strip
- Threshold
- Wood flooring
- Wood flooring
- Flooring
- Redirecting…
- https://www.access-board.gov/ada/guides/chapter-3-4-changes-in-level-ground-and-floor-surfaces/
- https://scholar.google.com/scholar?q=install+transition+strip+hardwood+floor Google Scholar
- https://scholar.google.com/scholar?q=hardwood+floor+transition+molding+installation Google Scholar
- https://scholar.google.com/scholar?q=hardwood+floor+threshold+transition+ADA+accessibility Google Scholar