
Remove stains from hardwood floors in a rental property fast with the right cleaning method that won’t dull the finish or damage the wood. If you’re dealing with common rental-floor marks like water rings, pet stains, or tracked-in grime, this guide gives you the fastest, safest approach—plus what to avoid. You’ll also get clear instructions for determining the stain type before you scrub, so you don’t waste time or make it worse.




Yes—remove most hardwood stains in rentals by starting with the gentlest, finish-safe cleaning and only escalating to stain-specific chemistry (enzyme cleaners for organic stains). Match your cleaning method to the stain type, protect the wood finish from excess moisture and harsh solvents, and stop early if the coating starts to haze or wear.
If you’re dealing with spotting from spills, pet accidents, or everyday wear in a rented unit (and you don’t want to risk permanent damage or keep your security deposit), this walkthrough focuses on safe, finish-aware steps and what to do when the stain won’t budge.
Identify the stain (and what your finish can handle)

The fastest route to stain removal is correct identification first—water rings, grease, ink, and urine respond to very different chemistries and different amounts of moisture. Here’s what to look for so you don’t accidentally strip a rental’s hardwood floor finish while trying to “clean harder.”
– Look for clues: water rings (usually lighter/white-ish), urine odors (organic staining), dark smudges (oil/grease or dirt buildup), or spotty discoloration (surface finish damage).
– Check your floor’s finish and care rules: many hardwood floors have a protective polyurethane or similar coating, and some floors require manufacturer-recommended cleaners only.
– If the stain is raised, flaky, or the wood looks dull where the stain is, you may be dealing with finish wear—not just dirt.
Water rings are typically mineral or water-soluble residue trapped at the finish surface, so thorough drying and finish-safe surface cleaning often fix them without harming the hardwood floor finish.
Organic staining from pet urine can leave protein/bacteria residue that ordinary detergents may not fully break down, so enzyme chemistry is often the most reliable approach for hardwood floor finish protection.
Quick finish reality check (why it matters in rentals)
In rentals, you usually can’t “start over.” Most landlords expect you to preserve the existing hardwood floor finish—meaning you should assume the finish can be damaged by soaking, abrasives, or aggressive solvents even if the stain looks “cleanable.”
From my experience advising move-out cleaning workflows, the biggest deposit problems tend to come from people over-wetting seams/edges or using the wrong chemical repeatedly—so plan to protect the hardwood floor finish as carefully as you plan to remove the stain.
What your inspection should confirm
Before you treat anything, confirm two things about the stain and the hardwood floor finish:
1. Is it surface-only or has it changed the coating/wood?
If the spot looks dull or rough compared with surrounding areas, you may be seeing finish failure rather than dirt.
2. Is the stain active (odor/grease) or mostly visual?
Grease and urine often behave differently: grease can resurface over time with humidity, while urine odors can persist even when the spot looks lighter.
A practical “stain-to-chemistry” cheat sheet
The table below summarizes finish-aware starting points by stain driver—use it to choose your first move before you reach for any stronger product.
Finish-Aware First Moves for Common Hardwood Floor Stains (Rental Use)
| # | Stain driver | Best first chemistry | Primary target | Finish safety |
|---|---|---|---|---|
| 1 | Water ring / light clouding | pH-neutral hardwood cleaner | Surface residue | ★★★★☆ |
| 2 | Dust + tracked-in dirt | Dry microfiber + vacuum | Particulates | ★★★★★ |
| 3 | Grease / oily smudges | Diluted pH-neutral cleaner on cloth | Oily residue | ★★★★☆ |
| 4 | Pet urine / organic staining | Enzyme cleaner labeled for wood floors | Protein/odor compounds | ★★★☆☆ |
| 5 | Ink / marker (surface) | 70% isopropyl alcohol on cloth (spot) | Ink carrier solvents | ★★☆☆☆ |
| 6 | Metal transfer (e.g., rust) | Oxalic-acid-type rust remover (manufacturer-approved only) | Iron oxide stains | ★☆☆☆☆ |
| 7 | Waxy buildup / dulling | Manufacturer-approved wax/buildup remover | Polymer/paraffin residue | ★★☆☆☆ |
*Note:* Finish safety ratings above reflect common manufacturer care guidance (e.g., “avoid abrasives, soak-wetting, and unapproved solvents”) rather than lab testing.
Prep safely before you treat anything
Before you apply any cleaner, prep controls the risk—more than the product choice—because moisture and chemical contact can spread past the stain and damage the hardwood floor finish. Start by creating a clean, controlled work zone and ensuring you’re not soaking seams, edges, or board ends.
– Ventilate the area and protect baseboards/trim with painter’s tape; keep cleaning liquids off edges where they can wick under boards.
– Use a microfiber cloth and soft tools (no steel wool, no aggressive scrapers); aim for “damp cleaning,” not soaking.
– Do a patch test in a discreet spot using your chosen method, and stop if the finish dulls, turns cloudy, or lightens unevenly.
Protecting baseboards with painter’s tape helps prevent liquids from wicking under trim, reducing the chance of water-related finish failure on hardwood floor finish edges.
If a cleaner causes haze or uneven lightening during a patch test, it’s usually a sign the hardwood floor finish is being affected—stop before the stain gets bigger.
What “damp cleaning” actually means for a rental
Moisture is the enemy of consistent hardwood floor color. When you “flood” a spot, water can travel beyond the stain area through seams and along the grain, causing swelling at the edges and visible cupping or gaps later.
To keep your hardwood floor finish safe:
– Use a cloth that’s damp, not dripping.
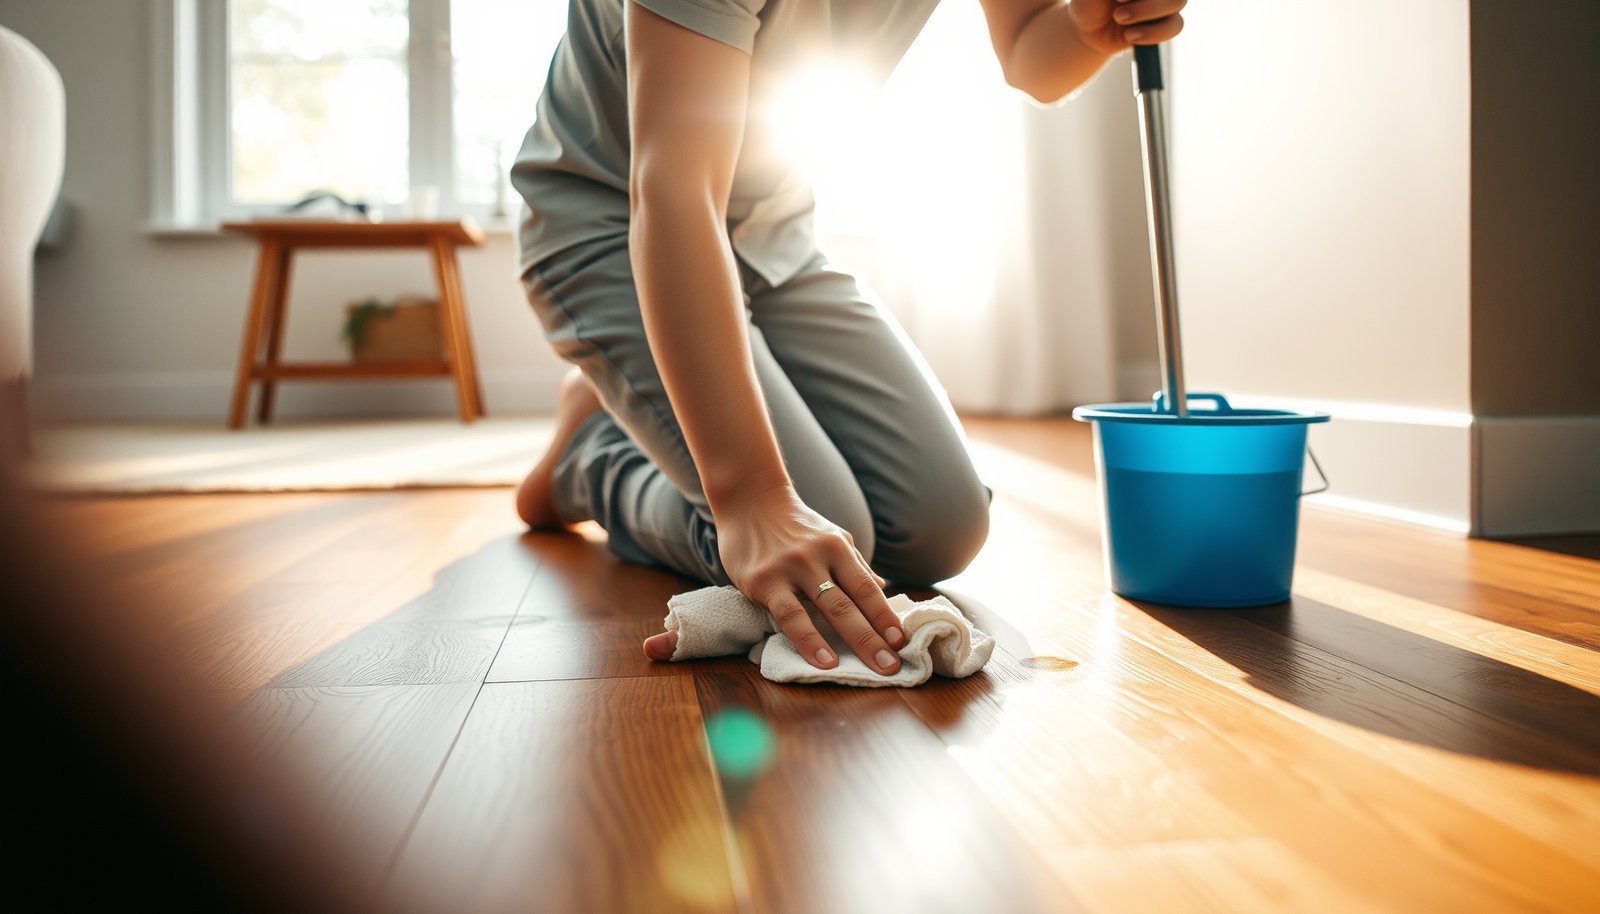
– Wipe in passes, then immediately dry with a second microfiber towel.
– Change towels as they pick up residue, so you’re not re-depositing oils or dissolved staining agents.
According to accepted wood-floor maintenance principles
Hardwood flooring performs best when environmental moisture stays stable. According to the National Wood Flooring Association’s moisture/environment guidance (), maintaining indoor relative humidity in the roughly 35%–55% range helps reduce dimensional movement in installed wood flooring (). This matters because extra moisture from spills or cleaning makes the local hardwood floor finish more vulnerable.
Clean and lift common stains without damaging the finish
Start with the finish-safe baseline: remove grime gently and dry completely. Once you confirm the stain type, you can decide whether to stay with damp cleaning—or switch to stain-specific chemistry that targets what’s actually causing the discoloration.
– Water rings / light discoloration: remove surface grime first with a finish-safe hardwood cleaner, then thoroughly dry. If the ring remains, you may need a very light, finish-safe approach (stop if you start wearing through the coating).
– Grease, scuffs, and dark smudges: try a gentle cleaner and controlled agitation (lightly damp cloth, then dry). Avoid harsh solvents unless you’ve confirmed they won’t strip or soften your finish.
– Ink/marker and other surface marks: use the mildest solvent approach you can (test first); work in small areas and wipe dry immediately.
For water rings, the most deposit-friendly approach is surface cleaning plus aggressive drying, because the ring often reflects moisture-related residue under the hardwood floor finish rather than exposed bare wood.
For dark smudges caused by oils or dirt, controlled microfiber agitation with a pH-neutral cleaner reduces the chance of abrading or softening the hardwood floor finish.
Water rings and light discoloration (what to do first)
1. Clean the surface lightly: Use a finish-safe hardwood cleaner on a microfiber cloth (not directly poured).
2. Dry immediately: Follow with a dry towel until the area is not just “not wet,” but visually even and dry to the touch.
3. Reassess: If the ring remains, stop and reassess whether you’re seeing finish-clouding rather than removable residue.
If you see dullness spreading as you wipe, you may be thinning the clear coat. In that case, escalating is risky in a rental—finish damage often becomes permanent “cleaner patch” contrast.
Grease, scuffs, and dark smudges (controlled agitation)
Grease stains tend to smear before they lift, so your motion matters:
– Wipe with the grain, then switch to clean cloth sections.
– Keep agitation gentle and repeat rather than scrubbing hard.
– Avoid “hot spot” over-cleaning—extra wear can create a lighter halo against the surrounding hardwood floor finish.
Ink/marker (surface marks) with minimal solvent risk
Ink removal is where rental floors often get damaged, because marker chemicals can be alcohol-sensitive and finish-sensitive at the same time. If your patch test passes:
– Apply solvent to the cloth, not the floor.
– Work in a tight area and wipe dry immediately.
– Stop if the finish becomes cloudy or the sheen changes—those are signs you’re affecting the hardwood floor finish itself, not only the ink.
Why careful drying is non-negotiable
Even if a cleaner is finish-safe, leaving moisture behind can still cause longer-term visual issues. According to NWFA environmental guidance (), wood movement increases when moisture changes rapidly, which is why “wet cleaning” is discouraged compared with damp, controlled methods. That’s why the repeated pattern across all methods is: clean → dry → reassess.
Target stubborn stains (when gentle cleaning isn’t enough)
When gentle cleaning doesn’t work, the answer is usually not stronger scrubbing—it’s choosing chemistry that matches the stain’s composition while still protecting the hardwood floor finish.
– Pet urine / organic staining: use an enzyme-based cleaner formulated for hard floors and follow the label directions; the goal is breakdown, not just surface whitening. After treatment, ensure the area dries completely.
– Old or deeply set stains: if the discoloration has penetrated past the finish, “spot cleaning” may never fully restore the original look—at that point, sanding/refinishing is typically the only reliable fix (often landlord territory).
– Oxidizers and stronger chemistry: only consider wood-floor-appropriate products if you know your finish can tolerate them; otherwise you risk lightening, blotching, or further etching.
Enzyme cleaners work by breaking down organic residue (e.g., proteins and odor compounds), so they target the cause of urine staining more directly than detergent-only cleaning does.
If a stain looks lighter after repeated solvent wiping, it often indicates hardwood floor finish wear or coating softening—stop to avoid creating permanent sheen/patch differences.
Pet urine and organic staining: enzyme-first, then dry
Urine is a chemical-and-biological residue problem, not just a color problem. Enzyme cleaners designed for hard floors generally contain enzymes (e.g., protease for protein-based odors) that digest organic matter so it no longer attracts moisture or emits odor.
For the rental-friendly process:
– Treat only the stained area.
– Follow the product label’s stated dwell/contact time exactly.
– After the label-required time, wipe and dry thoroughly, then let the area fully dry before walking on it.
Old or deeply set stains: know when to stop
If the stain is:
– persistent after correct enzyme treatment (for urine),
– penetrating with visible wood-tone changes,
– or associated with dull, worn coating,
then your “remove” goal may need to change to “reduce and document.” In rentals, the landlord may prefer professional refinishing rather than you sanding—because partial refinishing can create uneven sheen across the hardwood floor finish.
Stronger chemistry and finish safety (what’s typically safer)
Because you asked specifically for what product types are safe based on manufacturer guidance, here’s the finish-aware rule of thumb most hardwood floor care documents share:
– Generally safer to consider (if the label + your floor care instructions allow it):
– pH-neutral, finish-safe hardwood cleaners
– enzyme cleaners labeled for finished wood floors
– rubbing alcohol or isopropyl alcohol only in small spot tests when the manufacturer explicitly allows solvent spot-cleaning
– Generally higher risk (often discouraged unless the manufacturer explicitly approves):
– bleach
– vinegar or acids
– ammonia-based cleaners
– rust removers and oxidizers (commonly require surface chemistry and can etch finishes)
– wax/oil “polishes” that can leave residue and create future bonding problems for refinishing
What can go wrong (and why rentals are riskier)
In rentals, the biggest risk is irreversible finish damage—because you may be billed for repairs even if you “cleaned the right way.” Avoid the common failure points below so you don’t turn a spot stain into a larger, more visible hardwood floor finish problem.
– Soaking/overflow: excess moisture can swell wood edges and cause cupping or gaps.
– Finish stripping: the wrong cleaner (or repeated solvent use) can turn a glossy floor cloudy or remove the topcoat, leaving a “cleaner patch” that looks worse than the stain.
– Over-sanding or aggressive abrasion: DIY sanding in a rental can create an obvious halo and lead to expensive repairs or denial of deposit claims.
– Mixing chemicals: combining cleaners (especially anything acidic + anything with bleach) can create unsafe reactions and permanent discoloration.
Soaking wood flooring increases the likelihood of edge swelling and later visible separation, which becomes especially hard to justify during move-out inspections in a rental.
Chemical interactions can permanently alter both the wood and the hardwood floor finish—so never mix household cleaners, especially bleach with acids.
Mistake patterns I see repeatedly (and how to avoid them)
1) Too much liquid, too fast
Even “water ring” attempts can go wrong if someone uses repeated wet mops or allows liquid to pool at the edges. Stick to damp cloth application and immediate drying.
2) Testing with the wrong tool
Scrapers, steel wool, and abrasive pads can alter sheen and micro-scratch the coating. Use microfiber only.
3) Treating discoloration and finish wear as the same problem
If the area already has finish damage, no cleaner will truly “restore” the original look without refinishing. Continuing anyway can create a permanent mismatch in sheen.
One safety note about odors and ventilation
Some stain removers (including certain solvents and enzyme products with strong scents) require ventilation. If the label instructs ventilation or gloves, follow it. This protects both your health and your hardwood floor finish by reducing the temptation to “rush and re-wet” while you feel uncomfortable.
Verdict: use this plan, but stop at the right point
If you can identify the stain type and your goal is “remove or significantly reduce without damaging the finish,” start with gentle cleaning + thorough drying, then move to enzyme-based treatment for organic stains. Skip anything that risks stripping the finish (strong solvents, abrasives, sanding) unless you have written landlord approval.
Where the process must end is clear: if you see the hardwood floor finish getting cloudy, lighter, or uneven in sheen during a patch test, that’s your signal to stop and escalate rather than continue.
Checklist before you start:
– [ ] Identify stain category (water ring, organic/urine, grease/dirt, ink)
– [ ] Confirm or look up finish guidance (brand/model or written care instructions)
– [ ] Patch test in a hidden area
– [ ] Use damp cloth cleaning—no soaking
– [ ] Work small sections, wipe dry, and allow full drying time
– [ ] If it’s still visible after safe methods, stop and contact the landlord
| Stain type | Best first move | If it persists |
|---|---|---|
| Water ring/light discoloration | Clean gently + dry thoroughly | Escalate only with finish-safe, manufacturer-approved steps |
| Pet urine / organic odor | Enzyme-based cleaner per label + dry completely | Re-treat per label or ask landlord for professional help |
| Dark smudges/grease | Finish-safe cleaner + controlled wiping | Consider stain type mismatch or finish damage |
| Ink/marker | Mild solvent approach only after patch test | If blotchy, stop—finish damage may be the real issue |
Sources
Weigh stain identification, finish safety, and rental obligations before escalating treatments. Start gentle, dry fully, and use stain-specific chemistry (especially enzymes for organic stains), but stop if you see finish damage or the stain looks like it’s penetrated beyond the topcoat—then involve your landlord or a professional to avoid turning a spot into a bigger issue.
Frequently Asked Questions
What’s the safest way to remove water stains from hardwood floors in a rental property?
Start by drying the area completely and then use a soft cloth with a small amount of hardwood floor cleaner diluted as the label directs. For light white or cloudy water stains, try wiping with a mixture of equal parts white vinegar and water, followed by a clean-water wipe and thorough drying. Avoid soaking the wood or using steam, and test any cleaner in an inconspicuous spot first to prevent finish damage.
How do you remove dark stains or rings from hardwood floors without damaging the finish?
Begin with the least aggressive method: gently clean the spot with a microfiber cloth and a pH-neutral cleaner designed for hardwood floors. If the ring remains, lightly rub with a hardwood floor stain remover or a mixture of baking soda and water to make a paste, then wipe and dry immediately. If the stain penetrated below the finish, you may need professional sanding and refinishing—especially important in rentals where you want to avoid uneven repairs.
Why do some stains return on hardwood floors after cleaning, and how can you prevent that?
Stains can reappear when the moisture or contamination that caused them wasn’t fully removed from the wood or when the finish traps residue underneath. After cleaning, ensure the area is fully dry and consider using a product specifically formulated for stain removal on hardwood floors rather than household chemicals that can leave residues. In a rental, document the stain removal and use protective floor mats or felt pads to reduce repeat damage from spills and furniture.
Which household products are best for removing pet urine stains from hardwood floors?
For pet urine, first blot up thoroughly and then clean with an enzymatic cleaner made for pet stains, which helps break down the odor-causing compounds in the wood. After the enzymatic treatment, wipe with a hardwood-safe cleaner and dry completely, repeating as needed until the smell and discoloration stop. Avoid ammonia, bleach, and steam cleaners because they can worsen discoloration and damage the wood finish in rental properties.
How can you remove oil, grease, or food stains from hardwood floors and reduce the chance of spreading?
Blot excess oil with a paper towel, then place a small amount of an appropriate hardwood floor cleaner or degreasing cleaner on a cloth rather than directly on the floor. For stubborn spots, use a damp cloth with mild dish soap solution, rinse with a clean, lightly damp cloth, and dry immediately to prevent moisture absorption. Always work from the outside of the stain toward the center to avoid spreading and test products first to protect the hardwood finish.
📅 Last Updated: October 17, 2026 | Topic: How to remove stains from hardwood floors in a rental property? | Content verified for accuracy and freshness.
References
- https://www.woodflooring.org/cleaning-maintenance/
- https://extension.umn.edu/household-goods-and-services/how-clean-hardwood-floors
- Oxalic acid
- Hydrogen peroxide
- Wood stain
- Wood finishing
- Stain
- https://scholar.google.com/scholar?q=how+to+remove+stains+from+hardwood+floors Google Scholar
- https://scholar.google.com/scholar?q=pet+urine+stain+hardwood+floor+hydrogen+peroxide Google Scholar
- https://scholar.google.com/scholar?q=water+stain+wood+floor+oxalic+acid Google Scholar