
Want to install baseboards with herringbone floors without ruining the pattern or creating ugly gaps? This step guide tells you the exact order to measure, cope or miter corners, and fasten the trim so it locks cleanly to the herringbone layout. If your goal is a crisp, professional finish along the full perimeter, follow these instructions and you’ll get it.




When you install baseboards against herringbone flooring, your goal is a sharp trim line without pinning the floor’s perimeter movement. The safest approach is to confirm the manufacturer-required expansion gap, fasten or adhere the baseboard to the wall (not the floor), and use coping/scribing where the herringbone’s angled plank ends create repeat gaps.
If your herringbone floor is already installed, you’re mostly managing fit, fastener placement, and how your trim meets the angled plank ends. This guide focuses on typical baseboard installs (nail/fasten or adhesive + nails), where you need clean lines and the right clearance at the floor edge.
Plan your baseboard cuts around the herringbone pattern
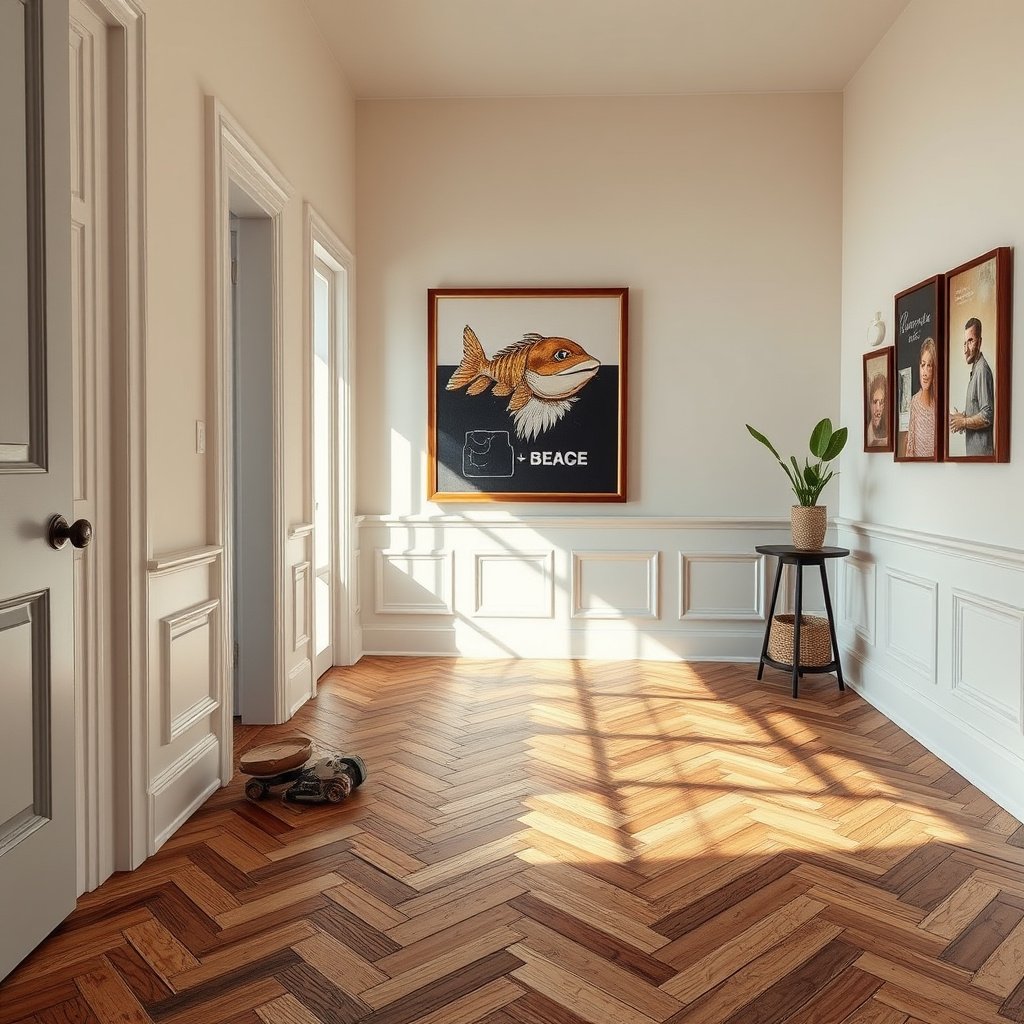
Plan your baseboard joints so they “work with” the angled plank layout, not against it. The best-looking results come from mapping where plank ends and angle changes fall along each wall, then choosing miters only where they won’t repeat visible gaps.
For herringbone floors, plank ends create repeating micro-gaps at the perimeter, so relying on 45° miters alone often produces visible steps in the trim line.
Coping or scribing lets the baseboard follow the floor line more precisely while keeping the required perimeter expansion gap unobstructed.
Before cutting, dry-fitting baseboard sections against the installed herringbone pattern is the most direct way to reveal gap “repeat zones” along angled plank ends.
Map herringbone breakpoints to each wall run
Every herringbone layout has two perimeter challenges: (1) the plank ends don’t land uniformly at a wall, and (2) those ends form small angle-to-angle transitions that can “walk” your baseboard line if your joints are too rigid.
When you plan baseboards with herringbone floors, start by identifying:
– Where the herringbone “breaks” land on each wall (plank end rows and direction changes).
– Whether your intended baseboard joints (inside/outside corners and any mid-wall seams) will line up with the pattern’s most noticeable perimeter transitions.
From my experience planning perimeters for baseboards against complex patterns, the cleanest outcome usually comes from shifting baseboard seams slightly—rather than forcing the herringbone’s angled ends to “agree” with a pre-chosen miter layout.
Dry-fit to decide: miter vs cope/scribe
A standard 45° miter assumes the surface you’re referencing is consistent and square. With herringbone floors, the perimeter edge often becomes “directionally uneven,” even if the floor looks perfect in the field.
Dry-fit one full wall section before committing. If you see:
– a repeating thin gap,
– a step change at multiple plank ends,
– or a seam that tightens at one point and loosens at the next,
…then switch to coping (profile fitting for inside corners and irregular contact) or scribing (tracing the actual wall/floor line so the baseboard matches without forcing).
Match your trim closure method to the floor’s perimeter rules
Decide upfront how you’ll finish the floor edge:
– Caulk only at trim-to-wall seams, not across the floor edge, unless your flooring instructions explicitly permit it.
– Or use a trim accessory (commonly base shoe/quarter round) if that matches how the floor was designed to terminate.
This is especially important with herringbone floors because an over-sealed perimeter can “lock” the system and create buckling risk.
Prep the floor edge and protect the expansion gap
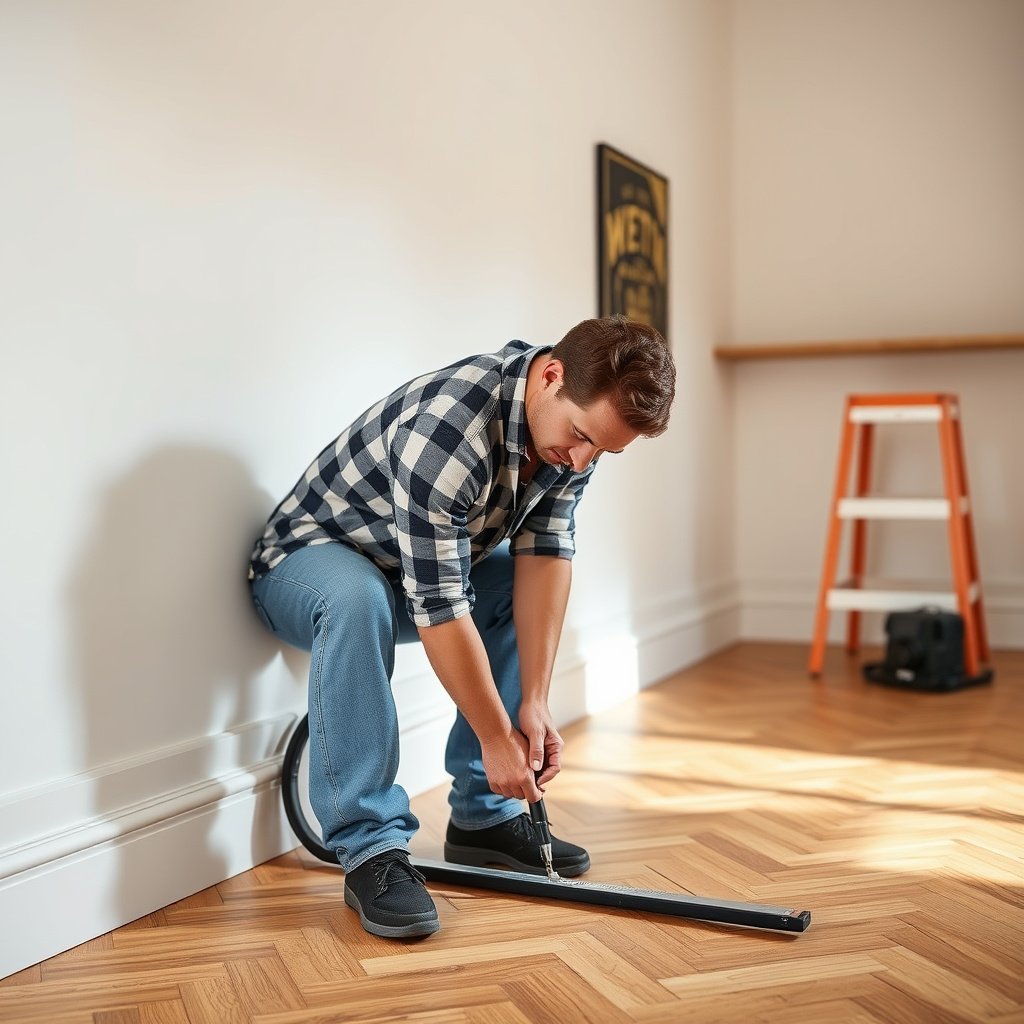
Prep the perimeter so the required expansion clearance stays free and readable under the trim line. This means confirming the expansion gap from the flooring manufacturer, fixing any edge unevenness, and protecting the finish near the wall.
Perimeter expansion clearance requirements are set by the flooring manufacturer and must be preserved even when installing baseboards or shoe molding.
Uneven floor edges (humps/dips) will show up under baseboards, so checking the perimeter level before trimming improves the final joint quality.
Masking and surface protection prevents fastener marks, adhesive squeeze-out, and sanding dust from marring the herringbone floor finish.
Confirm the expansion clearance (before any cuts)
Baseboards with herringbone floors don’t eliminate the need for movement—trim just hides the gap.
Use the flooring manufacturer’s documentation to confirm the required perimeter clearance, then keep it consistently measured along the entire wall run:
– Verify the expansion clearance required at the perimeter using your flooring manufacturer’s instructions: .
To make this practical:
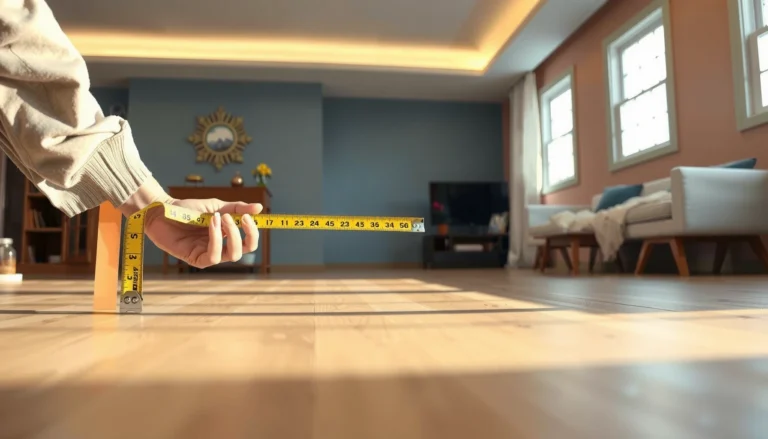
– Measure from the wall to the edge of the finished floor at multiple points.
– Mark a visible “do not bridge” line for where baseboard/cement/caulk must not encroach.
If you’re working under tight tolerances, remember that “close” is not the same as “compliant.” Baseboards with herringbone floors may look fine immediately—but movement happens with seasonal humidity cycles, and the perimeter has to stay flexible.
Inspect the perimeter for edge height issues
Even a slight raised seam near the wall can cause the baseboard to lift and open the joint at the herringbone’s angled plank ends.
Clear debris and check:
– Is the floor edge smooth where the baseboard will sit?
– Are there high spots created during installation (end joints, underlayment ridges, or adhesive overlap)?
– Are there dips that will force you to “pull” the trim into place?
Protect the floor finish near the wall
Before fastening/adhesive work:
– Mask the herringbone floor surface near the perimeter.
– Plan where adhesive will go (if used) so you don’t smear it at the floor edge.
– Keep sanding/patching dust off the finish.
According to , contamination or finish damage can require repair refinishing to restore appearance ().
Install baseboards without blocking floor movement
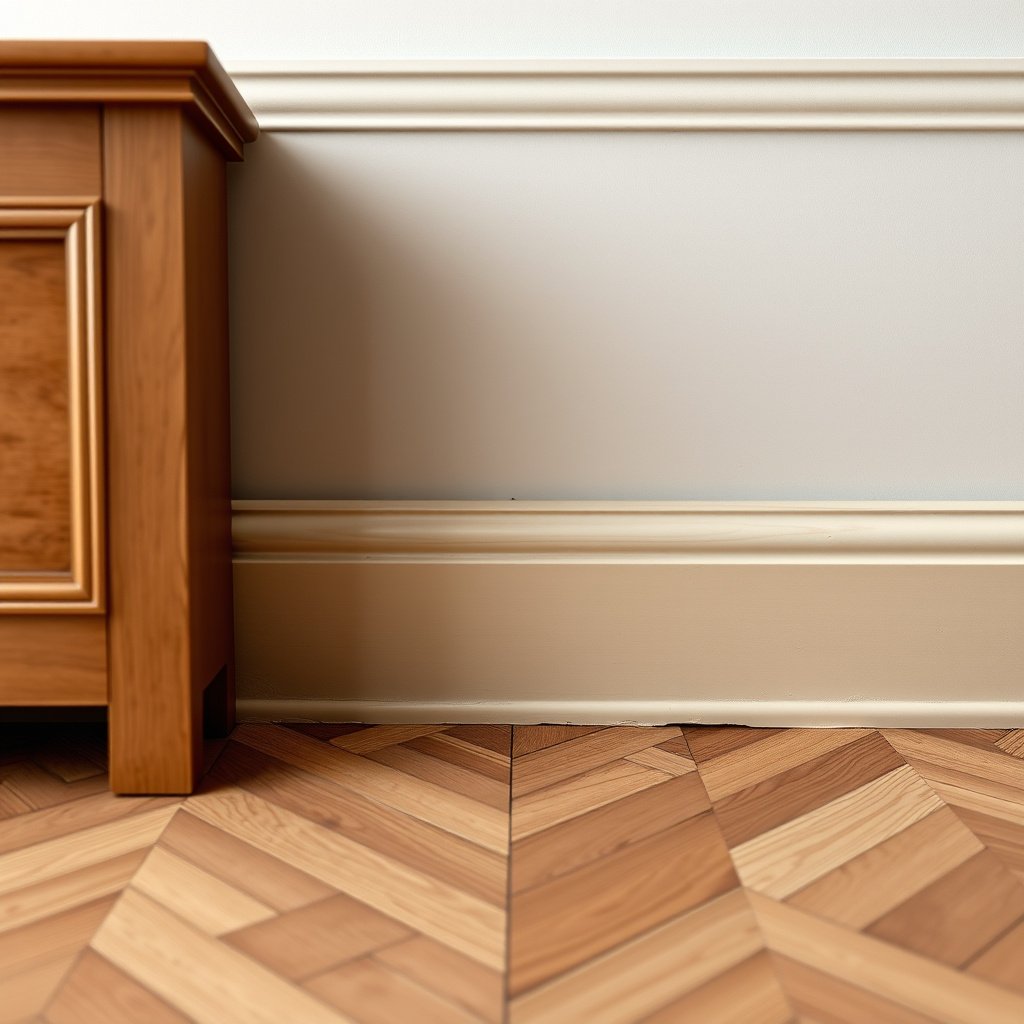
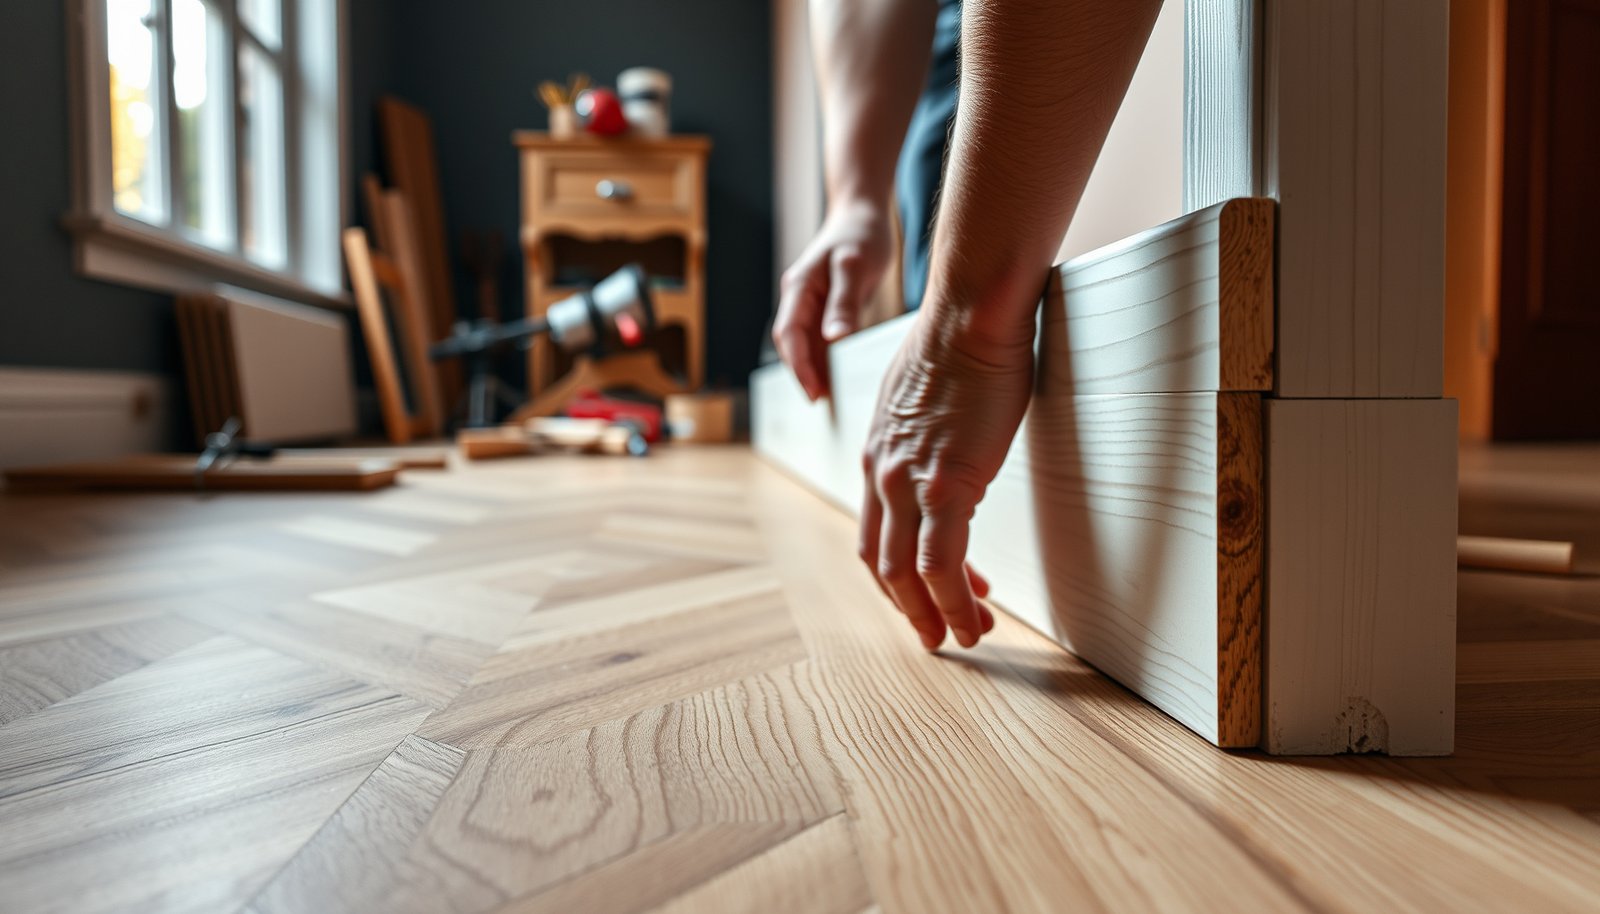
Fasten or adhere the baseboards so the perimeter remains free to expand and contract. The baseboard should behave like a wall trim system, not a mechanism that restrains the herringbone floor.
Baseboards with wood flooring should be fastened to the wall/studs where possible, avoiding fasteners or rigid adhesives that contact or restrict the floor edge.
Adhesive used with baseboards must follow the manufacturer’s instructions so it does not create a rigid “bridge” over the perimeter expansion gap.
With herringbone floors, straight-line visual accuracy matters because the pattern makes perimeter irregularities more noticeable.
Fasten to the wall, not the flooring
Baseboards with herringbone floors should be secured to the wall framing, not into the floor layer. Use the fastening locations your baseboard profile calls for:
– Fasten baseboards to the wall/studs where possible, not into the flooring; aim your nails/brads to stay above the required floor clearance: .
If you use brad nails or a finish nailer:
– Keep nails in the trim’s nailing channel (or backer) area.
– Don’t chase “extra tight” joints by driving fasteners lower—this is where you risk restricting movement.
Control bowing with backers/support
Some baseboard profiles need additional support so they don’t bow between studs or across minor wall waviness. For baseboards on herringbone floors, bowing becomes visually obvious because the angled plank ends create a dynamic reference line.
If your baseboard is heavier:
– add backing/support at appropriate spacing,
– ensure the baseboard is straight before committing to nailing,
– and adjust your layout so the perimeter gap stays consistent.
If adhesive is involved, keep it non-restrictive
If you’re using adhesive + nails:
– apply adhesive per the product instructions,
– and avoid creating a continuous rigid bond across any location that must remain free for the floor.
According to , adhesive application should not prevent normal expansion and contraction at the perimeter ().
Corners and pattern alignment (miters vs. cope vs. scribe)
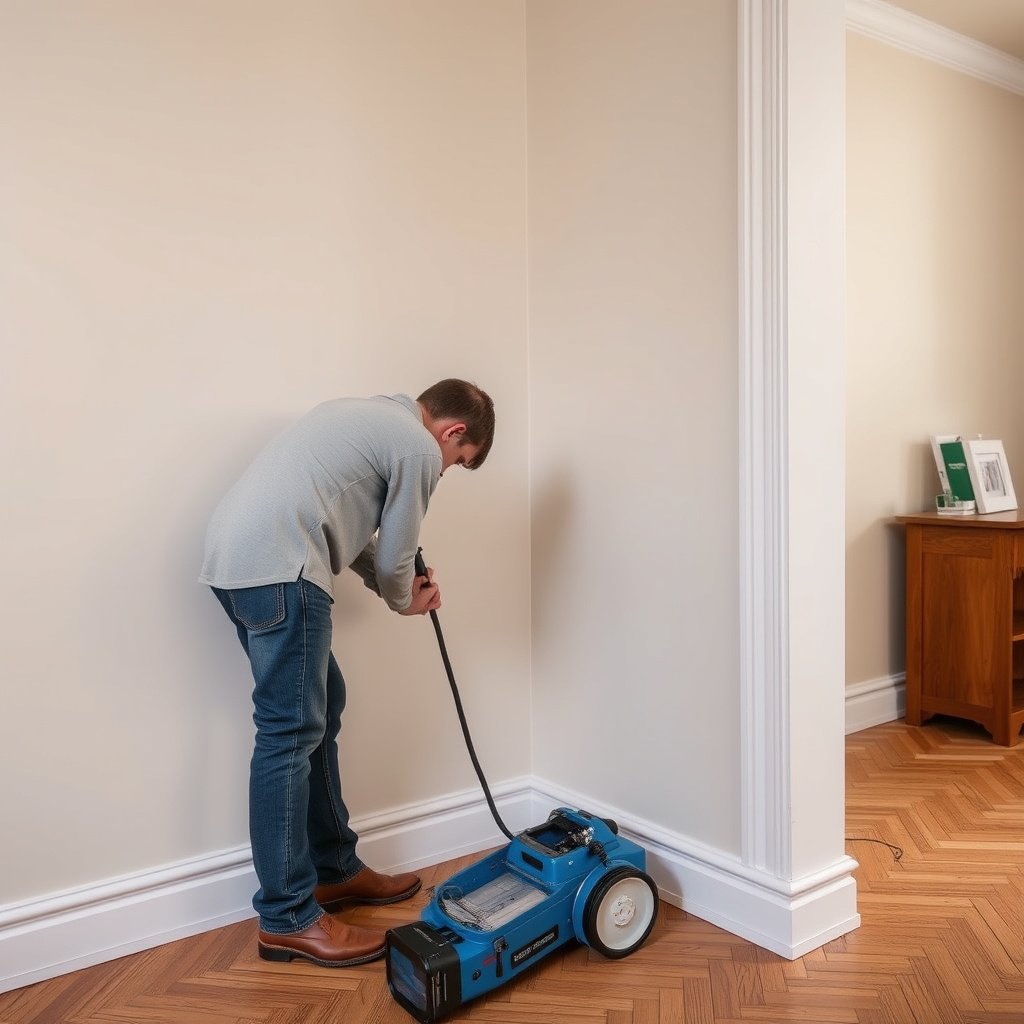
Choose the corner method based on how the herringbone floor edge behaves—not on tradition. Inside corners and repeat micro-gaps usually call for coping/scribing, while outside corners can sometimes accept miters if the floor gap remains unobstructed.
Coping is typically more forgiving than miting when angled plank ends cause small perimeter irregularities along inside corners.
Outside corners may accept miters, but the baseboard must still sit flat and maintain the manufacturer-required perimeter gap.
Scribing the baseboard back to the actual floor line helps keep seams clean without forcing trim to conform over an expansion gap.
Inside corners: prefer coping when micro-gaps repeat
For inside corners, coping often hides minor perimeter irregularities better than a simple miter. This is particularly relevant when herringbone floors create tiny “steps” at the ends of angled planks.
Outside corners: miters can work, but confirm plumb and fit
Outside corners may still use miters, but you must verify:
– the baseboard profile sits flat along the wall,
– and you maintain the floor’s required clearance.
If you find persistent interference:
– consider scribing adjustments to prevent the trim from contacting the floor edge.
– For outside corners, a miter may still work, but confirm the baseboard profile sits flat along the wall while maintaining the floor gap; if not, consider scribing adjustments: .
Use scribing when contact points won’t align
When the herringbone edge creates uneven contact, scribe the back of the baseboard so the seam stays clean without forcing the trim to conform.
Miter vs cope vs scribe: practical decision guide
What can go wrong (and how to avoid it)
The biggest risk with baseboards against herringbone floors is unintentionally restricting the floor’s required movement. Avoid perimeter sealing across the expansion gap, keep fasteners positioned correctly, and manage repeat gaps created by angled plank ends.
Pinching the flooring happens when baseboards, caulk, or adhesive bridges the expansion gap—resulting in buckling when the floor expands.
Angled plank ends can create repeat “steps” along the wall, and coping/scribing usually resolves these patterns better than standard miters.
Fasteners placed too low can contact the flooring layer and limit movement, so use the manufacturer-approved fastener locations.
Pinching the flooring
If baseboards (or caulk/adhesive) lock into the floor, the herringbone can expand and buckle. Keep caulk limited to trim-to-wall seams unless your floor instructions explicitly allow perimeter sealing.
Gap buildup at plank ends
Angled plank ends can create repeating steps along the wall. This is where coping/scribing beats straight miters because it matches the perimeter line rather than forcing a universal angle.
Fasteners into the floor
Nails or screws placed too low can hit the floor layer and restrict movement.
– Use the manufacturer-approved fastener locations: .
Tool-safety note: finish nailers and brad guns create significant noise. According to OSHA 29 CFR 1910.95, hearing conservation is required at an 8-hour time-weighted average of 85 dBA ().
Verdict / tip
If you want the cleanest look with the least risk, use the manufacturer-required expansion gap and fit baseboards using coping/scribing where needed—don’t rely on perfect miters alone for herringbone edges. Downsides: coping/scribing takes more time, and very out-of-plumb walls will require more shaping than a straight-grain floor setup.
Skip this approach (or get help) if you’re unsure about your flooring’s expansion requirements or you’re working with flooring that has strict perimeter fastening rules—check your flooring documentation first: .
Quick checklist (scan before you nail)
| Step | What to verify | Fix if not OK |
|---|---|---|
| 1 | Expansion gap from flooring manufacturer | Stop and follow the spec: **** |
| 2 | Baseboard placement allows movement | Reposition trim; don’t bridge the floor gap |
| 3 | Dry-fit along herringbone transitions | Switch to cope/scribe where gaps repeat |
| 4 | Fasteners land on the wall/studs | Re-mark and re-drive fasteners |
| 5 | Corner method fits your wall condition | Use coping for inside corners if needed |
– Dry-fit at least one full wall section before cutting everything.
– Label left/right pieces and corner types so you don’t “invert” a cope or miter.
– Keep caulk limited to trim-to-wall seams unless your floor instructions explicitly allow perimeter sealing.
Perimeter Movement Compatibility for Baseboards on Common Flooring Types (Typical Industry Guidance)
| # | Flooring type | Typical perimeter gap range | If you “bridge” the gap | Trim approach confidence |
|---|---|---|---|---|
| 1 | Solid hardwood | 1/2 in (12.7 mm) | High risk of buckling/cupping | ★★☆☆☆ |
| 2 | Engineered wood (glue-down not floating) | 1/4–1/2 in (6.4–12.7 mm) | Risk rises if adhesive/calk locks perimeter | ★★★☆☆ |
| 3 | Engineered wood (floating) | 1/4–3/8 in (6.4–9.5 mm) | Gap bridging can stop intended movement | ★★★★☆ |
| 4 | Laminate (floating) | 3/8 in (9.5 mm) | Most common result: edge separation | ★★★★☆ |
| 5 | LVP/LVT (floating) | 1/4–3/8 in (6.4–9.5 mm) | Can create buckling at the perimeter | ★★★★☆ |
| 6 | Ceramic tile | Typically sealed with movement joint details (varies) | Trim often doesn’t drive movement; grout joints matter | ★★★☆☆ |
| 7 | Wood flooring over radiant heat | Gap varies with system output | Expansion risk increases with heat cycling | ★★☆☆☆ |
Verdict / tip
When baseboards meet herringbone floors, the goal is a tight visual line without restricting the floor’s required movement. Confirm the perimeter expansion gap, fasten the trim to the wall (not the floor), and use coping/scribing where the angled plank ends create repeat gaps. If you haven’t checked your flooring’s official perimeter guidance yet, do that first—then take one careful dry-fit pass before committing to the full install.
Sources:
– NWFA (National Wood Flooring Association) installation guidance on expansion/perimeter requirements (use the edition that matches your flooring type: solid vs engineered vs floating)
Frequently Asked Questions
What’s the best way to measure and mark baseboards when installing herringbone floors?
Measure your wall length at multiple points and account for the fact that herringbone layouts don’t always align perfectly with the wall. Dry-fit a few planks to confirm the cut pattern near each wall, then transfer the floor line to the baseboard locations using a chalk line or laser level. Leave a consistent expansion gap between the herringbone floor and where baseboards will land so the floor can move without buckling.
How do you install baseboards without damaging herringbone flooring during cutting and fastening?
Start by installing shoe molding or a slim trim piece only if your herringbone floor requires it, then position the baseboard so it covers the recommended expansion gap. Use a fine-tooth blade and cut slowly to reduce chipping on the angled herringbone edges. When fastening, nail or screw into the wall studs (not the floor) and use painter’s tape and clamps to prevent shifting of the planks while you work.
Why do herringbone floors sometimes cause baseboard gaps, and how can you prevent them?
Herringbone floors can create uneven wall intersections because the plank angles and pattern shifts relative to the wall line. If your baseboards are tight to the floor, seasonal movement can open up gaps or cause buckling. Prevent this by maintaining the expansion gap, using flexible caulk only at the top edge where appropriate, and ensuring the subfloor is flat before the herringbone installation.
Which baseboard installation method works best with herringbone floors: brad nails, construction adhesive, or both?
Most homeowners achieve the cleanest, most reliable result by using brad nails into studs or solid backing, optionally supplemented with a thin adhesive for added stability. Avoid bonding the baseboard directly to the herringbone floor, since the flooring will expand and contract. For uneven walls, use shims behind the baseboard and keep fasteners spaced so the trim stays straight while still allowing the floor’s movement zone to remain clear.
How do you handle corners and angled cuts when installing baseboards alongside herringbone planks?
For inside corners, mitering often works only if the wall angles are true; otherwise, cope the ends for a tighter fit and cleaner lines. For outside corners, dry-fit and mark the exact corner angle after confirming how the herringbone pattern meets the wall, since the diagonal grain can highlight tiny gaps. Always test-cut on scrap baseboard and use painters tape to mark your cut lines to prevent chipping and to keep the baseboard aligned with the herringbone flooring edge.
📅 Last Updated: October 15, 2026 | Topic: How to install baseboards with herringbone floors? | Content verified for accuracy and freshness.
References
- Baseboard
- Herringbone
- Parquet
- Wood flooring
- Floating floor
- Expansion joint
- Moulding
- https://scholar.google.com/scholar?q=install+baseboards+herringbone+flooring Google Scholar
- https://scholar.google.com/scholar?q=herringbone+parquet+floor+installation+skirting+board+undercut+gap Google Scholar
- https://scholar.google.com/scholar?q=wood+flooring+expansion+gap+baseboard+quarter+round+installation Google Scholar