

Want to know how to remove scratches from herringbone floors fast and clean? This step-by-step method shows the quickest safe fix based on scratch depth, so you can stop the damage without ruining the herringbone pattern. You’ll learn exactly what to use, how to apply it, and how to blend the repair for a finish that matches the surrounding wood.




If the scratch only affects the finish (not the wood), you can usually remove the look with proper cleaning plus a matching touch-up product, then reseal. If the scratch is carved into the wood, you’ll generally need to fill, color-match, and protect the area—often with a light refinish to blend it into the surrounding herringbone finish.
If your herringbone floor is showing scuffs, dull lines, or gouges, the right approach depends on two things: how deep the damage goes and what finish is on your floor (polyurethane/poly, oil, wax, etc.). Below, we’ll walk through options from “light scratch” to “deep gouge,” plus common mistakes to avoid on angled herringbone boards.
Who this is for / when it applies
This guide is for homeowners and facilities managers who need a practical plan for repairing scratches on herringbone floors without making the pattern look patchy. It’s especially relevant when the damage runs across angled seams, because blending matters more on an herringbone layout than on straight-plank floors.
For accuracy, the two questions you must answer first are: (1) is the scratch only in the surface finish or into the wood, and (2) what finish system is installed (water-based polyurethane, oil, wax, etc.)?
Step 1: Identify scratch depth and your floor finish
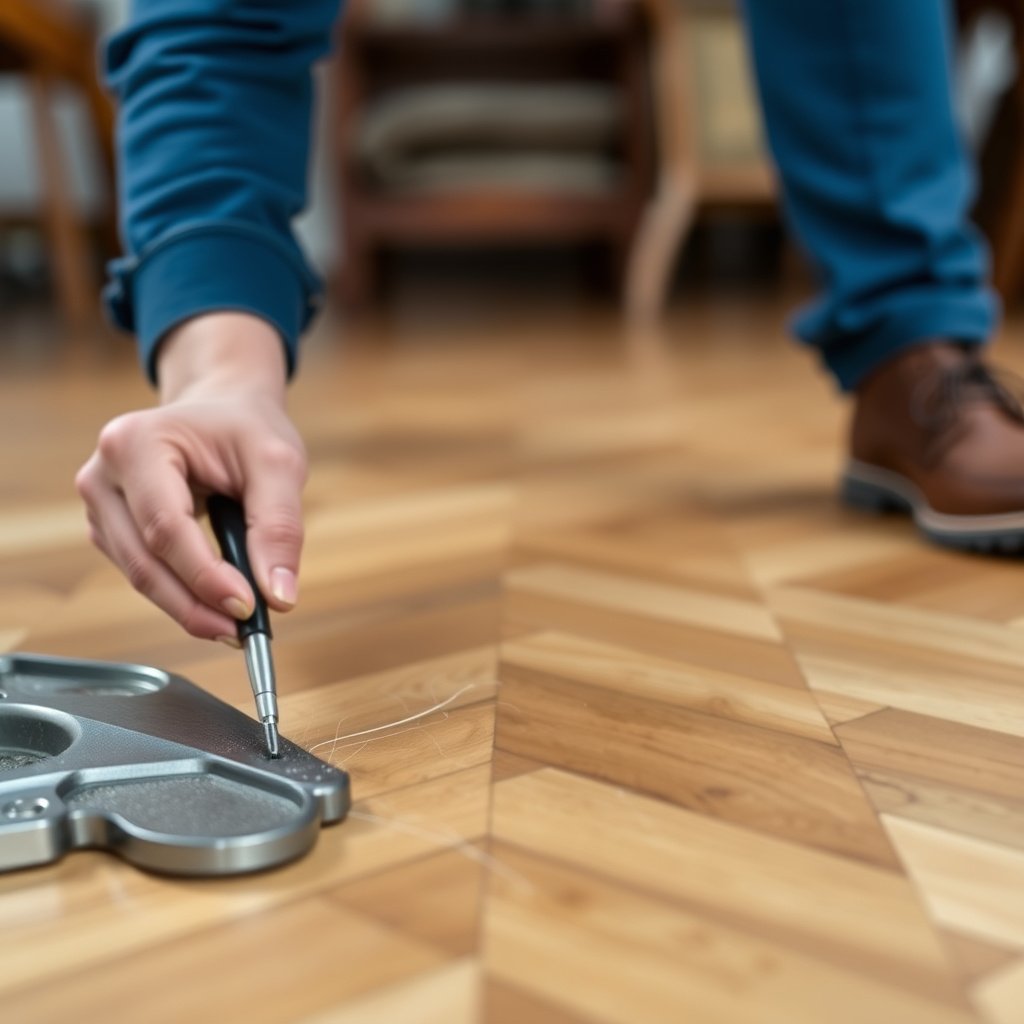
The fastest way to remove scratches from herringbone floors is to determine depth first, then match the repair method to the finish type. Light scuffs and finish-only marks are often correctable without sanding; deeper cuts require filling, and sometimes partial refinishing to restore both color and sheen.
A “finish-only” scratch often catches less with your fingernail, while a gouge into the wood feels sharp and clearly carved.
Finish systems (water-based polyurethane vs oil vs wax) require different adhesion and protection methods, so the wrong product can create blotching or a permanent sheen mismatch.
Check depth like a pro (without guessing)
1. Fingernail test: Gently drag a clean fingernail across the mark.
– If it feels like a dragging film/scuff and the wood edge doesn’t “grab,” you’re likely dealing with finish damage.
– If you feel a groove that steps down, the scratch is likely into the wood or filler surface.
2. Visual contrast: Under raking light (side lighting), herringbone scratches often show up as either:
– a dull line (sheen/finish alteration), or
– a groove (material removal).
3. Direction relative to angled seams: On herringbone floors, a scratch that cuts across the angled pattern can “read” as a patch even if color matches, because you’ll need to feather or blend along those lines.
Identify the finish type (why it matters)
– Water-based or solvent-based polyurethane (poly): Typically forms a surface film. Repairs often focus on cleaning, matching touch-up, and re-coating compatibility.
– Oil / hardwax oil / penetrating oil: Often bonds into wood; repairs commonly blend with products that can reintroduce oil/wax-like characteristics.
– Wax topcoats: Usually need careful cleaning and product compatibility; some wax systems rework easily, others “build” and require stripping or professional attention.
Anchoring data points (why “right finish” matters for long-term appearance):
According to the National Wood Flooring Association (NWFA), hardwood flooring performance depends on controlling building conditions, including maintaining indoor relative humidity around 35%–55% to reduce movement-related appearance issues (NWFA guidance, 2019) National Wood Flooring Association (NWFA) humidity guidance.
According to NWFA moisture guidance, wood flooring should typically be installed and maintained so its moisture content stays close to equilibrium (commonly within about ±2% of target equilibrium moisture content) National Wood Flooring Association (NWFA) moisture content guidance (2018).
And when sanding is involved, OSHA notes a permissible exposure limit for respirable wood dust of 5 mg/m³ for many wood dust situations, which affects how and whether you should DIY the sanding portion OSHA wood dust guidance under 29 CFR 1910.1000 (2016).
Finish Systems vs. DIY Scratch Repair Practicality (Herringbone Floors)
| # | Finish system on the herringbone floor | Best for finish-only scuffs | Typical prep step | Repair ease rating |
|---|---|---|---|---|
| 1 | Water-based polyurethane (polyurethane clearcoat) | High | Clean + touch-up | ★★★★★ |
| 2 | Solvent-based polyurethane (traditional clearcoat) | Medium-High | Clean + degloss (if needed) | ★★★★☆ |
| 3 | Oil-modified polyurethane (hybrid film) | Medium | Clean + targeted recoat | ★★★☆☆ |
| 4 | Hardwax oil / wax-oil blend | Medium-High | Clean + localized wax/oil repair | ★★★☆☆ |
| 5 | Penetrating oil (no film-forming topcoat) | Medium | Clean + re-oil/oil color blend | ★★☆☆☆ |
| 6 | Surface wax (top-wax layer) | Low-Medium | Clean + wax reapplication | ★☆☆☆☆ |
| 7 | Lacquer / sprayed conversion-style finish | Medium | Clean + spot recoat | ★★☆☆☆ |
Step 2: Remove the look of light surface scratches
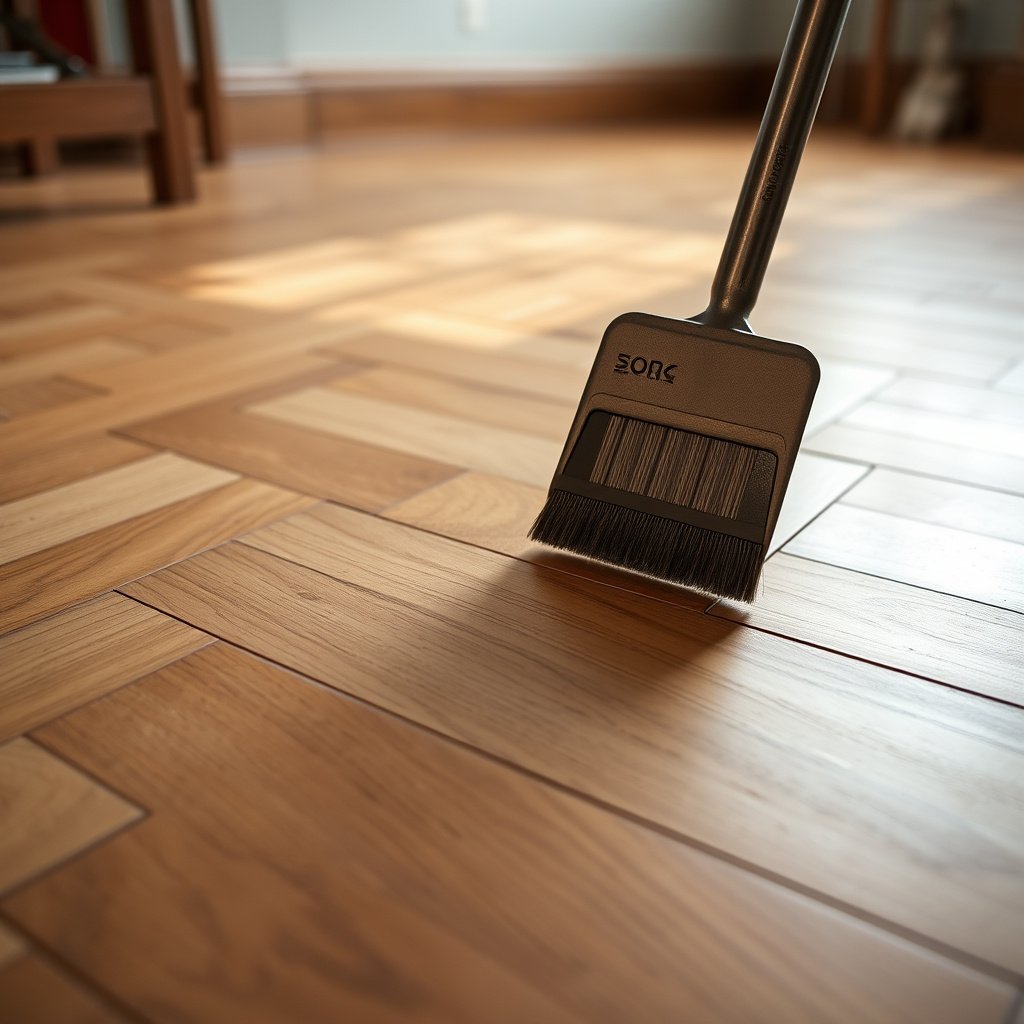
For light finish scuffs on herringbone floors, the best first move is a thorough clean plus a finish-safe touch-up attempt before you do anything that changes sheen. In many cases, removing embedded grit makes the “scratch” visually disappear without sanding.
A finish-safe cleaner matters because grit and residue can make shallow herringbone scuffs look deeper than they are.
When a scratch is only a sheen issue, gentle buffing with a soft cloth can restore uniform gloss without removing material.
Clean first (yes, even for “tiny” scratches)
– Use a pH-appropriate floor cleaner designed for your finish type (avoid harsh detergents that can leave residue or alter sheen).
– Work in small sections and wipe with clean water or a finish-recommended method if the product label requires it.
– After cleaning, dry fully—touch-up products don’t bond consistently on damp surfaces.
Use the least invasive touch-up method
Try in this order:
– Matching repair marker/pen for small scuffs that are still in the finish layer.
– Stainable wood touch-up (if your scratch exposes slightly more wood tone, but the damage isn’t carved).
– Restorative products intended for your finish system (poly topcoats vs oil/wax systems differ).
A key pattern-specific note: on herringbone floors, a “perfect color” touch-up can still stand out if the surrounding boards are slightly glossier or more matte. We typically aim to match both color and sheen (whether that’s through the touch-up product or a controlled re-topcoat).
If it’s truly a scuff: buff gently
If the mark looks like surface scuffing rather than damage:
– Buff lightly with a soft, clean microfiber or cloth.
– Stop if you notice creating new dull patches—aggressive rubbing can change sheen in a way you can’t easily reverse.
Step 3: Fix medium scratches (into the wood, but not deep gouges)
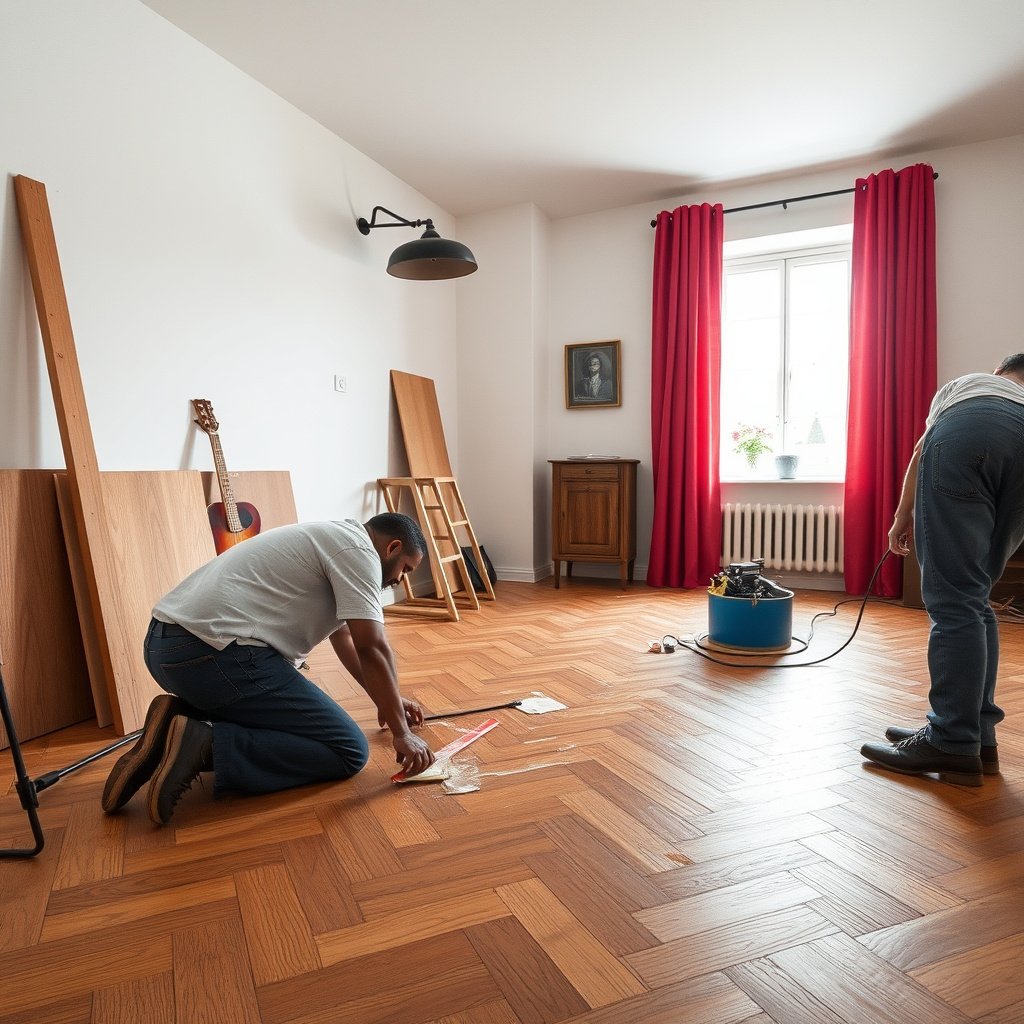
For medium scratches that are into the wood but not deep gouges, the goal is to rebuild material in layers: fill → color-match → protect. Done correctly, the filled groove becomes level enough to blend into the herringbone finish.
Wood filler isn’t just about filling—it’s about achieving the same surface level so herringbone boards don’t telegraph a ridge under light.
Dry matching is unreliable on herringbone floors: stain and tinted fillers often read differently once sealed.
Clean, then dry completely
– Clean the area and remove any wax, polish, or residue that could block bonding.
– Let it dry fully. From my experience advising on spot repairs, the fastest way to create a permanent “halo” is to fill over even slightly contaminated surfaces.
Fill and color-match in small steps
– Use a floor-appropriate wood filler/putty system made for flooring repairs.
– Color-match with stain or tinted filler. Because herringbone patterns repeat across angled seams, you’ll want a repair tone that blends with both adjacent light and dark board faces.
Practical tip for color: test on a scrap or an inconspicuous spot first. Even when the brand claims a “perfect match,” wood species and aging can shift undertones (reds, browns, and golden highlights are especially visible on herringbone floors).
Smooth, then protect with the correct topcoat
– Once cured, smooth carefully so the filled area doesn’t remain higher than surrounding wood.
– Apply protection consistent with your existing finish system—this is where finish identification from Step 1 directly determines success.
Step 4: Repair deep scratches and gouges (when you can feel it)
For deep gouges in herringbone floors, touch-up products alone usually won’t make the scratch disappear—you typically need sanding/leveling and then a finish system rework. In a herringbone pattern, feathering the repair is crucial because angled seams amplify even tiny ridges.
Deep gouges usually require leveling the damaged area so the topcoat sits at the same height as the surrounding boards.
On angled herringbone layouts, blend direction matters: you often need to “feather” along the pattern to avoid a visible repair stripe.
Decide between DIY refinish vs replacement/redo
A deep repair plan depends on:
– Size of the gouge (small spot vs extended damage)
– Whether the finish is worn unevenly
– Whether surrounding boards are failing (lifting, cupping, or widespread wear)
Feather carefully so the herringbone pattern stays seamless
When blending:
– Feather transitions so you don’t leave a step or “ring” around the repair.
– Avoid sanding so aggressively that you flatten the grain in a way that becomes obvious under side light.
If the gouge is near an edge, threshold strip, or stair nose, blending becomes harder because finish transitions are already complex. In those cases, a professional refinishing approach often produces a more consistent sheen and fewer pattern artifacts.
Consider professional help sooner than later
If you’re working with lacquer or conversion-style finishes, localized spot repairs can look noticeably different unless the exact materials and recoat schedule are matched. When in doubt, treat deep repairs as a “finish system project,” not just a scratch repair.
Step 5: What can go wrong (and how to avoid it)
Most herringbone scratch repairs fail for predictable reasons: finish mismatch, incomplete cleaning, over-sanding, and poor sheen/color blending. If you want the repair to disappear, you need to control not just what’s in the scratch, but also what’s on the surface around it.
Finish mismatch is one of the most common reasons repairs look worse after “drying”—adhesion and sheen behavior differ by chemistry.
In patterned herringbone floors, the eye detects discontinuities; a repair can look wrong even when color seems correct.
Common mistake checklist
– Finish mismatch: Using an oil-style product on a polyurethane-coated herringbone floor (or vice versa) can cause poor adhesion, blotching, or a shiny/dull mismatch.
– Skipping cleaning: Dirt, wax buildup, and residue prevent proper bonding—making scratches “return” visually.
– Over-sanding in a tight pattern: Herringbone is busy visually; too much sanding can create a halo that’s worse than the original scratch.
– Poor color matching: Stain and tinted filler can shift as they dry and as topcoat sheen changes the perceived tone. Test first.
– Ignoring sheen blending: Even if the color matches, the patch can still stand out if surrounding boards are more matte or glossier than the repair.
DIY vs Professional: quick comparison (pros/cons)
| Option | Pros | Cons |
|---|---|---|
| DIY touch-up / local fill | Lower cost, faster for small finish scuffs, less disruption to the rest of the herringbone floor. | Higher risk of sheen mismatch and halo effects on angled seams if finish type isn’t matched. |
| Pro spot refinishing | Better control of blending, exact coating system matching, and more consistent sheen restoration in herringbone patterns. | Higher cost and scheduling lead time; may still require expanded refinishing depending on coating wear. |
Step 6: Verdict / tip (what usually works best)
For light finish scuffs on herringbone floors, the best first move is cleaning plus a finish-safe touch-up method, because it’s the least disruptive and fastest. For scratches into the wood, expect to fill and color-match, then protect with the correct topcoat system for your floor.
On herringbone floors, the “invisible repair” outcome depends as much on sheen blending as on getting the stain tone right.
If the scratch is deep, widespread, or near transitions, planning for a broader re-topcoat or professional blending prevents a permanent patch.
Here’s the honest boundary: skip aggressive DIY actions when the scratch is deep, large, or near edges/transition strips, because pattern blending is harder and mistakes can force a larger sanding/refinish to even out sheen.
If you’re unsure, start with the least invasive method first (clean → inspect → test a small touch-up in a hidden area). That approach aligns with how finish manufacturers typically recommend spot repairs: match the system and follow surface-prep instructions closely.
Scratch repair quick-check (scan/save)
| Scratch look | Likely depth | Best next step | Avoid |
|---|---|---|---|
| Light scuff, not “catchy” | Finish surface | Clean + finish-safe touch-up/buffing | Harsh scrubbing that changes sheen |
| Thin line, fingernail can catch | Into finish / shallow wood | Touch-up repair marker or appropriate filler | Throwing in dark filler without matching tone |
| Visible groove/gouge | Into wood | Fill + smooth + seal; consider refinishing | Trying to “hide” deep damage with stain only |
| Patch looks shiny/dull | Finish mismatch | Match sheen during re-topcoat (or refinish blending) | Mixing product types from different finish systems |
Sources
– National Wood Flooring Association (NWFA) guidance on humidity/moisture and floor care (for moisture and environmental anchoring)
– OSHA guidance on respirable wood dust exposure limits (29 CFR 1910.1000) (for safety when sanding may be needed)
If you tell me (1) whether the scratches are shallow or deep, (2) your finish type (if known), and (3) how large the damaged area is, I can recommend the most suitable repair path (touch-up vs fill vs refinishing) for your exact situation.
Frequently Asked Questions
How can I remove light surface scratches from herringbone hardwood floors?
Start by cleaning the floor thoroughly to remove grit, since particles can worsen scratches. For light scuffs, try a wood floor scratch remover or a wax-based repair stick that matches your herringbone floor finish. Follow by buffing with a microfiber cloth to blend the repair into the surrounding wood grain.
What’s the best way to fix deeper scratches or gouges in herringbone flooring?
For deeper scratches, clean the area and lightly sand only the damaged section until the scratch edges are smooth. Apply a wood filler or putty in a closely matching tone, let it cure fully, then sand lightly and wipe clean. Finish by applying touch-up stain (if needed) and seal with a compatible polyurethane or floor finish to restore durability.
Which products work best for scratch repair on sealed vs. unfinished herringbone floors?
Sealed herringbone floors typically require scratch repair products designed for finished surfaces, such as scratch markers, repair kits, or wax fill sticks that won’t disrupt the topcoat. Unfinished herringbone wood can be spot sanded and repaired with wood filler plus matching stain before sealing. If you’re unsure whether your floor is sealed, test a small inconspicuous area with a drop of water—sealed surfaces typically resist absorption.
Why do scratches keep showing up on herringbone floors even after touch-ups?
Herringbone floors can reveal scratches because the diagonal pattern highlights color and sheen differences between repaired areas and intact finish. If the scratch filler or stain doesn’t match the existing tone or sheen, the repair may “flash” under light. Regular prevention—using felt pads, careful vacuuming, and area rugs in high-traffic zones—helps reduce recurring damage.
How do I blend repaired areas so the herringbone pattern looks seamless?
Clean the repaired area, then use an orbital sander or very fine sanding pad to feather edges so the transition is smooth. After filling and staining, apply the finish in thin, even coats and maintain the same sheen level as the rest of the floor (matte, satin, or gloss). Let everything cure fully, then buff lightly to help the repaired spot blend into the herringbone floor’s wood grain and overall finish.
📅 Last Updated: October 15, 2026 | Topic: How to remove scratches from herringbone floors? | Content verified for accuracy and freshness.
References
- Herringbone
- Parquet
- Wood flooring
- Wood putty
- Sandpaper
- Wood finishing
- Refinishing
- https://scholar.google.com/scholar?q=remove+scratches+from+hardwood+floors Google Scholar
- https://scholar.google.com/scholar?q=herringbone+parquet+floor+scratch+repair+sanding+refinishing Google Scholar
- https://scholar.google.com/scholar?q=wood+floor+coating+scratch+repair+polyurethane+varnish Google Scholar

[…] According to the National Wood Flooring Association, controlling indoor humidity helps minimize dimensional changes (commonly cited as a target band […]