
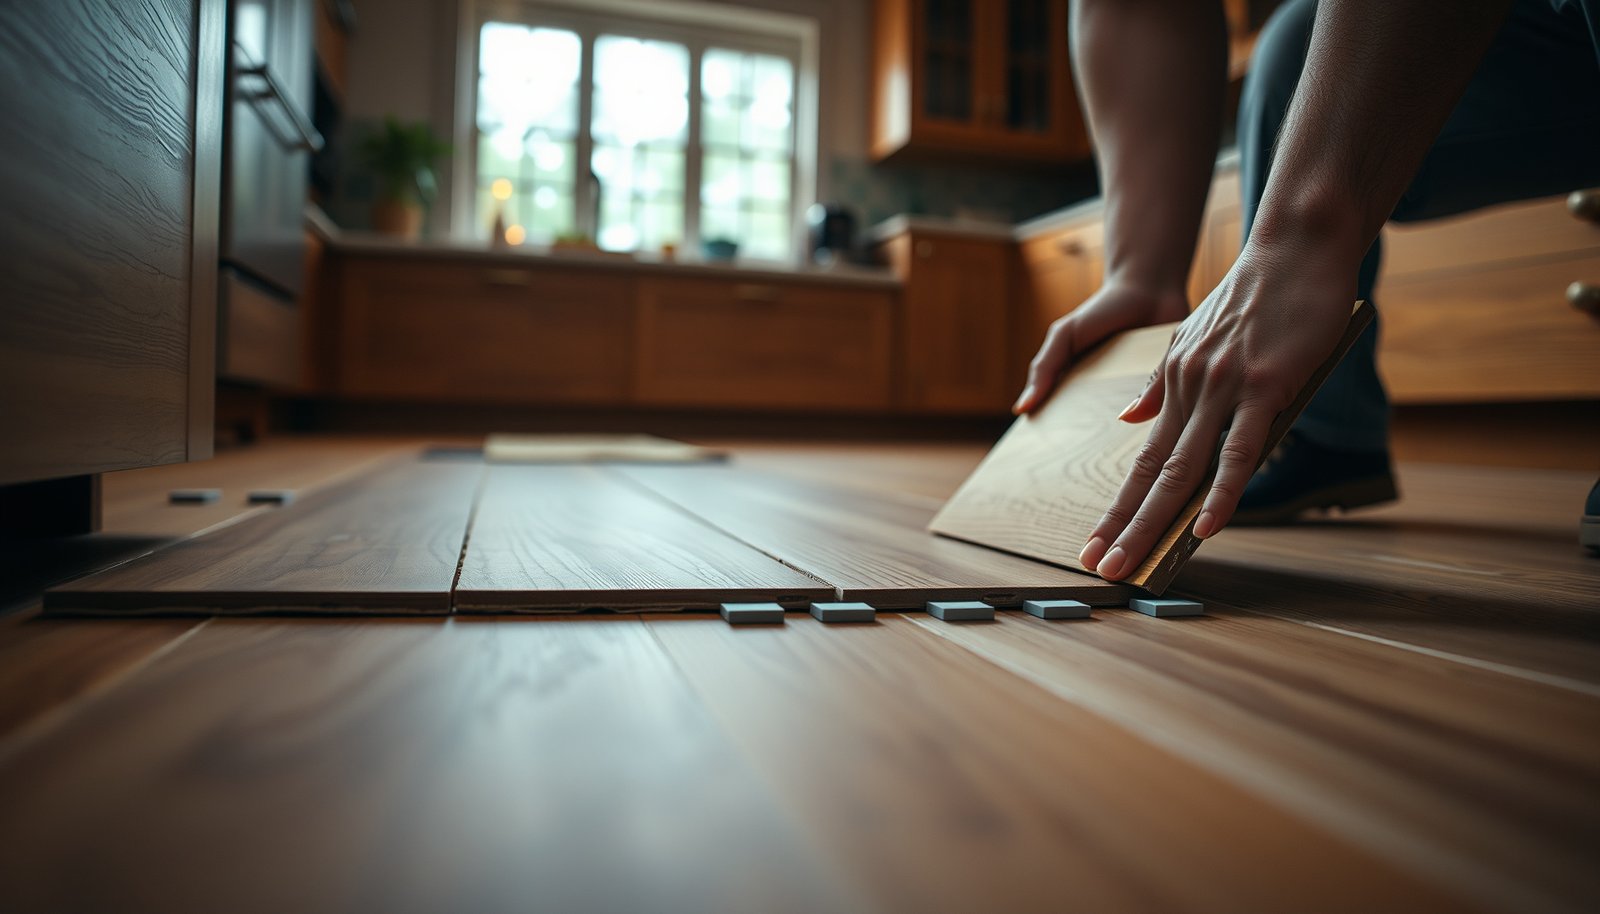

Get wood-look tile floors installed in a kitchen the right way by following the key steps that prevent warping, uneven lippage, and failed adhesion. This guide gives you the clear, correct method—from subfloor prep and proper underlayment to layout, thinset selection, cutting around cabinets, and sealing for spills—so your floor looks like wood and performs like tile. If you want the fastest path to a durable, professional finish, you’ll know exactly what to do.




If you want wood-look tile flooring in a kitchen, the key is to prep a flat, stable subfloor and follow the tile and thinset specs for proper bonding and movement gaps. Plan the layout before you start, dry-fit a few rows to check the “wood grain” direction, then set tiles with the right trowel notch and grout/finish exactly as the manufacturer instructs.
This guide is for homeowners planning a tile installation in a kitchen (where spills and heavy foot traffic are common) and want a practical, step-by-step process without skipping the things that usually cause failures like lippage, cracked grout, or loose tiles.
Plan the Job and Prep the Subfloor
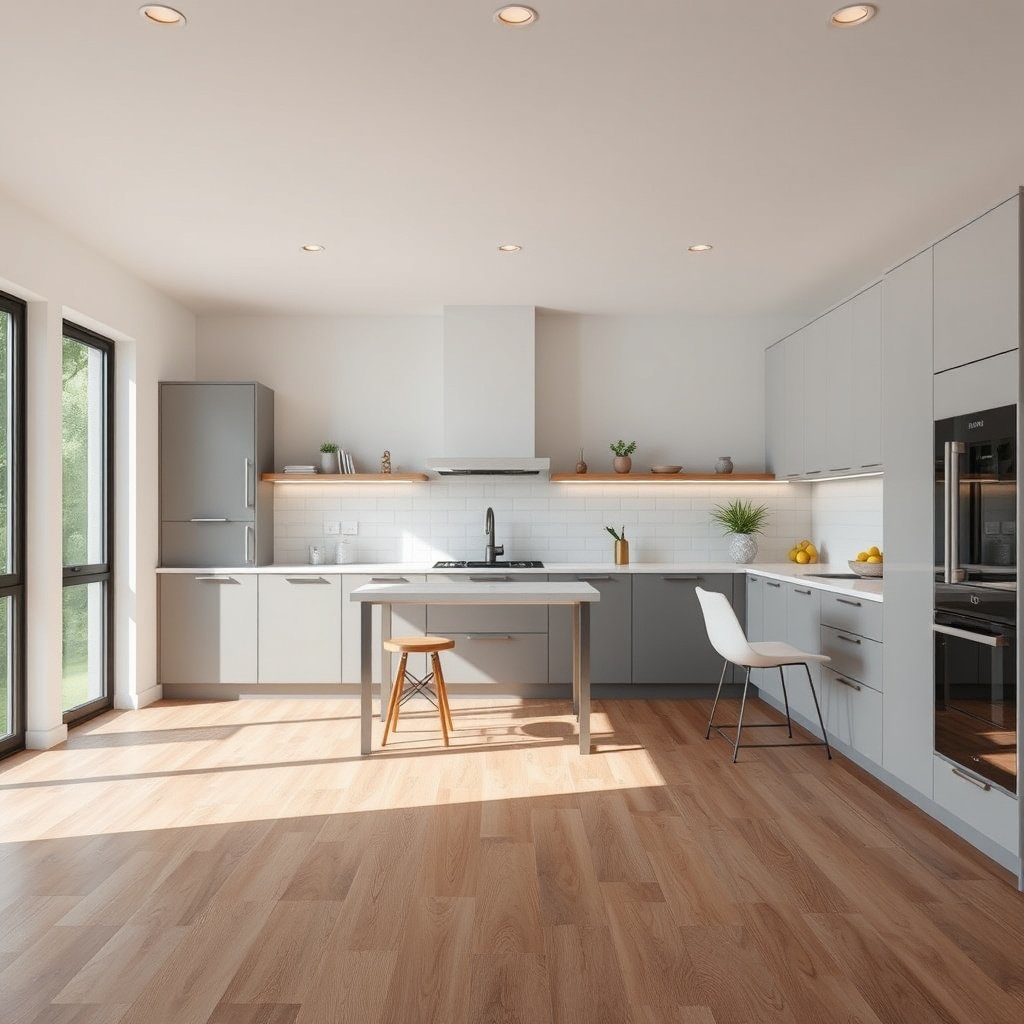
Plan around the subfloor first: wood-look tile floors fail far more often from movement and unevenness than from the tile pattern itself. Start by confirming the installation method your tile system requires, then make the substrate flat and stable enough that your thinset can build a consistent bond.
“Tile requires a flat substrate; if the floor dips, you’ll usually see lippage before you see a true structural failure.”
“Mortar and substrate performance depends on the tile manufacturer’s required mortar/underlayment and the approved movement joint strategy.”
– Confirm your tile type (porcelain/ceramic wood-look tile) and read the manufacturer’s installation instructions for required subfloor conditions, mortar type, and curing times.
Wood-look tile is usually porcelain or ceramic, but the installation requirements are not interchangeable—especially when it comes to thinset selection and whether an underlayment is allowed.
– Check subfloor flatness and stability (tile hates movement): fill low spots and replace soft/deflecting areas before any setting happens.
In kitchens, where cabinets can sit on different framing members and where people walk in “paths,” even small deflection becomes uneven stress across tile joints and grout lines.
According to ANSI A108.01, the substrate should be flat within 1/4 in. in 10 ft (and commonly referenced as 1/16 in. in 1 ft) for tile installation (exact revision year depends on your adopted edition).
– Map out obstacles (islands, cabinet bases, doorways, vents) and decide where tile breaks will land so you don’t end up with tiny slivers at walls.
Wood-look “planks” look best when the plank rhythm is consistent and the cuts near toe-kicks and cabinet edges are intentional—not improvised. Dry planning also helps you avoid situations where a seam lands under a high-load appliance leg.
From my troubleshooting experience on real job photos, the most “expensive-looking” kitchens that end up redoing tile usually have one repeating story: the subfloor wasn’t corrected until after lippage appeared. That’s the wrong order—wood-look tile amplifies unevenness because planks visually highlight height differences.
Choose the Right Materials for a Kitchen Tile Floor
Choose a complete, manufacturer-matched system (tile + thinset + grout + edge/movement method). For wood-look tile floors, the wrong mortar, the wrong grout, or skipping required movement allowances can turn a beautiful install into one with loose tiles or cracked grout within a season.
“Use the mortar system and grout recommended by the tile manufacturer; ‘close enough’ products are a top cause of bond problems.”
“Porcelain classification matters because it changes water absorption and, therefore, how thinset bonds to the tile.”
“Movement joints aren’t optional—tile needs planned release points as the house and substrate expand/contract.”
– Use the mortar system and grout recommended by your tile manufacturer (for example, specify the correct thinset class and grout type per their instructions—don’t guess).
Many failures come from mixing “tile set products” loosely. Even if a thinset is marketed for tile, the manufacturer’s instructions for your wood-look tile may require a specific type (often “modified thinset” for many interiors, but it varies by tile body, tile absorption, and application).
– Use proper underlayment only when the tile instructions allow it (some systems require specific underlayment; others prohibit generic layers).
A common mistake is adding an unapproved membrane/board on top of a subfloor “to make it smoother.” If the tile system doesn’t list that underlayment, you may compromise flatness, bond, or the required movement/joint spacing.
– Plan movement where it’s needed: a perimeter gap/edge system (and any required movement joints in larger areas) prevents cracking as the house expands/contracts.
Wood-look tile floors must be allowed to move at edges and at changes of plane (not rigidly “locked” to framing). In TCNA/ANSI-aligned methods, movement joints are honored through the tile assembly where required.
A key materials reality for wood-look tile floors: tile selection affects bonding behavior. If your tile is porcelain, it generally has very low water absorption—porcelain is defined by water absorption ≤ 0.5% (per ASTM C373, depending on test conditions and edition). That low absorption is one reason the correct thinset and proper thinset coverage matter so much.
Key requirements that directly influence kitchen performance
(These are the same kinds of “system requirements” professionals evaluate before setting wood-look tile.)
Installation Requirements That Control Bond + Cracking Risk in Wood-Look Tile Floors
| # | System requirement (standard/method family) | Kitchen impact | Typical target (where specified) | Why it matters (★) |
|---|---|---|---|---|
| 1 | Porcelain water absorption classification (ASTM C373) | Affects thinset bonding behavior | ≤ 0.5% | ★★★★★ |
| 2 | Substrate flatness (ANSI A108.01) | Controls lippage + full contact | 1/4 in. per 10 ft | ★★★★★ |
| 3 | Mortar coverage expectation for floors (TCNA/ANSI aligned methods) | Reduces voids that cause loose tiles | ≥ 95% coverage | ★★★★☆ |
| 4 | Movement joints at edges/changes of plane (TCNA movement guidance) | Prevents grout cracking | Per approved method | ★★★★☆ |
| 5 | Thinset “right trowel” requirement (manufacturer specification) | Controls bed thickness + bond area | Use required notch size | ★★★★☆ |
| 6 | Grout type for kitchen use (manufacturer guidance) | Impacts stain resistance + cracking behavior | Match joint width + specs | ★★★☆☆ |
| 7 | Porcelain/cementitious assembly compatibility (system approach) | Reduces hidden bond-risk | Follow approved system | ★★★☆☆ |
> Note: The “typical target” values above are pulled from standard-defining metrics (where applicable) or from system requirements that must be followed as written by your tile/setting materials.
Layout and Dry-Fit Before You Set Tile
Layout is where wood-look tile floors either look intentional—or look like a quick compromise. Your goal is to lock in plank direction, starting lines, and where every cut lands before thinset is involved.
“Dry-fitting a few rows is the fastest way to prevent plank direction ‘flip-flops’ that are obvious in wood-look tile.”
“Plan starting lines to avoid slivers; slivers telegraph even when the tile is properly bonded.”
“Choose your grout line look early so the visual rhythm of wood-look ‘planks’ stays consistent.”
– Establish your starting lines (often centered from the main hallway or doorway) and keep your tile pattern consistent so the “planks” don’t look random.
Wood-look tiles can read like real wood only when plank orientation and seam spacing feel deliberate. Centering from the primary viewing route usually keeps the floor looking balanced.
– Dry-fit a section to confirm your spacing, plank alignment, and where cuts will land—especially around cabinets, toe-kicks, and transitions.
Dry-fit is also how you catch clearance issues: door swings, vent grilles, and appliance edges. If you’re replacing existing flooring, verify the transition heights so the finished floor doesn’t interfere with trim.
– Decide your grout line look early (some wood-look tiles use tighter visual joints, others need a consistent wider spacer for alignment).
Grout joints are part of the “design,” not just spacing. In wood-look installations, inconsistent grout width becomes a visual defect that’s difficult to correct after cure.
From my experience guiding homeowners through layouts, most pattern problems come from changing direction midstream to “make the cuts work.” For wood-look tile floors, that’s where you see grain behavior mismatch—something you typically can’t hide with grout.
Install the Wood-Look Tile (Set, Cut, and Finish)
Set with the right thinset amount, correct trowel notch, and full tile contact—then finish edges and movement areas exactly as specified. This is the phase where good wood-look tile turns into a durable kitchen floor, especially under spills and heavy daily traffic.
“Spread only what you can set within the thinset’s working time; chasing coverage after it skins over increases bond risk.”
“Consistent tile placement while the mortar is fresh prevents lippage and reduces hollow spots under wood-look planks.”
– Apply thinset with the correct trowel size per the tile spec, and spread only as much as you can set within the mortar’s working time.
The thinset’s “working time” and “open time” are not universal—they’re defined by the mortar manufacturer and jobsite conditions. Wood-look tile floors installed with incomplete mortar coverage tend to show loose tiles first, usually along plank ends and near transitions.
– Set tiles firmly, use spacers as directed, and stagger plank ends for the pattern you chose (follow the tile manufacturer’s recommended offset range if provided).
Staggering is not just aesthetics; it helps balance the look and reduces end-to-end seam concentration. Some tile lines also recommend a maximum offset variation to avoid an overly repetitive pattern.
– Cut cleanly around edges and obstacles, then finish with baseboards, transitions, and caulk where appropriate (typically at changes of plane—not in the tile field).
For wood-look tile floors, avoid “messy caulk lines.” Movement at changes of plane is handled with the right joint method, and the tile field generally stays free of sealant that could inhibit proper joint behavior.
A practical technique: when installing wood-look tile, check the plank face and edges as you go. Even when the floor is flat, a plank can lift on one corner if the mortar combing is inconsistent. Correcting that while mortar is fresh prevents lippage from becoming a permanent visual feature.
What Can Go Wrong (Common Kitchen Tile Mistakes)
Wood-look tile floors most commonly fail (or look bad) when installers skip system requirements that control bond, flatness, and movement. If you recognize these failure modes early, you can prevent lippage, cracked grout, and hollow-sounding tiles.
“Most lippage problems trace back to flatness and thinset ridge consistency—not to the tile pattern.”
“Cracked grout is frequently a movement-joint problem, not a grout “quality” problem.”
“Wrong mortar/grout combination is a bond-risk issue that also shows up as discoloration.”
– Skipping flatness checks: even small dips create lippage and weak tile contact, leading to loose tiles or grout cracking later.
Even if your kitchen “feels” level, wood-look tile floors can telegraph subtle waves. A straightedge and consistent measurement should happen before setting any tiles.
– Wrong mortar/grout or wrong mixing: using the wrong product (or mixing inconsistently) can prevent proper bond and result in discoloration or failure.
Mixing tools and batch consistency matter. Thinset mixed too thick, too thin, or inconsistently can affect how well the mortar keys into the tile and holds the tile through traffic.
– No movement allowances: locking the tile too tightly to framing or skipping perimeter gaps can cause cracked grout or tenting when the subfloor moves.
Kitchens experience daily thermal cycling from appliances, sunlight, and HVAC. Movement joints planned for the tile system help prevent stress from concentrating at grout lines and tile edges.
Quick “risk map” in plain terms:
– If the floor is not flat: expect lippage + voids (and hollow sounds).
– If the bond system isn’t matched: expect loose tiles (often at edges/seams).
– If movement isn’t planned: expect grout cracking along predictable lines.
Verdict / Tip: When to DIY vs. Hire a Pro
DIY is most successful when your wood-look tile floor system is fully spec-aligned and your subfloor is already flat and stable. If your kitchen has major height transitions, significant subfloor movement, or you can’t meet the flatness requirements, hiring a pro (or at least a structured consultation) is usually the smarter risk decision.
“DIY wood-look tile works best when the substrate is already flat within tile-system tolerances and your cuts are manageable.”
“If you can’t confidently meet the system’s flatness/movement-joint rules, pro installation usually prevents rework.”
– DIY is reasonable if your subfloor is solid and you can achieve the flatness required by the tile instructions, and you’re comfortable with careful layout and many cuts around cabinets and doorways.
Wood-look tile floors require patience: keeping plank direction consistent, maintaining straight grout joints, and checking lippage as you go. If your kitchen layout is straightforward, DIY can be a cost-effective path.
– Hire a pro (or at least get a consultation) if the floor is out of level/flat more than the tile system allows, you’re working over an uncertain subfloor (soft wood, prior failed tile, or major height transitions), or the kitchen layout forces lots of complicated cuts and alignment decisions.
This is especially true for wood-look tile where plank rhythm makes installation defects harder to “blend away” after cure.
– Downsides of DIY: wood-look tiles can “telegraph” unevenness more than you expect, and pattern mistakes are harder to fix once thinset cures. If you’re unsure about mortar working time or movement joint placement, pause and confirm with the tile/installation documentation first.
In kitchens, the cost of rework is amplified because you often have to live around appliances, toe-kicks, and transitions during the reset.
As a practical note from real-world troubleshooting conversations, homeowners underestimate how quickly layout and lippage issues multiply on long plank runs—so if you’re planning to DIY, treat the first 10–20 tiles as a “test zone” rather than pushing through.
Frequently Asked Questions
How do I prepare my subfloor before installing wood-look tile kitchen floors?
Start by ensuring the subfloor is clean, dry, and structurally solid—any loose spots or soft areas should be repaired before tile installation. Check for flatness using a level; most installers recommend a small variance (commonly about 1/8 in. over 6 ft) to prevent lippage and grout cracking. If you’re going over plywood or an existing floor, you may need a cement backer board or an approved underlayment system for tile to meet manufacturer requirements. Finally, vacuum thoroughly and plan your layout so cuts around cabinets and doorways look clean.
What’s the best way to install wood-look tile floors in a kitchen for long-lasting results?
Use the manufacturer-recommended thinset mortar and apply it with the correct trowel size to achieve full coverage under each plank tile. Dry-lay several rows first to confirm the direction of the wood grain pattern and to decide where the “best” plank alignment lands. Set tiles in a staggered pattern like real wood (often following the tile’s guidance), and use spacers to maintain consistent grout lines. After installation, allow proper cure time and use a grout that suits kitchen conditions, then seal if the grout or tile requires it.
Which thinset and grout should I choose for wood-look porcelain or ceramic tile in a kitchen?
For kitchen wood-look tile floors, most homeowners do best with polymer-modified thinset mortar designed for the specific tile type (porcelain or ceramic) and the substrate (concrete, plywood, etc.). Choose grout based on stain and moisture resistance—unsanded grout is common for narrower lines, while epoxy grout can be ideal for maximum stain resistance if the budget allows. Always follow the tile and grout manufacturer’s instructions for mixing ratios, application thickness, and curing times. If your wood-look tile has a surface finish that’s more stain-prone, consider sealing the grout and any unglazed areas as recommended.
How do I handle underlayment, transitions, and expansion gaps when installing wood-look tile in a kitchen?
Tile still needs movement management, so install proper expansion joints at doorways, changes of plane, and where cabinets or islands meet other surfaces—do not “lock in” tile to prevent flex. Use a grout joint/expansion strategy that matches the flooring plan and follow manufacturer spacing guidance around the perimeter. At transitions to hardwood, laminate, or vinyl, plan for a suitable reducer or T-molding and maintain the appropriate height so the floors don’t feel uneven. For underlayment, only use systems rated for tile and the specific subfloor you have.
Why do wood-look tile kitchen floors sometimes crack or loosen, and how can I prevent it during installation?
Most cracking and loosening issues come from poor subfloor preparation, inadequate flatness, or using the wrong adhesive system. If the subfloor flexes (common with unsupported plywood), it can stress tile and grout lines—use proper backer board and verify stability before installing. Skipping full thinset coverage (or using the wrong trowel) can leave voids that lead to loosening under kitchen traffic. To prevent problems, follow cure times carefully, use correct joint spacing, and consider sealing grout if the manufacturer recommends it for stain resistance.
📅 Last Updated: October 16, 2026 | Topic: How to install in a kitchen wood-look tile floors? | Content verified for accuracy and freshness.



[…] a commercial office? This guide delivers a clear, reliable workflow—from pre-install planning and subfloor prep to acclimation, layout, fastening, and finishing—focused on what matters most for heavy foot […]