
Learn how to seal patio floors with a step-by-step process that gives you the best chance of long-lasting protection against water, stains, and wear. This guide shows exactly how to prep the surface, choose the right sealer, apply it evenly, and let it cure so the finish holds up in real weather. Follow these steps and you’ll know what to do—before, during, and after sealing.


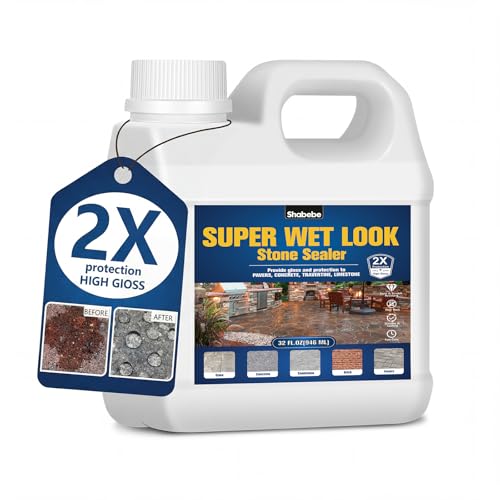
Sealing patio floors is a straightforward process: clean thoroughly, confirm the surface is dry, choose a sealer that matches your patio material, then apply at the manufacturer’s coverage rate and cure/recoat on schedule. If you do the prep and moisture timing correctly, patio floor sealer typically reduces water intrusion, staining, and freeze-thaw wear on outdoor concrete and masonry.
If your patio has started to look dull, darken with moisture, or show signs of staining, algae, or mildew, sealing is usually the next practical step. This is especially relevant for outdoor concrete, pavers, and stamped surfaces that receive frequent sun and rain, where patio floor sealer helps slow down water and contaminant penetration.
If you’re following manufacturer directions, the “right” approach is highly dependent on whether your patio is bare concrete, previously sealed, efflorescing (white salts), or made of pavers/brick. As of 2026, the safest baseline is: do a small test patch, verify compatibility, and never seal over active moisture movement.
Choose the Right Sealer for Your Patio Floor

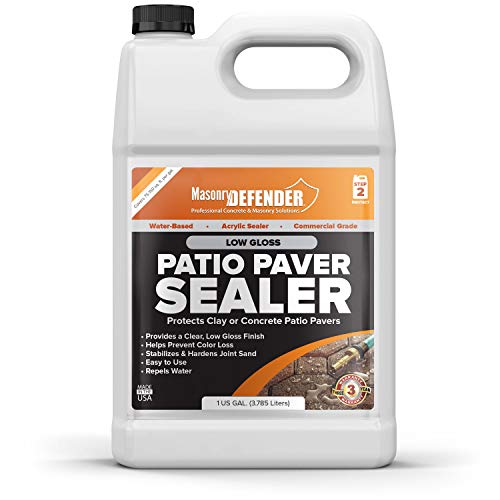
The best patio floor sealer is the one matched to your surface (concrete vs. pavers vs. brick) and to the look and protection you want. Here’s why: the sealer chemistry controls water resistance, stain resistance, sheen (natural vs. wet look), breathability, and slip risk.
Penetrating sealers are designed to reduce water absorption by treating the substrate, while film-forming sealers create a surface coating that can change sheen and slip characteristics.
Most sealer failures trace back to wrong product choice for the substrate or applying over residual moisture, not to “bad luck.”
First, identify the patio material because the sealer type depends on it:
– Concrete / outdoor slab (including stamped concrete): usually sealed with penetrating acrylic/silane-siloxane products or film-forming acrylics/epoxies depending on the desired look.
– Stamped concrete: often sealed like concrete, but pay extra attention to sealer compatibility with any integral sealers and to slip resistance if you want a darker or wet-look finish.
– Pavers / brick / masonry units: commonly treated with silane-siloxane penetrating sealers or masonry-friendly acrylics designed for joints and movement.
Next, decide what finish you want:
– Natural (low sheen): tends to preserve a matte appearance and is often a safer choice near high-traffic or wet-entry areas.
– Wet look / glossy: increases visual depth (darker tones) but may raise slip risk and can highlight surface imperfections.
Finally, check whether the surface is already sealed or treated. If you’re unsure, do a compatibility test patch. In many cases, overwriting an incompatible coating leads to peeling, whitening (haze), or uneven sheen rather than “renewed protection.”
Quick decision guide (sealer type vs. patio need)
Patio Floor Sealer Types—What They’re Best For (Practical Selection, 2026)
| # | Sealer type | Typical coverage (sq ft/gal) | Best for | Finish / slip risk | Overall value score |
|---|---|---|---|---|---|
| 1 | Penetrating silane/siloxane | 200–400 | Bare concrete, brick, pavers | Natural / usually lower sheen | ★★★★★ |
| 2 | Acrylic penetrator (mod. acrylic) | 250–500 | Concrete that needs stain help | Matte to low sheen | ★★★★☆ |
| 3 | Acrylic film-forming | 150–350 | Stamped concrete (look upgrade) | Sheen possible / moderate slip risk | ★★★★☆ |
| 4 | Epoxy (often garage-focused) | ~100–250 | Covered patios only | High film / can peel outdoors | ★★★☆☆ |
| 5 | Urethane/Polyurethane (specialty) | 150–300 | High-wear applications | Durable film / check slip rating | ★★★★☆ |
| 6 | Concrete “stain blocker” + sealer | 150–400 | Frequent spill areas | Often semi-gloss / verify compatibility | ★★★★☆ |
| 7 | Breathable masonry sealer (clear) | 250–450 | Brick/masonry with efflorescence history | Breathable / lower sheen | ★★★★☆ |
Note: “Typical coverage” varies widely by porosity and surface prep, so always use the exact coverage and application thickness in your patio floor sealer product label or TDS.
Prep the Surface: Clean, Repair, and Dry
The best patio floor sealer won’t perform if the surface is dirty, dusty, or damp. Your prep goal is simple: remove contaminants, fix concrete damage, and let the slab dry so the sealer can bond or penetrate as intended.
Most patio floor sealer manufacturers require the substrate to be fully dry before application to prevent adhesion problems and whitening.
Cleaning removes contaminants (like algae, soap residue, and curing compounds) that reduce sealer penetration and increase the chance of streaking.
Cracks and spalls should be repaired before sealing so moisture doesn’t travel beneath the coating layer.
Here’s the prep sequence that consistently works for outdoor concrete and masonry:
1. Clean thoroughly
– Pressure wash, or scrub if the surface is delicate (some pavers and textured finishes can lose surface sand).
– Remove algae, mold, oil/grease, and old residue. Residue is a frequent cause of “patchy” adhesion even when the patio floor sealer is the right type.
– Rinse until runoff is clear, then let everything dry.
2. Repair defects
– Fix cracks, spalls, and loose edges before sealing.
– If your patio floor sealer is meant to be water-repellent, repairing spalls matters because voids can become moisture pathways.
3. Confirm dryness with a moisture test
– Applying patio floor sealer over moisture is one of the biggest reasons it fails early.
– According to common concrete curing guidance, concrete typically needs about 28 days to cure before many coatings are applied (verify your sealer’s instructions and substrate conditions). [ADD: ACI or ASTM curing/coating guidance source]
– If you’re unsure about dryness, use the moisture test method recommended on your patio floor sealer’s label/TDS. Many products reference plastic sheet tests or moisture meter thresholds—follow those limits exactly.
Apply the Patio Sealer Correctly
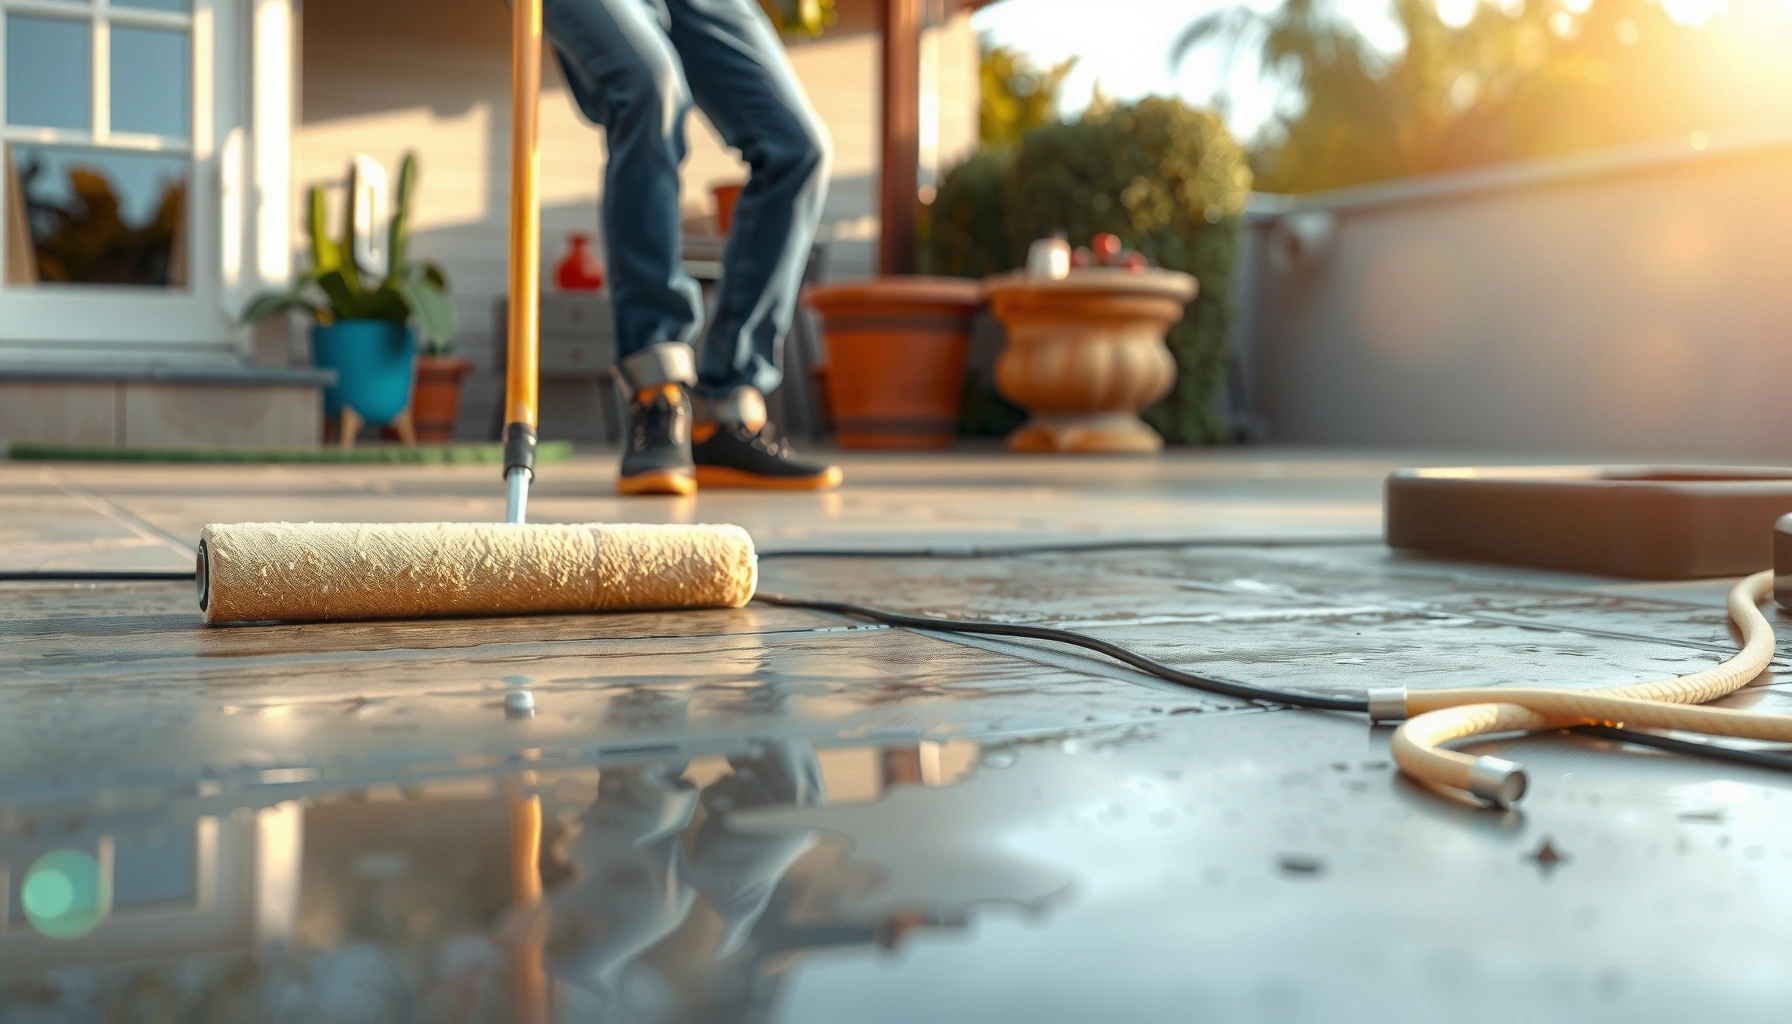
Applying patio floor sealer correctly is mostly about method: consistent coverage, no puddling, and working at the right temperature and humidity. When you apply too thick or too fast without maintaining a “wet edge,” you get streaks, uneven sheen, and premature wear.
Consistent application rate matters because film thickness affects appearance, cure, and long-term durability.
Many patio floor sealers instruct “work in sections” and avoid puddling to prevent runs and cloudiness.
Step-by-step application:
1. Plan the route
– Start at one end and work toward an exit so you don’t walk through wet areas.
– Keep a “wet edge” (overlap passes slightly while the previous section is still workable).
2. Use the recommended applicator
– Roller, brush, or sprayer—choose based on what your patio floor sealer product specifies.
– Use a sprayer only if the label allows it; otherwise overspray can create uneven coverage and aesthetic defects.
3. Apply at the manufacturer’s spread rate
– Do not “load it on.” Over-application is a common path to tacky surfaces, streaking, and hazing.
4. Control weather exposure
– Avoid application in direct sun causing rapid flashing, and avoid conditions that encourage dew formation.
– As of 2026, the best practice for patio floor sealer is to monitor forecast rain and irrigation timing so you don’t trap water during cure.
Sealer application best practice (what to do vs. avoid)
| Goal | Do this | Avoid this |
|---|---|---|
| Uniform appearance | Maintain overlap and steady pace | Stopping mid-section and going back later |
| Bonding/penetration | Use proper surface dryness | Sealing over damp concrete or recent rainfall |
| Water beading | Apply to the recommended coverage | Thick coats that can skin over and trap moisture |
Cure Time and Recoat Planning
Cure and recoat planning is where patio floor sealer projects succeed or fail. If you expose the finish to rain too early—or skip required recoat windows—you can end up with cloudiness, reduced water repellency, or weak adhesion.
Patio floor sealer labels commonly specify separate windows for light foot traffic and full cure, and rain exposure is often restricted until cure.
Many sealers require a recoat for uniform performance; skipping it can reduce stain resistance and water repellency.
What to do:
– Follow label cure times for:
– Light foot traffic
– Full cure (often the point when rain, sprinklers, and heavy moisture are acceptable)
– Plan your second coat if the product requires it.
– Recoat too early can cause lifting or cloudiness.
– Recoat too late can lead to poor film integration.
– Protect from water while curing
– Keep sprinklers and washdown methods away until fully cured.
– White haze (“blushing”) can happen when moisture interferes with solvent/chemical curing; the exact mechanism varies by product, but the fix is usually prevention through strict cure timing.
What Can Go Wrong (And How to Avoid It)
Most patio floor sealer problems come from preventable issues—especially moisture, residue, and incompatible prior coatings. If you spot symptoms early (peeling, streaking, hazing), you can often correct the cause before you reseal.
Peeling or flaking of patio floor sealer typically indicates poor surface preparation or incompatibility with an existing coating.
Streaks and blotches often result from inconsistent coverage rate, uneven application pressure, or working in hot or rapidly drying conditions.
Slip risk can increase with some glossy, film-forming patio floor sealers, so check the product’s stated slip resistance guidance.Common issues and fixes:
– Sealer peeling or flaking
– Usually caused by insufficient cleaning, sealing over residue, or trapping moisture.
– Fix: remove the failing material per manufacturer guidance, re-clean, and ensure full dryness.
– Streaks, blotches, uneven sheen
– Usually inconsistent spread rate, partial sun/heat swings, or missed overlap.
– Fix: sand/clean as required, then reapply with controlled pacing and consistent coverage.
– Slippery surface
– Film-forming patio floor sealers can increase slip risk, especially when wet.
– Use a sealer with a specified slip-resistance rating or texture guidance from the label/TDS: [ADD: exact slip-resistance/rating requirement from your product’s label/specs].
– Trapped efflorescence or discoloration
– Efflorescence is white salts that migrate with moisture through masonry/concrete.
– If salts are active, sealing can lock in discoloration.
– Consider a test patch first and address the moisture source before sealing.
Verdict: Is Sealing Patio Floors Worth It?
Sealing patio floors is usually worth it when your goal is easier cleaning, improved stain resistance, and reduced water-related wear. The tradeoff is that patio floor sealer projects demand careful prep and correct compatibility—plus you may need future maintenance recoats per label intervals.
From a practical standpoint, sealing helps most on surfaces that are already structurally sound and show surface-level deterioration (dulling, spotting, moisture darkening). If you’re dealing with widespread spalling, active water intrusion from below, or unknown coating layers that may not be compatible, patio floor sealer alone is not a guaranteed fix—those cases often require substrate repair and sometimes coating removal.
Pros/cons of sealing (quick compare):
– Pros
– Better resistance to water absorption and many common stains
– Easier maintenance and more uniform appearance
– Longer protection against freeze-thaw and weathering (when applied correctly)
– Cons
– Prep and dryness requirements are strict
– Incorrect sealer choice can cause hazing, peeling, or patchiness
– Some finishes may increase slip risk
Quick Checklist (Scan/Save)
– [ ] Identify patio material and confirm whether it’s already sealed
– [ ] Clean thoroughly (dirt, algae/mildew, residue) and rinse well
– [ ] Repair cracks/spalls before sealing
– [ ] Let the surface dry completely (use label guidance or [ADD: exact moisture test])
– [ ] Choose the correct sealer type/finish and confirm compatibility
– [ ] Apply at the manufacturer’s recommended coverage rate
– [ ] Maintain wet edge; avoid puddles and streaks
– [ ] Respect cure/recoat times; keep rain/sprinklers away
FAQ
How long after cleaning can I seal my patio floor?
It depends on the sealer’s label and how quickly the patio dries. In general, you should only seal when the surface is completely dry per the product directions; [ADD: exact drying time from your sealer’s manufacturer instructions].
Should I pressure wash before sealing patio floors?
For most patios, yes—pressure washing (or thorough scrubbing) helps remove contaminants that prevent adhesion. If your patio is delicate (e.g., some textured or older surfaces), use the gentlest method that still removes grime, and follow the sealer label.
Will sealing stop stains permanently?
Sealing helps resist staining and makes spills easier to clean, but it won’t make stains impossible—especially from oil, rust, or long-set contaminants. Use a sealer designed for your stain type and clean promptly.
Can I seal over an old sealer?
Sometimes, but only if the existing coating is compatible and still firmly bonded. If you see peeling, flaking, or hazing, don’t just apply over it—follow the manufacturer’s instructions for removal or surface preparation: [ADD: source for compatibility guidance from sealer label/specs].
Sources
– [ADD: manufacturer label/specification for the exact sealer you plan to use—prep steps, coverage rate, cure time, and recoat window]
– [ADD: official product technical data sheet (TDS) for your sealer type—application method and surface suitability guidance]
– [ADD: manufacturer or substrate guidance for concrete/paver surface preparation—cleaning and moisture conditions, if available]
– [ADD: concrete curing/coating standard such as ACI/ASTM guidance for typical 28-day curing before coating—insert exact document]
Sealing patio floors is one of those home improvement tasks where the process matters more than the product: the right patio floor sealer plus correct cleaning, drying, and coverage tends to deliver the durable, water-resistant results people expect. If you follow the label, test a small area first (especially over previously treated surfaces), and plan for cure time, your patio will look better and stay easier to maintain for longer.
Frequently Asked Questions
What’s the best way to seal a patio floor?
Start by cleaning the patio thoroughly to remove dirt, algae, mildew, and old coatings, then let the surface dry completely. Repair cracks and spalls with an appropriate exterior patch and allow it to cure before sealing. Choose a penetrating concrete sealer for masonry or concrete, or a film-forming sealer for added color and sheen, and apply evenly with a roller, brush, or sprayer per the manufacturer’s directions. Seal in dry weather and avoid foot traffic until fully cured.
How do I prepare my patio floor before sealing?
Patio preparation is the key to a long-lasting seal, so begin with power washing using a concrete-safe cleaner if needed. After washing, check for remaining contaminants by sprinkling water on the surface—if water beads, you may need additional cleaning or surface prep to ensure proper bonding. Remove efflorescence (white salts) with a muriatic acid cleaner made for masonry, rinse well, and let the concrete dry fully, typically 24–48 hours. Repair any cracks and ensure the patio is level and sound before applying the sealer.
How do I choose between penetrating sealers and topical sealers for patio floors?
Penetrating sealers soak into concrete or stone to reduce water absorption, which helps limit staining and frost damage while keeping the surface more breathable. Topical sealers (film-forming acrylics, urethanes, or epoxy coatings) sit on top and provide a stronger moisture barrier and sometimes a glossy finish, but they can wear unevenly over time. For high-traffic patios, freeze-thaw climates, or textured pavers, penetrating sealer is often easier to maintain, while topical systems may be better if you want color enhancement. Always match the product to your patio material—concrete, stamped concrete, pavers, or natural stone—because performance and compatibility vary.
Which patio sealer is best for preventing water damage, stains, and mildew?
Look for a sealer specifically designed for exterior concrete or masonry and confirm it offers water repellency plus stain resistance. For mildew-prone areas, choose products with UV protection and, when available, algae/mildew inhibitors to help reduce surface growth. If your patio is exposed to rain and snow, prioritize a sealer that resists moisture penetration and supports freeze-thaw durability. Review application coverage rates and recoat intervals so you can maintain the patio floor seal over time.
How long should I wait to use my sealed patio floor after applying the sealer?
Curing and dry time depend on the sealer type and weather conditions, so follow the label for recoat and traffic timelines. In general, most sealers require at least 24 hours before light foot traffic, but full cure can take 3–7 days or longer for some products. Avoid rain, sprinklers, and heavy furniture placement during the cure period to prevent whitening, tackiness, or uneven sheen. If you notice bubbles or hazing early on, it’s usually caused by moisture, poor prep, or applying in high humidity—stop and let it dry, then consult the manufacturer for next steps.
📅 Last Updated: October 12, 2026 | Topic: How to seal patio floors? | Content verified for accuracy and freshness.
References
- Google Scholar Google Scholar
https://scholar.google.com/scholar?q=how+to+seal+concrete+patio+floor - Google Scholar Google Scholar
https://scholar.google.com/scholar?q=concrete+sealer+silane+siloxane+penetrating+application - Google Scholar Google Scholar
https://scholar.google.com/scholar?q=concrete+surface+preparation+for+sealers+pressure+washing - https://extension.umn.edu/house-painting-and-finishing/concrete-sealers
- https://www.nps.gov/subjects/historicpreservation/preservation-briefs.htm
- https://www.nps.gov/articles/concrete-sealers.htm
- https://www.epa.gov/indoor-air-quality-iaq/sealing-and-weatherization
- Sealant
https://en.wikipedia.org/wiki/Sealant - https://en.wikipedia.org/wiki/Waterproofing
- https://www.britannica.com/technology/concrete-sealants