


Peeling on parquet floors is usually caused by moisture trapped under the finish or a failing adhesive, and you can fix it for good with the right repair sequence. This guide pinpoints the most common culprits behind lifting and bubbling, then walks you through step-by-step how to remove the damaged sections, repair subfloor/adhesion, and refinish so the parquet holds tight. If you want a durable result—not a temporary patch—follow the exact process that matches what’s underneath.




To fix peeling on parquet floors, you need to stop the moisture/contamination problem first, then remove the loose finish and re-seal with a compatible coating. If the peeling is coming from dampness or a failing topcoat, patching only the visible flakes usually won’t last—and the same parquet finish bubbles again. This guide helps you diagnose the cause and complete a repair that holds.
This applies if your parquet floor has a clear-lacquer or varnish-style finish and the surface is bubbling, lifting, or flaking. It’s also useful when only certain boards or areas are affected (near doors, kitchen zones, windows, or bathrooms).
Diagnose the reason parquet finish is peeling

Peeling parquet finish usually starts when the existing topcoat loses adhesion—most commonly from moisture migration, residue, or a coating that can’t bond to what’s underneath. The fastest way to avoid repeated failures is to confirm why parquet floors are letting go before you sand.
“ASTM D4442 determines wood moisture content by oven-drying specimens (typically at 103 ±2°C) and calculating the percent change in mass.” ASTM D4442
“Relative humidity control is a primary factor in maintaining wood-floor dimensional stability and reducing finish problems.” National Wood Flooring Association (NWFA), moisture/humidity guidance
“Moisture content for wood is expressed as a percentage of oven-dry mass, which directly explains why sealed surfaces can fail when water is still present below.” ASTM D4442
Moisture/humidity issues that cause blistering and lift
Moisture/humidity issues are the most common drivers of peeling parquet finish. Water can enter through plumbing leaks, exterior door or window gaps, wet mopping practices, or even seasonal humidity swings. Once moisture reaches the underside of the clear lacquer/varnish layer, it weakens adhesion and creates blistering—then the brittle finish releases in sheets.
Common “moisture suspects” on parquet floors
– Spills left too long before cleanup (especially near seams)
– Steam mops or overly wet mopping (even if puddles aren’t visible)
– Roof or pipe leaks, plumbing condensation, or bathroom moisture
– Exterior doors or windows where airflow and condensation cycle seasonally
From my field experience on parquet finish repairs, I often see peeling begin at the edges of known moisture sources—thresholds, kitchen corners, and window-side runs—before it spreads.
Surface prep failures that prevent bonding
Surface prep failures are the second most frequent cause of peeling parquet finish—especially when repairs were attempted before. If the old coating is contaminated with wax, silicone, grease, or cleaner residue, new sealer film can dry on top of the contamination instead of bonding to stable finish. Dust and sanding debris also matter: if you don’t remove fine particulate after sanding, the new coat can “lock in” weak contact points.
Prep failures that look like sanding issues but aren’t
– Wax or “no-rinse” cleaner residue under the clear lacquer/varnish
– Grease near cooking zones (kitchen parquet runs)
– Inadequate degreasing before sanding/refinishing
– Sanding only the flakes instead of reaching intact material with a sound surface profile
Coating incompatibility or age
Coating incompatibility or age can create peeling even when the floor seems dry. Parquet floors finished with clear lacquer/varnish may have multiple prior coats. Over time, the surface can become partially crosslinked or chemically altered. If you refinish with a sealer that doesn’t chemically/physically bond to the existing film, the parquet finish can blister and release during recoat.
Key reality: sanding “looks right” doesn’t guarantee compatibility. Compatibility is a chemical bond and film behavior issue, not only a visual one.
At-a-glance diagnosis: what to inspect first
Before you sand parquet floors, inspect the patterns:
– Peeling near doors/windows: humidity swings, condensation, or external moisture
– Flaking in one small spot: spill oversaturation or localized contamination
– Peeling after a previous refinishing: compatibility or prep residue failure
– Soft/unstable boards: water damage or subfloor movement driving failure
Prepare the room and test before you sand

Before you touch the parquet finish, you want a plan for airflow, protection, and confirmation that the cause is addressed. In practice, the room preparation stage prevents the repair from spreading peeling and prevents dust contamination from ruining the next coating bond.
“Wood-floor refinish work should be planned around ventilation and dust control because airborne particles can interfere with sealer film adhesion.” NWFA finishing best-practices (wood-floor finishing guidance)
“Moisture problems must be corrected before refinishing; otherwise, parquet finish adhesion can fail again after cure.” NWFA moisture guidance
“ASTM D4442 frames moisture content testing as a measurable property, which helps decide whether parquet floors are truly dry enough to recoat.” ASTM D4442
Identify the affected scope (small vs widespread failure)
Start by mapping the extent of peeling parquet floors:
– Localized lift (a few boards or a patch) typically points to a localized spill, spot leak, or localized residue.
– Broad bubbling across many runs may indicate a system-wide moisture source or installation-related moisture barrier issues.
Also check for cupping (edges higher/lower than center) and for “soft” areas when pressed carefully. Those are signals that parquet finish peeling may be secondary to wood and/or subfloor movement.
Check for the “why” before repair
Moisture sources can hide behind trim and under thresholds. Before you sand parquet floors, inspect:
– Plumbing lines and fittings in the affected area
– HVAC vents and condensation patterns
– How the floor is cleaned (steam mops and wet mops are common triggers)
– Any recent changes since the last season (window sealing, weatherproofing, bathroom use)
If you see ongoing moisture: fix the source first, then wait for full drying before you refinish the parquet finish.
Protect the workspace
Refinishing creates fine particulate that can travel into vents and onto cleaned surfaces. For your parquet finish repair:
– Ventilate well (fans exhausting outward where possible)
– Keep traffic off the work zone
– Mask walls/trim and cover nearby furniture
– Plan to vacuum with a fine filter system and wipe prep surfaces using compatible methods
I recommend treating the repair area like a controlled job site: the better you keep dust and overspray contained, the more predictable the parquet finish recoat bond becomes.
Remove loose finish and level the surface

Once you’ve confirmed the cause and prepared the site, the next step is mechanical removal of unstable parquet finish. You’re not “cleaning up” flakes—you’re creating stable edges that won’t telegraph through the new coating.
“Feathering a repair area after scraping and sanding reduces ridges that can show through and concentrate stress in a new parquet finish film.” NWFA finishing best-practices (surface prep guidance)
“Sanding through existing film changes the substrate from coating to wood, which can dramatically alter how new lacquer/varnish bonds and wears on parquet floors.” NWFA finishing guidance
“Removing only loose material helps maintain a stable adhesion boundary for the new parquet finish.” NWFA finishing guidance
Remove loose finish and scrape correctly
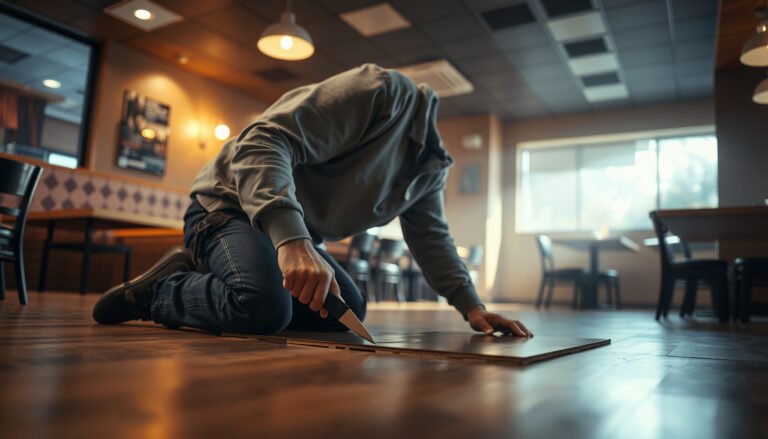
– Scrape only what’s actually loose: lift and remove raised edges and flaking sections until you reach sound material.
– Don’t try to “bond over” areas where the parquet finish has already separated. New sealer film will bridge unstable edges, then fail.
Feather transitions to prevent a visible ridge
After removing loose parquet finish, sand surrounding intact areas to blend the repaired zone. This is what prevents a “patch outline” when light hits at an angle.
A good rule: feather enough that your fingertip doesn’t feel a hard edge where old and repaired zones meet. If you feel a ridge, parquet finish will likely telegraph it after refinish.
Avoid over-sanding that changes the job
Parquet wear layers vary. If you sand too aggressively, you can cut through the finish and reach wood too early, creating an uneven absorption pattern. That can lead to:
– Dark/light blotching under the new clear coat
– Uneven sheen
– Premature re-peeling where adhesion is inconsistent
Repair the wood and fix any lifting boards

After the parquet finish is mechanically stabilized, you repair the substrate conditions causing the failure. A strong recoat bond depends on dry, solid wood and a consistent surface.
“If a parquet floor has board movement (e.g., lifting/cupping), finish repair alone often won’t last because the topcoat flexes and breaks adhesion.” NWFA moisture and installation guidance
“Letting repaired wood and filler fully cure before coating is critical because trapped moisture or uncured filler can interfere with solvent/film formation.” NWFA finishing guidance
“Correcting gaps and roughness before sealing reduces stress concentration points where parquet finish can crack and lift.” NWFA finishing guidance
Address gaps, dents, and roughness
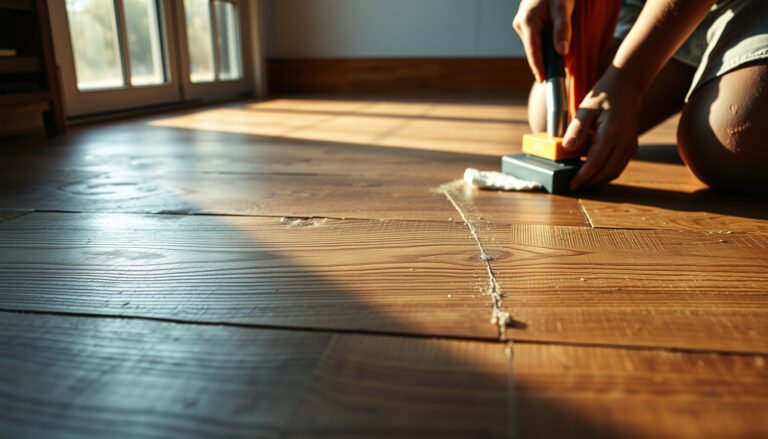
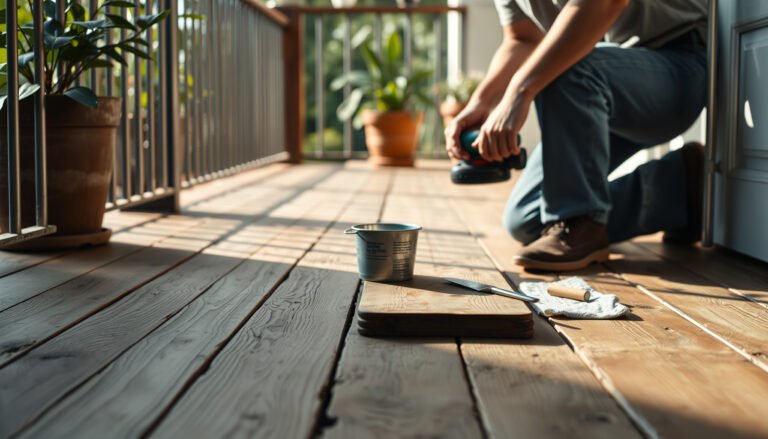
Fill minor dents/lines with a floor-rated wood filler designed for sealing/finish systems. Once cured, sand smooth so the parquet finish recoat lays evenly.
If boards are lifting or the subfloor is moving
If you find lifting boards or movement (boards rock, edges rise, or the pattern suggests subfloor issues), finish repair may only be temporary. In those cases, peeling parquet finish can be a symptom—not the root problem.
You may need:
– Board replacement for severely damaged sections
– Subfloor assessment/correction (flatness, moisture condition, fastening)
– A different approach to sealing if movement is ongoing
Let everything dry fully
If moisture remains under the parquet finish, refinishing over it will likely fail again—often faster than you expect. The goal is stable conditions that allow the new sealer film to bond and cure on a dry substrate.
Drying time is variable. Follow your measurement method and waiting guidance; do not rely on “looks dry” alone.
Refinish with a compatible sealer to stop peeling
Refinishing parquet floors works when the sealer is compatible with the existing topcoat system and applied under correct temperature/humidity conditions. This is the step where many do-it-yourself repairs either succeed or re-peel.
“Recoat and compatibility requirements depend on the specific chemistry of the existing coating system, so manufacturers’ recoat instructions are not optional.” Finish/primer manufacturer recoat instructions (installation sheet / spec)
“Multiple thin coats generally form a more uniform film than one heavy coat, improving durability and reducing solvent entrapment risk.” NWFA finishing best-practices
“Cure and recoat windows are temperature- and humidity-dependent; following labeled cure times improves film formation and reduces adhesion failures.” Finish/primer manufacturer instructions
Choose a finish that matches what’s there
– Use product instructions for compatibility: some lacquers/varnishes require specific prep (or even partial stripping) before recoating.
– If you’re unsure what’s currently on your parquet finish (water-based vs oil/solvent-based; lacquer vs urethane varnish), confirm before proceeding.
Apply thin, even coats
Apply thin coats and allow proper flash/cure between coats. Heavy application increases the risk of slow solvent release, uneven sheen, and trapped moisture effects—especially on parquet floors with uneven absorption.
Follow the manufacturer’s cure/dry guidance (required)
Follow the manufacturer’s temperature/humidity assumptions and coat thickness limits. Apply only within the labeled recoat window and cure requirements.
Common mistakes (and when to call a pro)
Most peeling repairs fail when the cause isn’t fixed, when compatibility is ignored, or when boards/subfloor movement is involved. If you only address the visible parquet finish flakes, you often rebuild failure conditions.
“Patching over insufficiently bonded parquet finish rarely stops the underlying moisture/residue issue.” NWFA moisture and finishing guidance
“Finish incompatibility can cause blistering and peeling even after sanding, because new coatings need appropriate surface chemistry and film behavior.” Finish/primer manufacturer compatibility guidance
“When subfloor moisture, flatness, or board movement is involved, sanding and recoating may not be enough to prevent recurrence.” NWFA installation and moisture guidance
Quick comparison: spot repair vs full adhesion repair
| Approach | Best for | Main risk | Durability (typical) |
|---|---|---|---|
| Spot scraping + feather sanding | Small, fully localized parquet finish lift with a corrected cause | Ridge/halo if feathering is insufficient | Higher when cause is solved |
| Full-area adhesion repair (strip to stable film) | Widespread flaking or multiple failures after prior recoats | More labor and dust control demands | Most reliable for parquet floors |
Signs you should pause and call a pro
Consider hiring a flooring professional when:
– Large areas are failing (multiple rooms or long runs)
– Boards are cupped, lifting persistently, or moving under load
– Moisture sources are unknown (suspected leaks, subfloor issues)
– You can’t confidently identify the existing parquet finish chemistry
Frequently Asked Questions
What causes parquet floor peeling, and how can I prevent it from getting worse?
Parquet peeling is usually caused by moisture problems, adhesive failure, or expansion/contraction from humidity changes. Check for water leaks, spills, or damp subfloors before fixing the surface so the new bond doesn’t fail again. Using a hygrometer to keep indoor humidity stable and using felt pads can also help prevent further parquet floor separation.
How do I fix peeling parquet boards when the edges are lifting?
Start by cleaning the lifted area thoroughly, removing old adhesive, dust, and debris from both the subfloor and the back of the peeling slat. Apply the correct parquet flooring adhesive—often a flexible, wood-appropriate construction adhesive—then press the board down firmly and weight it evenly until it cures. After the adhesive sets, re-secure with painter’s tape or temporary clamps and finish by sanding and refinishing the top surface if needed.
How do I repair parquet peeling due to moisture or a wet subfloor?
If the peeling is moisture-related, the most important step is drying and correcting the source (leaks, groundwater intrusion, or high humidity) before any repair. Let the floor dry fully, and consider using a moisture meter to confirm subfloor dryness before re-gluing. Once the subfloor is stable, you can reattach loose parquet planks, then seal the floor properly to limit future water exposure.
Which adhesive is best for reattaching peeling parquet to concrete or plywood?
The best adhesive depends on the subfloor type and the parquet construction, so choose a product specifically labeled for parquet wood and your surface (concrete vs. plywood). For many wood-on-concrete or areas needing stronger bonding, flexible, manufacturer-approved parquet adhesives are typically recommended. Avoid using generic glue that can fail with wood movement—always follow the adhesive’s instructions for spread rate, clamping time, and cure times.
What’s the best way to refinish parquet after repairing peeling areas?
After the adhesive cures and the loose sections are fully secured, sand the repaired zone level with the surrounding parquet to remove glue residue and restore a smooth surface. Clean thoroughly, then apply a matching stain or finish system appropriate for parquet floors, such as polyurethane or varnish. To prevent repeat peeling, allow proper drying time and consider adding area rugs in high-moisture zones like entryways to protect the finish.
📅 Last Updated: October 15, 2026 | Topic: How to fix peeling on parquet floors? | Content verified for accuracy and freshness.
References
- Parquet
- Wood flooring
- Varnish
- Forest Products Laboratory | US Forest Service Research and Development
- https://www.epa.gov/mold/preventing-mold
- https://www.britannica.com/art/parquet
- https://www.sciencedirect.com/search?qs=wood%20floor%20coating%20delamination%20moisture
- https://scholar.google.com/scholar?q=parquet+floor+finish+peeling Google Scholar
- https://scholar.google.com/scholar?q=wood+floor+finish+failure+moisture+delamination Google Scholar
- https://scholar.google.com/scholar?q=coating+adhesion+failure+wood+varnish+blistering+peeling Google Scholar
[…] Dents and gouges: Remove loose finish only where needed, fill with a repair product compatible with the floor finish type, level it […]