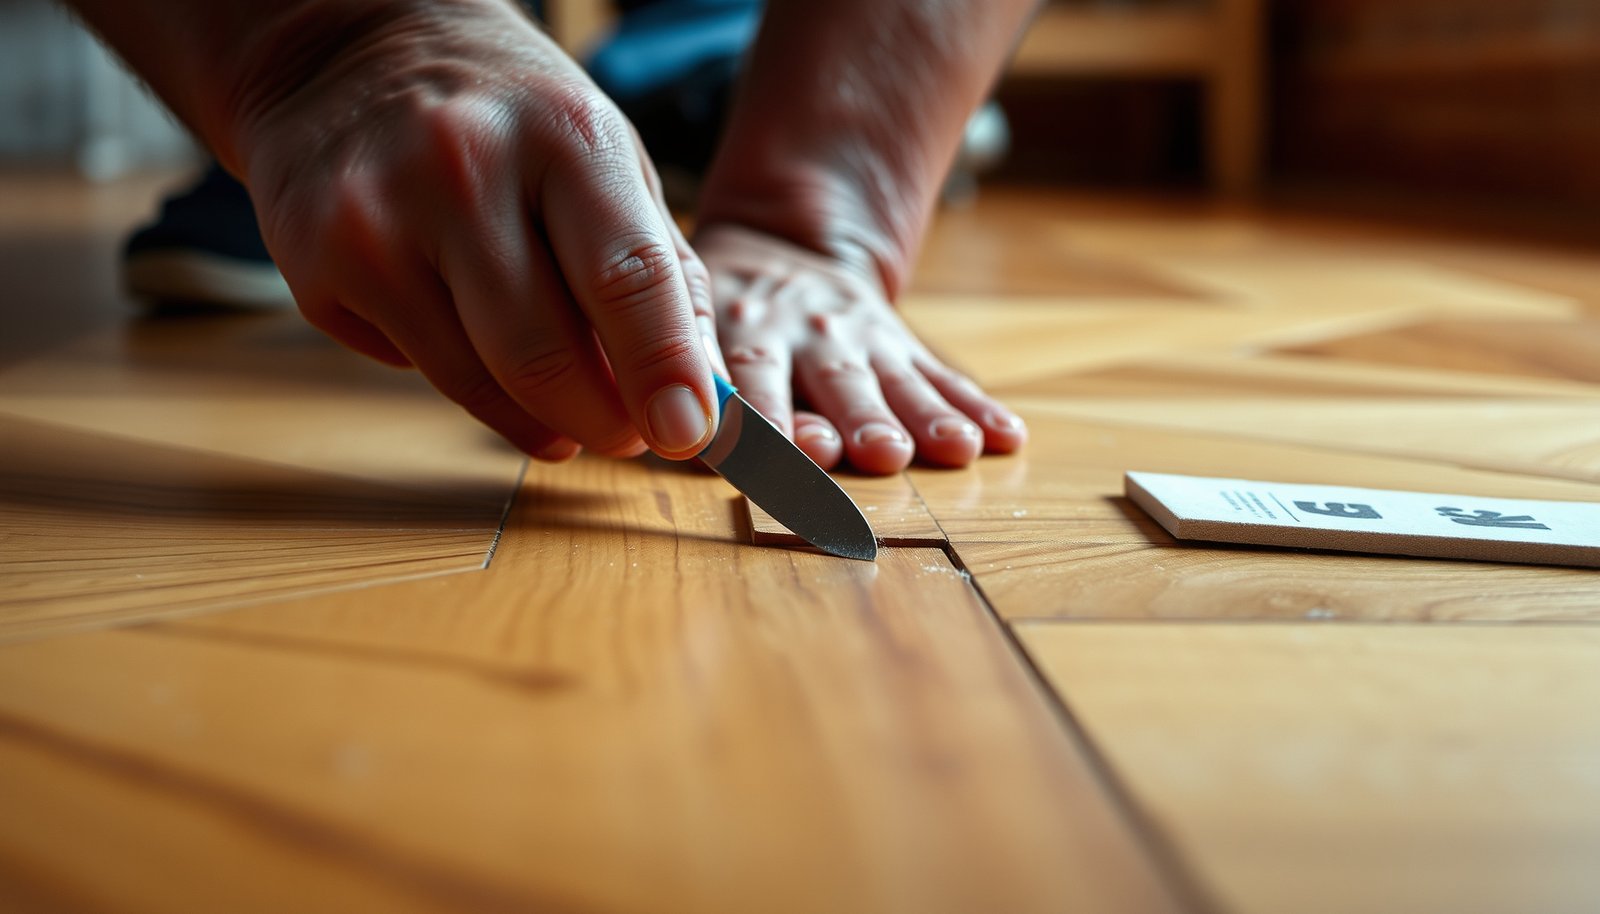

Fixing scratches on parquet floors is usually a straightforward DIY job if you match the repair method to the scratch depth, and this step-by-step guide shows you exactly how to do it. You’ll learn what to clean, how to fill and level the damaged area, and when to sand and refinish for a finish that blends with your existing floor. By the end, you’ll know the fastest, most reliable way to restore scratched parquet without guesswork.




Scratches on parquet are usually fixable—if you match the repair to how deep the damage goes. Clean the area first, then use a wax/marker for surface scuffs, or wood filler + sanding and (often) a new finish layer for deeper cuts. In this guide, you’ll learn how to assess scratch depth, pick the right method, and avoid making the damage more visible—especially as parquet repair products and finish systems keep evolving through 2025–2026.
If your parquet is only lightly scratched, you’ll likely be able to improve it without sanding the whole floor. If the scratch has cut through the top protective coat into the wood, expect a more involved “repair and re-finish” approach. Either way, the key is to repair the right layer and keep the finish chemistry compatible with what’s already on your boards.
Assess scratch depth (scuff vs. gouge)
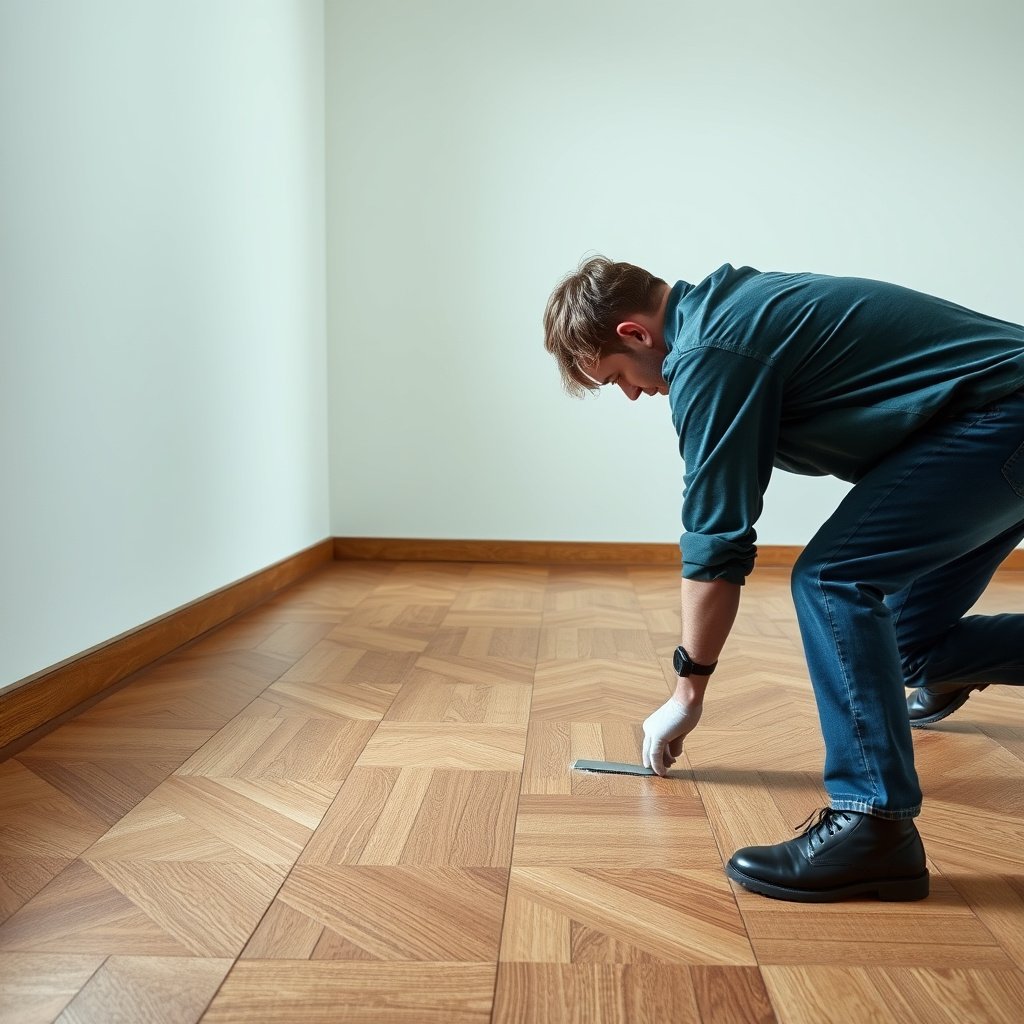
You’ll choose the correct repair by first determining whether the scratch only affects the surface finish or whether it’s truly gouged into the wood. In most parquet cases, a fast depth check (visual + fingertip test) prevents unnecessary sanding and reduces the odds of a “dull patch” that stands out under overhead light.
A surface scuff typically changes sheen, not structure—so it looks different across light, but it doesn’t feel like a groove.
A gouge feels physically lowered or snaggy and often removes part of the clear coat, which usually requires leveling and re-coating.
Knowing your finish type (oil vs. lacquer/varnish) matters because repair products adhere and blend differently depending on the top coat system.
What the fingertip test tells you (without damaging the floor)
– Do a quick visual check: light scratches catch light differently; deep ones look like a groove.
– Run a fingertip gently over the mark (dry floor): if it feels raised or “catches,” you may need filling and sanding.
– Note the finish type if you know it (oil-finished vs. lacquer/varnish), because the correct repair product depends on it.
From a practical standpoint, I treat the fingertip test as a “layer detector.” If your nail or fingertip catches, you’re dealing with a shape change—not just a surface transfer. For parquet, that distinction matters because parquet planks are small, and the pattern can make localized repairs show more easily when the surface profile is uneven.
Use environmental stability as a decision filter (2026 reality check)
Before you fix anything, confirm the floor is dry and stable. Wood floors move with moisture and indoor conditions, and parquet repairs can look worse if the subfloor or humidity is swinging.
– According to the National Wood Flooring Association, maintaining indoor relative humidity around 35%–55% helps reduce excessive movement and related finish breakdown risks. (NWFA guidance, humidity recommendations)
– According to NWFA installation guidance, the wood flooring’s moisture content should be close to the jobsite conditions—often described as within ~2 percentage points to prevent problems after installation. (NWFA installation/environment guidance)
If you’re in a very dry or very humid season, plan to repair after conditions stabilize; otherwise, your patch may expand/contract differently than the surrounding boards.
Choose the right fix based on what’s damaged
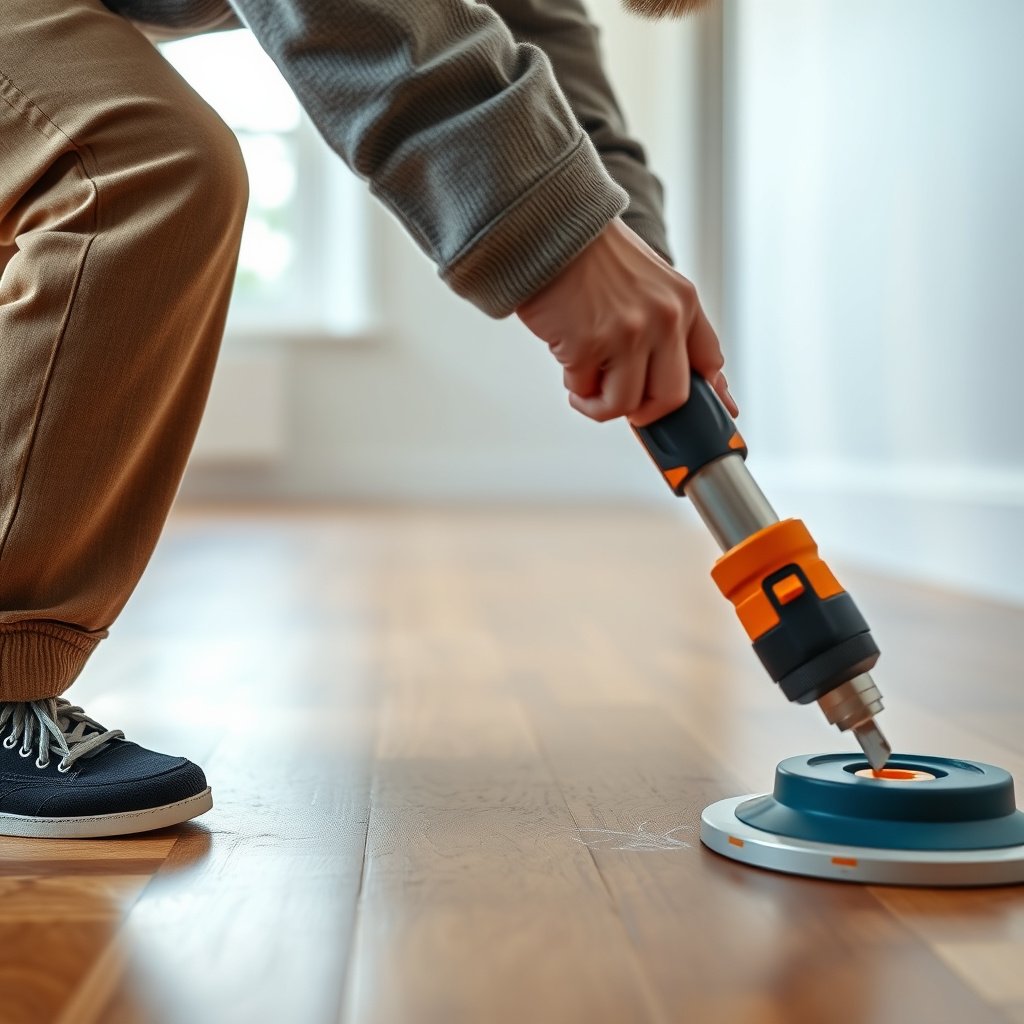
You’ll get the best visual result by matching your repair to the specific damaged layer: finish-only vs. wood-level damage. If the scratch removed only color/transfer on top, you can often do a clean touch-up; if it cut into wood, you must fill, level, and restore the finish layer.
Compatibility beats “brand matching”: a filler or wax that isn’t designed for your existing finish can look patchy or fail to bond.
If the top coat is intact, you usually only need a surface blend; if it’s broken, plan for re-coating to restore protective performance.
Map the damage to the repair category
– Surface marks (wax/oil haze or finish scuffs): aim for color matching and a smooth top layer (touch-up pens, wax sticks, or oil/finish-specific rub-ins).
– Deeper scratches (into the wood): plan for wood filler/putty, sanding to level, then re-coating the finish layer.
– When unsure, prioritize compatibility: repairs that aren’t meant for your finish can look patchy or peel.
In practice, “compatibility” includes three things: (1) whether the product is intended for oil vs. lacquer/varnish systems, (2) whether it’s meant to sit on top of your existing coat or chemically integrate with it, and (3) whether your repair method restores sheen (matte/satin/gloss) rather than only color. Parquet scratches often show up as a sheen line, not just a color change.
Decide by the sharpness of the profile
A gouge is less about how long the scratch is and more about whether the wood profile is interrupted. A tiny gouge that breaks through the clear coat can be more visible than a longer surface scuff because it changes both topography and light reflection. If your scratch edge catches the light like a thin shadow, treat it like a profile problem—fill and level.
Fix light surface scratches and scuffs
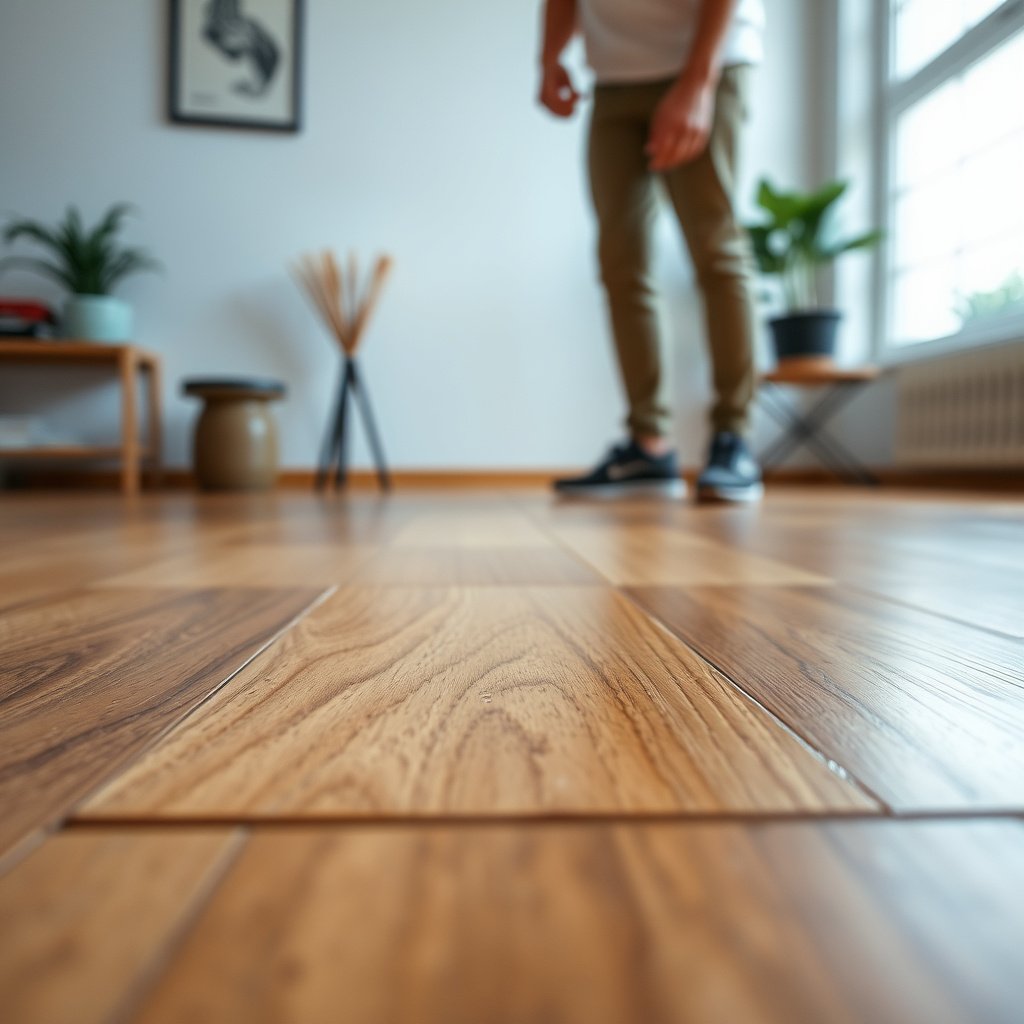
For light scuffs, you can usually improve appearance without sanding by cleaning thoroughly and using a finish-appropriate touch-up product. The goal is to restore an even surface sheen and reduce color transfer, not to “scrub away” the scratch groove.
Surface scuffs are often finish-transfer issues, so cleaning plus a color-matched wax/marker is usually the correct first-line repair.
Buffing is not optional—gentle polishing blends the repair area into the surrounding sheen.
Step-by-step for surface scuffs (no groove removed)
– Clean first: remove dust and grime with a parquet-appropriate cleaner; let it fully dry.
– Use a color-matched touch-up method: rub-in oil/wax for oiled floors or apply a parquet touch-up wax/pen for scuffs on top.
– Buff gently with a soft cloth until the surface feels even and the sheen looks closer to the surrounding area.
Cleaning matters more than most people expect
Any residue—especially oils, silicone cleaners, or waxy maintenance products—can prevent touch-up waxes and markers from blending cleanly. Use the gentlest cleaner recommended for your finish type and allow full drying time. If you’re working in a humid room, give the floor extra time to dry before you apply touch-up material.
Color matching without overdoing it
When you apply wax, marker, or oil rub-in, “less is more.” Many repairs fail visually because the filler or wax sits on top in a thick layer that creates a shiny ring. For the smoothest blend:
1. Apply sparingly.
2. Let it set per the product instructions.
3. Buff lightly and re-check under natural and overhead light.
Repair deeper scratches that hit the wood
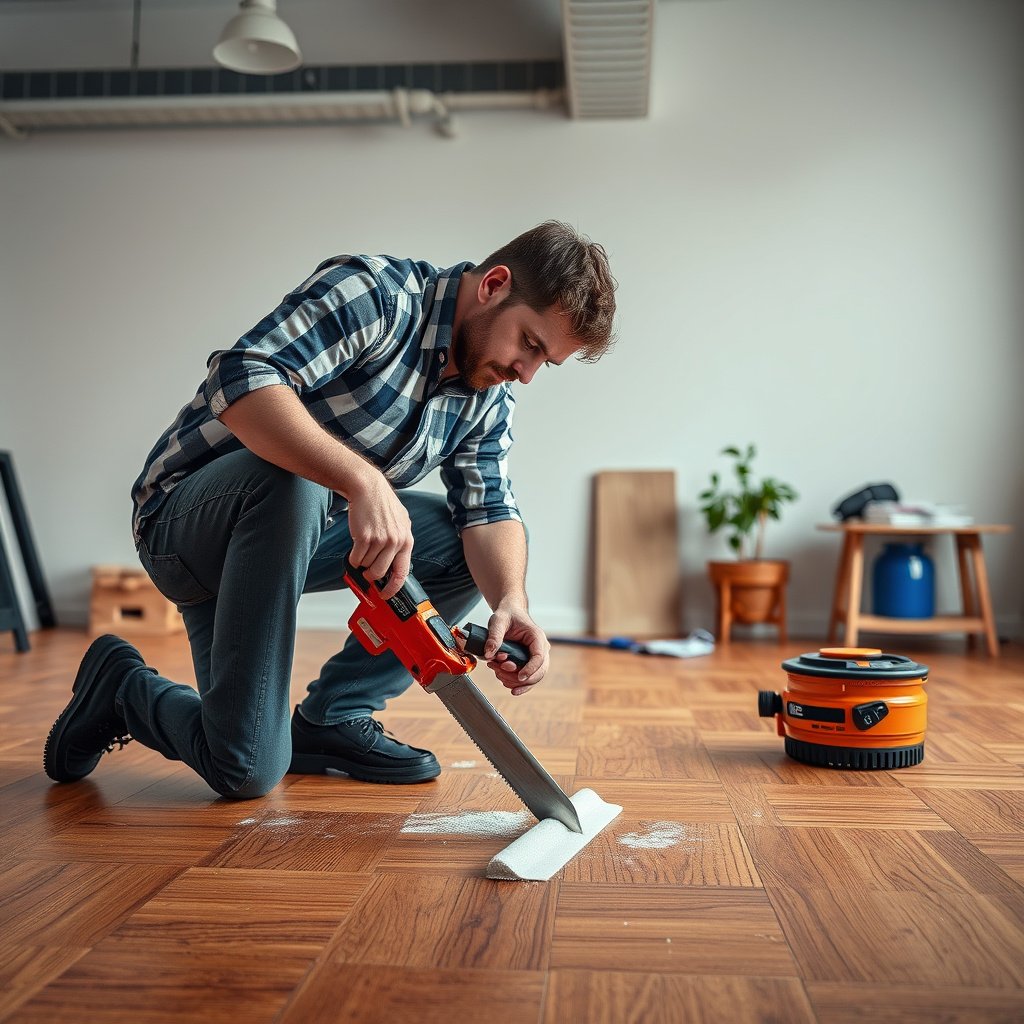
For deeper scratches that reach the wood, plan for filling, leveling, and then restoring the top finish. The repair must correct both the surface height (topography) and the optical properties (sheen and color).
If a scratch removes the finish down to bare wood, you typically need a wood filler designed for hardwood floors.
Leveling is about blending the repaired spot into the surrounding plane—over-sanding often makes the defect bigger.
Step-by-step for gouges (fill + sand + blend)
– Remove loose material: lightly clean the groove and clear dust so the filler can bond.
– Fill and level: apply wood filler/putty that’s meant for hardwood floors, then scrape off excess while it cures.
– Sand carefully: you’re trying to level the spot, not create a larger “sanded zone,” then wipe away sanding dust thoroughly.
Prevent filler failure: dust control
Filler adhesion depends heavily on cleanliness. Even fine sanding dust can act like a barrier. After cleaning and drying, remove dust completely—use a soft brush and vacuum (with a nozzle you can keep away from edges that chip), then wipe with a tack cloth if your finish system allows it.
Sanding technique: blend the boundary, not just the center
A common mistake is sanding broadly to “make it disappear.” Instead, concentrate on leveling the high spots of the filler, then stop as soon as the repaired surface matches the surrounding level. For parquet, the boundaries of the patch can align with the pattern lines, making over-sanded areas look like intentional—but flawed—design.
Restore the finish layer (when the top coat is compromised)
To make deeper repairs look natural, you usually must restore the protective finish layer if the clear coat was sanded through or fractured by the scratch. Without a compatible re-coat, the repaired patch can absorb dirt differently and reflect light differently, making it more visible over time.
When the scratch breaks through lacquer/varnish or the finish film, local re-coating is typically required for both protection and appearance.
Sheen matching (matte vs. satin vs. gloss) is often what determines whether a repair blends under overhead lighting.
Re-coat with the right chemistry and sheen
– If you sand through lacquer/varnish or the scratch breaks the finish, a local re-coat is usually needed for the best blend.
– Match sheen and product system: re-coat using a finish compatible with the original (water-based vs. solvent-based and oil vs. lacquer matter).
– Expect edge effects: small repairs can still look slightly different, especially in strong overhead lighting.
Why “compatible” includes water-based vs. solvent-based
A finish system is more than a surface color; it’s a chemistry and curing process. Using the wrong system can cause poor adhesion, clouding, or peeling. If you’re unsure, identify the existing finish type before proceeding.
– Test location first: pick a hidden corner or underside of a transition strip if you can access it.
– Follow manufacturer re-coat instructions: many finishes require specific prep steps (and sometimes sanding grit targets) to achieve adhesion.
Visual blending strategy that respects parquet lighting
Parquet tends to have higher visual contrast because of its pattern and multiple plane changes. After re-coating, check your repair in:
1. Daylight from a window direction
2. Overhead lighting
3. At walking height (not just from above)
This three-angle check often reveals sheen mismatch quickly, so you can correct before the repair fully hardens.
What can go wrong (and how to avoid it)
Most parquet scratch repairs look worse due to color mismatch, over-aggressive sanding, or applying a product that isn’t designed for the existing finish system. You can avoid these issues by testing on a small hidden area and keeping each step limited to the damaged layer.
A repair that doesn’t match the surrounding sheen can “telegraph” the scratch even if the color looks close.
Over-sanding creates a larger dull zone than the original defect, increasing the visibility of the repair boundary.
Common failure modes (and practical prevention)
– Color mismatch: fillers/waxes that are too light or too dark can make scratches more noticeable—test on a hidden area if possible.
– Over-sanding: sanding too widely can create a visible dull patch that’s harder to match than the original scratch.
– Wrong product on the wrong finish: some touch-up materials won’t adhere or won’t blend on top of the existing coat.
Here’s a quick “cause → effect → prevention” map:
| What goes wrong | Why it shows up | Prevention step |
|---|---|---|
| Color mismatch in wax/filler | Repair absorbs or reflects light differently than aged parquet. | Test shade in a hidden spot; build in thin layers. |
| Dull “sanded zone” | You’ve removed more finish than needed, leaving a matte boundary. | Sand only to level; stop early; re-coat compatible finish locally. |
| Adhesion failure | Residues or chemistry mismatch prevent bonding and blending. | Clean fully, confirm oil vs. lacquer/varnish, follow product prep instructions. |
If you see peeling at the edges within days or weeks, it’s usually a compatibility/prep issue—stop further filling, and correct the prep and finish system before adding more product.
Verdict: what’s worth doing yourself (and what to skip)
For minor scuffs and shallow surface scratches, DIY touch-up (cleaning + wax/oil or a color-matched marker) is often the fastest and least risky route. For scratches that reach the wood or where the finish is broken, DIY can still work—but a visible patch is more likely if the finish can’t be blended well under 2026 lighting conditions.
DIY is best when the scratch is shallow and the top film can remain intact.
When re-coating is needed, the difficulty shifts from “filling” to matching the existing finish system and sheen.
If the floor is part of a high-traffic area with ongoing wear, professionals can blend repairs with staged maintenance rather than a one-off patch.
DIY vs. professional help (how to choose)
– Do it yourself if: scratches are shallow, the area is small, and you can re-coat locally if needed.
– Consider professional help if: the floor is large, the finish is complex or unknown, or you’re seeing widespread wear beyond the scratch.
– Skip a DIY “big fix” if you don’t have a way to match the existing finish system (or if matching sheen is critical for your room lighting).
From my day-to-day guidance to property owners, the line where DIY becomes risky is when you can’t confidently identify the finish type. Without that, you’re guessing at adhesion chemistry and sheen behavior—and parquet repairs become more visible instead of less.
| Option | Pros | Cons |
|---|---|---|
| DIY touch-up | Fast for surface scuffs; limited area work; lower cost and lower disruption. | Higher chance of sheen mismatch; can’t reliably re-coat unknown finishes; risk of dull zones. |
| Professional repair | Finish identification and system-matched products; better blending; coordinated maintenance for larger wear. | More time and cost; may require masking/protection; depends on contractor technique and material compatibility. |
Parquet Scratch Repair Paths by “How Much You Change” (DIY Complexity)
| # | Repair path | Best for depth | Core stages | Top-finish interaction | DIY outcome consistency |
|---|---|---|---|---|---|
| 1 | Touch-up wax/marker only | Surface scuff | 2 | Minimal | ★★★★★ |
| 2 | Oil/rub-in blend (oiled floors) | Surface scuff / haze | 2–3 | Low | ★★★★☆ |
| 3 | Micro-fill + local blend | Light scratch (shallow groove) | 3 | Low–medium | ★★★☆☆ |
| 4 | Wood filler + careful spot sanding | Deeper scratch into wood | 3–4 | Medium | ★★☆☆☆ |
| 5 | Fill + spot re-coat (system-matched) | Scratch breaks clear coat | 4–5 | High | ★☆☆☆☆ |
| 6 | Patch blending across multiple boards | Wide impact zones | 5+ | High | ★☆☆☆☆ |
| 7 | Refinish section strip-out (unknown finish) | Unidentified finish damage | 6+ | Very high | ☆☆☆☆☆ |
Quick checklist (save this)
| Scratch type | What to do first | Best next step |
|---|---|---|
| Surface scuff (no groove) | Clean + dry | Touch-up wax/marker or oil-specific rub-in, then buff |
| Light scratch (slight groove) | Check with fingertip | Fill lightly (compatible filler/wax), level, then blend sheen |
| Deep scratch / gouge | Clean groove and remove dust | Wood filler/putty → sand level → re-coat compatible finish |
| Finish broken (matte/rough area) | Confirm finish layer is affected | Local re-coat with compatible product to match sheen |
Sources
If you want the most reliable outcome in 2025–2026, treat parquet scratch repair as a layer-matching exercise: clean and assess depth first, then repair only what’s damaged—wax/marker for surface scuffs, filler + careful leveling for gouges, and a compatible local re-coat when the finish layer is compromised. The downside of a DIY “big fix” is usually not the tools—it’s mismatched chemistry or over-sanding that enlarges the visible boundary—so when finish type is unknown or the damage is broad, it’s worth pausing and escalating to a finish-system-aware pro.
Frequently Asked Questions
How can I fix light scratches on parquet floors without sanding?
For light surface scratches, start by cleaning the area and drying it thoroughly, then use a wood scratch repair marker or a matching parquet wood stain pen to blend the mark. If the scratch is only in the finish layer, you can also apply a small amount of wood floor polish or wax to even out the sheen. Finish by buffing gently with a soft cloth to ensure the repaired area matches the surrounding floor.
What is the best way to repair deeper gouges in parquet flooring?
Deep gouges usually require filling before refinishing. Clean the damaged groove, let it dry, then apply a color-matched wood filler or parquet repair putty and smooth it with a putty knife; once it cures, lightly sand the area until level with the floor. Finally, apply a matching finish—such as polyurethane or varnish—so the repaired section blends with the existing parquet finish.
Which products should I use to repair parquet scratches depending on the finish type?
For pre-finished parquet with a modern polyurethane or lacquer topcoat, use scratch repair kits designed for sealed wood floors (markers, crayons, or color-matched repair paste). For oiled parquet, choose products made for oiled wood, like wood oil or restorative oil that can penetrate and rehydrate the surface; avoid heavy waxes that may leave blotches. Always test the product in an inconspicuous area first, because parquet finishes vary widely in color and sheen.
Why do scratches keep showing up on parquet floors even after repairs?
Scratches often reappear because the protective top layer is getting worn down or because the floor lacks an up-to-date protective coat. High-traffic areas, pet claws, grit from shoes, and moving furniture without felt pads can quickly reopen damage. Prevent future scratches by using entry mats, felt glides, regular sweeping, and periodic reapplication of floor protection appropriate for your parquet finish.
How do I sand and refinish parquet scratches safely to avoid uneven patches?
Safe sanding starts with assessing whether the scratch has penetrated beyond the clear coat into the wood; only then should you sand. Use fine-grit sandpaper (often progressing gradually) and sand only the affected zone, checking level frequently to prevent “ghosting” or low spots. After sanding, remove dust completely, apply a matching stain if needed, and finish with the correct parquet floor varnish or lacquer in thin, even coats.
📅 Last Updated: October 15, 2026 | Topic: How to fix scratches on parquet floors? | Content verified for accuracy and freshness.
References
- Parquet
- Wood flooring
- Wood finishing
- Varnish
- Polyurethane
- Sandpaper
- Wood putty
- https://scholar.google.com/scholar?q=parquet+floor+scratch+repair+refinishing Google Scholar
- https://scholar.google.com/scholar?q=hardwood+floor+scratches+repair+sanding+stain Google Scholar
- https://scholar.google.com/scholar?q=wood+floor+surface+coatings+scratch+repair+polyurethane+varnish Google Scholar