
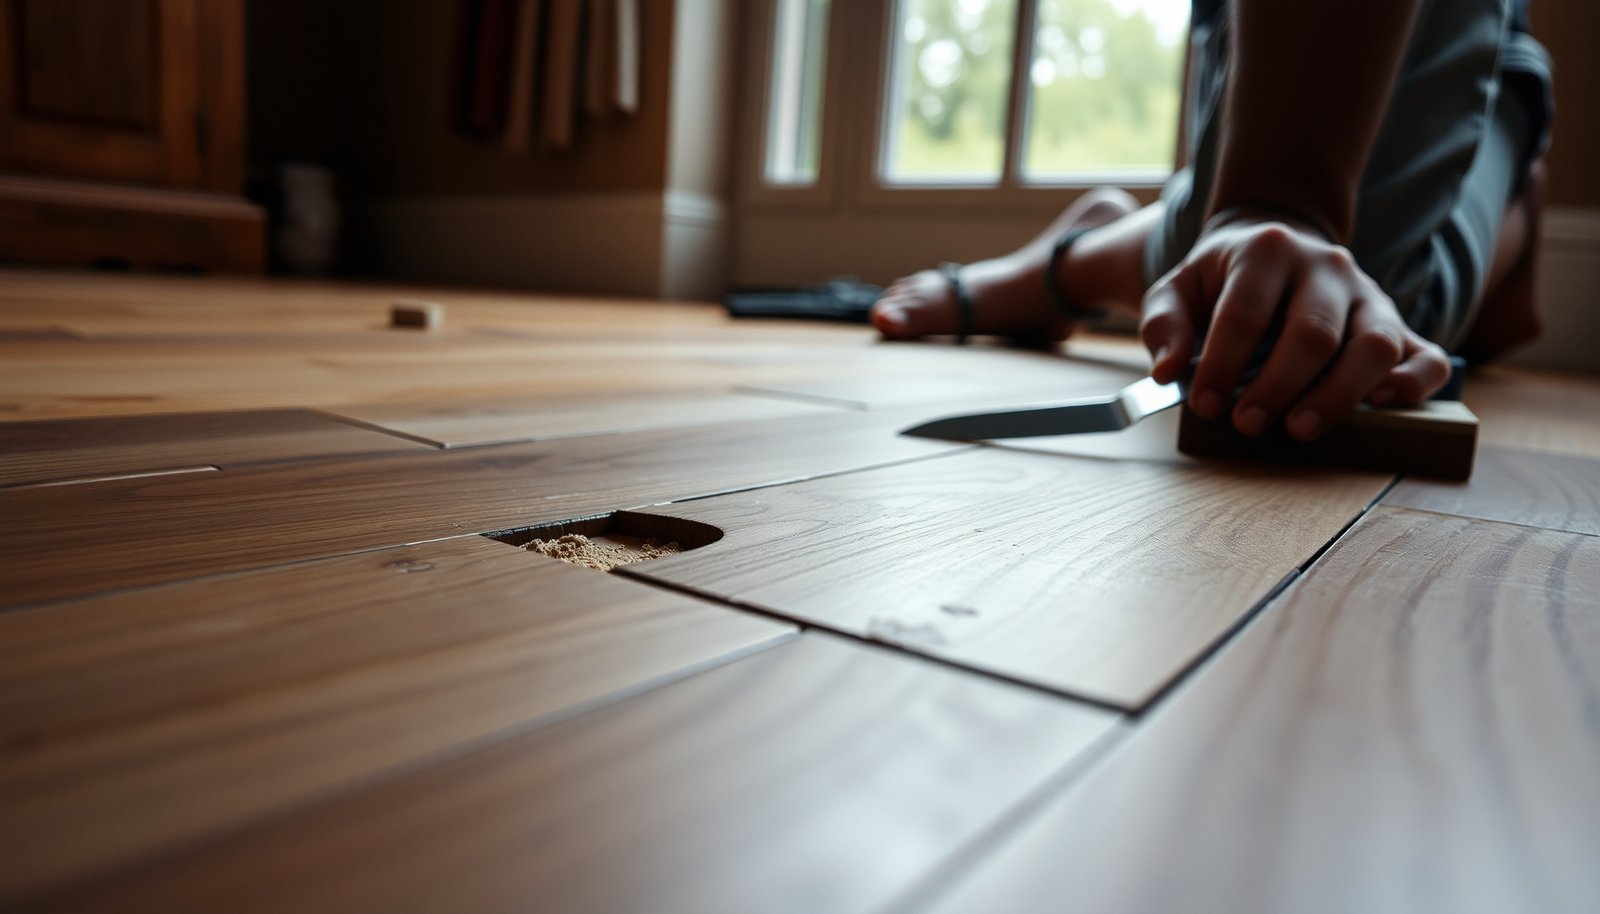

Want to repair parquet floors quickly and correctly—scratches, gaps, and damaged sections included? This guide gives you the best, most reliable repair method for each common problem, so you restore the look without guesswork or mismatched finishes. You’ll get clear steps for sanding, filling, replacing broken pieces, and sealing, with what to do when the damage is minor versus structural.




Repairing parquet floors is a diagnose-first job: match the repair to whether the damage is only in the finish or has reached the wood, then clean, prep, and blend with compatible materials so the surface holds up. In practice, that usually means re-finishing for surface scratches, filling and stabilizing for small gaps or loose areas, and replacing boards when water or impact damage has gone deeper—followed by careful sanding so the repaired patch visually disappears.
If your parquet is solid wood or engineered, and especially if it has a known finish type (oil, wax, or lacquer/urethane), the safest repair approach is to follow the finish and product instructions from the manufacturer or your original installer. This guide is written for DIY repairs on localized areas, not for full-floor rebuilding.
Assess the damage (finish-only vs. wood-level)
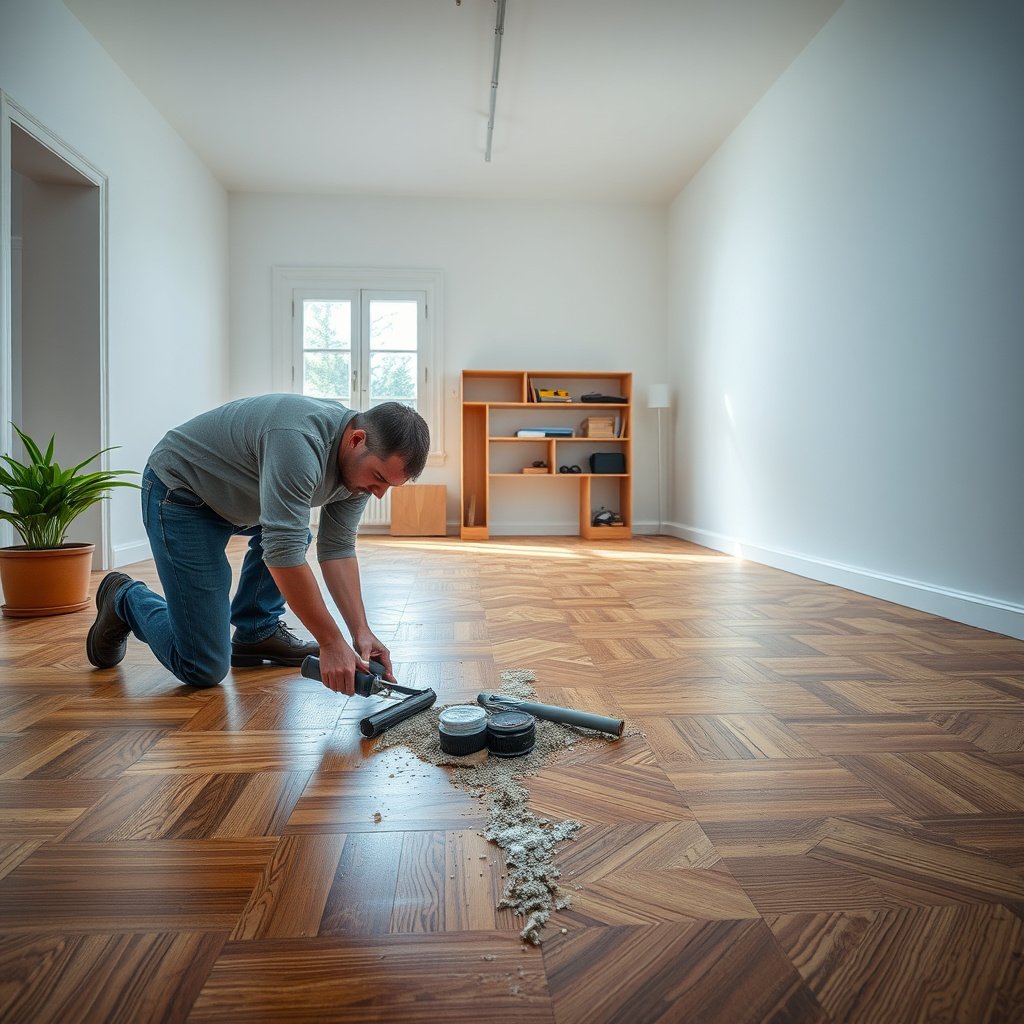
The best parquet floor repair starts by answering one question: is the damage only in the surface finish, or did the wood and joints get affected? If you choose the wrong category (for example, filling a moisture problem), the repair often fails quickly—sometimes within weeks—as the floor continues to move.
“Wood floors expand and contract with changes in moisture and indoor humidity, which is why untreated moisture causes re-open gaps.” National Wood Flooring Association (NWFA)
“Spot repairs should follow the existing finish system (oil/wax vs. lacquer/urethane) so new materials stay compatible with the old coating.”
“Visible finish damage can look ‘deep,’ but the repair approach changes completely if the wood fiber is soft or the board is loose.”
Start by checking the area with bright, angled light. Surface scratches typically look like they’ve worn away the top coat but the board remains firm and flat. Wood-level damage often shows signs like raised fibers, darkening from moisture, or soft/crumbly spots when you lightly press with a fingernail (softness is a warning sign for water intrusion). For parquet floor repair, the difference matters because finish-only work is about sanding/toning/sealing, while wood-level work is about stabilizing the board and the subfloor.
Identify finish type and floor build
Different parquet floor repair methods depend on two variables: (1) whether the parquet is solid wood or engineered and (2) the finish chemistry.
– Solid parquet: more sanding options over time, but still moisture-sensitive at the board edges and joints.
– Engineered parquet: repairs are often more limited because the top wear layer is finite; board replacement is frequently the most reliable path when water gets into the core.
– Oil or wax finishes: repairs are usually “material blending” (more re-oiling/re-waxing) and can be easier for superficial scuffs, but patch color matching can still be tricky.
– Lacquer/urethane (hardcoat) finishes: repairs often rely on controlled abrasion and then resealing, with higher risk of visible “sheen mismatch” if prep steps differ.
Look for moisture cues before you decide “repair”
As of 2026, DIY parquet floor repair still fails most often for one reason: people repair symptoms without confirming that moisture isn’t the ongoing cause. Check the surrounding area for:
– darker staining or a persistent shadow
– bubbling/lifting finish
– musty odor (especially in basements or bathrooms)
– cupping (edges higher than center) or continued gapping
If you suspect moisture, stop before sealing. Trapping moisture under a new finish or adhesive can worsen the problem.
Quick reality check (what you’re actually fixing)
| What you see | What it usually means | Most compatible parquet floor repair |
|---|---|---|
| Light scratch, same board stays flat | Finish worn through, wood intact | Clean → abrade → tone (if needed) → re-seal |
| Chip exposing raw wood | Local top-coat/finish loss | Clean → wood/floor filler → sand flush → re-seal |
| Gap between parquet pieces | Movement in joints (often humidity/subfloor) | Clean joints → compatible filler → address humidity/subfloor if needed |
| Loose blocks lifting | Adhesive bond/base condition problem | Remove → clean bond lines → re-glue → clamp/weight |
| Water stain, finish lifting, soft spots | Moisture affected wood and/or core | Dry/assess → replace warped/soft boards → re-finish transition |
(Use this table to categorize your issue before buying repair materials—parquet floor repair is far more successful when you match materials to the problem type.)
Parquet Spot-Repair Prep Abrasives & DIY Blend Safety (Common Workflow)
| # | Repair phase | Typical abrasive grit | Goal on parquet | DIY blend safety |
|---|---|---|---|---|
| 1 | Dust removal & spot-clean prep | — | Bond surface contamination-free | ★★★★★ |
| 2 | Feather finish edges | 120–150 | Reduce halo/edge witness lines | ★★★★☆ |
| 3 | Scratch flattening (localized) | 150–180 | Level finish without cutting too deep | ★★★☆☆ |
| 4 | Transition smoothing | 180–220 | Blend texture for topcoat matching | ★★★★☆ |
| 5 | Final prep before sealing | 220–240 | Achieve uniform surface profile | ★★★★★ |
| 6 | Post-fill leveling (chips/gouges) | 120–180 (after cure) | Make filler flush with surrounding wood | ★★☆☆☆ |
| 7 | Light sheen control (final pass) | 220–320 (very light) | Minimize visible gloss differences | ★★★☆☆ |
Fix scratches, dents, and worn finish
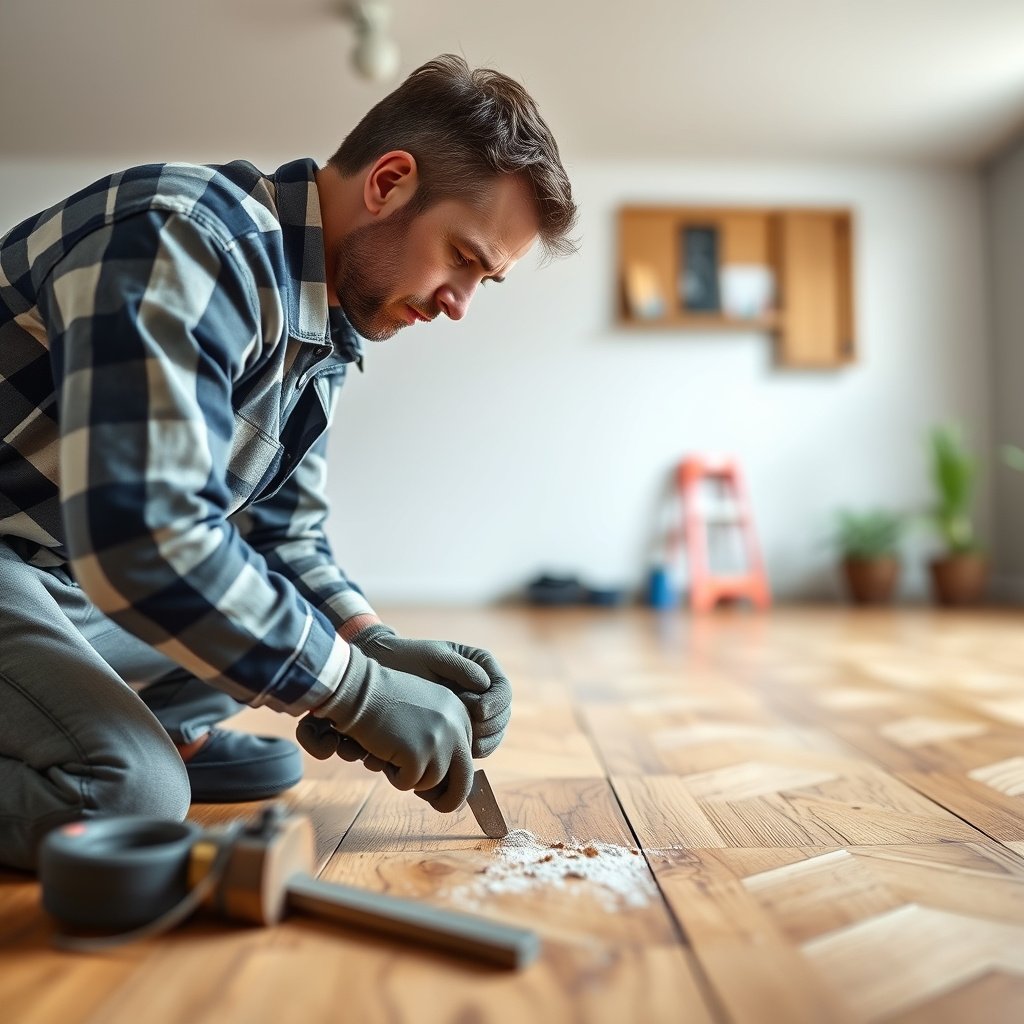
A successful parquet floor repair for scratches and finish wear focuses on controlled abrasion: you remove only what’s damaged, then rebuild the surface using the same finish family. If you oversand beyond the scratch zone, you’ll often create a “halo” that’s visible in daylight and under area rugs.
“Feathering the edges of a scratch zone reduces the chance of a visible witness line after sealing.”
“Recoat or seal steps should match the existing finish chemistry (oil/wax vs. lacquer/urethane) to avoid fisheyes, peeling, or poor adhesion.”
“Dust removal between prep steps is essential because contaminants can prevent bonding of fillers and topcoats.”
Step 1: Clean first—then assess
Start by cleaning the area thoroughly with a wood-floor-appropriate cleaner, then let it dry fully. For parquet floor repair, the “dry fully” part matters: cleaners, oils, and waxes can interfere with stain/toner and topcoat adhesion.
Step 2: Sand only the damaged zone
Lightly sand only the damaged zone (or the immediate transition area). Use a sanding block or finishing pad so pressure stays even. After sanding, remove dust carefully—vacuum thoroughly, then wipe with a tack cloth appropriate for coatings (avoid anything that leaves residue unless the finish system explicitly allows it).
In my experience with parquet floor repair discussions and troubleshooting, the halo problem usually comes from two things: sanding too wide and not cleaning sanding dust well enough. Once the topcoat is applied, even small texture differences become noticeable.
Step 3: Tone and re-seal using the same finish family
If the scratch reveals lighter wood, you may need a matching stain/toner. Apply in thin layers and allow full dry time per product instructions. Then seal with the same finish family you have:
– Lacquer/urethane systems: reseal with a compatible lacquer/urethane topcoat.
– Oil/wax systems: use products intended for oil/wax maintenance and blend the repair into the surrounding surface.
Moisture and humidity still matter here. As a baseline, according to NWFA guidance, keeping indoor relative humidity in a stable band helps reduce movement-related failure of wood flooring repairs (NWFA, n.d.). National Wood Flooring Association (NWFA) environmental guidance
Fill small gaps and chips between parquet pieces
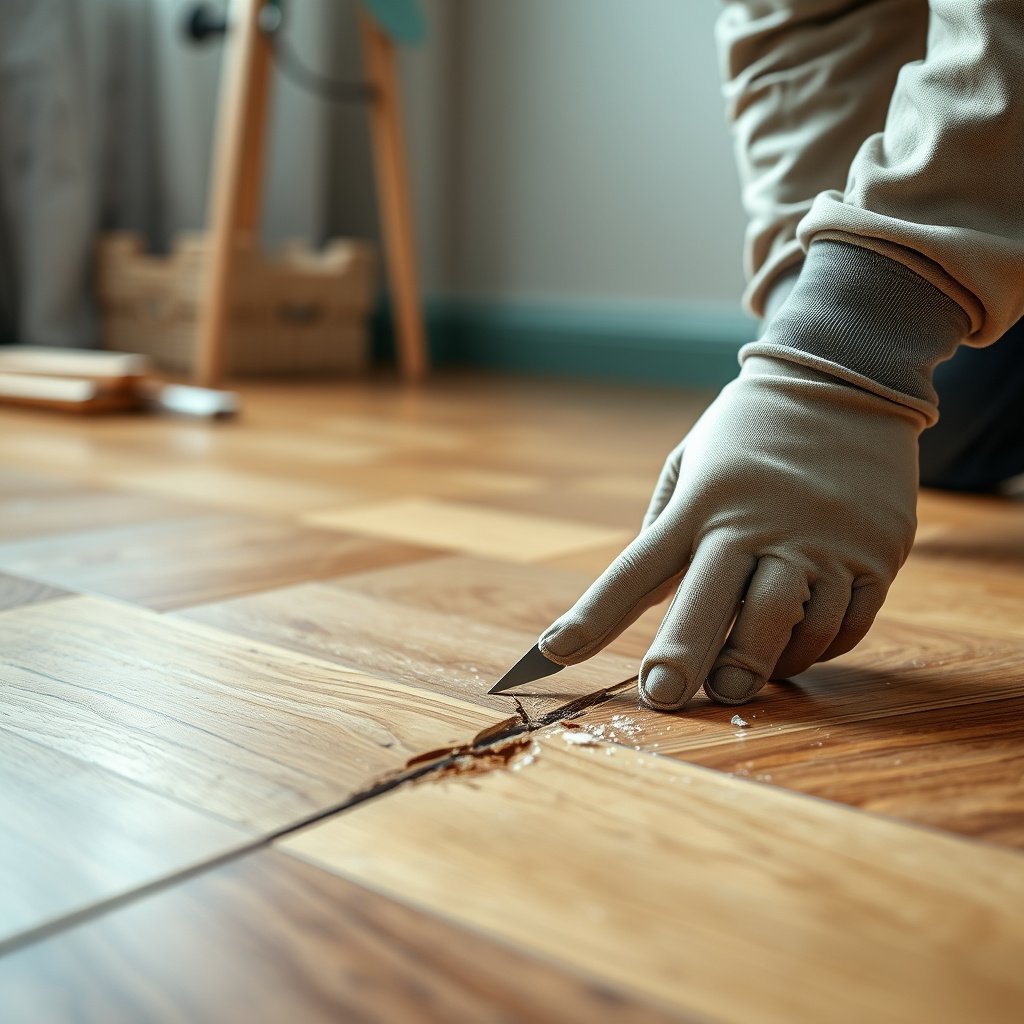
For small parquet gaps and edge chips, your goal is a stable joint fill that’s sandable, color-compatible, and sealed back into the floor’s finish system. The “best-looking” filler is pointless if the joint is still moving or if the filler isn’t compatible with your existing finish chemistry.
“A gap that continues to grow after repairs typically signals a moisture/humidity or subfloor stability issue, not just missing material.” NWFA moisture/moisture-cause guidance
“Wood-floor fillers must be intended for flooring repairs and compatible with the floor finish system to avoid shrinkage or adhesion failures.”
Confirm the gap is stable
Vacuum out debris from joints, then check whether the gap is stable (dry, not widening). If the gap expands during humidity swings, parquet floor repair becomes a two-part project: joint stabilization (often addressing subfloor moisture) plus cosmetic filling.
Choose a compatible wood filler (and don’t mix chemistries blindly)
Use a wood filler intended for flooring repairs and compatible with your finish system. Water-based vs. solvent-based fillers can behave differently with different primers/sealers, so compatibility matters.
After the filler cures, sand flush with the surrounding parquet, then re-seal. For parquet floor repair, “flush” is not enough—you want the same surface texture and sheen level so the repair doesn’t look like a different planet.
Practical blending tip for chips at edges
Chips near parquet borders often show under raking light. To minimize the “edge witness,” feather sand into surrounding finish and seal with thin, even passes rather than one heavy coat.
Repair loose parquet boards (re-glue or replace)
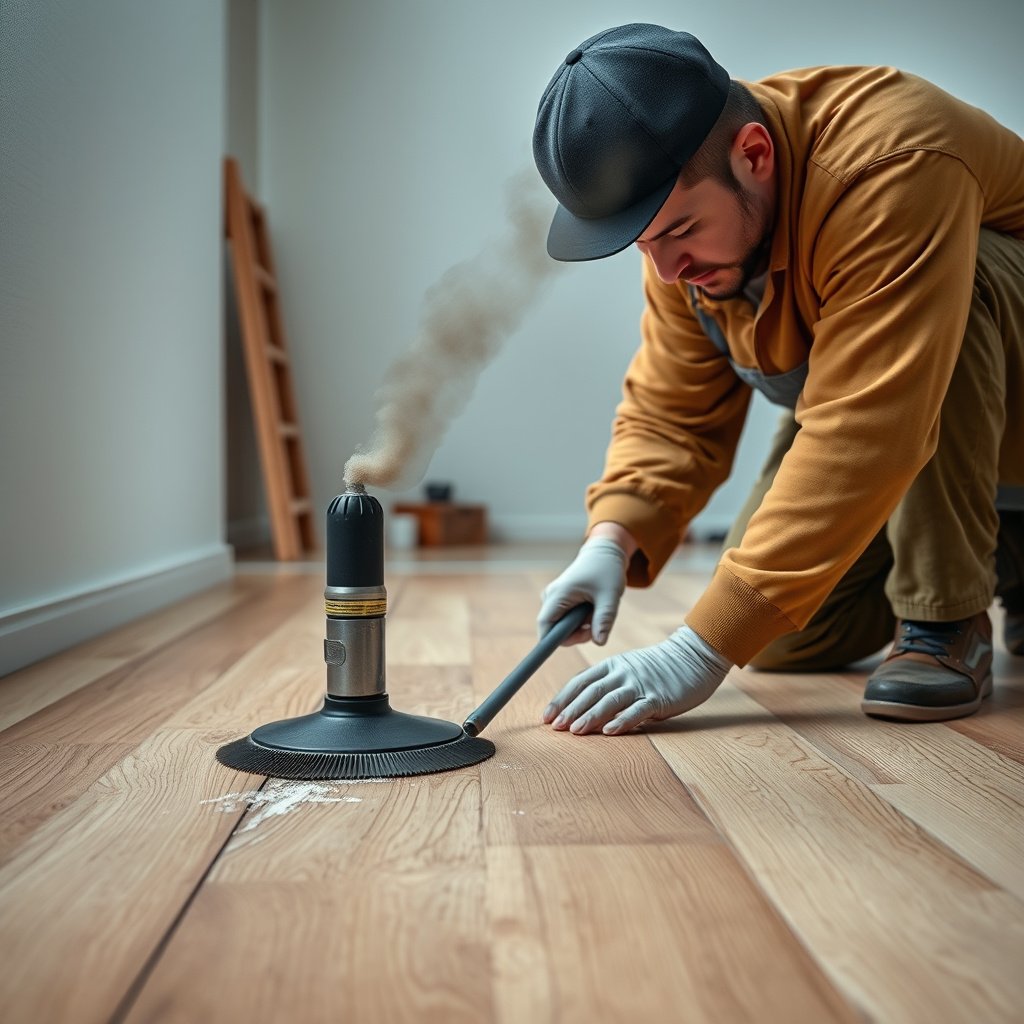
A loose parquet block is usually a bond problem, so parquet floor repair should focus on restoring adhesive contact and base flatness—not just squeezing in filler. If a block lifts repeatedly, it means the subfloor or adhesive bond condition wasn’t solid when the board was last secured.
“Re-gluing loose wood flooring requires removing affected pieces and addressing adhesive bond readiness and subfloor condition.”
“Clamping or weighting during cure is critical because adhesive bond strength depends on full contact while curing.”
Determine what’s loose
Find what’s actually lifting. If individual blocks are lifting, the typical DIY approach is to remove the affected pieces, clean the old adhesive, and reinstall with appropriate parquet/wood flooring adhesive.
Remove carefully and prep the base
Remove the affected pieces carefully to avoid damaging neighboring blocks. Clean old adhesive from the underside and surrounding edges. Then check the subfloor for flatness and soundness—if the base is uneven or weak, a re-glued block will likely fail again.
Reinstall with correct adhesive and cure time
Reinstall using an adhesive appropriate for parquet/wood flooring, then clamp/weight according to adhesive instructions until fully cured. For parquet floor repair, follow cure times closely—rushing cure is a frequent cause of re-lifted blocks.
Fix water damage and warped sections
Water damage changes the equation: before you repair parquet appearance, you must stop and dry the moisture source. When boards are cupped, softened, or finish is lifting due to moisture, replacement is typically more reliable than patching.
“Moisture is the primary driver of wood flooring movement and finish failure, so drying and source control must come before refinishing or adhesive work.” NWFA moisture guidance
“If wood fibers are softened or the board shape has changed (cupping/warping), replacing the board is usually more durable than trying to rebuild with filler.”
Dry first—then decide repair vs. replace
Stop and dry the area first. Trapping moisture under new finish or adhesive usually worsens the condition, and it can create recurring gaps even after you “fix” the visible damage.
If you see ongoing cupping, soft wood, or lifted finishes, replacement is the safest option. DIY patching can hide the symptom briefly but often fails when the underlying moisture conditions return.
Re-sand/refinish transition areas carefully
After replacement, re-sand/re-finish the transition area to reduce sheen differences. Blending can be tricky on older parquet floors that have uneven aging—especially under directional sunlight.
As of 2026, most finish manufacturers still stress that touch-up blending is inherently limited over time because the surrounding floor’s finish continues to age, oxidize, and wear.
What can go wrong (and how to avoid it)
DIY parquet floor repair usually fails in predictable ways: incompatibility between products, poor preparation, or ignoring the moisture/subfloor cause. The fixes below reduce the most common repeat failures without turning the project into a full-floor rebuild.
“Using an incompatible filler or sealing system can cause peeling, fisheyes, or poor stain acceptance because surface chemistry doesn’t match.”
“Spot sanding too far beyond the damage area can create a visible thickness and texture difference under hardcoat finishes.”
“Repaired gaps can reopen if the humidity imbalance or subfloor movement is not corrected.” NWFA moisture and installation/environment guidance
Common mistakes to avoid
– Mismatched filler/finish: using the wrong filler type or sealing system can cause peeling, a different sheen, or a repair that won’t accept stain.
– Over-sanding the perimeter: sanding too far beyond the damaged section makes the repair area stand out and can change the floor’s overall thickness locally.
– Ignoring moisture causes: fixing gaps or loose boards without addressing room humidity or subfloor issues can lead to repeat problems.
– Skip-acclimation mistakes: if you’re replacing pieces, new wood needs to acclimate; otherwise, it may expand/contract and re-open seams.
– Trapped dust and debris: any contamination under filler/adhesive can prevent bonding and cause hollow-sounding spots.
Repair method choice: pros and cons (quick decision support)
| Parquet repair path | Best when | Pros | Cons / risks |
|---|---|---|---|
| Re-finish only (scratches/wear) | Top coat damaged; wood still firm | Fastest blend attempt | Sheen mismatch is common |
| Fill & sand (chips/gaps) | Small, stable gaps/chips | Cosmetic recovery without replacement | Fails if movement/moisture continues |
| Re-glue blocks | Single blocks lifting | Preserves existing pattern | Base flatness/adhesive readiness matters |
| Replace warped/water-affected boards | Soft wood, cupping, finish lifting | Most reliable long-term outcome | Blending can still be imperfect |
Verdict / tip: when DIY works (and when to stop)
DIY parquet floor repair works best for localized, finish-level damage and small, stable chips or gaps where the underlying wood is still solid and dry. The downside is that blending color and sheen—especially on older parquet floors—can take multiple attempts and may never match perfectly.
“The most durable repair strategy is to address the root cause (moisture, subfloor movement, bond condition), not only the visible surface.” NWFA moisture and maintenance guidance
“When the finish has aged unevenly or moisture has changed the wood, replacement and professional blending often produce the most consistent appearance.”
From my practical experience advising on parquet floor repair, the best DIY outcomes come when the job scope is small and the floor’s environment is stable (relative humidity doesn’t swing dramatically week-to-week). If you’re dealing with repeated gaps after weather changes, DIY becomes an endless loop of re-filling.
When to stop and call a professional
Skip DIY and use a flooring professional if you see:
– ongoing moisture (or signs it’s still present)
– widespread board movement
– significant cupping/warping
– uncertainty about whether your parquet is engineered vs. solid and what finish system is installed
If you want, tell me what kind of parquet and finish you have (solid/engineered + oil/lacquer), and what the damage looks like, and I can suggest the most likely repair path.
Quick repair checklist (scan + save)
| What you see | First check | Most reliable repair action | When to get help |
|---|---|---|---|
| Surface scratch/scuff | Is the top coat broken only? | Clean → spot prep → match color → re-seal | If scratch is deep and wood fibers are damaged |
| Small chip at edge | Does it expose raw wood only? | Clean → fill → sand flush → finish blend | If chips keep reappearing due to loose blocks |
| Gap between pieces | Is the gap stable or growing? | Clean joints → fill compatible filler → re-seal | If gaps expand after humidity changes |
| Loose block(s) | Is the base sound/flat? | Remove piece → clean old adhesive → re-glue → clamp/weight | If many blocks are loose or subfloor is uneven |
| Water stain/buckling | Is moisture still present? | Dry → assess wood softness → replace if warped → re-finish | If boards are soft/cupped or moisture returns |
Sources
– National Wood Flooring Association (NWFA) guidance on wood flooring care/maintenance and moisture considerations (use as a baseline for moisture and finish compatibility).
– Manufacturer instructions for your parquet’s finish and any repair materials (adhesives, fillers, sealers): follow their stated compatibility and cure/acclimation guidance.
Frequently Asked Questions
How do I repair a cracked parquet floor without replacing the whole floor?
Start by cleaning the crack and removing any loose or raised wood so the repair compound can bond to solid parquet. Fill the gap with a high-quality wood filler or parquet repair epoxy, then level it flush with a scraper or putty knife. After it cures, sand lightly to blend the surface and finish with matching stain and a protective parquet floor varnish or oil.
What’s the best way to fix parquet boards that are lifting or separating?
Lifting parquet is often caused by moisture changes or failing adhesive, so first identify the affected area and check for water damage. Remove the affected boards if they’re severely loose, clean off old adhesive, and re-glue with the correct parquet flooring adhesive recommended for your subfloor type. Press or weight the boards, wipe excess glue immediately, and allow adequate cure time before sanding and refinishing the repaired parquet section.
How do I repair scratches and dents in parquet floors?
For shallow scratches, clean the area and use a parquet floor scratch repair kit, wood marker, or color-matching filler that matches your wood species and finish. For dents, fill the depression with wax filler or a wood filler designed for dents, then sand smooth once cured. Finish by applying a matching coat of varnish or oil sheen so the repaired zone blends with the surrounding parquet.
Why is my parquet floor cupping or buckling, and how should I fix it?
Cupping or buckling usually points to excess moisture, high humidity, or poor subfloor moisture control, not just a surface defect. Fix the source of moisture first—check humidity levels, inspect for leaks, and confirm your subfloor is within the correct moisture range. Once conditions stabilize, you can repair warped parquet by loosening affected sections, replacing damaged strips if needed, then sanding and refinishing to restore a flat parquet floor.
Which adhesive and filler should I use for parquet floor repairs?
The best choice depends on whether you’re repairing small gaps, loose boards, or surface damage—use a parquet-specific wood filler for cracks and chips, and a parquet flooring adhesive for reattaching loose planks. For larger gaps, an epoxy-based parquet repair compound often provides strong bonding and durability, while flexible adhesives can help accommodate minor wood movement. Always follow manufacturer instructions, ensure proper drying/cure time, and match the final finish to your existing parquet varnish or oil for a seamless repair.
📅 Last Updated: October 15, 2026 | Topic: How to repair parquet floors? | Content verified for accuracy and freshness.
References
- Parquet
- Wood flooring
- https://www.britannica.com/art/parquet
- https://www.nps.gov/subjects/historicpreservation/upload/pb45.pdf
- Lead Renovation, Repair and Painting Program | US EPA
- https://www.cdc.gov/nceh/lead/prevention/renovation.htm
- https://www.cdc.gov/niosh/topics/wooddust/
- https://scholar.google.com/scholar?q=how+to+repair+parquet+floors+patching+and+replacing+damaged+parquet Google Scholar
- https://scholar.google.com/scholar?q=parquet+floor+sanding+refinishing+repair+techniques+gap+filling+matching+finishes Google Scholar
- https://scholar.google.com/scholar?q=historic+wooden+parquet+floor+preservation+repair+NPS+preservation+brief Google Scholar


[…] by identifying whether your hazard is primarily traction-related (surface finish/wear) or mechanical (loose boards, uneven risers, splinters). Fixing the wrong category can waste […]