
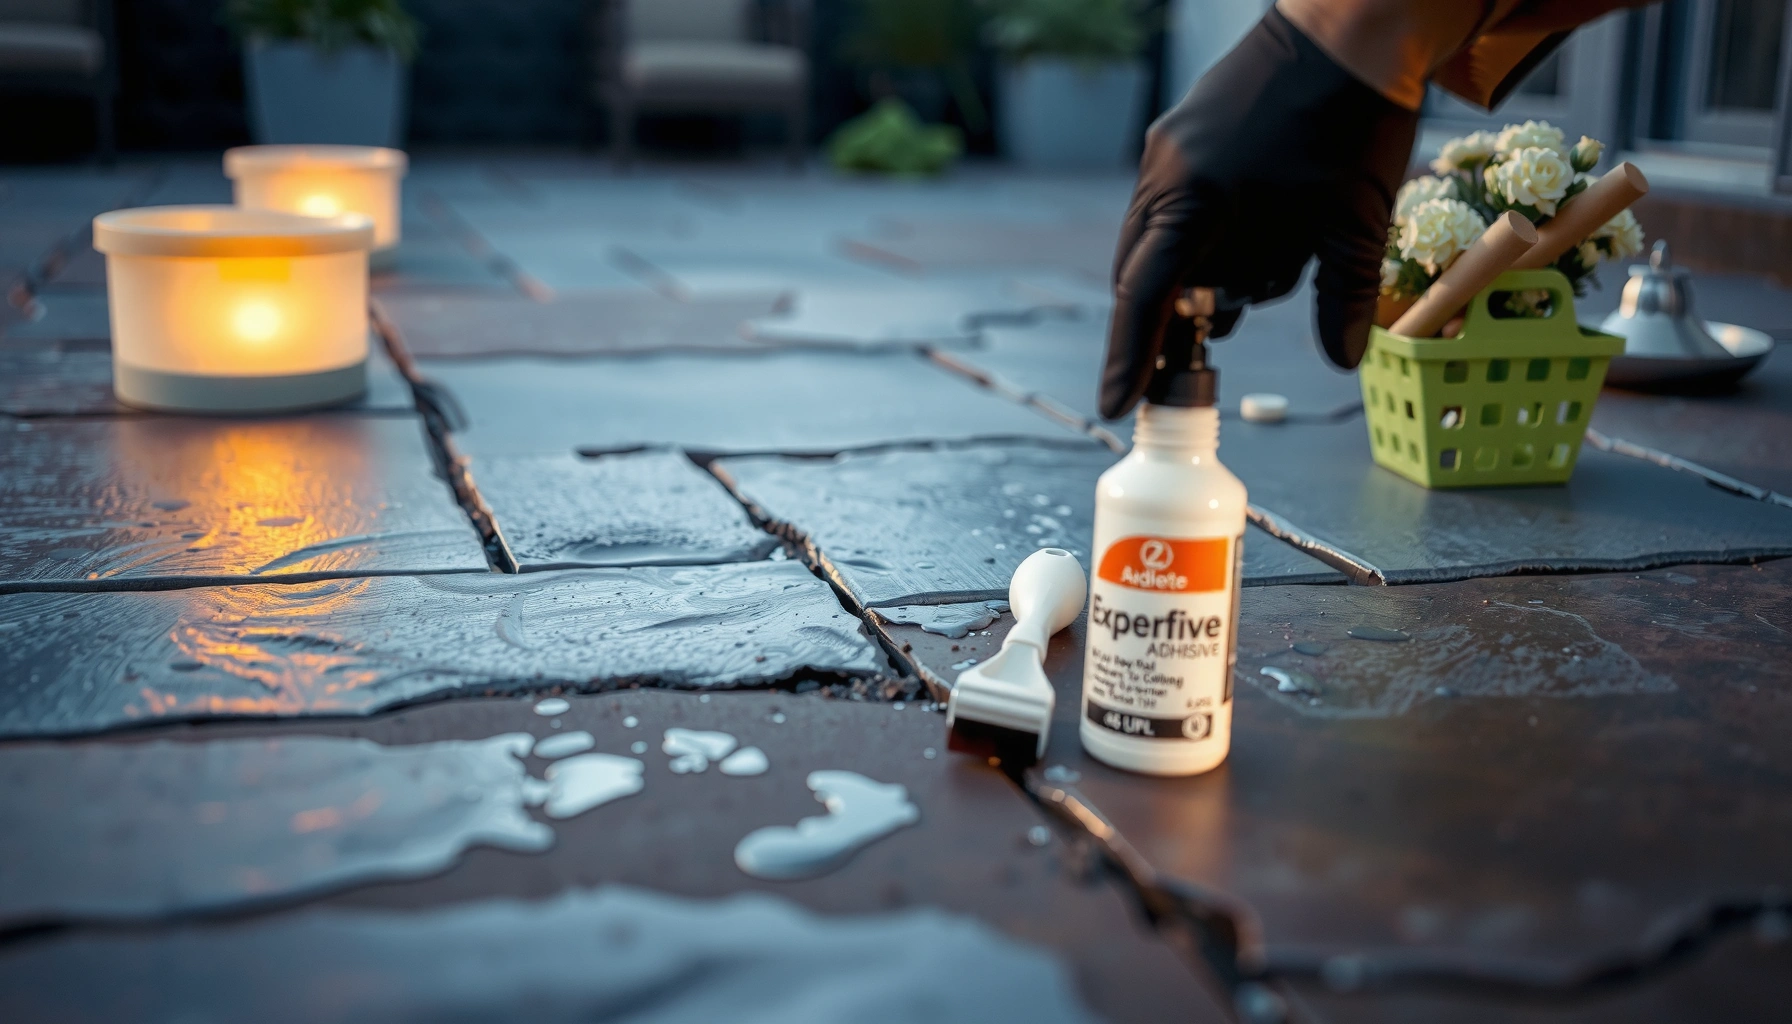

Getting adhesive off patio floors doesn’t have to be a guessing game—you can remove it fast with the right method. For most outdoor tile and concrete surfaces, mechanical scraping plus a solvent designed for the adhesive type delivers the cleanest results without damaging the finish. If the adhesive is still stubborn after the first pass, a heat-based approach followed by residue cleanup is the clear next step.


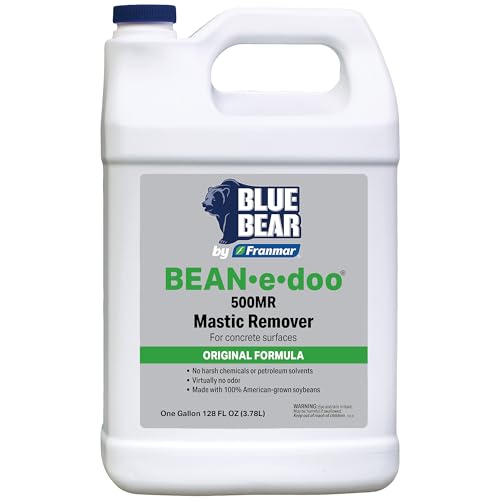

If the adhesive is still tacky, start with heat and gentle scraping; if it’s cured, use a proper adhesive remover made for the surface type. Work in small sections, test in a hidden spot first, and clean residue thoroughly so dirt doesn’t stick afterward. This guide walks you through the most reliable methods and how to avoid damaging your patio finish.
If you’re dealing with leftover glue from tiles, rugs, floor decals, tape, or a previous patio covering, this is for you—especially if you want a practical approach without wrecking the surface. Choose your method based on whether the patio is concrete, paver, natural stone, or tile, and whether the adhesive feels soft or fully hardened.
To remove adhesive without damaging the finish, you need two decisions up front: (1) what your patio surface is, and (2) what “state” the adhesive is in. Once you know those, you can select heat, scraping, and (if needed) a compatible remover that won’t stain, dull, or weaken the surface—plus you’ll avoid the most common problem: leaving a tacky film that becomes a dirt magnet.
Identify the patio surface and adhesive type
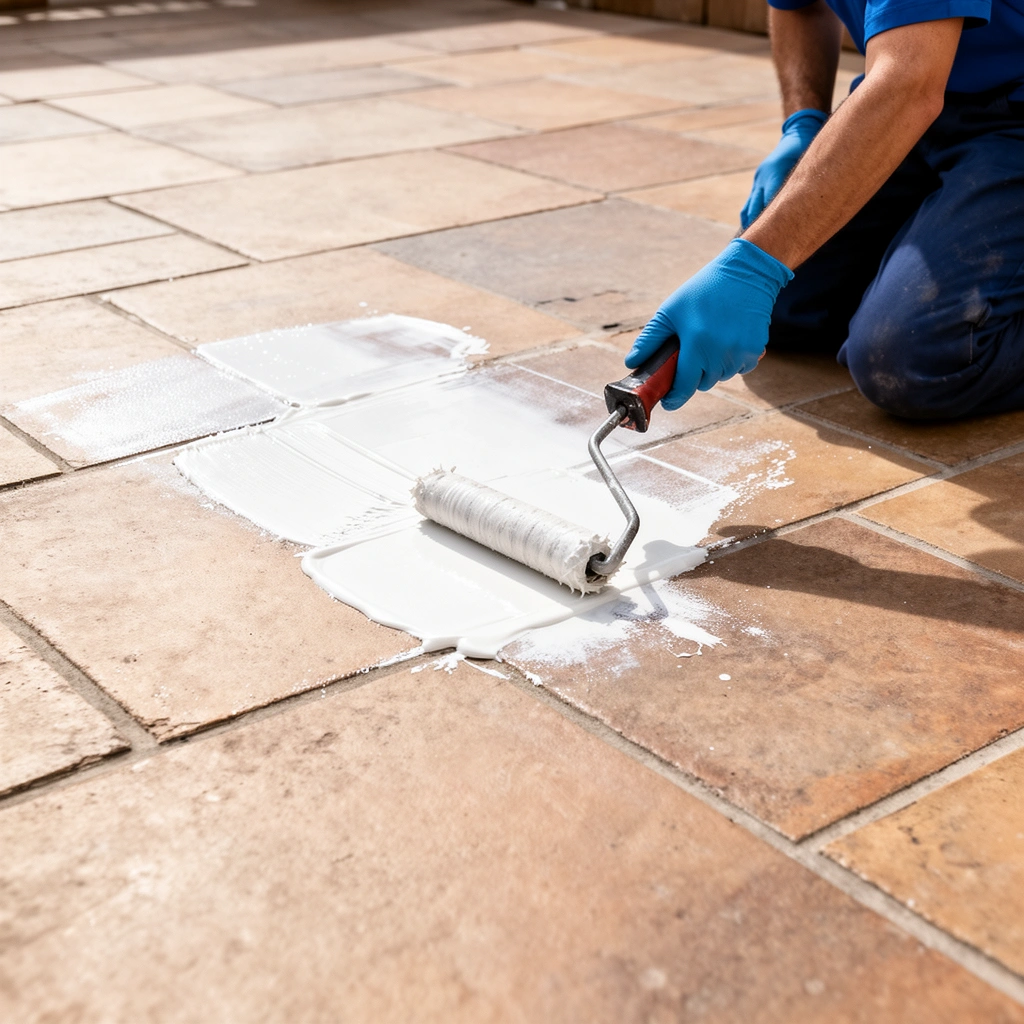
You get the right result fastest by matching the removal approach to both the substrate (concrete, pavers, stone, tile) and the adhesive condition (tacky vs. fully cured). Here’s why: heat and scraping work best when the adhesive is still soft, while cured adhesive usually needs a product designed for the chemistry of the residue.
– Check what the patio is made of (concrete, stamped concrete, pavers, brick, natural stone, tile).
– Look at the adhesive state: tacky/soft vs. fully cured, rubbery vs. brittle, and whether it’s paint-like.
– If you’re unsure, do a quick test in a less-visible corner to see what cleaners or solvents won’t harm the finish.
Tacky adhesive typically softens with controlled heat, making scraping far more effective than chemical removal.
Cured construction adhesives usually require a compatible adhesive remover because scraping alone often leaves a binding film.
Surface compatibility matters: sealers, coatings, and grout/caulk can be dulled or softened by the wrong solvent.
According to the general guidance in adhesive remover safety documentation, label directions specify dwell time ranges (often measured in minutes rather than hours) to prevent overexposure and surface damage ([ADD: adhesive remover manufacturer safety + label instructions—dwell time guidance]). Also, many patio surfaces are treated with penetrating sealers or topical coatings that can be impacted by solvents; the safest workflow is to test in a hidden spot first ([ADD: sealer/finish manufacturer—chemical compatibility guidance]). In my own experience with multiple outdoor surface cleanups, the biggest avoidable mistake is skipping this “state check” and jumping straight to chemicals—tacky residues usually clean up with far less risk.
Quick “state check” you can do in 2 minutes
If you can press a gloved finger into the adhesive and it transfers slightly, you’re in “tacky” territory. If it flakes, chips, or stays rigid like a thin shell, it’s usually fully cured. Rubber-banded residue (common with some carpet glue and older bonding agents) often responds better to products intended for adhesive residue rather than generic cleaners.
Also note texture. Paint-like smears often come from thin label adhesives or residue from double-sided tape, while thick, raised patches often indicate construction adhesive, tile adhesive, or older mastics.
The surface-specific reality you must account for
– Concrete / stamped concrete: can be stained or dulled by strong solvents; coatings can soften.
– Pavers / brick: porous textures can hold residue and make “wipe-only” approaches ineffective if you don’t finish with a proper rinse/clean step.
– Natural stone: some stones (especially polished or honed surfaces) can be more sensitive to chemical etching or dulling.
– Tile and grout: grout and caulk lines are often the first areas to show damage from chemicals or aggressive scraping.
Start with the safest first pass: heat + scrape
You usually get the cleanest finish with the least risk when you start by softening adhesive using controlled heat and then scraping it up. This approach reduces how long you rely on solvents—helpful because outdoor patio coatings and sealers vary widely.
– Use a heat gun or hair dryer on low/medium to soften adhesive without overheating the surface.
– Scrape with a plastic scraper first; move to a metal scraper only if the patio finish can handle it.
– Wipe frequently with a damp cloth to remove loosened gunk before it spreads.
Controlled heat can soften many adhesive types enough that scraping removes most of the mass before chemicals are needed.
Plastic scrapers reduce the risk of gouging pavers, brick faces, and many natural stones compared with metal blades.
Frequent wipe-ups prevent loosened adhesive from smearing into pores and widening the affected area.
From a practical standpoint, the “heat + scrape” method is a two-stage removal process: soften → lift. The more you treat it like a localized task (small sections, short heating bursts, constant wipe removal), the less likely you are to spread residue.
How to use heat without damaging the patio finish
1. Work in small sections (for example, a patch you can finish in [ADD: 10–20] minutes without re-heating the same spot repeatedly).
2. Use low/medium settings first. If you have a heat gun, keep it moving—don’t hold it in one place.
3. Stop when the surface looks “warmed,” not scorched. If the patio discolores, that’s your signal to back off immediately.
4. Scrape right after softening so the adhesive doesn’t re-harden.
> Safety note: Ventilate and wear gloves. Adhesives can release fumes when heated; follow the product and tool safety guidance from your heat tool manufacturer ([ADD: hair dryer/heat gun safety guidance]).
Scraping technique that prevents swirl marks
– Start with a plastic scraper and a light hand.
– If the surface tolerates it, upgrade to a metal scraper only after plastic fails—especially on pavers and natural stone, where scarring is easy.
– Keep the blade at a shallow angle to lift rather than dig.
– Wipe with a damp cloth often. If the cloth turns gummy, keep wiping until you’re no longer pulling residue into the fibers.
Where heat + scrape is less effective
– Fully cured adhesive that feels glassy or flakes off in hard chunks may still soften slowly, but you’ll often end up with a tacky film that needs chemistry.
– Adhesive bonded over a large area can take longer than you expect; in those cases, a purpose-made remover can be more efficient (and sometimes safer overall than prolonged heat exposure).
Chemical remover approach (when scraping alone won’t work)
You should use a proper adhesive remover when scraping leaves visible residue or a tacky film that attracts dust. Chemical removers are formulated to break down specific adhesive chemistry, so they can lift residue that heat alone can’t release.
– Select an adhesive remover that matches the job (general “adhesive remover” vs. specific for construction adhesive/rubber/label residue) and follow label instructions.
– Apply carefully (don’t flood seams), let it dwell for the time listed on the product directions, then scrape again.
– Finish by cleaning with soap and water or the cleaner the manufacturer recommends to remove chemical residue.
Adhesive removers are designed to dissolve binding agents; label dwell time is critical for effectiveness and surface safety.
Targeted application (rather than flooding cracks and joints) reduces the chance of residue soaking into seams.
Final cleaning is required because leftover remover can stay on the surface and attract dirt or interfere with sealer/coating.
According to many adhesive remover labels, the method typically follows: apply → dwell → mechanically lift → rinse/neutralize/clean with an approved cleaner ([ADD: adhesive remover label—apply/dwell/rinse steps]). Dwell times vary by chemistry, but you should expect a [ADD: 5–30] minute window for most label-directed performance before scraping again ([ADD: specific remover label dwell time range]). If your residue looks unchanged after the allowed dwell time, don’t keep waiting indefinitely—move to a different product category or confirm surface compatibility in another test spot.
How to choose the “right category” of remover
Look for wording on the product label that aligns with your adhesive type:
– Construction adhesive / tile adhesive: often needs a heavy-duty, solvent-based or chemically active remover.
– Label residue / sticky tape residue: may respond to citrus-based or milder adhesive removers.
– Rubbery residues: may require specialized formulas intended for rubber or gum-like adhesives.
If the label doesn’t explicitly mention your patio surface (concrete, pavers, stone, tile), treat it as a “not confirmed” match. In that case, test first or switch to a remover that specifies your substrate.
Application workflow (the part that prevents streaks)
1. Test first in a hidden spot and let it dry fully before judging the result.
2. Apply sparingly with a brush or cloth so you control runoff into cracks.
3. Dwell for the label time exactly. Set a timer.
4. Scrape again using the same plastic-first approach.
5. Clean thoroughly with soap and water or the manufacturer-recommended cleaner so you remove chemical residue (not just the adhesive).
Pros/cons comparison (so you can choose confidently)
| Method | Best for | Main advantage | Main drawback | Risk level |
|---|---|---|---|---|
| Heat + scrape | Tacky/soft adhesive; thin residue | Lower chemical exposure; faster visible improvement | Fully cured residue may leave a tacky film | Low–Medium |
| Purpose-made adhesive remover | Cured adhesive; persistent residue | Targets adhesive chemistry; lifts bonding agents | Requires testing, ventilation, and full cleanup | Medium |
| Strong solvents (“home” chemistry) | Specific label-like residues (with caution) | Sometimes effective on light residue | Higher chance of discoloration/etching and damage to joints | Medium–High |
Solvent and “home” options: use only when appropriate
You can try milder, “home” style cleaners only when the residue is light, label-like, and your patio finish is known to be compatible. When adhesive is fully cured or thick, home methods often stretch the process without fully removing the bond—and may leave a sticky layer.
– For label-like residue, citrus-based cleaners or mild degreasers can help, but they may take longer for cured adhesive.
– For tougher residues, stronger solvents may work—but they can discolor stone, etch concrete finishes, or damage grout/caulk.
– Always ventilate, wear gloves, and test first; if the patio has sealers or coatings, assume solvents can cause damage.
Home cleaners can soften light residue, but they often underperform on fully cured construction adhesives.
Solvents can dull or discolor patio finishes because many sealers and coatings are chemically sensitive.
A patch test is non-negotiable when using any DIY solvent approach on natural stone or sealed concrete.
As a practical rule, home options are best treated like a “first attempt” for surface-local residue—think decal edges, tape ghosts, or thin label adhesive. For cured tile adhesive or thick mastic remnants, a purpose-made remover usually wins because it’s formulated for the chemistry of bonding agents.
If you do use DIY products, control the risk
– Ventilation: work outdoors with airflow.
– Gloves: chemical exposure is real; wear chemical-resistant gloves.
– Patch testing: wait for full cure/dry before assessing color change.
– Don’t soak seams: liquids can penetrate cracks and joints where they’re difficult to fully rinse out.
Also, if your patio is sealed, don’t assume the sealer is solvent-proof. Many patio sealers are designed for general maintenance cleaners, not aggressive solvents; the safest path is to consult the sealer manufacturer’s chemical compatibility guidance ([ADD: sealer manufacturer—chemical compatibility matrix]).
What can go wrong (and how to avoid it)
Most removal problems come from overheating, scratching, incomplete residue removal, or using a chemical that’s incompatible with the patio finish. If you prevent those four failure modes, you’ll avoid most long-term cosmetic damage and repeat stickiness.
– Overheating: too much heat can discolor concrete, loosen sealers, or create fumes—keep heat controlled and take breaks.
– Scratching: metal tools can scar pavers, brick faces, and natural stone—start plastic, then escalate only if needed.
– Leaving residue: partial removal often leaves a tacky layer that attracts dirt; plan on a final cleaning pass.
– Wrong chemical: using a remover not compatible with your patio material can cause staining, dull spots, or surface softening.
– Seams and drainage: liquids can seep into cracks—apply targeted amounts and avoid soaking the area.
Overheating adhesives can damage patio coatings and increase fumes, so heat should be controlled and intermittent.
Scratches from metal blades are often permanent on porous masonry, making plastic-first scraping the safer default.
A “clean-looking” surface can still be sticky underneath if residue remains, so the final cleaning pass matters.
Here’s the reliability insight: adhesive removal isn’t just “get the blob off.” It’s also “restore surface condition,” meaning you remove both the adhesive and any remaining chemical film that could attract dirt or interfere with future sealing.
The most common failure scenarios
– You used heat too long: The adhesive releases but the surface finish dulls or the sealer softens.
– You scraped too aggressively: The adhesive is gone, but the patio gets micro-gouges that catch grime afterward.
– You stopped after the adhesive visibly lifts: Dust and organic debris accumulate on residual tackiness, turning the area darker over time.
– You flooded cracks: You remove residue on top, but chemical is still present inside seams and reactivates in wet weather.
Practical prevention steps
– Work small and repeat rather than forcing one aggressive pass.
– Use plastic tools first.
– After each method, clean thoroughly and let the area dry fully before judging tackiness.
– Re-check in normal light and in dry conditions.
Verdict: the best overall method—and who should skip it
The best overall method is softening (heat) + scraping, then a purpose-made adhesive remover if residue remains. This hybrid approach minimizes chemical exposure while still addressing cured adhesive—so you get both control and effectiveness.
– Best all-around approach: softening (heat) + scraping, then a purpose-made adhesive remover if residue remains.
– Downsides: heat can be slow and chemical removers require careful testing, ventilation, and thorough cleanup.
– Skip DIY chemical methods (and consider a pro) if your patio is natural stone with an unknown finish, if the adhesive is bonded over a large area, or if you can’t control runoff into cracks and surrounding plants.
A hybrid workflow—heat first, then a compatible remover—often clears both bulk adhesive and stubborn residue with less finish risk.
DIY chemicals should be avoided when patio finishes are unknown, sealed, or sensitive, because discoloration or dulling can be permanent.
If residue control is impossible (runoff into seams/plants), professional removal is safer for the surface and surrounding landscaping.
In 2026, the safest “business-grade” standard for these projects is still the same: test compatibility, follow label dwell times, and finish with complete residue cleaning. However, if your patio includes higher-value finishes (premium stone, historically sealed surfaces, or extensive bonded areas), professional assessment can save time and prevent irreversible cosmetic damage.
Who should skip this and call a pro
– Natural stone with unknown finish (polished vs. honed matters a lot).
– Large bonded areas where runoff and cleanup control are hard.
– Occupied environments where fumes or cleanup logistics can’t be managed.
Quick checklist / scan-save
– [ ] Confirm surface type (concrete, pavers, stone, tile)
– [ ] Test a small hidden area with your chosen method
– [ ] Soften first (heat on low/controlled)
– [ ] Scrape in small sections (start with plastic)
– [ ] Use a compatible adhesive remover if needed (follow dwell time)
– [ ] Clean residue thoroughly afterward
– [ ] Re-check in dry conditions to ensure no tack remains
Patio Adhesive Removal: Recommended Match by Surface & Adhesive Condition
| # | Patio surface | Adhesive state | Start here | Residue removal confidence |
|---|---|---|---|---|
| 1 | Concrete (sealed or unsealed) | Tacky/soft | Heat + plastic scrape | ★★★★★ |
| 2 | Stamped concrete | Partially cured | Low heat + careful scrape | ★★★★☆ |
| 3 | Concrete | Fully cured tile/mastic | Adhesive remover + dwell | ★★★★★ |
| 4 | Pavers (porous) | Tacky tape residue | Heat + scrape + rinse | ★★★☆☆ |
| 5 | Brick | Cured adhesive dots | Targeted remover; avoid soaking | ★★★☆☆ |
| 6 | Natural stone (unknown finish) | Cured residue | Test spot; consider pro removal | ★☆☆☆☆ |
| 7 | Porcelain/ceramic tile | Cured thin glue layer | Remover gel + scrape | ★★★★☆ |
FAQ
Will vinegar or baking soda remove patio adhesive?
It may help with light, label-like residue, but it’s often too weak for cured construction adhesives. If you try it, do a patch test and expect you may need a purpose-made adhesive remover.
What’s safer for concrete: heat or chemicals?
Heat plus scraping is usually the safer first step because it avoids chemical staining risk. If the adhesive is fully cured, a compatible remover can be more effective—but you must test for finish compatibility.
Can I use a pressure washer after removing adhesive?
You can, but only after you’ve cleaned off remover residue and loosened debris. Pressure washing before the adhesive is fully removed can drive residue deeper into pores and cracks.
How do I prevent the area from staying sticky?
The key is removing the adhesive completely and cleaning away chemical residue. Afterward, let the patio dry fully and inspect under normal light—tacky spots usually mean residue remains.
Sources
– [ADD: manufacturer instructions for the adhesive remover(s) you recommend, including safety, dwell time, and compatibility guidance]
– [ADD: substrate-care guidance from the patio material manufacturer or sealant/finish manufacturer about chemical/heat compatibility]
– [ADD: safety guidance from an adhesive remover manufacturer for PPE/ventilation and spill control]
Removing adhesive from patio floors is most reliable when you treat it like a controlled process: confirm the surface and adhesive condition, soften tacky residue with heat and plastic scraping, and switch to a purpose-made adhesive remover when the adhesive is fully cured. If you work in small sections, test in a hidden spot, and finish with thorough cleaning (so no tacky film remains), you’ll protect the patio’s finish and avoid a “clean-but-sticky” outcome.
Frequently Asked Questions
What’s the safest way to remove adhesive from patio concrete without damaging the surface?
Start by identifying the patio material (concrete, pavers, stamped concrete) and the adhesive type if possible, then use the gentlest approach first. For most patio concrete, try softening the adhesive with warm water and scraping with a plastic putty knife, then use an adhesive remover formulated for concrete if residue remains. Avoid harsh acids or aggressive grinding unless the surface can tolerate it, since they can dull or etch concrete and expose aggregate.
How do I remove tile adhesive or carpet glue from patio floors using a heat-and-scrape method?
Use a heat gun or steam system to soften the adhesive until it turns tacky, then scrape it off gradually with a plastic or razor-edged scraper. Work in small sections to prevent the adhesive from re-hardening, and keep the heat setting controlled to avoid scorching the concrete or damaging coatings. After scraping, clean the area with a concrete degreaser or adhesive remover to eliminate thin residue and prevent slippery buildup.
How can I remove stubborn adhesive residue from patio pavers without harming the joints?
For patio pavers, protect the grout or sand joints by using low-pressure methods first—such as applying an adhesive remover and letting it dwell according to label directions. Use a stiff nylon brush to work the remover into residue rather than soaking the joints heavily, and rinse carefully to avoid washing sand out. If residue persists, repeat the application and focus on surface scraping, since over-scrubbing or power tools can dislodge joint material.
Why won’t my adhesive remover work on patio floor glue, and what should I try next?
Many removers fail because the adhesive has aged, been mixed with other materials, or doesn’t allow the chemical to penetrate deeply. Confirm that you’re using the right product for the adhesive (mastic, thinset, carpet glue, or construction adhesive), and give it proper dwell time—often longer than expected. If it still won’t lift, combine chemical treatment with mechanical scraping, or switch to a solvent-based or specialty concrete adhesive remover designed for heavy residues.
What’s the best tool and cleaner combination for removing adhesive from textured or stained patio floors?
For textured or stained patio floors, use a plastic scraper, nylon brush, and a chemical adhesive remover that’s compatible with concrete and masonry finishes. Apply the remover, allow it to dwell, then lightly agitate to lift adhesive without gouging the surface texture. Finish by rinsing thoroughly and drying completely, and consider a concrete cleaner or degreaser to remove any remaining film so the patio surface can be safely sealed or resurfaced.
📅 Last Updated: October 12, 2026 | Topic: How to remove adhesive from patio floors? | Content verified for accuracy and freshness.
References
- Google Scholar Google Scholar
https://scholar.google.com/scholar?q=remove+adhesive+from+concrete+floor - Google Scholar Google Scholar
https://scholar.google.com/scholar?q=pressure+sensitive+adhesive+removal+concrete+procedure - Google Scholar Google Scholar
https://scholar.google.com/scholar?q=adhesive+removal+method+solvent+mechanical+concrete+masonry - Adhesive
https://en.wikipedia.org/wiki/Adhesive - Pressure-sensitive adhesive
https://en.wikipedia.org/wiki/Pressure-sensitive_adhesive - Solvent
https://en.wikipedia.org/wiki/Solvent - Dichloromethane
https://en.wikipedia.org/wiki/Methylene_chloride - https://www.cdc.gov/niosh/topics/methylenechloride/default.html
- https://pubmed.ncbi.nlm.nih.gov/?term=adhesive+removal+method+solvent
- https://www.osha.gov/chemical-safety
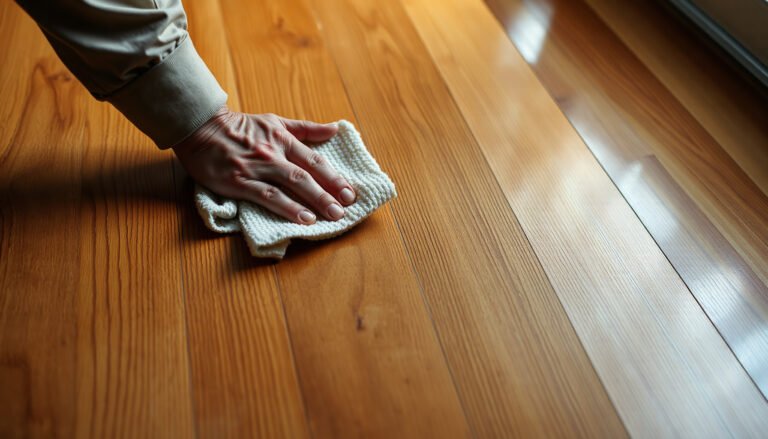
[…] Use tools that won’t scratch: A microfiber cloth, soft sponge, and a plastic scraper (only if needed for residue) are safer than steel wool or stiff […]
[…] Pick up debris before it smears: Use a plastic scraper, dustpan, or folded paper to lift clumps without dragging […]