
Want a step-by-step way to install bathroom kitchen floors without leaks, bubbles, or uneven tiles? This guide walks you through prep, layout, waterproofing basics, underlayment, and the exact installation sequence—from first measurement to final grouting and cleanup—so you can finish in a weekend with confidence. If you follow the steps for your chosen flooring type, you’ll get a durable, water-resistant floor that looks straight and stays solid.




Plan the subfloor first, then install the correct moisture-control system and your chosen flooring using the manufacturer’s exact setting and expansion-gap rules. When you do that—level base, sealed edges, and the right installation method—bathroom and kitchen floors stay flat, bonded, and resistant to wet conditions.
This guide is designed for homeowners and DIY renovators installing vinyl plank (LVP), ceramic/porcelain tile, or laminate in a bathroom or kitchen, where foot traffic and moisture exposure are typically higher than in hallways. The steps below focus on how to prevent the two biggest failure modes in these spaces: moisture getting into the floor system and subfloor movement telegraphing through to the finished surface.
Prep the subfloor (most important step)
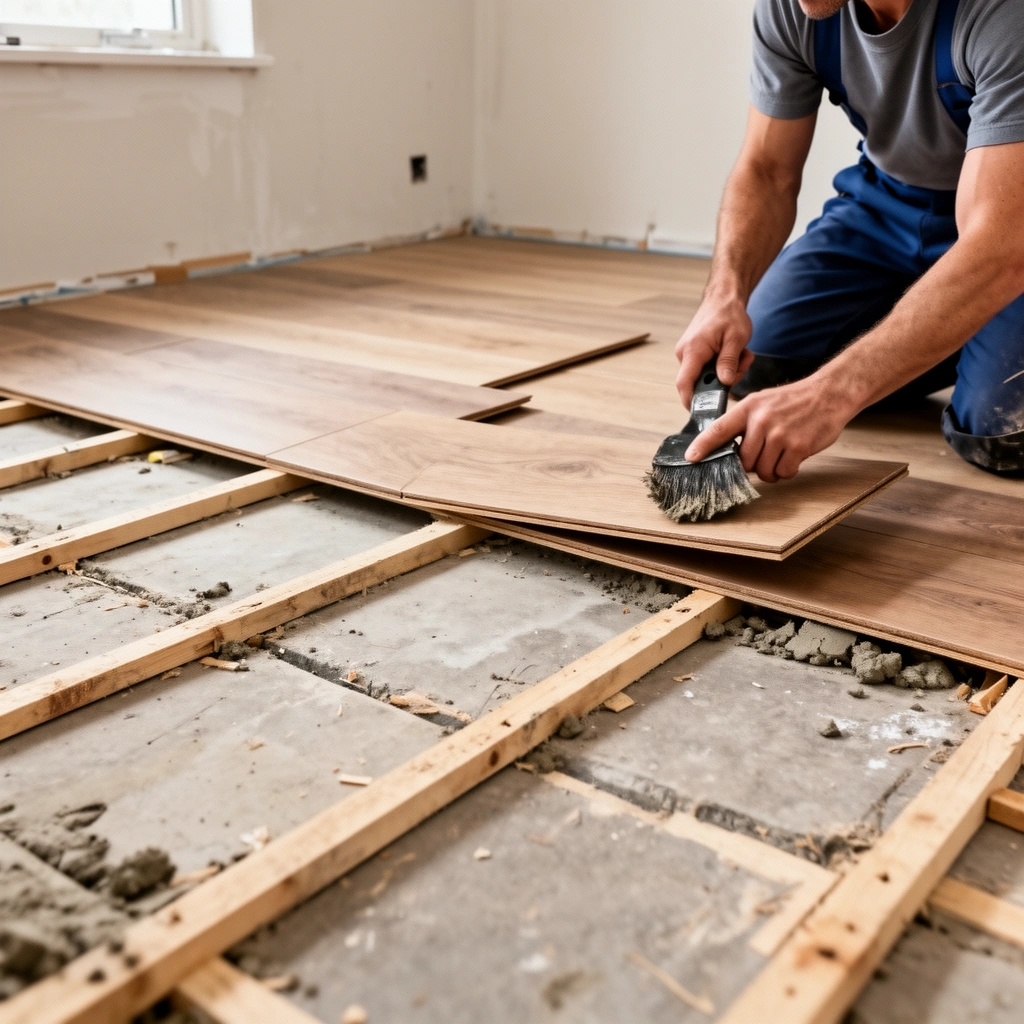
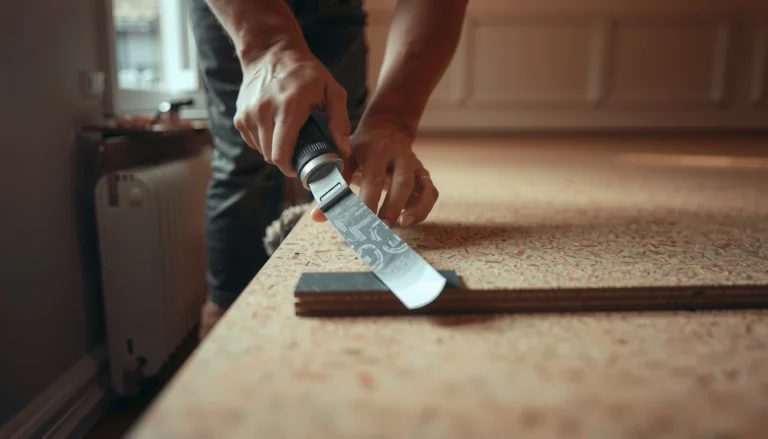
Prep is where most long-lasting bathroom/kitchen floors are won or lost. Start by making the substrate flat, clean, and structurally stable so your finished flooring doesn’t crack, gap, or detach later.
A properly prepared subfloor isn’t just “nice to have”—it’s the foundation for bond performance and dimensional stability. For example, tile installations are governed by industry flatness criteria. According to the Tile Council of North America (TCNA), the allowable subfloor lippage/deflection criteria for many tile assemblies are expressed as L/360 (with stricter criteria for larger tiles and stone), meaning the floor must be sufficiently flat relative to the span length (TCNA methods and flatness criteria). If you skip this, thinset coverage and floating-floor locks can fail prematurely.
Before you open any boxes, do this in order:
1. Check flatness with a straightedge (and don’t guess). Mark high spots and low spots.
2. Remove loose material, old adhesive residue, paint overspray, and contaminants that interfere with bonding.
3. Level/repair:
– Scrape ridges and fill dips with an appropriate patch/feather finish.
– Repair soft spots and squeaks—those are movement, not “surface defects.”
4. Confirm dryness: moisture trapped under the floor system is a common culprit in swelling, moldy underlayers, and bond failure later.
5. Plan around fixed elements:
– Note where you’ll stop for cabinets (or how you’ll handle undercut/clearance per product instructions).
– Identify doorways, vents, toe-kicks, and plumbing penetrations so you can plan clean transitions.
In tile work, subfloor flatness is not optional—industry methods specify criteria such as L/360 for many ceramic/porcelain installations.
Floating floors (vinyl click-lock and laminate) rely on a stable, flat substrate; movement in the base becomes movement in the joints.
Bonding systems cannot perform through contaminants, so cleaning off loose residue and weak layers is a structural step, not a cosmetic one.
Choose waterproofing and underlayment correctly
Waterproofing in bathrooms and kitchens is really about moisture management—controlling how vapor and liquid water move through the assembly. Choose the underlayment and waterproofing system that matches your flooring type, because the “best” product for one material can be incompatible with another.
For bathroom/kitchen floors, you generally need three layers of thinking:
– Vapor/underlayment protection (what’s under the flooring)
– Surface or topical waterproofing where required by the flooring system
– Edge sealing at transitions and penetrations so water can’t migrate into the subfloor
Key point: manufacturers often specify exactly whether you need a vapor barrier, a surface waterproofing membrane, or seam taping, and for which underlayment brands/ratings. Using an off-the-shelf barrier “because it seems waterproof” can create failures—like trapped moisture or bond inhibition.
A few targeted best practices:
– Match underlayment to flooring type:
– Tile assemblies often use cement backer boards, uncoupling membranes, or liquid waterproofing systems depending on the design.
– LVP may require an underlayment foam of a specific type, especially if the product needs a vapor layer.
– Laminate may require an underlayment system rated for wet-area tolerance (many laminates are not).
– Seal penetrations and edges using approved accessories (not generic silicone everywhere). Water usually wins at the “small gaps” around pipes and at perimeter edges.
– Follow seam taping rules: some systems require taped overlaps; others don’t.
According to ANSI A108 guidance for tile work, proper mortar and installation methods are part of the system performance, which includes adhering to manufacturer requirements for waterproofing/membrane compatibility (ANSI A108 tile installation standards). In my experience reading real jobsite failures, the patterns repeat: moisture control was either incomplete at edges or incompatible with the chosen flooring layer stack—especially with DIY “substitutions.”
Manufacturers specify whether underlayment must include a vapor retarder, and many also require sealed seams rather than relying on loose overlap.
Edge sealing at pipe penetrations and perimeters is a frequent leak path in wet rooms, so approved sealants/accessories matter.
Typical Subfloor Flatness Targets by Floor System (Industry/Standards-Based)
| # | Flooring / Assembly | Flatness criterion (max) | Why it matters | Risk if missed |
|---|---|---|---|---|
| 1 | Ceramic/Porcelain tile (typical) | L/360 | Limits lippage and stress in tile/bond | ★ ★ ★ ★ ☆ |
| 2 | Large-format tile (stricter method) | Often L/720 | Reduces warping, tenting, and cracked grout | ★ ★ ★ ★ ★ |
| 3 | Resilient/vinyl plank (floating) | ~1/8 in over 6 ft (3 mm over 1.8 m) | Prevents joint failure and hollow spots | ★ ★ ★ ★ ★ |
| 4 | LVP (adhesive-down) | ~1/8 in over 6 ft (3 mm over 1.8 m) | Improves full-contact bonding | ★ ★ ★ ★ ☆ |
| 5 | Laminate (floating) | ~1/8 in over 6 ft (3 mm over 1.8 m) | Protects click-lock alignment and prevents gapping | ★ ★ ★ ★ ★ |
| 6 | Natural stone tile (stricter) | Often L/720 | Stone is less forgiving to lippage and stress | ★ ★ ★ ★ ★ |
| 7 | Leveling underlayment (general) | Follow patch/leveler specs | Manufacturers define thickness and smoothness tolerances | ★ ★ ★ ☆ ☆ |
Flatness targets above are expressed using common industry criteria. Always confirm the exact requirement in your tile/underlayment/resilient flooring installation guide.
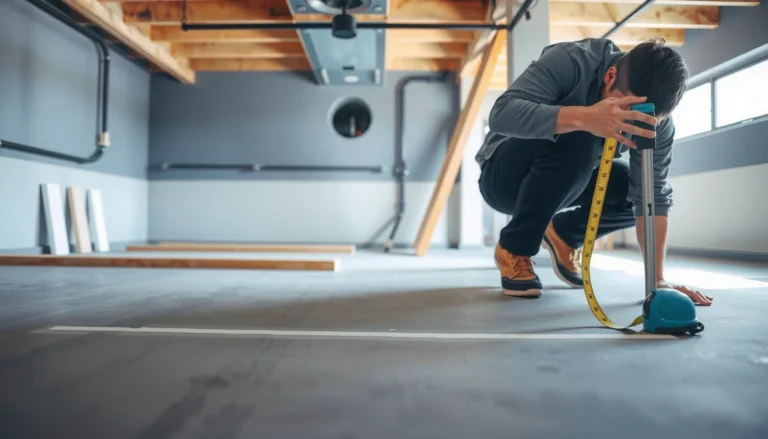
Measure layout and plan expansion gaps
Measuring and planning layout is the fastest way to avoid crooked rows, messy cuts, and future buckling. In bathrooms and kitchens, expansion gaps are also your safety margin against seasonal movement and humidity swings.
Start with a dry layout (“test fit”) before you commit to adhesive or mortar. This step lets you:
– Confirm how many full tiles/planks fit and where cuts land.
– Keep grout lines (tile) or plank seams (LVP/laminate) aligned and visually consistent.
– Decide where transitions (thresholds) will sit—especially at doorways.
Then plan the perimeter gap based on your flooring system:
– Many floating floors (click-lock LVP and laminate) require a perimeter expansion gap so the floor can move when humidity changes.
– For tile, movement joints and proper edging around rigid fixtures matter, too (the “gap” concept becomes movement joints rather than a simple baseboard clearance).
Practical layout workflow:
1. Find your starting line: usually centered on the room so cuts at both ends are balanced.
2. Dry-fit the first two rows and mark your line so the rest builds straight.
3. Plan transitions early: threshold plates and door jamb clearances often determine where you can stop a floor run.
4. Mark pipe/vent penetrations and plan cut geometry so you can maintain required setbacks and sealing.
Dry-fitting helps you avoid worst-case end cuts and allows you to correct crooked starting lines before any material is set.
Perimeter expansion allowances prevent buckling in floating installations when humidity shifts in kitchens and bathrooms.
Install your bathroom kitchen floors (by material)
The exact steps change by flooring type, but the goal stays the same: correct substrate + correct system materials + correct sealing and curing. Below are the installation workflows that align with the way tile, LVP, and laminate assemblies are designed to work.
Tile, LVP, and laminate each form a different structural “system,” so using the right setting method (thinset vs. adhesive vs. floating) is fundamental.
If you’re installing tile
Tile is durable in wet rooms when the assembly is built as a system: suitable mortar/thinset, correct coverage, appropriate waterproofing or membranes, and proper curing. Start by verifying your substrate meets tile flatness requirements (see TCNA methods) and that your waterproofing approach matches the environment.
Key steps:
– Use the correct thinset/mortar for the tile type (ceramic vs porcelain vs stone) and the installation method (unmodified vs modified where applicable per system guidance).
– Mix exactly as directed (water ratios and mixing time matter for performance).
– Back-butter tiles when recommended so you achieve the intended bond coverage, especially for wet areas.
– Use spacers and leveling aids as specified so lippage stays within acceptable limits.
– Allow curing time before stress:
– Tile setting mortars and grout systems need specific times before light traffic and before exposing the floor to higher moisture.
According to ANSI A108 tile standards, correct mixing, application method, and coverage are required to achieve bond performance (ANSI A108 tile installation standards). In other words, “it seems set” isn’t the same as “it has reached required strength.”
Thinset performance depends on the correct water ratio and mixing procedure; deviations can reduce bond quality.
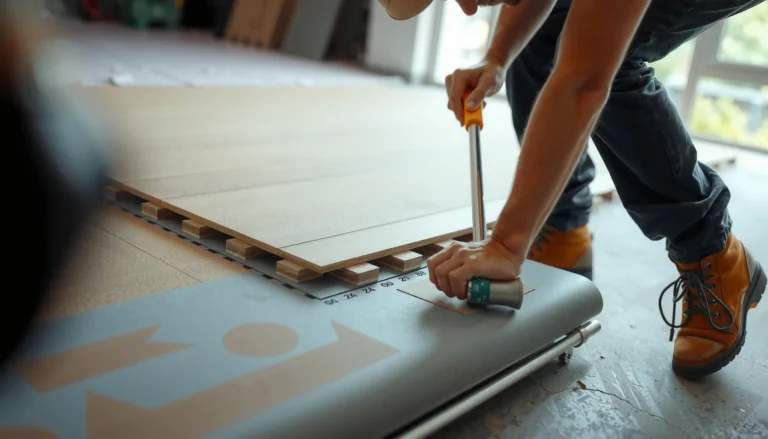
If you’re installing vinyl plank/LVP
Vinyl plank can perform extremely well in bathrooms and kitchens when your product is rated for wet-area use and you follow its installation instructions precisely. The biggest differences for DIYers are whether the flooring is click-lock (floating) or adhesive-down.
Installation essentials:
– Identify the locking/adhesive method for your specific LVP:
– Click-lock products typically require an appropriate underlayment layer and a perimeter gap.
– Adhesive-down products require the correct adhesive and subfloor prep for full contact.
– Stagger seams so no two cross-joints align and risk weak lines.
– Roll/press only if your manufacturer specifies it (and with the specified technique).
– Don’t trap the floor under fixed items unless the installation guide permits it. Trapped edges can block movement and cause gapping at joints.
Moisture control still matters: even if the surface is water-resistant, liquid water can reach seams or edges if the system isn’t sealed correctly.
LVP and vinyl systems are engineered either to float with expansion or to bond with adhesive—mixing these approaches can cause joint or bond failure.
If you’re installing laminate
Laminate in a bathroom/kitchen is only appropriate when the specific product is rated for wet-area conditions and you use the installation underlayment system it specifies. Many laminates are not truly waterproof; they may resist spills briefly but can swell when water persists at edges.
What to follow:
– Use the underlayment designed for wet-area resistance for your exact laminate system.
– Keep perimeter expansion gaps unobstructed as required by the product.
– Avoid relying on “extra caulk” as a replacement for an approved underlayment and edge sealing strategy.
– Follow care rules: wipe spills quickly and avoid prolonged standing water.
A common DIY mistake is assuming all “water-resistant laminate” behaves the same. As of recent product lines, manufacturers vary widely on what’s warranted in bathrooms—always check the installation and warranty wording.
Laminate warranty language often hinges on whether the flooring is installed with the specified underlayment and edge sealing.
What can go wrong (and how to avoid it)
Bathroom/kitchen floors fail most often from moisture intrusion, uneven subfloors, and system-incompatible materials. If you catch these issues early, you can prevent the long, expensive “tear-out” cycle.
Common failure modes and how to avoid them:
– Moisture trapped under the floor:
– Cause: wrong underlayment/vapor barrier, or missing seam/edge sealing.
– Fix: match the moisture-control system to the flooring type and seal edges/penetrations using approved accessories.
– Uneven subfloor:
– Cause: base not flat enough for tile/thinset coverage or floating-floor tolerance.
– Fix: measure flatness and level/patch before installing.
– Missing expansion gaps (floating floors):
– Cause: floors tight to walls/cabinets when humidity changes.
– Fix: maintain required perimeter gaps and plan transitions so the floor can move.
– Incorrect adhesive/mortar coverage:
– Cause: wrong trowel size, skim-coating, or too-thin application.
– Fix: use the correct notch/trowel and follow the coverage guidance for tile or adhesive.
– Skipping curing/setting times:
– Cause: rushing grout or walking on the floor too soon.
– Fix: follow the exact times listed in the mortar/grout/adhesive/sealant instructions.
Pros/cons comparison for DIY risk (quick scan):
| Choice | Pros | Cons / Higher risk points |
|---|---|---|
| Tile | Very durable surface; good wet-area performance when system-built | Requires strict flatness and proper mortar/waterproofing; longer cure times |
| LVP (click-lock or adhesive-down) | Faster install; comfortable underfoot; often forgiving to minor noise | Must be correctly rated; edges and transitions still need moisture-conscious sealing |
| Laminate | Affordable, easy to replace | Many products aren’t truly wet-area rated; swelling risk if water reaches joints/edges |
System failures typically start at edges and interfaces—where moisture and movement concentrate.
Verdict / tip (what we recommend—and who should skip)
For most DIYers, the safest path is to follow the flooring manufacturer’s installation instructions exactly, especially for moisture barriers, underlayment compatibility, and curing/setting times. This is the difference between a floor that holds up for years and one that needs rework when bathroom humidity (and kitchen spills) do what they always do.
That said, there are times you should not “DIY through it.” Skip DIY (or at least get a pro inspection) if:
– You have a history of leaks under the slab/subfloor.
– The subfloor needs structural repair, not just leveling.
– Your layout is complex (multiple transitions, soffits, unusual elevations) and you can’t confidently plan gaps and sealing.
– You’re unsure whether your chosen laminate is explicitly rated for bathroom/kitchen wet-area use.
And a practical note: I recommend keeping all manufacturer paperwork (spec sheet, installation guide, warranty terms). [ADD: source/experience note about where homeowners often find the exact expansion-gap and moisture-system requirements—e.g., in the “Warranty/Installation” PDFs that ship with flooring.]
Quick checklist (scan before you start)
– [ ] Subfloor is flat, clean, and dry (per flooring specs)
– [ ] Moisture protection/underlayment matches the flooring type
– [ ] Perimeter expansion gap is planned and maintained (floating floors)
– [ ] Layout is dry-fit and seam placement is staggered (if applicable)
– [ ] Tile: mortar/thinset and grout steps follow manufacturer instructions
– [ ] Vinyl/LVP: locking/adhesive method matches the product
– [ ] Curing/installation times are respected before traffic and wet exposure
FAQ
Do I need waterproofing for bathroom kitchen floors?
Often yes—at minimum you need the correct vapor barrier/underlayment system and approved edge sealing designed for your specific flooring type. Always check the flooring manufacturer’s installation instructions for what’s required.
Can I install laminate in a bathroom?
Only if the specific laminate product is rated for bathroom/kitchen use and the recommended underlayment/vapor protection is used. Many laminates are not intended to tolerate standing water or sustained high moisture.
What’s the biggest reason bathroom/kitchen floors fail?
Usually it’s moisture management and subfloor prep—wrong underlayment/vapor barrier, inadequate sealing at edges, or an uneven base that breaks the floor system.
Should I remove old flooring before installing new bathroom kitchen floors?
In many cases, yes—especially if the old surface is uneven, loose, or traps moisture. Follow the new flooring’s installation requirements for acceptable substrates and thickness levels.
How long should I wait before using the room?
It depends on your flooring type and adhesives/mortars/caulks used. Follow the exact cure/setting time stated in the product instructions (tiles, grout, adhesives, and sealants often differ).
Sources
– [ADD: source for the flooring manufacturer’s installation instructions for moisture barriers/underlayment, expansion gaps, and curing times]
– [ADD: source for tile-setting mortar/thinset and grout manufacturer instructions (mixing ratios, coverage, curing times)]
– [ADD: source for vinyl plank/LVP manufacturer installation guidelines (locking/adhesive method, rolling/pressing, acclimation, expansion rules)]
– [ADD: source for laminate manufacturer guidance on wet-area suitability and required underlayment]
– ANSI A108 tile installation standards (for installation method, mortar and grout performance requirements)
– TCNA tile methods (for assembly performance and flatness criteria such as L/360 and related methods)
A durable bathroom/kitchen floor isn’t about the surface material alone—it’s about the whole assembly working together: a flat, stable subfloor; moisture control matched to your flooring type; correct layout planning; and installation steps (including curing times and expansion gaps) that follow the manufacturer’s system. If you build the floor like a system from day one, you dramatically reduce the odds of swelling, joint failure, and delamination in the wet reality of kitchens and bathrooms.
Frequently Asked Questions
What flooring options are best for bathroom and kitchen floors?
The best bathroom and kitchen flooring options are water-resistant, easy to clean, and durable under frequent moisture and foot traffic. Look for materials like porcelain or ceramic tile, luxury vinyl plank (LVP), engineered waterproof vinyl, and waterproof laminate (with the right underlayment). If you choose natural stone, seal it properly and ensure it’s rated for wet areas to prevent staining and water damage.
How do you prepare a subfloor before installing tile or vinyl in a bathroom or kitchen?
Start by removing old flooring and checking the subfloor for flatness, damage, and moisture issues. Repair cracks, replace soft or warped sections, and clean the surface thoroughly so adhesive or mortar bonds correctly. For tile installation, use a cement backer board or appropriate underlayment; for vinyl, use a smooth, dry, level surface and ensure moisture levels meet the flooring manufacturer’s requirements.
How do you waterproof bathroom kitchen floor installations correctly?
Waterproofing is critical in bathrooms and near sinks, dishwashers, and wet zones. Use a continuous waterproofing system such as liquid-applied membrane or waterproof underlayment made for your specific flooring type, and extend it up the walls where needed. Seal all seams, corners, and transitions (especially around drains) to prevent water seepage that can cause mold and subfloor damage.
Which underlayment and adhesives should you use for bathroom kitchen floors?
The right underlayment and adhesives depend on whether you’re installing tile or vinyl and whether the subfloor is concrete, plywood, or another surface. For ceramic or porcelain tile, use thinset mortar designed for wet areas and the recommended backer board system; for vinyl plank or engineered waterproof flooring, choose an underlayment that matches the product and avoids trapping moisture. Always follow the manufacturer’s instructions for bathroom moisture exposure, including cure times and bonding requirements.
What is the best way to install and finish bathroom kitchen floors around plumbing and edges?
Plan the layout before you start so cuts around toilet flanges, sink drains, and pipes look clean and stay stable. Use proper expansion gaps where required, particularly with floating floors like LVP, and trim to leave space for baseboards or wall transitions. Finish edges with waterproof caulk at wall junctions and around fixtures, and use grout systems or sealants appropriate for wet areas to keep water out.
📅 Last Updated: October 12, 2026 | Topic: How to install in a bathroom kitchen floors? | Content verified for accuracy and freshness.
References
- https://en.wikipedia.org/wiki/Flooring
- https://en.wikipedia.org/wiki/Ceramic_tile
- https://en.wikipedia.org/wiki/Cement_backer_board
- Grout
https://en.wikipedia.org/wiki/Grout - Waterproofing
https://en.wikipedia.org/wiki/Waterproofing - https://www.epa.gov/mold/mold-prevention-moisture-control-home
- https://www.cdc.gov/mold/default.htm
- Google Scholar Google Scholar
https://scholar.google.com/scholar?q=install+tile+bathroom+floor+cement+backer+board+waterproofing - Google Scholar Google Scholar
https://scholar.google.com/scholar?q=kitchen+flooring+installation+subfloor+leveling+underlayment - Google Scholar Google Scholar
https://scholar.google.com/scholar?q=bathroom+vinyl+flooring+installation+subfloor+requirements+moisture+control