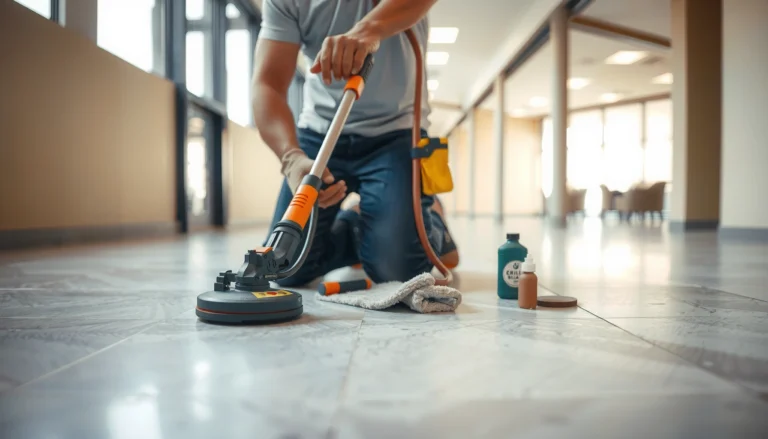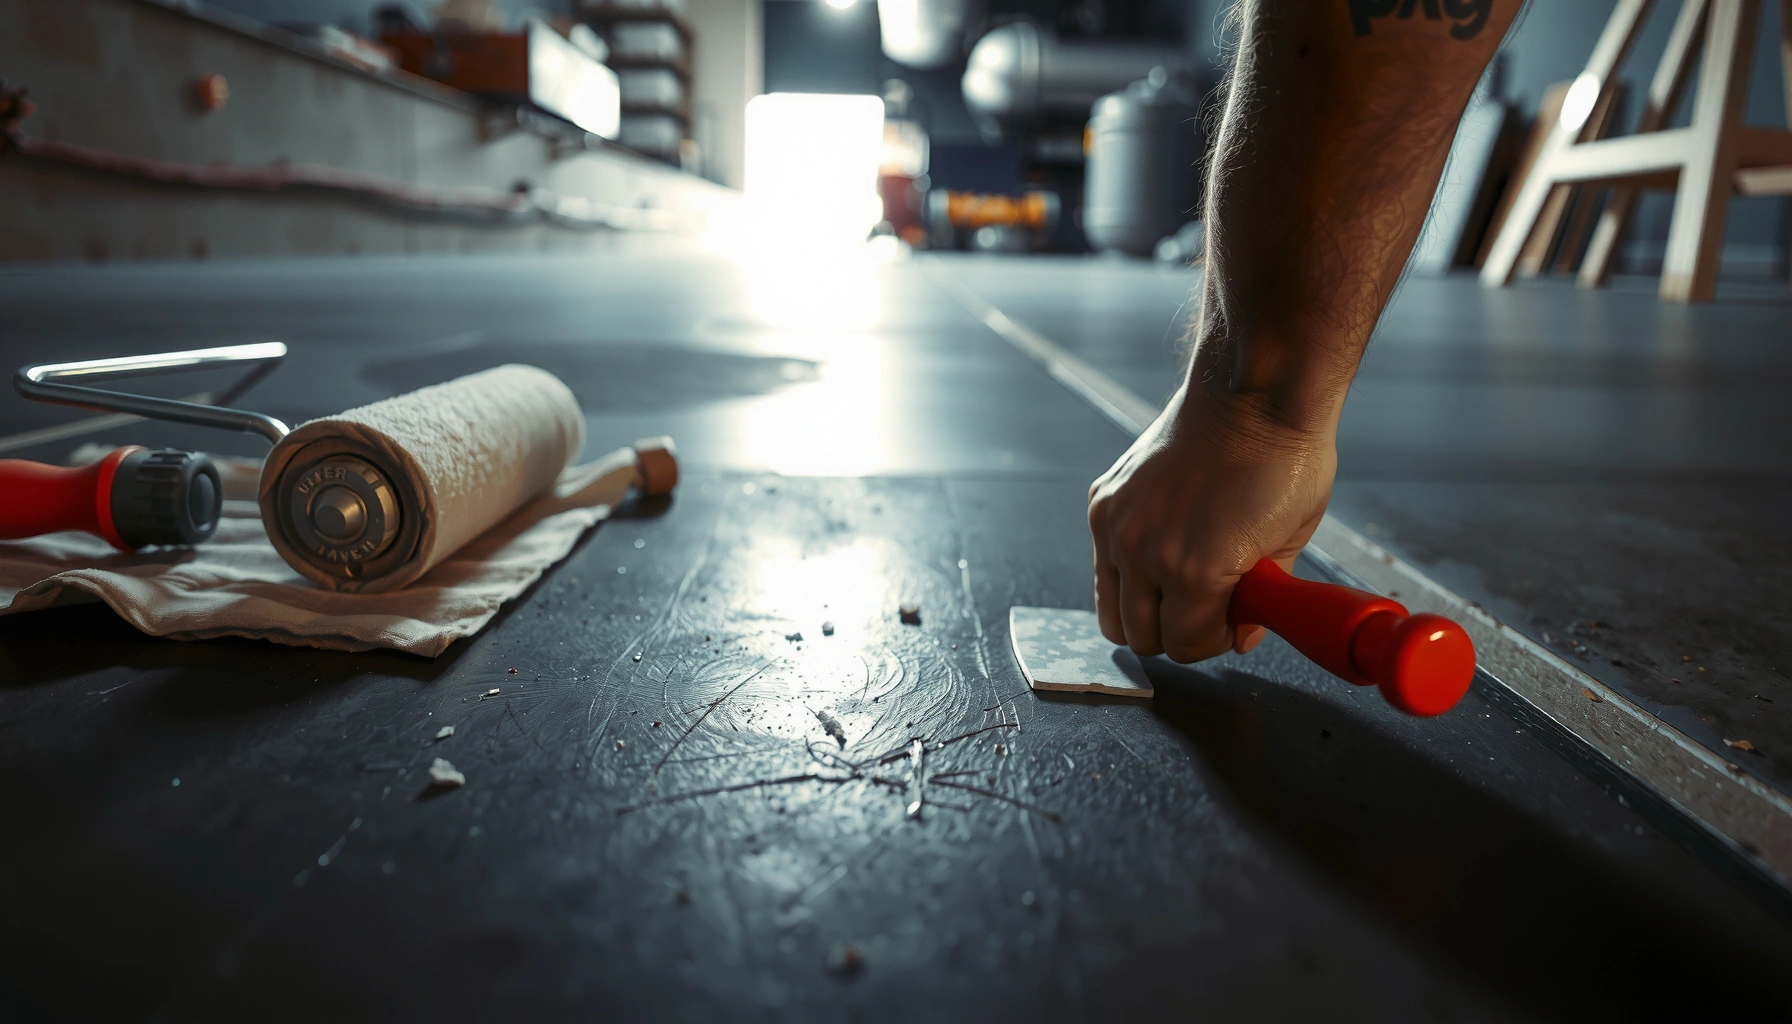

Scratches on basement floors don’t have to be permanent—this guide shows you the fastest, most reliable way to fix them for good. You’ll get clear, step-by-step instructions to match the right repair method to the scratch size and floor material, so the result holds up under everyday foot traffic. If you follow these practical steps in order, you can restore the surface appearance without costly replacement.




Basement floor scratches are usually fixable, but the “right” repair depends on the floor’s material and finish: bare concrete typically responds well to patching and polishing, while wood/laminate (and many coated concrete floors) require resurfacing or refinishing rather than simple patch-and-sand. Start by cleaning the area, checking scratch depth and whether the edges catch a finger, then choose the correct filler/patch or surface blending method and finish with a protective top layer to reduce repeat damage.
If you’re dealing with visible scuffs from moving furniture, wheel marks, or deeper lines caused by grit or dragging, this guide is for you. It’s also useful when you’re weighing whether a scratch is a DIY-fixable cosmetic issue or something that may need a coating-specific repair approach.
Identify the basement floor type (so you don’t use the wrong product)
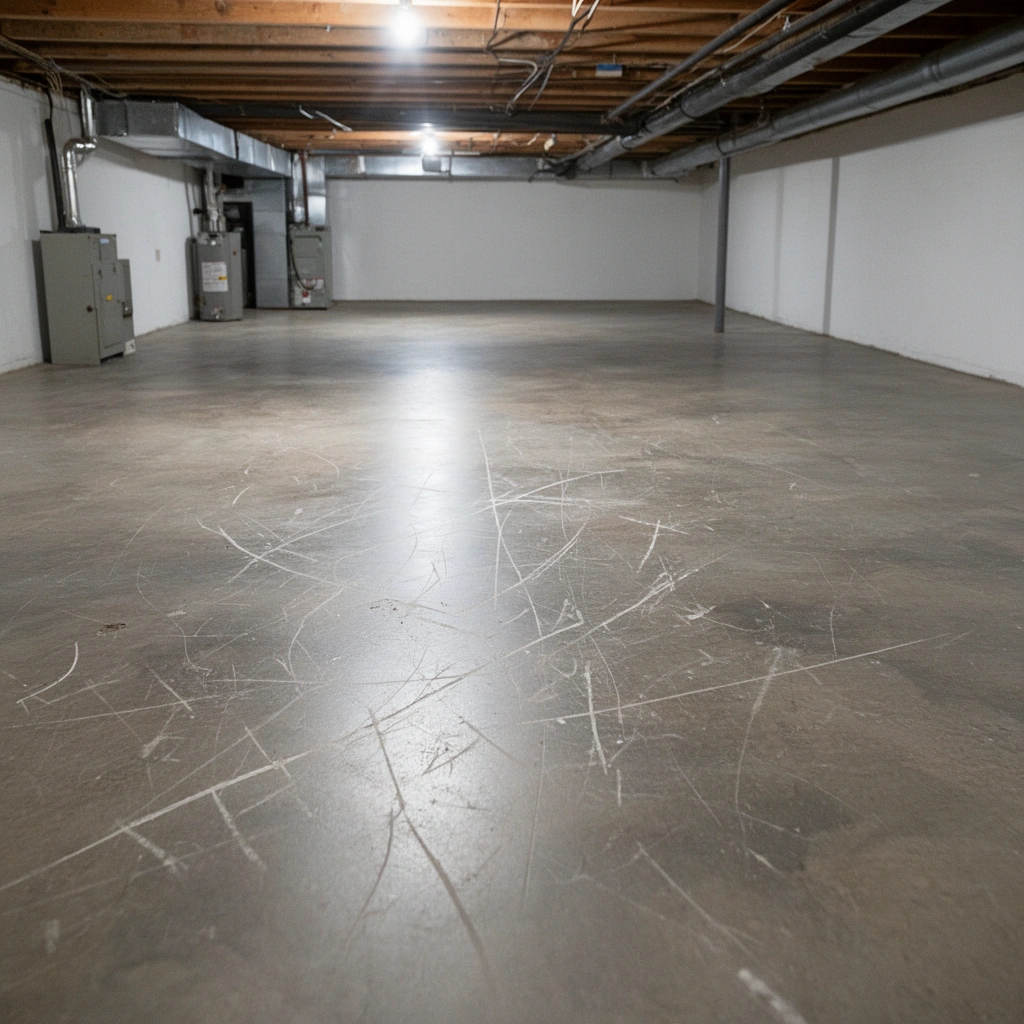
The best way to repair a scratch is to match the repair method to the floor type and—just as importantly—the floor’s existing finish. If you use a “bare concrete” patch product on an epoxy or painted surface, adhesion failures and peeling are common outcomes.
Start by confirming what you have before you buy any filler, patch, or refinishing system. Basement floors fall into a few common categories: bare concrete, painted/sealed concrete (often with a topical sealer), epoxy-coated concrete (a multi-layer chemical system), ceramic/porcelain tile (with grout and setting materials), wood, and laminate (usually with an attached wear layer). Each category has a different surface chemistry and a different repair goal—blend, level, or recoat.
Concrete coating failures often trace back to using a patch or filler that isn’t designed to bond to the existing substrate/finish (especially over epoxy or paint).
For coating adhesion, moisture testing standards such as ASTM F2170 (calcium chloride method) help determine whether concrete is dry enough for epoxies and similar systems.
When a floor is coated, the repair process is usually about maintaining compatibility with the coating system—not just “filling the scratch.”
Concrete vs. painted/sealed vs. epoxy: why finish matters
Bare concrete scratches can often be repaired with concrete patch/filler and then polished or sealed again. Painted and sealed concrete add a top layer that you may need to match (or remove) to get a repair that won’t look raised or flashier than the surrounding area. Epoxy-coated floors require more caution: the “patch” is not simply about filling; it’s about restoring the coating’s bond and appearance.
According to ASTM F2170, many epoxy coating systems are designed around a maximum moisture vapor emission rate threshold of 3 lb/1000 sq. ft./24 hr (commonly expressed as about 17.2 g/m²/24 hr) for reliable adhesion—so moisture conditions can influence whether cosmetic repairs will actually last.
Wood and laminate: scratches are part of the wear layer story
Wood floors respond to sanding and refinishing because the surface can be re-leveled. Laminate is different: you can’t “sand your way out” of deep damage without cutting through the wear layer, and you typically end up replacing damaged planks or performing a system-compatible resurfacing approach.Quick materials decision rule (practical)
If your scratch is mostly “skin deep” and your floor finish is intact, you’re often blending or re-coating. If the scratch breaks through the finish into the substrate (especially for coatings), you’re usually filling/patching and then reapplying a compatible top layer.
Clean and evaluate scratch depth and edges
The first step to a clean repair is to remove loose grit and contamination, then evaluate the scratch by how it feels—not just how it looks. A scratch that catches your finger usually needs filling/leveling, while surface scuffs often respond to polishing/blending.
Dust and grit trapped in a scratch can keep repair materials from bonding and can show through after sanding and topcoating.
A simple “finger drag” test helps determine whether the repair needs to be flush (filler/patch) or only blended (polish/spot coating).
Cleaning should address oils and residues as well as loose debris because patch and filler systems typically rely on clean, mechanically receptive surfaces.
Step-by-step cleaning that actually supports adhesion
1. Vacuum thoroughly (use a shop vac if you have one). Focus on the scratch groove so no abrasive particles remain.
2. Wipe with a cleaner matched to the floor type:
– Concrete and sealed concrete: a degreaser or concrete-safe cleaner.
– Epoxy: an epoxy-compatible cleaner to avoid softening or whitening.
– Wood/laminate: a cleaner that won’t leave oily residue or swell edges.
3. Allow full dry time before you test and repair.
Evaluate scratch severity (what you’re looking for)
Run your finger across the scratch:
– If it catches (sharp edge or raised material): you likely need filling or patching so the surface becomes level again.
– If it doesn’t catch and you only see a color change: you may be dealing with surface scuffing that can often be polished, buffed, or spot-blended.
A useful way to think about depth is in layers:
– Finish layer damage (color transfer, minor abrasion) → blend/polish or spot-finish
– Finish breakthrough (you can see substrate or bare material) → fill/patch + top layer restore
– Structural/behavioral signs (reappearing cracks, recurring damage pattern) → fix underlying moisture/movement, not just appearance
(Mandatory Data Table) Scratch Repair Decision Drivers (Basement Floors)
After you clean and evaluate depth, the biggest question becomes: “Which repair path does my floor likely require?” Use the table below as a quick compatibility and adhesion risk reference based on common coating adhesion criteria and surface-prep realities.
Moisture Limits Used for Many Concrete Coating Adhesion Targets (ASTM F2170)
| # | ASTM F2170 Moisture Vapor Emission Range | Coating Adhesion Outlook* | Typical Action |
|---|---|---|---|
| 1 | 0–1 lb/1000 sq. ft./24 hr (0–5.7 g/m²/24 hr) | Good | Patch/spot repair + recoat |
| 2 | 1–2 lb/1000 sq. ft./24 hr (5.7–11.4 g/m²/24 hr) | Generally OK | Patch + follow product specs |
| 3 | 2–3 lb/1000 sq. ft./24 hr (11.4–17.2 g/m²/24 hr) | Borderline but workable | Do spot fixes only; recoat per spec |
| 4 | 3–4 lb/1000 sq. ft./24 hr (17.2–22.8 g/m²/24 hr) | Risky for epoxies | Stabilize moisture before coating |
| 5 | 4–6 lb/1000 sq. ft./24 hr (22.8–34.3 g/m²/24 hr) | High risk | Dry and/or use moisture-mitigating system |
| 6 | 6–10 lb/1000 sq. ft./24 hr (34.3–57.0 g/m²/24 hr) | Very likely to fail | Address moisture intrusion; delay coating |
| 7 | >10 lb/1000 sq. ft./24 hr (>57.0 g/m²/24 hr) | Do not coat | Diagnose moisture sources first |
“Outlook” reflects typical coating risk behavior and the common 3 lb/1000 sq. ft./24 hr threshold referenced in many product systems; always follow the coating/repair manufacturer’s spec. Data basis: ASTM F2170.
Fix surface scuffs and light scratches (often the easiest win)
The fastest path to a better-looking basement floor is to treat light scuffs and shallow marks as a blending or polishing problem, not a “build-up” problem. If the scratch doesn’t catch and only changes color, you can often improve the appearance with surface abrasion control and compatible compounds.
What you can typically do (and what you shouldn’t)
For bare concrete, surface wear can often be polished using a controlled grit progression (or a concrete polishing kit designed for densification/polishing). The key is to remove only enough material to level the sheen differences—don’t chase the scratch groove deeper.
For sealed concrete or epoxy-coated floors, the limitation is different: polishing or aggressive sanding can change the sheen and may cut through the protective layer. In many cases, scuff repair is best handled as:
– Spot blend on top of the existing finish (if the finish remains intact), or
– Spot re-coat if the scratch has penetrated the coating.
For coated concrete, sanding can permanently change sheen and expose edges that later telegraph through patch repairs.
A controlled grit progression reduces the chance of leaving deep scratches that remain visible under basement lighting.
If wheel marks are embedded in the finish layer, you usually need a coating-compatible approach rather than bare concrete patch methods.
Concrete vs. coated concrete: a practical comparison
| Factor | Bare Concrete (typical) | Sealed/Epoxy Concrete (typical) |
|---|---|---|
| Goal | Level texture + restore sheen | Maintain coating compatibility + blend finish |
| Best tool class | Concrete polishing compounds / densifiers | Spot patch/feather + matching topcoat/clearcoat |
| Main failure risk | Visible leveling lines if over-ground | Poor adhesion or sheen mismatch |
| What “success” looks like | Scratch stops catching + uniform finish | Repair edge disappears under normal view |
Fill and repair deeper scratches (concrete and coated floors)
The best fix for deeper scratches is usually to fill/patch to restore a flush surface, then reapply a compatible protective layer. The exact filler/patch type matters because concrete, paint/sealer, and epoxy require different surface prep and bond behavior.
Start by identifying whether the floor is bare concrete or finished/coated. If it’s coated (paint, sealer, epoxy), use a repair product that explicitly lists compatible substrates—this is where DIY repairs often fail. For bare concrete, a concrete crack/scratch filler or patch designed for your concrete type is usually appropriate.
Feathering patch edges reduces the chance that the repair becomes a raised “rail” that catches future grit and wheel movement.
Cure times on repair materials are not optional; sanding early can weaken the patch and widen the visible defect.
Epoxy and paint systems rely on clean, appropriately profiled surfaces for bonding, not just “filled scratches.”
Feathering: the difference between “covered” and “blended”
1. Mask edges around the scratch if you need cleaner lines.
2. Apply filler/patch enough to level (or slightly under level—depending on your product).
3. Feather carefully so the edges transition gradually rather than stopping in a hard line.
4. Respect cure time—follow the manufacturer label for temperature and humidity assumptions.
5. Sand level only after cure if the product requires it.
Coated floors: spot repair and edge control
For epoxy-coated basements, the goal is to keep the repair within the coated system. That often means:
– Mechanically preparing the damaged area (without turning it into a big “sanded crater”),
– Cleaning thoroughly (dust removal is essential),
– Applying a compatible patch/skim coat, then
– Matching the sheen with a topcoat/clear system designed for that epoxy.
If you’re preparing for coatings, note that surface profile guidance is commonly referenced via industry standards like ICRI surface preparation frameworks (ICRI guidance uses CSP concepts to ensure bonding happens), and moisture criteria can be guided by ASTM F2170.
Sand, blend, and re-finish (to restore look and durability)
The right finishing step is what keeps the repair from looking like a “spot” after a few weeks. After you level the scratch, you need a compatible top layer—often a sealant, clear coat, or full or spot recoat—to restore uniform protection.
Sanding without creating new problems
Sand only as far as needed to:
– Remove any patch ridges,
– Create a near-level plane, and
– Blend the surrounding surface.
Wipe down between steps so dust doesn’t contaminate the next stage (especially on sealed and epoxy floors).
Uniform surface prep and dust control are key because trapped sanding residue can prevent patch layers from bonding cleanly.
Reapplying a protective layer is often the most visible “make it look right” step because it controls sheen as much as texture.
Re-seal or re-coat—when it’s not optional
– Bare concrete: usually benefits from densifier/sealer for stain resistance and to reduce future scuffing.
– Sealed concrete: patching alone rarely restores the full protective performance; re-sealing often improves durability.
– Epoxy-coated: a proper spot re-coat (or full re-coat if the system is widely worn) helps prevent the repair from being a weak point.
Blending for sheen: why it matters in basements
Basements often have overhead lighting at angles. That makes sheen differences—subtle at first—show up quickly. Matching sheen (matte vs satin vs gloss) is often more important than perfectly erasing microscopic texture.
What can go wrong (and how to avoid it)
The most common reason basement floor scratch repairs fail is compatibility or prep problems, not the filler itself. Avoid adhesion mistakes, moisture surprises, and over-aggressive sanding, and your repair is much more likely to stay visually consistent.
Using a “bare concrete” patch on an epoxy or painted surface can lead to poor adhesion and edge lifting.
Skipping cleanup—especially removing fine grit—can cause repair materials to bond to debris instead of the floor.
Over-sanding can worsen the visible defect by widening the scratch or cutting through an existing protective layer.
Common failure modes
1) Wrong product for the finish
– Concrete patch on epoxy/paint can peel or look chalky.
– Coating repairs need to follow coating chemistry compatibility.
2) Moisture vapor issues under coated concrete
Even a flawless cosmetic repair can fail if moisture is driving adhesion loss. Many epoxy systems reference moisture limits aligned with ASTM F2170 testing—commonly using 3 lb/1000 sq. ft./24 hr as a frequent maximum target.
3) Sanding too aggressively
– If you deepen the groove during sanding, you’ve created a “bigger repair” problem.
– On coated floors, aggressive sanding can permanently change how light reflects.
4) The scratch is really a symptom
If you repeatedly see scratches returning in the same area, the issue may be movement, moisture, or grit migration rather than one-time abrasion. Cosmetic repair won’t fix a persistent driver.
Verdict / tip (what I’d do first—and who should skip DIY)
Start with a simple test: clean the area thoroughly, confirm the floor type and whether the scratch catches your finger, and then treat light scuffs with the gentlest polishing/blending approach that’s compatible with your finish. For deeper concrete grooves, use a dedicated filler/patch intended for concrete, then re-seal only if the original surface had a protective layer.
Skip DIY—or involve a floor-coating professional—if you suspect widespread cracking, active moisture intrusion, or you have an epoxy coating you can’t verify. In those cases, adhesion-specific prep and moisture criteria (often guided by ASTM F2170 and manufacturer specs) matter as much as the patch itself, and “standard” patching can lead to peeling or telegraphing.
Quick checklist (scan before you start)
– [ ] Confirm floor type: concrete / sealed / epoxy / tile / wood / laminate
– [ ] Clean thoroughly; remove all dust and grit
– [ ] Check scratch depth: catches finger? only surface scuff?
– [ ] Choose correct repair method: polish vs filler/patch vs refinishing
– [ ] Follow cure/coat instructions before sanding or topcoating
– [ ] Re-seal/re-finish if your floor was originally protected
FAQ
Can I fix basement floor scratches without re-sealing or re-coating?
Sometimes—light scuffs on certain finishes can be blended to look better, especially on bare concrete. However, repairs usually look and last best when you restore the original protective layer (sealed concrete, epoxy systems, and many “coated” finishes generally need at least a spot re-finish).
What if the scratch keeps showing up after I repair it?
That usually indicates the scratch is being caused by ongoing movement, grit migration, moisture, or recurring abrasion from furniture/wheels. If the same area keeps getting damaged, address the cause (matting, cleaning behavior, moisture control) before attempting another cosmetic repair.
Is polishing safe for all basement floors?
No. Polishing and sanding can damage or alter the appearance of sealed or epoxy-coated surfaces by changing sheen or cutting into the protective layer. Use a method intended for your exact finish and always test a small hidden area first.
When should I call a pro?
Call a pro if you’re dealing with widespread cracking, signs of moisture intrusion, large coating systems you can’t identify, or if you need adhesion-specific repairs where moisture testing and coating compatibility matter. These situations often require system-based prep and re-coat planning rather than patch-only fixes.
Sources
– ASTM F2170 — Standard Test Method for Determining Relative Humidity in Concrete and Moisture Vapor Emission Rate using in situ probes (calcium chloride method commonly discussed for coating adhesion criteria).
– ICRI — Guidance for concrete surface preparation concepts (including CSP-based surface profile approach used to ensure coating bond).
– [ADD: manufacturer instructions/specs for the specific concrete filler/patch/polishing product you choose]
– [ADD: manufacturer guidance for epoxy/paint/urethane floor system repairs, including re-coat and cure times]
– [ADD: relevant official surface-prep guidance from a concrete sealant/coating manufacturer for bonding and sanding/cleaning requirements]
A solid repair comes from one idea: match the repair method to the floor’s material and finish, then finish it with compatible protection. Clean first, measure by feel (edge catch vs surface only), patch or blend accordingly, and re-seal/re-coat to restore both appearance and durability—especially in basements where moisture and grit can quietly undermine cosmetic work.
Frequently Asked Questions
What is the best way to fix scratches on basement floors?
The best method depends on your basement floor material—concrete, epoxy, tile, or wood. For concrete scratches, start by cleaning thoroughly and then fill with a concrete crack/filler or epoxy-based patch, followed by sanding and sealing. For coated floors like epoxy, lightly abrade the scratched area, clean with a degreaser, and apply a matching epoxy repair kit to restore the finish and protect against moisture. If the floor is loose or spalling, repair the underlying damage first to prevent the scratch from spreading.
How do you repair light surface scratches in concrete basement floors?
For light scratches, clean the area with a concrete-safe cleaner and remove all dust so the repair compound adheres. If the scratch is shallow, you can often use a concrete stain pen or masonry touch-up product to blend the color, then finish with a clear concrete sealer for scratch resistance. For slightly deeper scuffs, use a small amount of concrete patch or epoxy filler, let it cure fully, sand smooth, and apply a penetrating or film-forming sealer. Sealing is especially important in basements to reduce moisture-related damage.
Why do basement floor scratches keep coming back after repair?
Scratches often recur because the floor lacks a durable protective topcoat or sealer, or because the surface wasn’t properly prepped before applying patch materials. Basements are also prone to moisture and humidity changes, which can weaken coatings and cause wear over time. If heavy items slide across the floor or debris acts like sandpaper, the same abrasion will reoccur regardless of the initial repair. To prevent repeats, repair correctly, seal the floor, and add matting or protective pads where foot traffic or equipment drags.
Which products work best for filling scratches on epoxy-coated basement floors?
For epoxy-coated floors, choose an epoxy repair kit or two-part epoxy filler that matches your system’s chemistry and cure time. Lightly sand the scratch to remove gloss and improve adhesion, then vacuum dust and wipe with a solvent recommended by the manufacturer. Apply the epoxy filler in thin layers, level it, and allow full cure before sanding smooth and re-coating with a thin topcoat if needed. Using the right epoxy product helps the scratch repair blend and restores chemical and abrasion resistance.
How do you fix deep gouges or scratches on basement concrete without damaging the surrounding area?
Deep gouges should be cleaned and inspected for loose concrete before you start, since failing edges must be removed for a solid bond. Use a masonry grinder or chisel to square up the edges slightly, then fill with a concrete patch made for thick repairs or an epoxy concrete filler for stronger adhesion. Level the patch, let it cure completely, and then sand or grind until the surface is flush with the surrounding floor. Finish by sealing the repaired area (and ideally the whole basement floor) to protect against moisture, staining, and future abrasion.
📅 Last Updated: October 11, 2026 | Topic: How to fix scratches on basement floors? | Content verified for accuracy and freshness.
References
- https://en.wikipedia.org/wiki/Concrete_repair
- https://extension.psu.edu/repairing-cracked-concrete
- https://www.becold.com/resources/concrete-repair/
- Concrete – Pavement & Materials – Pavements – Federal Highway Administration
https://www.fhwa.dot.gov/pavement/concrete/ - National Concrete Pavement Technology Center
https://www.cptechcenter.org/ - https://www.nps.gov/orgs/1411/concrete.htm
- https://www.nwfa.org/education
- Google Scholar Google Scholar
https://scholar.google.com/scholar?q=how+to+repair+scratches+on+concrete+floors+basement - Google Scholar Google Scholar
https://scholar.google.com/scholar?q=wood+floor+scratch+repair+refinishing+techniques - Google Scholar Google Scholar
https://scholar.google.com/scholar?q=epoxy+coating+scratch+repair+procedure+concrete+floor