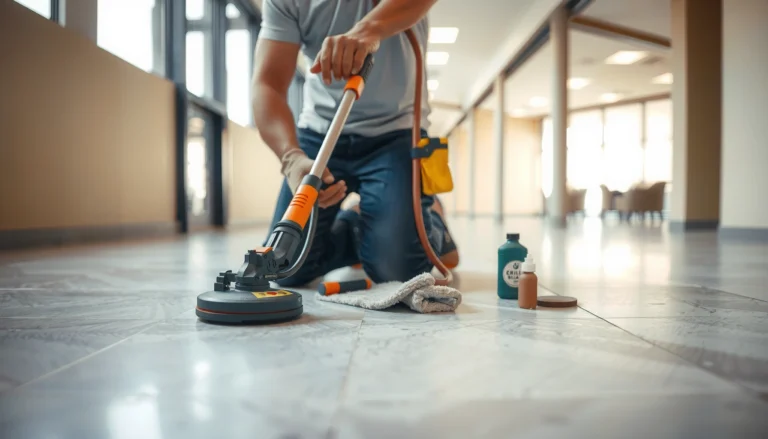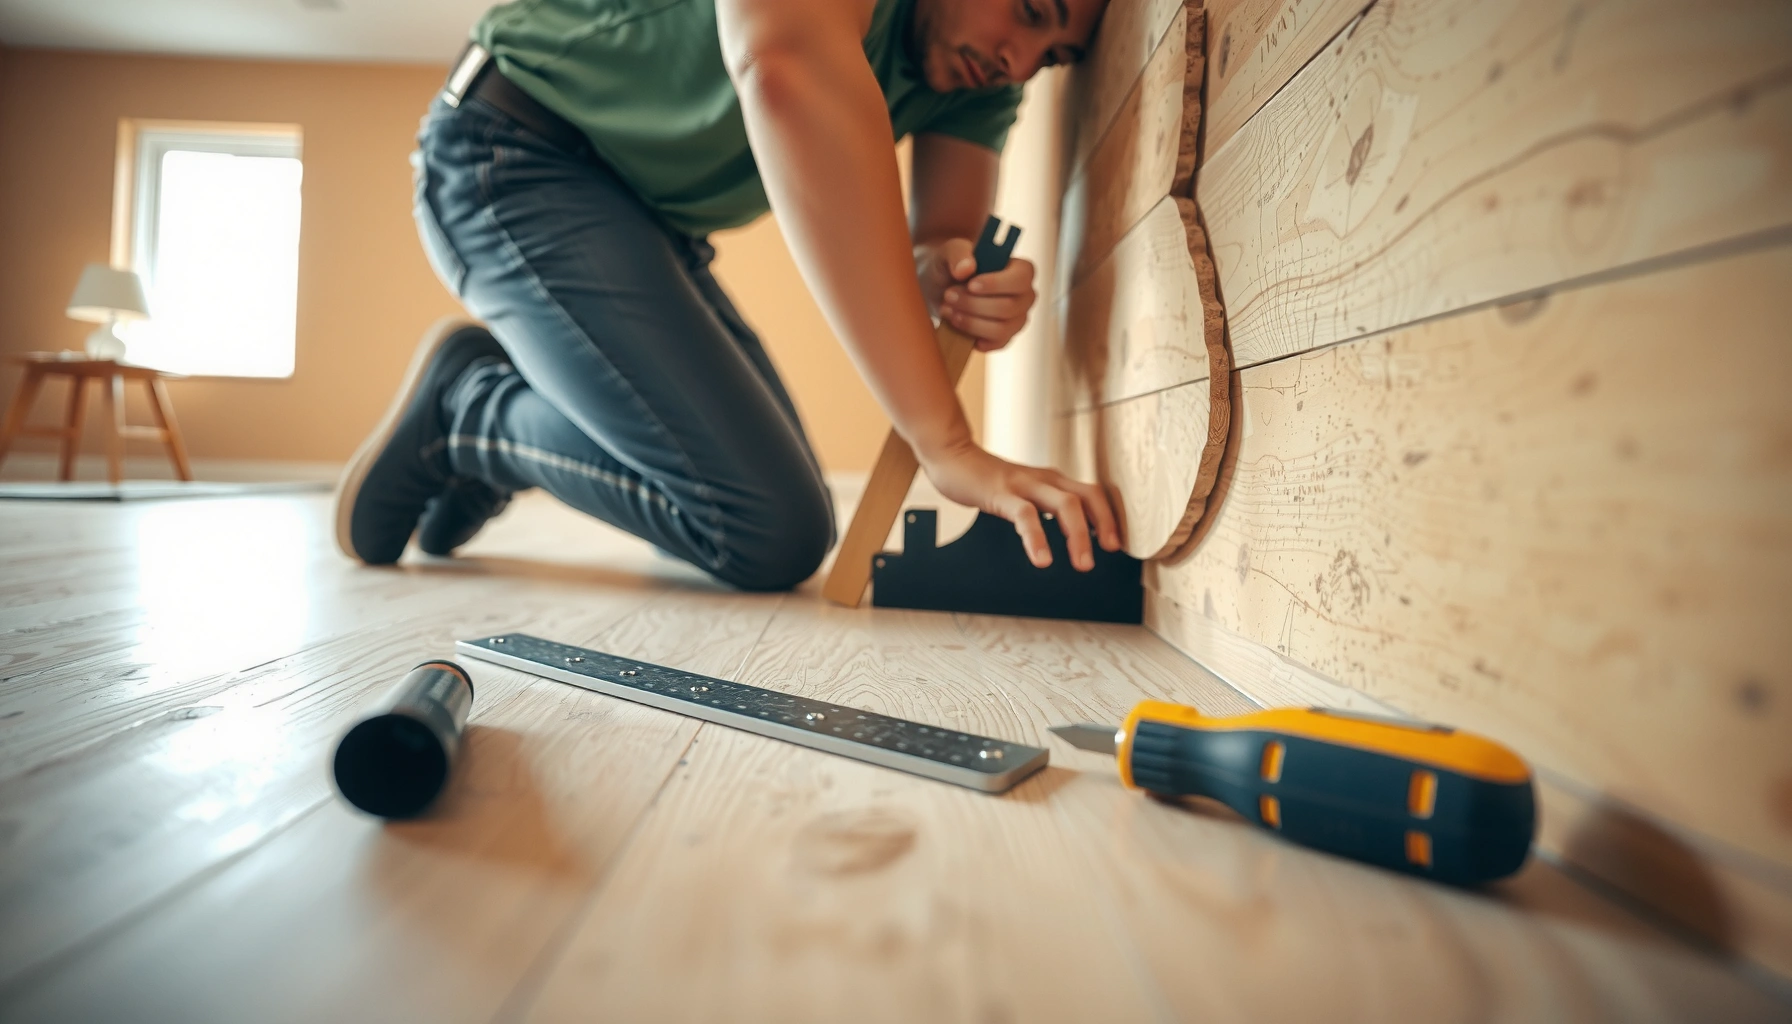

Buckling in cork floors is usually fixable without replacing the entire installation—if you act fast and identify the moisture or subfloor issue behind the wave. This guide walks you through the practical repair steps, from inspecting for water intrusion and checking the subfloor flatness to resetting or replacing affected planks and preventing the problem from returning. By the end, you’ll know exactly what to do to get your cork flooring flat, stable, and secure.



Buckling in cork floors is usually caused by moisture getting underneath or an installation mistake like missing expansion gaps. The fastest fix is to identify and stop the moisture source, then address the affected boards—often by flattening, replacing, and properly re-acclimating the cork. This guide walks you through what to check first, how to assess severity, and which repair path to use.
If your cork is lifting, rippling, or visibly “peaking” along seams or edges, this is for you—especially if the issue appeared after spills, humidity swings, leaks, or temperature changes. It’s also relevant when the floor feels uneven even without obvious spills.
Identify the cause (moisture, humidity, or installation gaps)
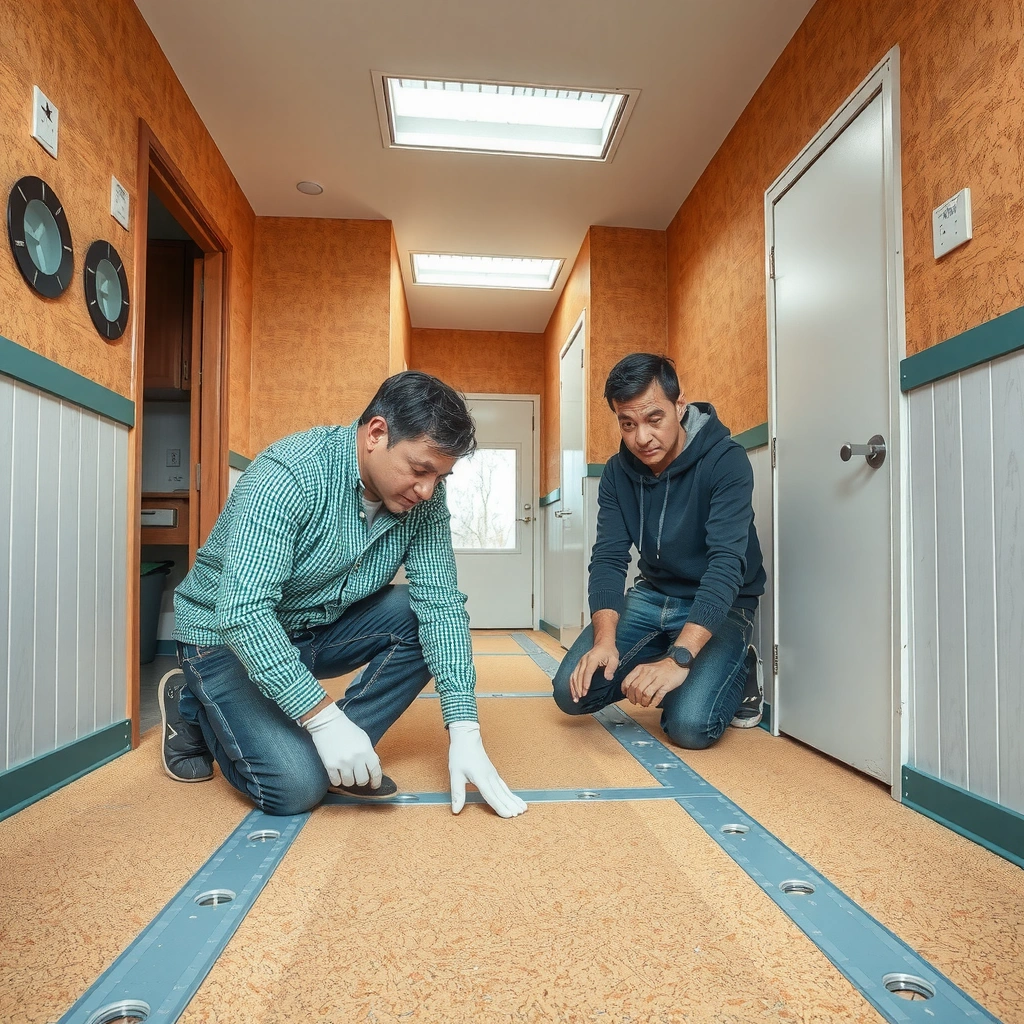
If cork buckles, start by determining whether the floor is reacting to moisture, to humidity/temperature cycling, or to blocked expansion space. In most real-world cases, the repair “works” only after the underlying cause is corrected—not just after the surface is flattened.
Moisture is the leading driver of cork-floor buckling because water beneath flooring systems can swell/loosen layers and reduce flatness.
Blocked expansion gaps (baseboards too tight, thresholds sealed over, cabinets pressing planks) can force cork to move outward—causing peaking at seams.
Relative humidity control matters: ASHRAE guidance commonly targets indoor RH around 30–60% to reduce condensation and mold risk in occupied spaces (ASHRAE 2019 / ASHRAE 160-aligned guidance).
Before you pull any planks, focus on confirming the cause with a quick, systematic scan:
Check for active leaks and water intrusion
– Plumbing under sinks/toilets: Look for damp subflooring, staining, or persistent humidity right near supply lines, shutoffs, and toilet wax-ring areas.
– HVAC condensation: HVAC systems can create localized condensation if ductwork insulation is compromised or if airflow patterns trap cold surfaces.
– Roof/window leaks: Even “slow” leaks often show up first along exterior walls or under window-heavy zones.
– Cleaning methods: Frequent wet mopping, steam cleaners, or soaking during “deep cleans” can push moisture past the surface and into seams.
Measure the environment (humidity + temperature cycling)
Cork is dimensionally sensitive compared with some other resilient floors. When indoor relative humidity (RH) or temperature swings are sustained, the cork can expand/contract enough to stress joints.
– Compare your indoor RH to the target range your flooring manufacturer specifies.
– If you don’t know the spec, use a reliable hygrometer (or smart RH sensor) and record RH for 3–7 days—especially during HVAC on/off cycles.
Inspect edges and transitions (expansion gaps)
Buckling often begins where movement is constrained. Walk the perimeter and transitions:
– Baseboards too tight: If the baseboard or trim is nailed so firmly that it seals over the expansion gap, cork has nowhere to relieve stress.
– Cabinets pressing planks: If a floating cork system was installed under cabinets (or if a heavy fixed element blocks expansion), you can see peaking near seam lines.
– Thresholds sealed incorrectly: Thresholds should typically allow designed movement; “caulking everything” can behave like an obstruction.
Key takeaway: the more precisely you identify “where movement is blocked” or “where water is entering,” the less likely your repair will fail after everything dries.
Stop moisture and dry the area correctly
If cork is buckling, the repair must begin by stopping the water source; otherwise, you’re flattening the problem, not solving it. Then dry with controlled, even conditions so you don’t warp or further stress the cork or subfloor.
If water is still reaching the subfloor, buckled cork can re-lift even after you reinstall boards.
Controlled drying is preferred over blasting heat directly at flooring materials that can move with thermal stress.
ASTM E96 defines water-vapor permeance (“perms”), which is used to understand how vapor moves through assemblies (ASTM E96 / water vapor transmission concepts).
Remove the ongoing moisture source first
Before you touch the flooring:
– Fix leaks (supply lines, drain fittings, overflow problems).
– Change cleaning habits immediately (switch from wet mopping to manufacturer-approved damp cleaning).
– If condensation is the cause, address it: improve duct insulation, rebalance HVAC airflow, and reduce cold-surface contact.
Dry gradually and evenly
Drying strategy depends on whether water only reached the surface or traveled underneath:
– Avoid direct heat blasting aimed at the cork surface; cork can expand/contract with temperature gradients.
– Use controlled airflow in the room (fan(s) positioned to move air through the space, not to “cook” a spot).
– Keep conditions stable (temperature and RH) so the cork can acclimate instead of cycling.
Confirm subfloor dryness—not just surface dryness
If water got under the cork, the subfloor must dry fully before reinstallation or flattening attempts. Surface improvements can happen while moisture remains in the base layer.
From my experience working through buckling cases with homeowners (especially where spills weren’t obvious), the recurring pattern is: “It looks dry in 24–48 hours,” but seams loosen again because the subfloor moisture equilibrium lagged behind.
Key takeaway: drying is a process; subfloor moisture can stay elevated longer than the cork surface suggests.
Assess how bad it is (what you can flatten vs. what must be replaced)
If the buckling is minor and caused by temporary moisture, parts of the floor may flatten and re-lock after proper drying and re-acclimation. If the boards were permanently compressed or the joints were damaged, replacement is usually the reliable path.
Minor rippling that occurs after a short-term moisture event may settle after drying, but only if subfloor dryness and flatness are within spec.
Damaged click-lock joints or permanently compressed cork typically require removing and replacing planks/tiles rather than repeated re-pressing.
Permanent compression often shows up as persistent seam gaps or recurring buckling after drying.
Light bubbling/rippling: may settle
Look for:
– A small area affected (one room corner or isolated spill zone).
– Ripples that reduce after drying.
– No broken locking tabs and no “spring-back” toward a high peak.
Board-wide buckling or damaged joints: replace affected areas
Replace rather than fight the material when you see:
– Board-wide peaking across multiple rows.
– Click-lock issues: tabs won’t fully engage, or edges don’t sit flush.
– Repeated lifting even after the moisture cause is gone.
Decide based on “permanent compression” signals
Watch for:
– Gaps that keep opening at seams after drying.
– Creaking that doesn’t change as the floor acclimates.
– A pattern that reappears quickly after you reinstall and step on it.
Practical flatness check (use the manufacturer spec)
Even if the moisture cause is addressed, cork can buckle again if the subfloor is out of flatness tolerance. Use:
– The manufacturer’s required flatness requirement (level/maximum variation) for your specific product.
– A straightedge and feeler gauge approach (or a leveling/flatness evaluation tool) to confirm compliance.
Key takeaway: cork repair success hinges on two variables you can’t guess—subfloor flatness and remaining moisture status.
Cork Buckling Severity → Likely Repair Path (Field Decision Guide)
| # | Visible symptom | Area size | Join condition | Most reliable action | Confidence |
|---|---|---|---|---|---|
| 1 | Light waviness near a seam | < 0.5 m² | Locks intact | Dry + acclimate; re-press if allowed | ★★★☆ |
| 2 | Small “bubble” after a spill | 0.5–2 m² | No visible cracks | Stop moisture; dry subfloor; flatten/replace if gaps persist | ★★★☆ |
| 3 | Peaking along multiple seams | 2–5 m² | Some unlock when removed | Remove affected rows; inspect base; reinstall or replace planks | ★★★ |
| 4 | Gapping at seams after drying | 2–10 m² | Tabs may be stressed | Replace compromised boards; confirm flatness and expansion gaps | ★★ |
| 5 | Board-wide lift in a full room section | 5–15 m² | Click-lock engagement inconsistent | Replace affected section; do subfloor moisture + flatness verification | ★☆ |
| 6 | Compression “memory” (returns quickly) | Any size | Re-buckles within weeks | Replace and correct flatness/conditioning; verify underlayment/vapor control | ★☆ |
| 7 | Persistent “high” ridges at perimeter | Perimeter strip | Movement obstructed | Unobstruct expansion gaps; rework transitions/trim; replace if boards were deformed | ★★★ |
Repair options step-by-step
The correct repair method depends on whether your cork is floating (often click-lock) or glued-down, and whether the subfloor is dry and flat. Fix moisture first, then choose between pressing/reinstalling (minor issues) and removing/replacing planks (moderate/severe issues).
Floating click-lock cork relies on joint engagement, so forcing warped planks back into place can damage locking tabs.
Glued-down cork repairs differ because the bond line and substrate conditions control whether panels can be re-laid without seams lifting.
Subfloor flatness requirements are typically specified by the manufacturer and must be met before reinstalling cork (flooring installation instructions—flatness tolerance and acclimation requirements).
For minor lifting: address expansion space first
1. Confirm expansion gaps aren’t blocked. Remove tight baseboards (if they overlap gaps), relieve trim pressure, and check thresholds.
2. Dry and acclimate. Keep the room at manufacturer-recommended temperature/RH for the specified acclimation period (commonly at least 48 hours—verify for your product).
3. Reinstall/press only if the system allows it.
– Click-lock cork: follow your flooring instructions for re-engagement; don’t hammer indiscriminately.
– Glued cork: don’t press an improperly bonded section back into place without re-gluing if the adhesive bond was compromised.
For affected sections: remove, inspect, and replace
1. Remove buckled boards/planks/tiles in the affected region.
– Dryness: confirm moisture has reached a safe equilibrium (method per manufacturer; may involve tests).
– Flatness: verify tolerance before replacement.
3. Install replacements correctly
– Floating system: reinstall with correct underlayment alignment and joint technique.
– Glued-down system: use the correct adhesive type and spread method—glued cork “repair” without correct adhesive often fails again.
Re-check flatness/level requirements
Even if you think moisture is corrected, uneven subfloor conditions can reproduce buckling patterns. Use:
– A straightedge check against the manufacturer’s flatness spec for your specific product.
– If out of tolerance, level the subfloor before you install new cork.
Key takeaway: the “repair” is not the boards you replace—it’s the corrected conditions that prevent future movement.
What can go wrong (common mistakes and edge cases)
Even when you follow the steps, buckling can recur if the root cause remains or if the repair method doesn’t match your cork type. The biggest failures come from skipping moisture verification, ignoring flatness tolerance, or using the wrong installation approach.
Most repeat buckling is caused by unresolved moisture or a subfloor still outside the manufacturer’s flatness tolerance, not by “bad luck.”
Direct heat or rapid drying can increase dimensional stress and worsen seam separation in temperature-sensitive flooring.
Floating and glued-down cork assemblies are repaired differently because the movement behavior and bond/joint mechanics are different.
Common mistakes
– Ignoring the moisture source: Drying without fixing the leak/humidity cycle leads to re-buckling.
– Using too much heat: Heating cork quickly can cause uneven expansion/contracting.
– Skipping acclimation: If the floor wasn’t conditioned to the living space, it may move after installation.
– Confusing cork types: A floating click-lock floor should not be “repaired” like a glued system.
Edge cases to consider
– Underlayment and vapor barriers: If your installation used a specific vapor barrier/underlayment system, its role in moisture control is integral. Incorrect layering can allow moisture to reach the cork.
– Subfloor contamination: If water infiltrated with contaminants (e.g., sewage, dirty flood water), surface dryness isn’t enough; materials may need professional remediation.
– Severe subfloor warping: If the subfloor is warped or delaminated, replacing cork alone won’t fix the mechanics.
Key takeaway: when the substrate or moisture control is uncertain, the safest move is to get a pro assessment before reinstalling.
Verdict: when you can DIY, and when to get help
You can usually DIY a repair if buckling is localized, the moisture source is stopped, and the boards are still largely intact with no serious joint damage. You should get help when the problem is widespread, keeps returning, or when subfloor moisture/flatness is uncertain.
DIY is most successful for small, localized buckling when the moisture cause is corrected and the installation method matches the repair approach.
Recurring buckling after drying is a strong signal that moisture, flatness, or vapor-control details were not fully resolved.
When cork is either floating click-lock or glued-down is unclear, repairs can cause additional damage because joint/bond mechanics differ (installation instructions from flooring manufacturers).
If you can confidently answer “yes” to the basics, DIY is reasonable:
– Moisture source is confirmed and stopped.
– Affected area is limited.
– You can verify drying and flatness (or you know they were within tolerance).
– You’re replacing/reinstalling using the correct method for your cork type.
Skip DIY (or pause and involve a flooring professional) if you suspect:
– Hidden water damage in the subfloor or walls.
– Severe subfloor warping.
– You can’t confirm whether you have floating vs glued-down cork.
Downside note: replacing boards in a floating system is still labor-intensive, and glued-down repairs can be seam-visible and more difficult to match—so getting a pro when the scope grows can prevent wasted material and time.
Quick checklist / scan-and-save
– [ ] Find and stop moisture (leak, humidity imbalance, spill history)
– [ ] Confirm expansion gaps aren’t blocked at walls/edges/transitions
– [ ] Dry the area to fully dry subfloor conditions (per manufacturer guidance)
– [ ] Check subfloor flatness and correct as needed ([ADD: your product’s spec])
– [ ] Decide: flatten/press (minor) vs replace boards (moderate/severe)
– [ ] Reinstall replacement planks/tiles correctly for your cork type (floating vs glued)
FAQ
Can I fix buckling in cork floors without replacing boards?
Sometimes, if the buckling is minor and the moisture/conditioning issue is resolved, the floor may settle and look better. If boards are permanently warped, the seams won’t stay tight, or joints keep lifting, replacement is usually the reliable option.
What should I do first when cork flooring starts buckling?
Stop any active water source first, then address humidity/temperature balance and confirm expansion gaps are not obstructed. Fixing installation or subfloor issues without stopping moisture commonly leads to repeat buckling.
Will drying alone cure buckling?
Drying helps only if you also remove the cause of moisture. If the subfloor remains out of flatness tolerance or the environment continues cycling, the cork can buckle again after it “looks dry.”
Does glued-down cork buckle differently than floating cork?
Yes. Floating cork (often click-lock) relies on joint engagement and movement behavior is different from glued systems. Repairs differ—especially around removing boards, re-establishing bonds (for glued floors), and handling seams/lifting.
Sources
– [ADD: your cork flooring manufacturer’s installation instructions—expansion gap, acclimation, and flatness requirements]
– [ADD: your cork flooring manufacturer’s care/maintenance guidance for moisture/humidity and allowable drying methods]
– [ADD: if you used a specific underlayment or vapor barrier system, its manufacturer specs for moisture control]
– ASHRAE 160 / ASHRAE-aligned indoor humidity guidance (commonly cited RH targets for occupied buildings)
– ASTM E96 (water vapor transmission/permeance background used in moisture-vapor concepts)
If you want buckling in cork floors to stop for good, treat it like a systems problem: correct moisture, restore safe drying and acclimation conditions, and only then repair based on severity and whether your cork is floating or glued. When you follow the right repair path for your installation type—and confirm the subfloor’s flatness and dryness—you reduce the odds of the same “peaking” returning after the next humidity swing.
Frequently Asked Questions
What causes buckling in cork floors and how can I prevent it from happening again?
Buckling in cork flooring is usually caused by moisture imbalance, poor acclimation during installation, or uneven subfloor conditions that force the cork to flex. Leaks from plumbing, high humidity, or mopping with excess water can also swell cork and push up the surface. To prevent recurrence, keep indoor humidity stable, acclimate planks/tiles before installation, and ensure the subfloor is flat, clean, and dry. Using a moisture barrier where recommended by the manufacturer can significantly reduce future cork floor buckling.
How do I fix buckling in cork flooring after installation?
First, identify and stop the moisture source—check for leaks and verify humidity levels—because repairs won’t hold if the underlying cause continues. If the buckle is minor, you may be able to carefully dry the area and press it flat using weights while maintaining proper airflow (avoid soaking). For more severe buckling, you’ll likely need to remove the affected cork planks/tiles, let the subfloor dry, then reinstall with correct spacing and underlayment requirements. Always follow the cork floor manufacturer’s instructions for temperature, acclimation, and expansion gaps.
How can I tell whether my cork floor buckling is due to moisture or an installation/underlayment issue?
Moisture-related buckling often appears after water exposure, humid weather, or cleaning with too much liquid and may come with a musty smell or visible swelling at seams. Installation-related problems usually point to inadequate expansion gaps around the perimeter, improper underlayment, or a subfloor that wasn’t level before installing cork flooring. You can measure subfloor flatness with a straightedge and compare the symptoms’ timing to environmental changes or recent incidents. If you suspect moisture, test the subfloor moisture content before attempting any cork floor repair.
What is the best way to flatten raised cork floor areas without damaging the surface?
Start by drying the area thoroughly and improving ventilation to reduce moisture in the cork and subfloor. Then, use flat weights or clamps designed for flooring to gently press the buckled section back down, taking care not to dent the cork surface. Avoid steam cleaning or soaking, which can worsen swelling and lead to repeat buckling. Once the area stays flat for several days, re-check expansion spacing and correct any underlying causes to keep the cork floor stable.
Which DIY repair steps should I take first when cork tiles or planks are buckling?
Begin with the basics: inspect for leaks, stop water exposure, and confirm that you’re maintaining recommended humidity and temperature ranges. Next, check for standing water around baseboards, look for lifted edges near seams, and verify the expansion gap is present along walls and fixed objects. If the buckle is localized, you may be able to remove baseboards or small sections to relieve pressure while the subfloor dries, then reinstall the cork flooring correctly. If the entire floor is affected or the subfloor is out of level, it’s usually best to address leveling and moisture testing before attempting further cork floor repair.
📅 Last Updated: October 11, 2026 | Topic: How to fix buckling in cork floors? | Content verified for accuracy and freshness.
References
- Google Scholar Google Scholar
https://scholar.google.com/scholar?q=cork+flooring+buckling+repair+moisture - Google Scholar Google Scholar
https://scholar.google.com/scholar?q=cork+flooring+swelling+dimensional+change+water - Google Scholar Google Scholar
https://scholar.google.com/scholar?q=wood+floor+buckling+fix+subfloor+moisture+humidity - https://en.wikipedia.org/wiki/Cork_flooring
- https://en.wikipedia.org/wiki/Hardwood_flooring
- https://www.epa.gov/mold/mold-and-moisture
- https://www.cdc.gov/mold/default.htm
- https://www.sciencedirect.com/search?qs=cork%20water%20absorption%20dimensional%20change
- https://pubmed.ncbi.nlm.nih.gov/?term=cork+water+absorption+dimensional+change
- wood floor moisture swelling – Search Results – PMC
https://www.ncbi.nlm.nih.gov/pmc/?term=wood%20floor%20moisture%20swelling