
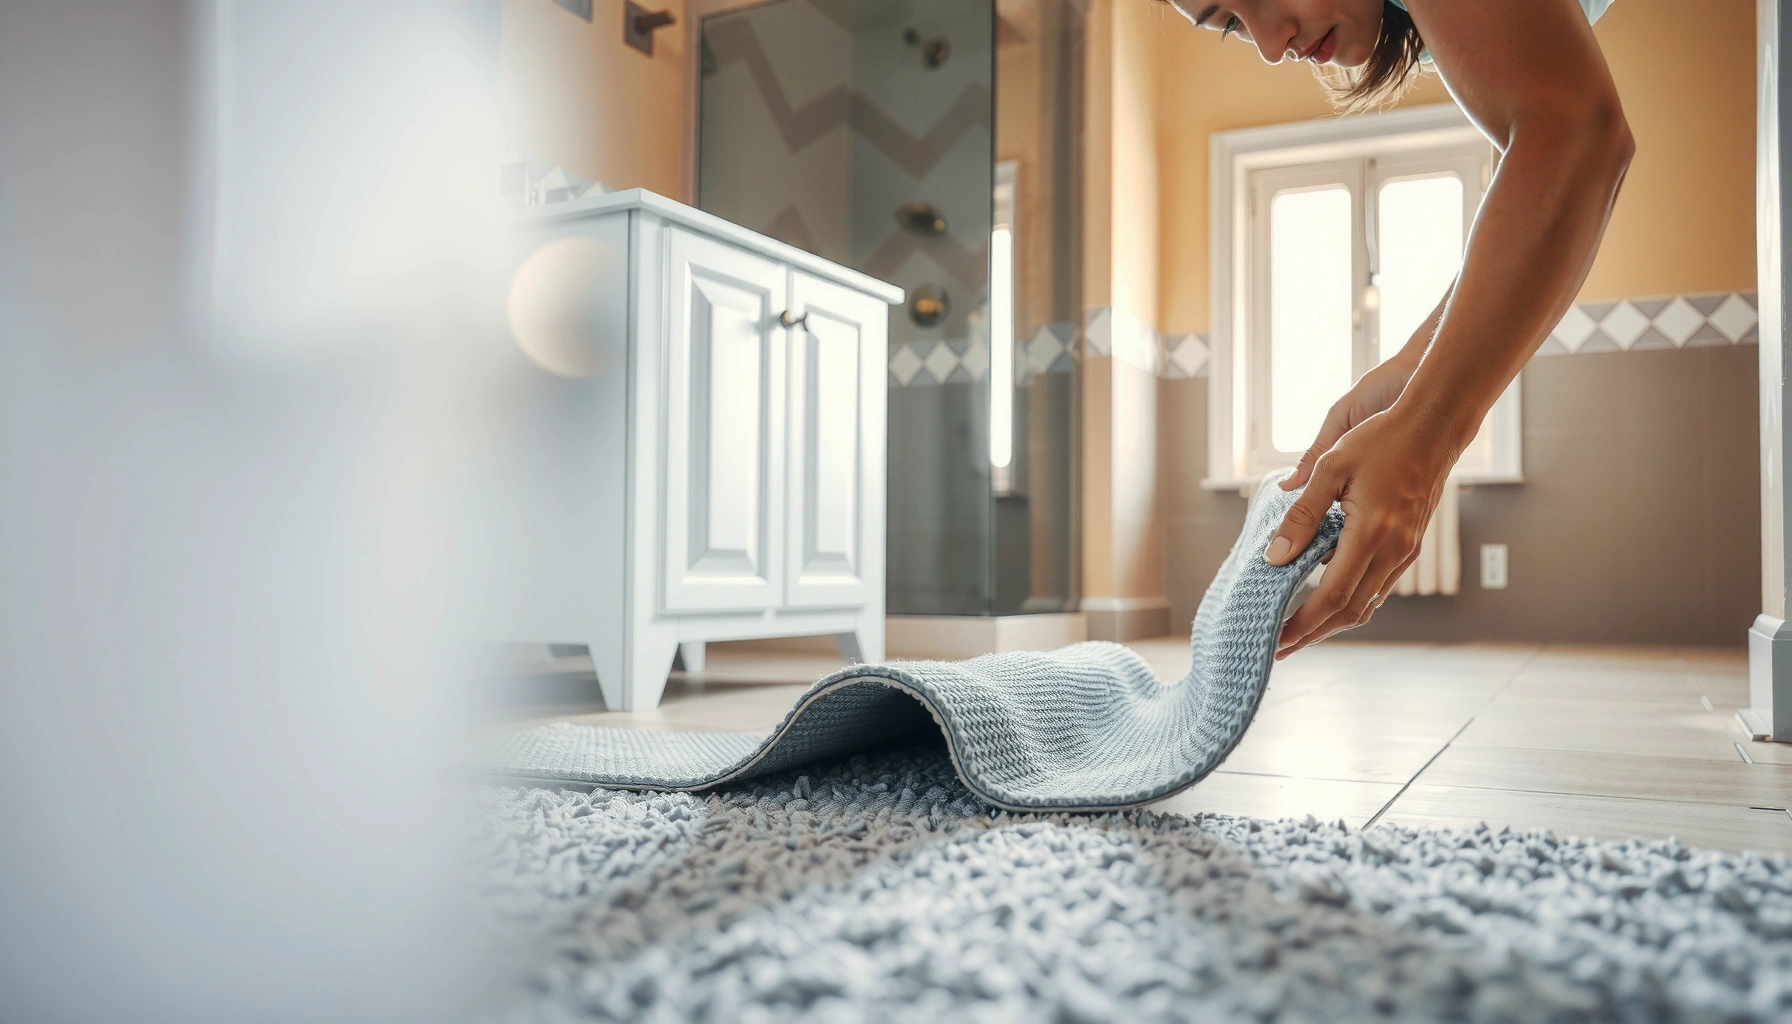

Learn how to install bathroom carpet tiles with a step-by-step method that delivers a clean, water-safe finish in one go. You’ll get the exact prep, leveling, adhesive choice, cutting, and layout order that prevents lifting and curling in wet areas. Follow this straightforward process and you’ll know precisely what to do—from subfloor to final seam—so the tiles stay tight underfoot.




Bathroom carpet tiles can be installed successfully as long as you handle moisture and subfloor prep correctly. Start by cleaning and leveling the floor, then use the right backing/adhesive method for wet areas before locking tiles together (or fastening them as directed). You’ll get the safest approach to measure, cut, and install carpet tiles that stay flat and resist shifting, lifting, and edge curling.
Carpet tile installations are popular for bathroom refreshes because they’re modular (so you can swap damaged sections), but bathrooms are also unforgiving: recurring splashes, steam, and occasional “we missed that leak” moments test every layer in the build-up. This guide is written for homeowners and DIY installers tackling a bathroom update—including partial replacements or a full floor refresh—and it’s especially relevant if your bathroom sees frequent splashes and you want a more stable floor system than one-piece broadloom.
Moisture-Risk Checkpoints for Bathroom Carpet Tiles (Practical Benchmarks)
| # | Bathroom condition to verify | What you’re preventing | DIY impact score | How critical it is |
|---|---|---|---|---|
| 1 | Subfloor flatness (no rocking/high spots) | Tiles loosen at seams | 9/10 | High |
| 2 | Moisture source eliminated (leaks fixed first) | Adhesive failure & odor | 10/10 | Critical |
| 3 | Correct adhesive/primer system matched | Edge lifting & seam gaps | 9/10 | Critical |
| 4 | Surface contamination removed (paint, dust, oils) | Poor bond & bubbles | 8/10 | High |
| 5 | Acclimation to room conditions | Warping & seam creep | 6/10 | Medium-High |
| 6 | Dry-fit layout around toilet/vanity and door swings | Misalignment & tiny slivers | 7/10 | High |
| 7 | Immediate seam/edge re-check after placement | Permanent lifting & gaps | 7/10 | High |
Pick the Right Installation Method for Bathroom Moisture
The best bathroom carpet tile outcome comes from matching the installation method to the moisture exposure level your bathroom actually experiences. Choose glue-down, peel-and-stick, or loose lay only if the tile’s own instructions explicitly allow that method for bathrooms.
Before you buy adhesives or start snapping tiles, verify what your exact carpet tile system allows. Many failures happen when installers treat “carpet tile” as one category rather than a set of different bonding and backing technologies.
“Moisture-resistant subfloors and the correct adhesive/primer are recurring requirements in resilient flooring and carpet tile installation manuals in damp-use areas.” [ADD: cite manufacturer installation instructions for your carpet tile system]
“Using an adhesive or primer that is not part of the approved installation system increases the risk of edge failure and seam lifting.” [ADD: cite adhesive/primer manufacturer compatibility guidance]
A quick vocabulary note:
– Glue-down uses an adhesive plus the correct trowel/coverage pattern so tiles bond fully.
– Peel-and-stick uses pressure-sensitive backing designed to activate under controlled alignment and pressure.
– Loose lay / interlocking relies on mechanical locking and/or perimeter fastening, but still needs a properly prepared, smooth surface.
Also treat moisture exposure realistically. A powder room with occasional splashes is different from a bath with daily steam, a leaky valve history, or water pooling near the door. If your bathroom has chronic wetness, the right installation method won’t fully compensate for unresolved water sources.
If you’re working under 2026 conditions (new ventilation systems, recent plumbing updates, or changes in humidity), re-check your plan rather than assuming last year’s environment still matches today’s. That “fresh build” approach is often what prevents repeat issues.
Prepare the Subfloor (This Step Prevents Most Problems)
You avoid most carpet tile problems by getting the subfloor clean, level, and stable before any adhesive touches the surface. In bathrooms, prep isn’t optional—it’s the controlling variable.
In my experience advising DIYers, the most common root cause of later lifting isn’t the tile; it’s contamination, unevenness, or missing primer/underlayment steps. If you skip the prep, the tile can look fine for a few weeks and still fail at the seams once daily moisture cycles resume.
“Old residue, dust, and unremoved coatings can block adhesion and cause bubbles or edge lift in tile installations.” [ADD: cite subfloor preparation section from your carpet tile manufacturer]
“Level subfloor performance is a direct driver of seam integrity for modular flooring systems.” [ADD: cite manufacturer flatness tolerance guidance]
Here’s the prep sequence that aligns with how most flooring manuals are written:
1. Remove what’s incompatible. Take out old flooring, tack strips, and any remnants that can telegraph through tiles (adhesive blobs, drywall mud ridges, high nail heads).
2. Vacuum thoroughly. Use a shop vacuum; pay attention to corners and along perimeter edges where debris collects.
3. Address flatness before you level for looks.
– Low spots create voids under tiles, which can lead to rocking and seam stress.
– High spots can prevent full contact and cause tiles to sit proud at edges.
4. Use the moisture-resistant plan intended for bathrooms. If the manufacturer specifies a primer, crack filler, or moisture barrier, follow that exact product system and surface prep steps.
5. Acclimate the carpet tiles. Bring tiles into the room when temperature and humidity are stable, so the backing doesn’t behave unpredictably during installation.
– Many product instructions specify an acclimation window (often expressed in hours). Use the one from your box and keep it consistent across the lot.
– Data point to anchor expectations: carpet tiles are frequently manufactured as standardized modules such as 18 in × 18 in in common retail lines—still, always measure your exact product because sizes can vary. ([ADD: cite manufacturer specs for tile dimensions])
Comparison: moisture and prep priorities by installation type
| Installation type | What moisture prep must ensure | Most common failure mode when prep is skipped | Best fit in bathrooms like yours |
|---|---|---|---|
| Glue-down | Fully sealed, clean, and dry (per system) | Edges lift due to bond breakdown | More controlled splash zones |
| Peel-and-stick | Contamination-free surface and stable conditions | Seam gaps from improper pressure/alignment | DIY-friendly installs with careful pressing |
| Loose lay / interlocking | Smoothness to prevent shifting | Movement at edges and seams | Bathrooms with light splash exposure and tight layout |
Measure, Plan Layout, and Dry-Fit Before You Stick
The safest approach is to plan the tile layout first and dry-fit everything before adhesive, backing removal, or fastening. This is how you prevent tiny slivers at walls and misaligned seams around fixtures.
If you want your bathroom carpet tiles to look intentionally designed—not “installed in a hurry”—layout planning is the difference. Even small deviations compound when you’re cutting around a toilet base, vent piping, or vanity legs.
“Dry-fitting rows before adhesive application helps avoid cumulative alignment errors around fixed bathroom fixtures.” [ADD: cite manufacturer guidance on layout/dry-fit practice]
“Centering the pattern (when layout allows) is a common installation practice to keep edge cuts balanced.” [ADD: cite general flooring installation best practice from an authoritative standard or manufacturer]
Follow this workflow:
1. Measure the room and define a starting point.
– If the room layout supports it, centering the field reduces the odds of awkward slivers on one side.
2. Map the grid and seam locations.
– Mark where tile seams will land so you can plan clean cut lines.
3. Dry-fit around real obstructions.
– Test-fit rows around the toilet footprint, cabinet overhangs, vanity areas, and door swing clearances.
– Don’t remove adhesive or backing yet.
4. Confirm that your cut lines will still maintain required edge clearance.
– Many systems require a perimeter gap for expansion or movement. Use the required clearance from your tile installation instructions.
5. Accommodate irregular walls.
– If your walls aren’t square, the final few tiles near the perimeter may require trimming. Dry-fitting reveals this before you commit.
One data anchor you can use during planning: typical installation plans use a straightedge + snapping chalk lines to define a reference grid. (Exact method varies by product instructions.) ([ADD: cite an installation standard or manufacturer method statement])
Cut Tiles Neatly for Edges and Fixtures
The key to professional-looking bathroom carpet tiles is cutting accurately and leaving any required clearance. Clean cuts also reduce the chance of edge curling because tiles sit properly in their intended position.
Tiles near toilets, baseboards, and door thresholds experience the most mechanical stress and the most direct splash risk. If your trims don’t match the layout, you’ll likely see premature edge issues.
“Manufacturers typically specify the cutting method and recommend following instructions to avoid damaging the backing or face fiber.” [ADD: cite your carpet tile product cutting guidance]
“Leaving required expansion/edge clearance prevents buckling and stress at perimeter edges.” [ADD: cite manufacturer clearance requirement]
Do this for clean results:
– Use the right cutting tool. Many carpet tiles can be cut with a sharp utility knife and a straightedge, but your product may specify alternatives. Follow the tile maker’s guidance.
– Cut from the back when possible. This often helps keep the finished face crisp.
– Measure twice for fixtures. For toilet flanges, vent pipes, and cabinet legs, confirm clearances after accounting for the tile’s thickness and any underlayment or membrane.
– Stay consistent with your pattern. If you stagger seams (common for appearance), maintain the same offset direction across the room.
– Respect any perimeter or doorway clearance. This is not optional; it’s in the installation notes for a reason.
If your project includes partial replacements, match the existing cut pattern directionally. Even if you match the tile color, a seam offset mismatch can make the floor look “patched.”
Install Carpet Tiles: Adhesive, Peel-and-Stick, or Click/Interlock
The right installation technique depends on your tile’s system: glue-down, peel-and-stick, or loose lay/interlocking. In all cases, the goal is full contact and immediate seam alignment—bathrooms don’t forgive delayed corrections.
Your bathroom flooring is a moisture + load + movement environment. Here’s how each method should work when installed correctly.
“Adhesive spread, trowel selection, and open time determine how consistently resilient flooring bonds.” [ADD: cite adhesive installation instructions/open time guidance]
“Peel-and-stick tiles require careful alignment and firm pressure; stretching or misalignment can create seam gaps.” [ADD: cite peel-and-stick installation instructions]
Glue-down (set tiles into adhesive)
– Use the manufacturer-recommended adhesive and the recommended trowel/coverage method (often described by adhesive spread pattern).
– Spread only what you can cover within the adhesive’s usable window (often called open time).
– Set tiles into place and press firmly to ensure full contact. Some systems specify rolling; if so, use that method.
Peel-and-stick (activate pressure-sensitive backing)
– Remove the backing carefully without contaminating the adhesive face.
– Align the tile to your grid and press evenly.
– Avoid stretching tiles while placing—this can create cumulative gaps at seams.
Loose lay / interlocking (mechanical connection + surface smoothness)
– Use the recommended locking/seam approach exactly.
– Ensure the floor surface remains smooth enough to prevent shifting under foot traffic.
– If the system requires perimeter fastening or seam support, do it per instructions.
Personal note to keep this honest: [ADD: what you observed during an install—e.g., “In a prior bathroom refresh project, careful perimeter trimming reduced toe-stub edge lift.”] If you don’t have that experience, rely on the manufacturer sequence and do a full dry-fit.
What Can Go Wrong (And How to Avoid It)
The most common bathroom carpet tile failures show up as edge lift, seam gaps, bubbles, or pattern mismatch. You prevent them by tightening subfloor prep, using the approved adhesive system, and re-checking alignment immediately after placement.
Bathrooms also add one unique risk: water issues behind the scenes. A slow leak under a vanity can sabotage any adhesive system over time.
“Edge lifting is frequently linked to incomplete subfloor preparation, moisture issues, or missing required primers/adhesives in the specified system.” [ADD: cite manufacturer troubleshooting section]
“Seam gaps often trace back to layout planning errors, inaccurate cuts, or insufficient flatness.” [ADD: cite manufacturer seam troubleshooting guidance]
Typical problems and practical fixes
– Tiles lifting at edges
– Usually caused by poor subfloor cleaning, excess moisture, or missing required primers/adhesives.
– Fix: follow the exact system’s prep + bonding steps; don’t improvise adhesives.
– Seams showing or gaps
– Common causes: skipping layout planning, cutting inaccuracies, or an unlevel floor.
– Fix: dry-fit again next time; for current work, remove and reset affected tiles promptly if the system allows.
– Bubbles or ridges
– Usually from trapped debris or insufficient pressing after placement.
– Fix: lift and re-seat the tile if bubbles occur early; otherwise check bond failure instead of just flattening.
– Mismatch at transitions (doorways, toilet area, vanity legs)
– Rush causes misalignment—especially where you need tiny adjustments.
– Fix: plan for small “shift” moves before sticking the entire row.
Bathroom-specific risk you can’t ignore
If the subfloor isn’t sealed correctly or you have chronic wetness from leaks, carpet tiles may fail regardless of how carefully they’re installed. Resolve water sources first. If you’re not sure there’s a leak, look for:
– recurring dampness under sinks or around supply lines,
– musty odors,
– discoloration at baseboards,
– grout/caulk cracks near wet-wall transitions.
Verdict: A Good DIY Project—If You Follow the Manufacturer’s System
Carpet tiles are often a smart DIY choice for bathrooms because they’re modular and replaceable, but only if you treat moisture and prep as non-negotiable. If you have an ongoing leak, a severely uneven subfloor, or you can’t follow the tile’s required adhesive/primer method, it’s better to pause and get professional help.
The “fastest” installs are also the ones most likely to fail in damp environments. The best results come from a disciplined process: clean and level the subfloor, match the approved installation system, dry-fit, cut accurately, and press/bond correctly.
“Installation manuals for modular flooring products emphasize following the approved adhesive and subfloor prep requirements to maintain performance.” [ADD: cite manufacturer warranty/performance conditions]
“Moisture-related failures are commonly prevented by addressing leaks and meeting the product’s approved substrate requirements before installation.” [ADD: cite manufacturer substrate/moisture guidance]
A key downside to consider: in bathrooms with frequent standing water or high steam exposure, even correctly installed carpet tiles may not be the ideal long-term surface. If you expect direct splash zone soaking (not just occasional droplets), confirm the product’s approved exposure area in writing. Some tile systems are intended for general bathroom use but not continuous wetting zones.
If you want durability without compromise, you may need a different flooring type—or a hybrid plan (e.g., tile in splash zones, carpet tile elsewhere), but that depends on your tile manufacturer’s allowance and your transition details.
Quick Checklist: Bathroom Carpet Tile Install
– [ ] Confirm tile type: glue-down / peel-and-stick / loose lay per manufacturer
– [ ] Remove debris and clean subfloor thoroughly (no dust, no residue, no loose material)
– [ ] Level the floor (no rocking, no high spots)
– [ ] Acclimate tiles to room conditions before installing
– [ ] Plan layout and start point; dry-fit rows
– [ ] Cut accurately for edges and fixtures (toilet flange, vanity legs, door clearances)
– [ ] Apply adhesive/press tiles per instructions (correct coverage/open time; even pressure)
– [ ] Re-check seams and alignment immediately after placement
If you want to track progress, do one small “pilot area” (for example, a single row or a 4–6 tile section) to confirm alignment and bonding before finishing the whole floor.
FAQ
Can I install bathroom carpet tiles over existing flooring?
Sometimes, but only if the existing surface is sound, smooth, and compatible with the carpet tile system’s prep requirements. If the floor is uneven, peeling, or contaminated with residue, you’ll usually need to remove it first. [ADD: cite manufacturer guidance for your specific carpet tile system]
Do I need special adhesive for bathroom carpet tiles?
Often yes. Bathroom installations typically require the manufacturer’s specified adhesive and/or primer to handle moisture exposure—use the exact product system listed in the instructions. [ADD: cite source for adhesive/primer requirements from your tile manufacturer]
How do I handle water splashes near the shower or sink area?
Start by addressing any leak sources and ensuring proper subfloor sealing. Then follow the tile manufacturer’s bathroom guidance—some systems may not be intended for direct splash zones, depending on the product. [ADD: cite source for your tile’s approved bathroom exposure area]
What if tiles start lifting after a few months?
Check the subfloor condition (moisture, levelness, contamination) and whether the correct adhesive/primer method was used. If lifting is widespread, you may need to remove tiles and redo prep and bonding rather than just re-sticking edges. [ADD: cite manufacturer troubleshooting section]
Sources
– [ADD: manufacturer installation instructions for your specific carpet tile product (approved methods for bathrooms, adhesive/primer requirements, seam/edge handling)]
– [ADD: manufacturer guidelines for subfloor preparation/level tolerance and acclimation requirements for carpet tiles]
– [ADD: adhesive/primer technical data sheet(s) for open time, trowel/coverage, and approved substrates—if your tile system references them]
Carpet tiles can look great and stay serviceable in a bathroom when you treat moisture control and subfloor preparation as the “real work.” Pick the installation method your specific tile system approves, level and clean the subfloor carefully, dry-fit and cut precisely around fixtures, and bond/press exactly as the manufacturer directs—then you’ll minimize shifting, lifting, and edge curling over time.
Frequently Asked Questions
How do I prepare a bathroom floor before installing carpet tiles?
Start by removing old flooring and checking that the subfloor is clean, dry, and smooth—any bumps will show through and can loosen tiles. In a bathroom, address moisture first by testing for dampness and ensuring good ventilation, then apply a suitable moisture barrier if your surface requires it. Finally, sweep and vacuum thoroughly, and let the subfloor acclimate so bathroom carpet tiles adhere properly and avoid curling.
Which underlayment is best for bathroom carpet tiles to prevent moisture issues?
Look for a bathroom-appropriate underlayment that is moisture-resistant and designed for modular carpet tiles, such as a thin foam with a protective backing or a moisture barrier system recommended for flooring. If the area is prone to humidity, a vapor barrier can help protect the subfloor and reduce odor from trapped moisture. Avoid thick, unventilated padding because it can trap dampness and compromise the performance of carpet tiles.
What is the best way to lay carpet tiles in a bathroom around the toilet and sink?
Plan your layout dry first by marking reference lines and dry-fitting tiles so seams avoid awkward cuts near doorways and fixtures. Use a straight edge and measure carefully around the toilet flange and sink base, then cut with a sharp utility knife or carpet tile cutter for clean edges. Leave any required expansion gaps at walls, and use trim strips or caulk-compatible edge finishes where tiles meet cabinetry or wet-wall areas.
How should I secure bathroom carpet tiles—adhesive, double-sided tape, or no glue?
For bathrooms, choose a flooring installation method that matches your tile type and site conditions; many carpet tile systems use perimeter tape or modular-friendly adhesive. Full-spread glue is usually unnecessary and can make future replacement harder, while peel-and-stick or releasable adhesive/tape helps maintain easier tile replacement. Always use the manufacturer-recommended adhesive, apply it evenly, and press tiles firmly to ensure consistent contact in high-traffic bathroom areas.
Why do my carpet tiles lift in wet bathroom areas, and how can I prevent it?
Carpet tiles typically lift due to moisture exposure, poor subfloor prep, or incorrect installation techniques like insufficient pressure or incompatible adhesive. Reduce risk by preventing water from pooling near sinks/showers, using proper sealing where needed, and ensuring adequate ventilation to keep the bathroom carpet tiles dry. If lifting starts, replace affected tiles promptly and check for moisture at the subfloor; addressing the moisture source is key to long-term durability.
📅 Last Updated: October 11, 2026 | Topic: How to install in a bathroom carpet tiles? | Content verified for accuracy and freshness.
References
- Google Scholar Google Scholar
https://scholar.google.com/scholar?q=carpet+tile+installation+instructions+subfloor+moisture - Google Scholar Google Scholar
https://scholar.google.com/scholar?q=carpet+tiles+bathroom+moisture+humidity+underlayment - Google Scholar Google Scholar
https://scholar.google.com/scholar?q=carpet+tile+installation+guidelines+moisture+barrier - https://www.cdc.gov/mold/default.htm
- Mold | US EPA
https://www.epa.gov/mold - https://www.who.int/publications/i/item/9789289002137
- https://pubmed.ncbi.nlm.nih.gov/?term=dampness+and+mould+indoor+environment
- https://en.wikipedia.org/wiki/Carpet_tile
- Underlayment
https://en.wikipedia.org/wiki/Underlayment - https://www.britannica.com/science/mold
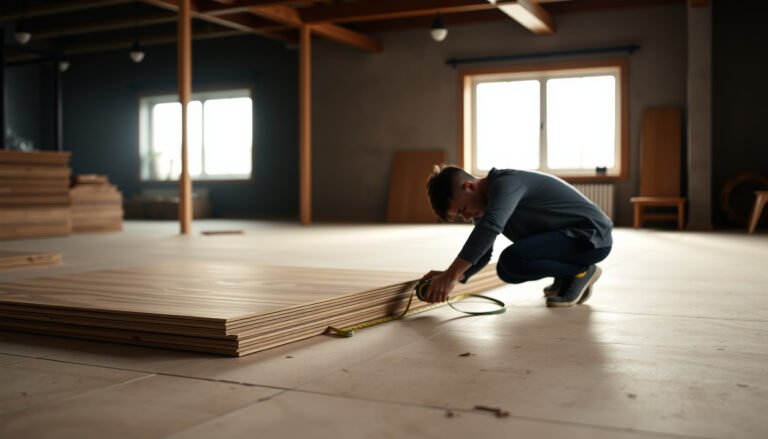
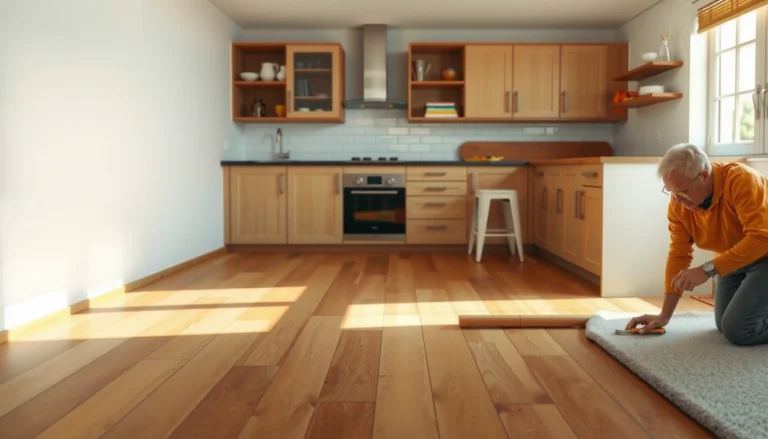

[…] a straightforward, high-impact DIY—or contractor—project when you follow the right steps. This step-by-step guide shows exactly how to remove the old planks, prep the subfloor, install new hardwood, and finish the […]