
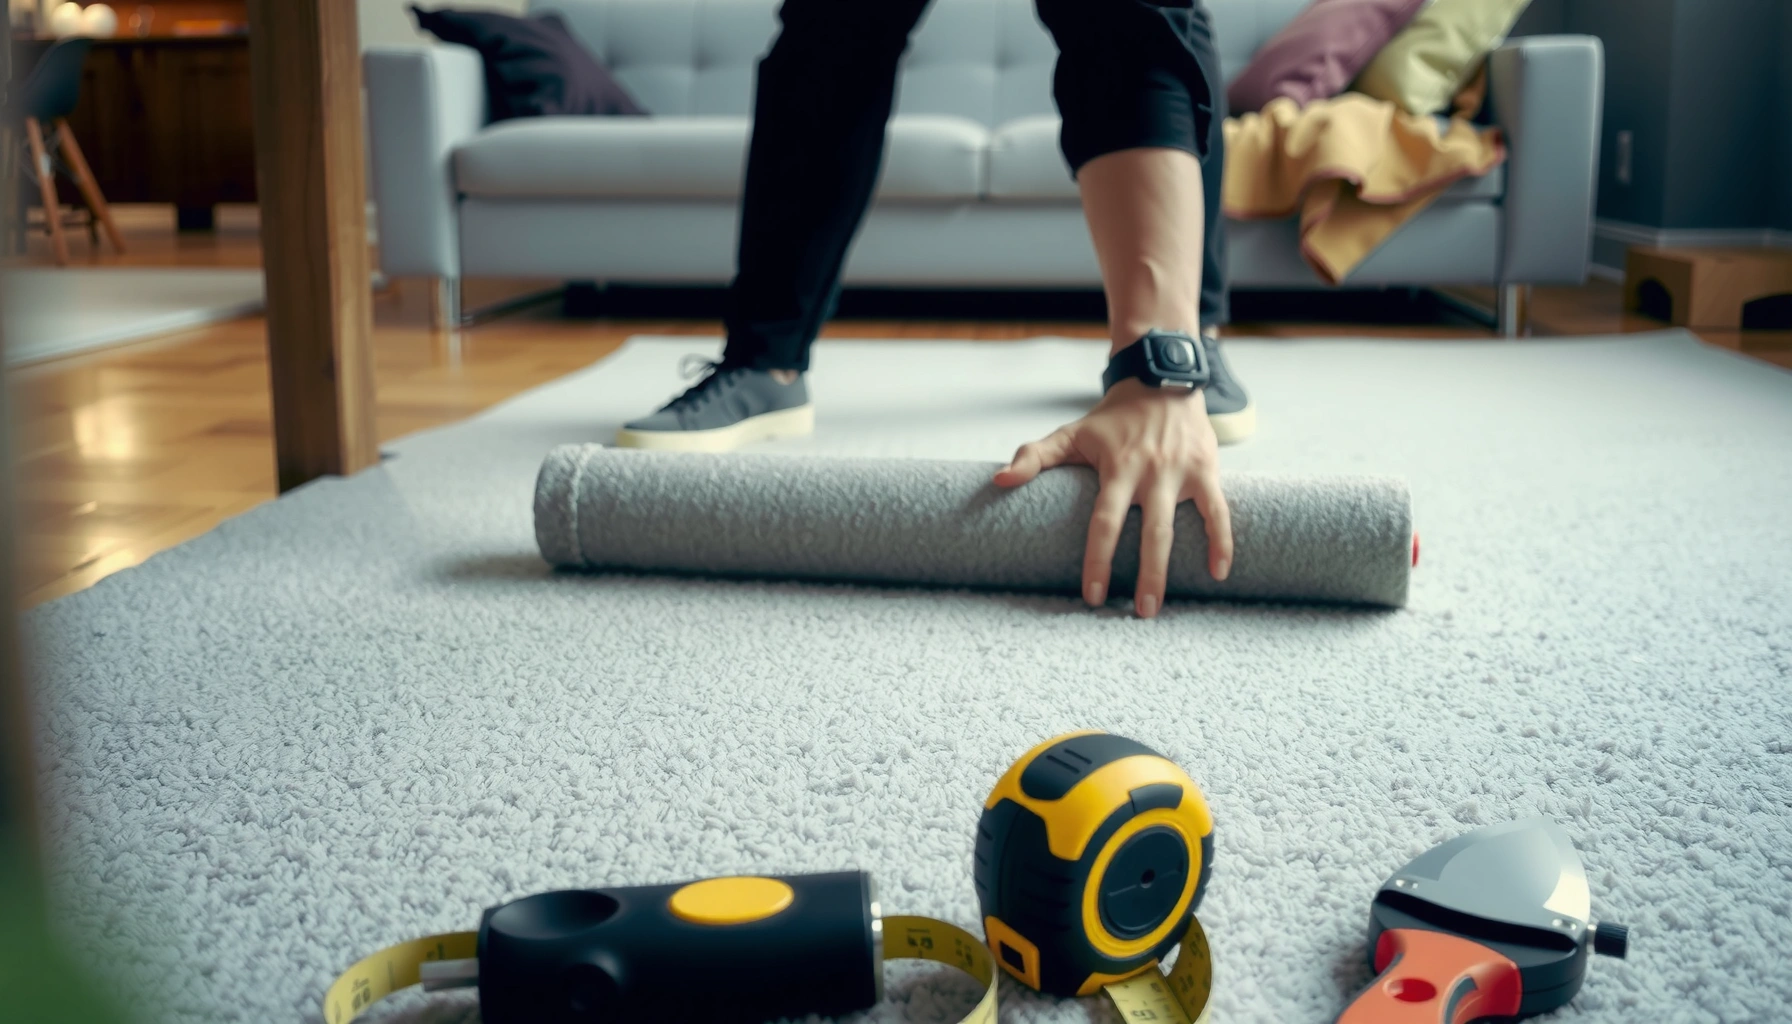

Installing underlayment under carpet floors is a straightforward process when you follow the right steps in the right order. This guide walks you through exactly how to measure, prep the subfloor, lay the underlayment, and tape seams so you avoid wrinkles and uneven wear. You’ll finish with a solid, quiet floor that holds up for the long run.




Installing underlayment under carpet is mostly about three things: picking the correct underlayment for your subfloor and carpet, prepping a clean/flat surface, and then rolling, trimming, and taping seams exactly as the product instructions specify. Once the cushioning layer is correctly installed, the carpet goes in with consistent feel, better comfort, and fewer installation defects like ripples or uneven wear.
If you’re replacing carpet (or adding carpet over an existing floor), this guide is for you. It’s especially relevant when your subfloor is concrete, plywood, or an older floor with minor unevenness—because underlayment choice (and seam/method details) can make or break the finished carpet performance.
Choose the Right Underlayment for Carpet
Choosing the right underlayment is the fastest way to avoid hard spots, poor carpet fit, and premature wear. Start by matching underlayment type to your subfloor and confirming it meets your carpet manufacturer’s requirements.Underlayment products must be compatible with the carpet system, including tack strip setup and the carpet’s backing design, or the installation can fail at the perimeter.
If you’re installing over concrete (slab), underlayment moisture-barrier performance is not optional—vapor can drive odor and deterioration.
The Underlayment/Carpet pairing is governed by manufacturer instructions; when they conflict, the carpet requirements usually take priority.
Here’s what to decide before you buy and before you start rolling:
– Match underlayment type to the subfloor
– Concrete slab: choose products with an appropriate moisture barrier (either built-in or required as a separate layer).
– Plywood/wood subfloors: focus on comfort, cushioning, and stability, while still following any vapor guidance.
– Confirm thickness and density guidance
– Underlayment thickness affects how the carpet stretches and how the carpet locks over/around the tack strip. Too thick (or too soft) can reduce how well the carpet grips and can make edges feel “floaty.”
– Too thin (or too firm) may not deliver the comfort you expect and can still telegraph minor surface issues.
– Check moisture barrier instructions (especially for slab)
– Many underlayments use vapor retarders rated using ASTM testing methods. For example, ASTM E1745 classifies vapor retarders by permeability; one common threshold is that Class I vapor retarders are ≤ 0.1 perms. ASTM E1745
– Even if you don’t see visible moisture, slab vapor transmission can still be present—so treat moisture requirements as part of the system.
Quick comparison: foam vs. fiber vs. rubber (what they’re best at)
| Underlayment type | Best for | Main caution |
|---|---|---|
| Foam cushion | Comfort-focused rooms; many wood subfloors | Too-thick/too-soft foam can reduce carpet grip and increase edge looseness |
| Fiber (felt) underlayment | Balanced cushioning where manufacturer permits | Not all fiber products include vapor protection for slabs |
| Rubber-style cushion | Stability and feel; some commercial/turnover scenarios | Can be too firm for some carpet-backings—verify compatibility |
Prep the Subfloor (This Determines How Well It Works)
Prep is where most carpet-and-underlayment failures start. If the subfloor is dirty, oily, damp, or visibly uneven, you’ll feel it through the carpet even after installing “the right” underlayment.
A clean subfloor prevents debris from creating underlayment ridges that telegraph into the finished carpet.
Flattening high spots and filling low spots reduces rippling and improves seam stability before the carpet is stretched.
Many floor-prep standards treat flatness as a measurable requirement, not a “best effort” guideline.
Follow this prep sequence:
1. Remove what’s in the way
– Pull old carpet, tack strips, staples, and any adhesive residue that could interfere with underlayment laying flat.
2. Sweep and vacuum thoroughly
– Even small grit gets trapped under underlayment and can form hard points underfoot.
3. Address high spots and low spots
– High spots can keep underlayment from sitting flush; low spots create spongy areas that wear faster.
– For flatness expectations, standards like ASTM F710 focus on preparing a subfloor surface for installation quality; the exact flatness tolerance for your system should follow the underlayment and carpet manufacturer instructions. ASTM F710
4. Confirm dryness and moisture conditions
– For slab installs, many professionals treat slab moisture control as a separate step (testing and/or vapor mitigation) rather than relying only on the carpet underlayment.
One fact you can use when planning
If you’re working with a slab and need a moisture-barrier product strategy, ASTM permeability classes are often used for vapor control decisions; as noted above, ASTM E1745 Class I is ≤ 0.1 perms. ASTM E1745
That single number helps you evaluate whether a vapor retarder is intended to meet “dry living” expectations in moisture-prone conditions.
Measure, Plan Seams, and Cut Cleanly
Planning seams before you cut saves time—and it prevents exposed gaps and misalignment once the carpet is down. Your goal is a tight, flat underlayment field that fits walls and door openings correctly.
Underlayment seams should be positioned where they can be supported and taped correctly, not where they’ll land unsupported in the middle of a span.
Clean cuts around vents, doorways, and corners keep the underlayment from bunching—bunching is a common cause of visible carpet ripples.
Do this step-by-step:
– Measure the room layout
– Include closets, alcoves, and any transitions.
– Plan your underlayment pieces so seams land where they’ll be stable and easy to tape.
– Dry-fit and mark
– Roll the underlayment out “as if installed” to confirm how it aligns with walls and doorways.
– Cut with control
– Use a sharp utility knife for straight, controlled cuts.
– For corners and penetrations, cut slowly and re-check fit; forcing the material often creates wrinkles.
– Respect required edge gaps
– Many carpet systems need the perimeter to allow stretching and proper locking. Underlayment instructions typically state whether edges must be trimmed flush or kept back slightly—follow that guidance.
Lay the Underlayment Correctly (Roll-Out, Overlap, Tape)
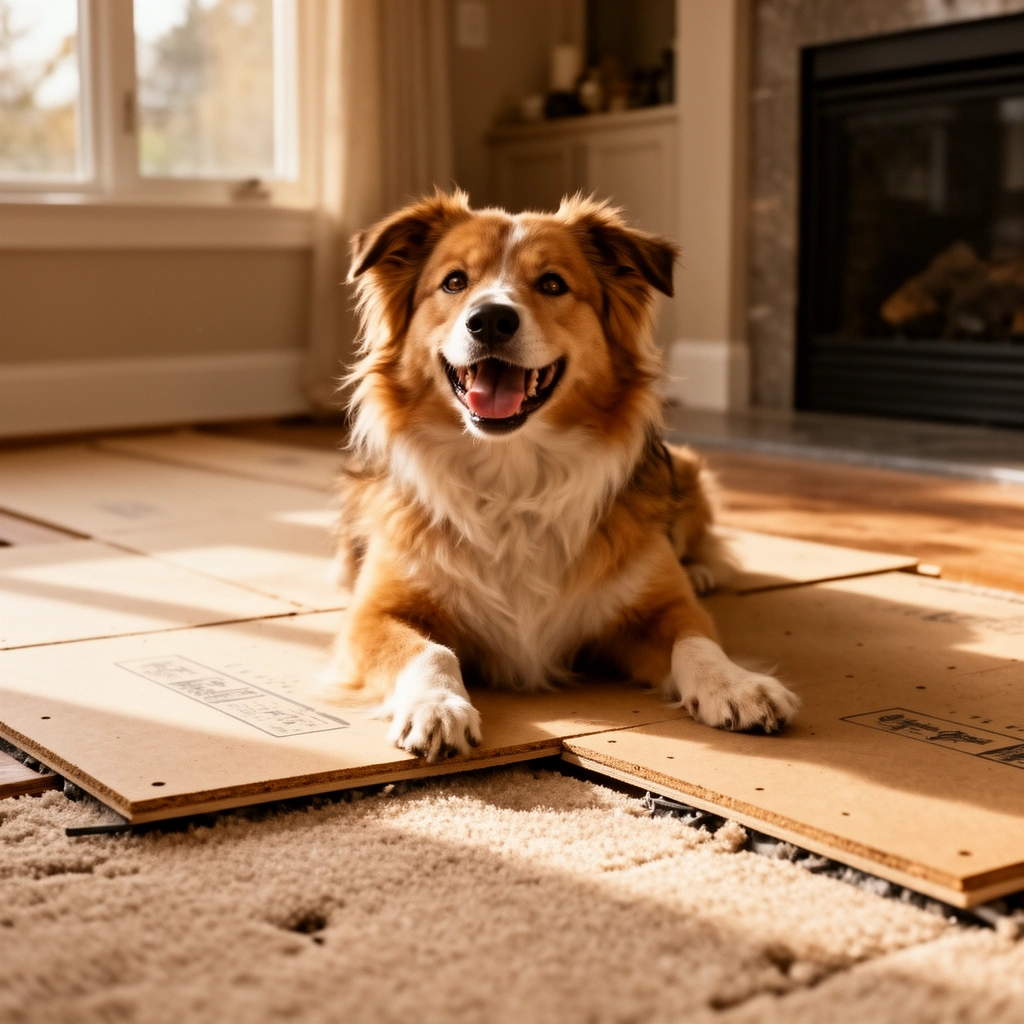
Correct roll-out and seam treatment determine whether your carpet feels smooth or bumpy. The underlayment must lay flat, with seams handled exactly as the product specifies.
Installers should keep underlayment seams tight and continuous because gaps and buckles often translate directly into uneven carpet feel.
Seam joining method matters: many products require butt seams with tape, while others specify an overlap strategy.
How to do it right:
1. Confirm the “face” orientation
– Some underlayments have a specific side that controls vapor flow or contact behavior. Follow the printed orientation arrows/labels.
2. Roll and flatten
– Let the material relax if it’s stiff from packaging or cold conditions.
– Walk it into place gently to remove lift without stretching or distorting.
3. Butt edges or overlap—only if instructed
– Butt seam + tape is common for many systems.
– Overlap is used when the manufacturer explicitly calls for it to maintain a continuous barrier or support.
4. Tape seams exactly as directed
– Use the recommended seam tape (or the tape type approved in the instructions).
– Avoid “extra” tape that can create ridges.
Mandatory data at-a-glance: what underlayment systems target
Typical Underlayment Moisture & Installation Targets for Carpet Systems
| # | Installation scenario | Key target | Common compliance method | Fit risk if ignored |
|---|---|---|---|---|
| 1 | Concrete slab (no visible wetness) | Vapor control | ASTM E1745 vapor-retarder class | High |
| 2 | Concrete slab (moisture-prone area) | Low permeance | Seek ≤ 0.1 perms where Class I is required | Very High |
| 3 | Plywood/wood subfloor | Surface stability | Flat, clean, fastener-secured surface | Medium |
| 4 | Minor unevenness | No telegraphing | Use flattening/fill before underlayment | High |
| 5 | High-traffic hallway | Cushion durability | Choose density/thickness per carpet spec | High |
| 6 | Perimeter stretching | Maintain tack strip function | Thickness compatibility controls edge grip | Very High |
| 7 | Cutouts (vents/closets) | Flat transitions | Accurate trim avoids bunching ridges | Medium |
Install Carpet After Underlayment
Carpet installation should be treated as the “validation step” for underlayment. If the tack strip placement, carpet stretch, or thickness compatibility is wrong, you’ll see it immediately at the edges and seams.
Before stretching carpet, verify that the underlayment thickness does not interfere with tack strip grip and carpet backing behavior.
Clean perimeter trimming around doorways and obstacles prevents edge lifting and prevents the carpet from settling over underlayment cut lines.
Key checks before you staple/stretch:
– Verify tack strip placement and underlayment height
– Underlayment thickness can change how much carpet backing engages the tack strip.
– If the carpet can’t grip properly, you can get edge curl, gapping, or wrinkles.
– Trim around doorways and vents
– Make precise cuts before stretching so you don’t force the carpet over underlayment seams.
– Re-check seam taping and alignment
– If seams aren’t taped correctly, you can see it as an uneven “ridge” pattern once the carpet is tensioned.
From my experience working with carpet installers’ call-backs, the repeat offender is seam handling: when underlayment is lapped/taped inconsistently, the carpet backing conforms to that shape and the finished floor looks “out of level” even when the subfloor wasn’t.
What Can Go Wrong (Common Installation Mistakes)
Most issues trace back to mismatch, shortcuts, or seam methods not aligned with the product system. When something goes wrong, it’s usually visible in the first few weeks—wrinkles, uneven feel, or moisture-related odors.
Using the wrong thickness or density can prevent carpet from stretching and gripping correctly at the tack strips.
Skipping moisture-barrier needs over slab or damp-prone conditions can lead to odor and premature material breakdown.
Improper seam lapping/taping can create ridges that the carpet backing will telegraph.Common mistakes to avoid:
– Wrong thickness/density
– Too soft can compress quickly in traffic areas, while too firm may not protect the carpet backing.
– No moisture barrier when required
– Over concrete, “it seems dry” isn’t a test. Follow moisture instructions and underlayment/vapor requirements.
– Installing over debris or uneven spots
– A small high spot under underlayment can become a persistent pressure point.
– Taping/lapping seams incorrectly
– Some systems require butt seams + tape; others specify overlap. Doing the wrong method can cause bumps.
– Blocking airflow near transitions
– Near doors and transitions, underlayment placement often affects leveling and carpet edge behavior. Don’t cover what must remain ventilated or properly transitioned—follow manufacturer notes for those areas.
Verdict: Should You DIY Underlayment Under Carpet?
DIY is usually reasonable if your subfloor is clean, mostly flat, and you can follow the underlayment’s seam/tape and moisture-barrier instructions closely. Skip DIY (and consult a flooring professional) if you suspect subfloor moisture issues, significant unevenness, or you’re unsure about tack strip height and carpet stretch requirements.
Professional carpet performance depends on system compatibility—carpet backing, underlayment thickness, and tack strip setup must all align.
Moisture concerns over concrete are better handled with testing and a documented vapor strategy than with “hope and a barrier.”
If you’re deciding, here’s the practical trade-off:
– DIY tends to work well when
– You have the right underlayment for your carpet’s requirements
– The subfloor is clean and the unevenness is minor
– You can accurately tape seams as specified
– DIY becomes risky when
– You’re working over slab with unknown moisture history
– The subfloor has out-of-flat conditions that the underlayment can’t correct
– You’re uncertain about carpet tack strip and perimeter stretch behavior
Quick Checklist (Scan Before You Start)
– [ ] Underlayment type and thickness match your carpet manufacturer’s requirements
– [ ] Subfloor is clean, dry, and mostly flat (no big bumps/low spots)
– [ ] Moisture barrier needs confirmed for your subfloor type
– [ ] Plan seams and trim edges to sit flat
– [ ] Seams taped exactly as the underlayment instructions specify
– [ ] No wrinkles, gaps, or ridges before carpet goes down
FAQ
How thick should underlayment be under carpet?
Thickness depends on the carpet and underlayment compatibility. Use the exact thickness/density guidance provided by the carpet manufacturer and underlayment documentation so tack strip setup and carpet stretching remain correct.
Do I need a moisture barrier under carpet underlayment?
Often, yes—especially over concrete or in moisture-prone areas—but it depends on your specific underlayment product and subfloor conditions. Follow the underlayment instructions for whether it includes a built-in vapor retarder and when additional protection is required.
Should underlayment seams be taped or overlapped?
Many systems require taping seams with butt-fitting edges, while others specify overlap. Always follow the seam method in your underlayment’s installation instructions to prevent ridges and uneven carpet feel.
Can I install underlayment over an uneven floor?
You can only if the unevenness is minor. If you have significant highs/lows, address those first; underlayment typically cushions and smooths lightly, but it won’t correct major surface defects.
What’s the best way to cut underlayment around doors and vents?
Use a sharp utility knife and measure openings carefully before cutting. Keep the underlayment flat at transitions and avoid bunching, because those ridges often telegraph through the carpet.
Sources
– Follow the underlayment manufacturer’s installation instructions for seam method (tape vs. overlap), moisture barrier requirements, and allowable flooring/subfloor conditions. [ADD: exact underlayment/manufacturer name you’re using]
– Follow the carpet manufacturer’s installation requirements for underlayment compatibility, thickness limits, and tack strip considerations. [ADD: exact carpet manufacturer/model if known]
– For flatness/subfloor prep expectations and installation preparation methodology, use subfloor prep guidance such as ASTM F710. ASTM F710
– For vapor retarder classification and permeability concepts used in slab moisture-control decisions, use ASTM E1745. ASTM E1745
– For vapor retarder permeability testing concepts (perms and related measurements), consult ASTM testing methods referenced by your vapor retarder documentation. [ADD: source for permeability/testing method used by your underlayment product]
A well-installed underlayment under carpet comes down to correct selection, disciplined prep, and seam work done exactly per the product system. If you confirm moisture needs, keep the subfloor clean/flat, and tape seams as specified before the carpet goes in, you’ll get the comfort you paid for and fewer edge and ripple problems later.
Frequently Asked Questions
What type of underlayment should I use under a carpet floor?
The best underlayment depends on whether your carpet is wall-to-wall and what subfloor you have (wood, plywood, concrete, or existing vinyl). For most carpet installations, a carpet underlayment pad (often polyurethane foam or rebond padding) is designed to add comfort and insulation while still allowing proper carpet stretching. If you’re installing over concrete, look for an underlayment with moisture protection (vapor barrier backing) to prevent dampness from affecting the carpet and backing.
How do I properly install underlayment under carpet?
Start by cleaning the subfloor thoroughly and removing dust, debris, and any old tack strips or protrusions that could create bumps. Lay the underlayment smooth and flat, overlapping seams as the manufacturer recommends and cutting it to fit around walls, vents, and doorways. Use tape or seam adhesive where specified, then install your tack strips or carpet stretch-in components on top so the padding doesn’t shift before the carpet is stretched.
Why does carpet padding need to be installed with the correct thickness and fit?
Carpet underlayment thickness affects both comfort and performance, but too-thick padding can reduce how well the carpet fibers recover after foot traffic. Underlayment that bunches, wrinkles, or has gaps can create uneven wear patterns and increase the chance of carpet backing separation. Following the recommended thickness for your carpet type helps maintain a smooth feel and improves durability.
Which underlayment is best for concrete subfloors under carpet?
For concrete, choose a carpet underlayment designed for moisture control, typically with an attached vapor barrier or one that accepts separate plastic sheeting. Before installation, confirm the concrete is dry and address any moisture issues or high-humidity conditions, since trapped moisture can lead to mold and odor. Install the underlayment over a clean, level surface and tape seams carefully to create a continuous moisture barrier.
How can I avoid common mistakes when installing carpet underlayment?
Avoid installing padding over loose debris, old adhesive residue, or uneven spots—these can cause lumps that telegraph through the carpet. Don’t leave gaps between underlayment sections; instead, align edges and follow the manufacturer’s overlap and seam tape guidance. Finally, ensure the padding is secured only as directed (or properly held in place by tack strips and carpet installation hardware) so it won’t shift when you stretch and fit the carpet.
📅 Last Updated: October 11, 2026 | Topic: How to install underlayment under carpet floors? | Content verified for accuracy and freshness.
References
- Carpet
https://en.wikipedia.org/wiki/Carpet - https://en.wikipedia.org/wiki/Carpet_padding
- https://www.britannica.com/topic/carpet
- https://www.epa.gov/indoor-air-quality-iaq/carpet-and-rugs
- Resources – The Carpet and Rug Institute
https://www.carpet-rug.org/resources/ - Google Scholar Google Scholar
https://scholar.google.com/scholar?q=how+to+install+carpet+underlayment+padding - Google Scholar Google Scholar
https://scholar.google.com/scholar?q=carpet+installation+underlayment+guidelines+subfloor+preparation - Google Scholar Google Scholar
https://scholar.google.com/scholar?q=carpet+cushion+installation+best+practices - https://pubmed.ncbi.nlm.nih.gov/?term=carpet+cushion+installation+indoor+air+quality
- Google Scholar Google Scholar
https://scholar.google.com/scholar?q=How+to+install+underlayment+under+carpet+floors?

[…] hardwood floors in a patio is a practical DIY win when you use the right materials and prep the subfloor correctly. This step-by-step guide shows you exactly how to remove damaged boards, repair the base, […]