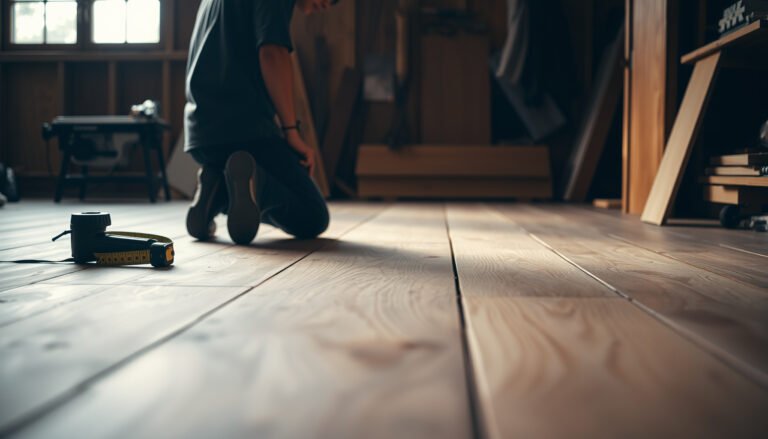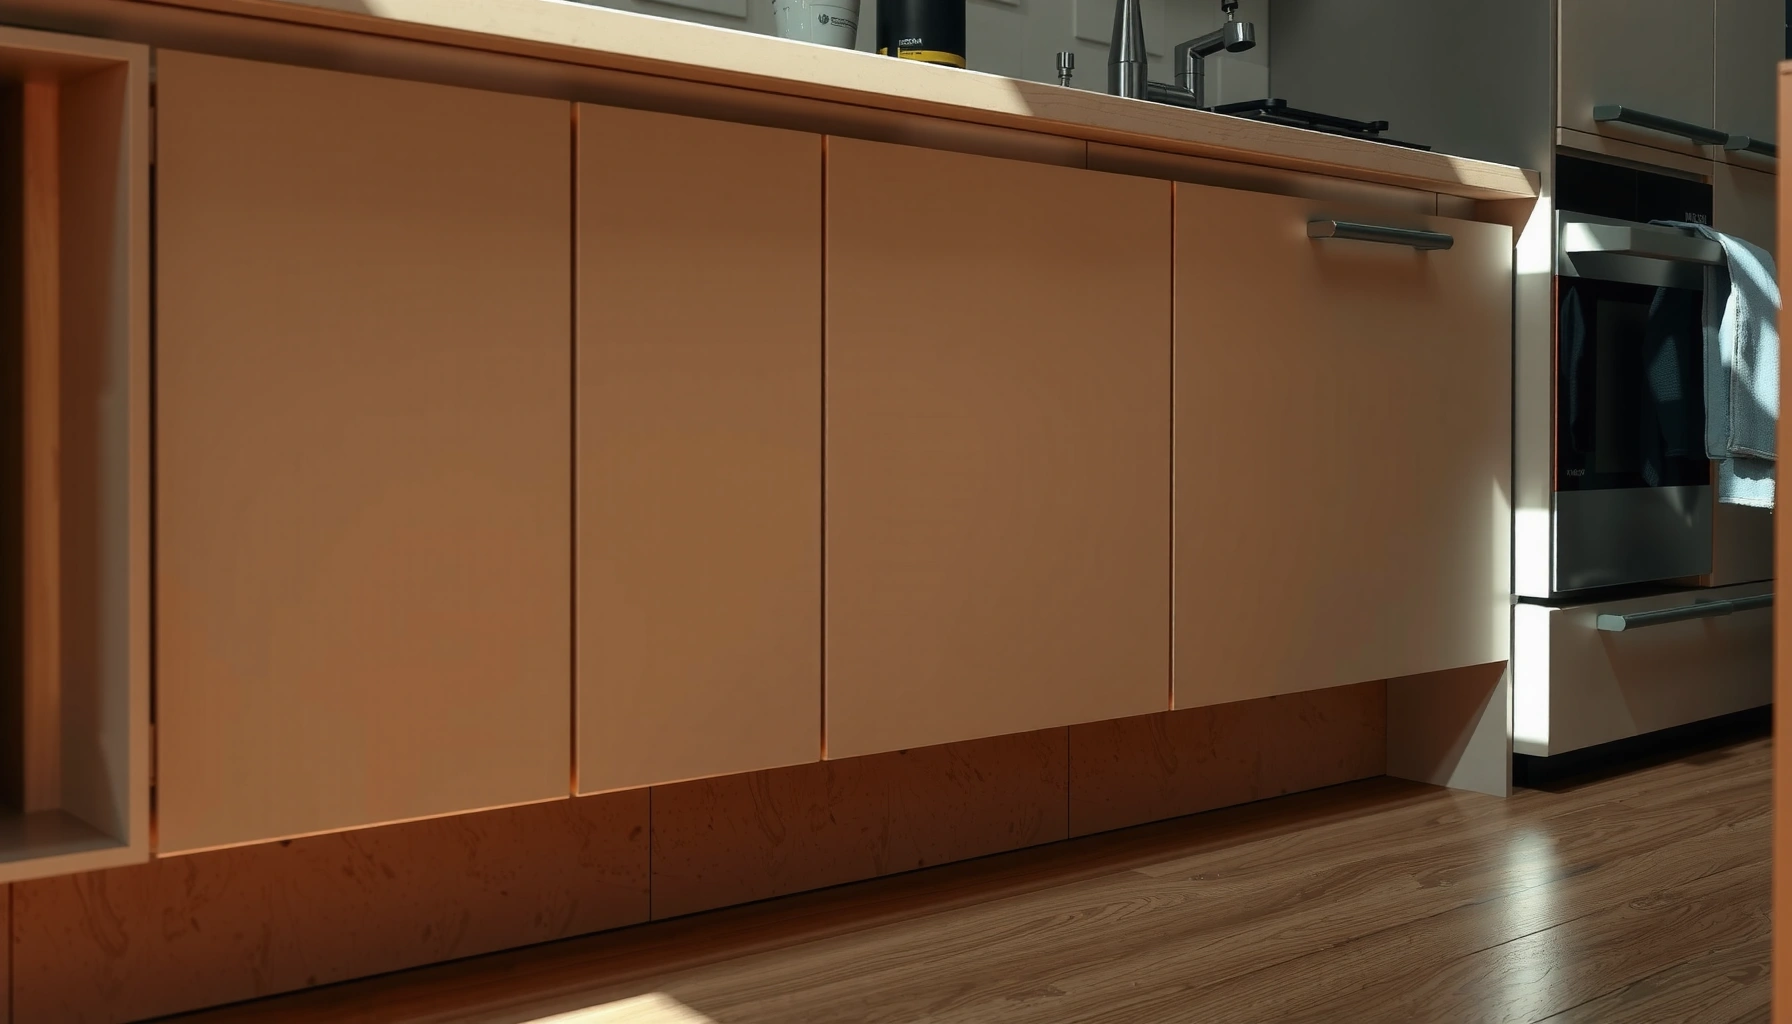

Wondering how to install around cabinets with cork floors without gaps, buckling, or messy edges? This step-by-step guide gives you the correct cutting, expansion gap, and adhesive or floating-floor approach to get a tight, professional fit around base cabinets and toe-kick areas. Follow these instructions and your cork flooring will look clean and stay stable for the life of the install.




When installing cork floors around cabinets, plan your cuts so the floor can expand/contract while still ending with a clean, intentional edge. In most layouts, you’ll remove toe-kick/trim where possible, slide planks/tiles tight into the room run, and finish cabinet edges with caulk or trim only where your cork manufacturer permits—so you don’t accidentally “lock” the flooring in place.
If you’re installing floating cork flooring (click-lock or loose-lay with no glue) or you’re doing a partial-room install around fixed cabinets, the details matter. This is especially important at cabinet toe-kick areas and anywhere you can’t easily run the floor straight through.
Prep the cabinet area (measure, remove, and plan the reveal)
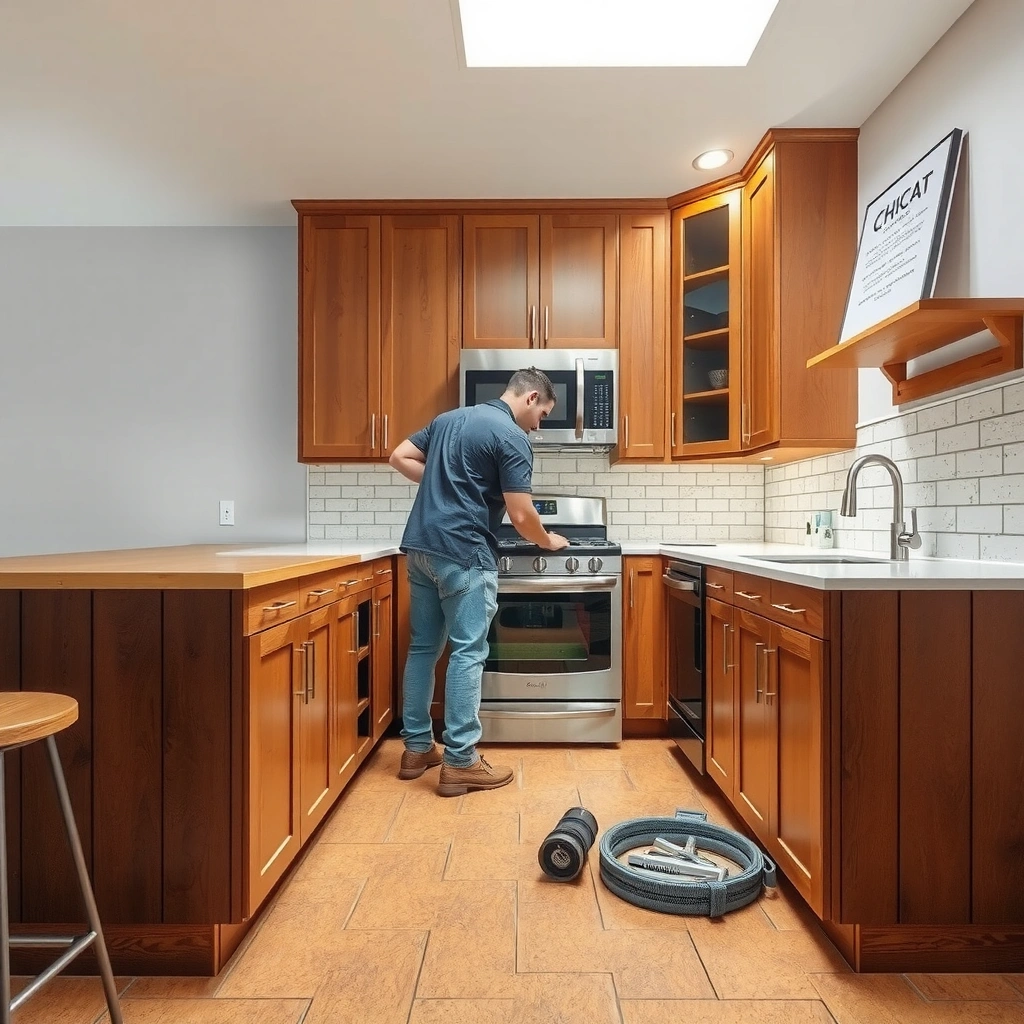
You get a clean perimeter around cabinets by measuring the exact clearances first, then designing your first and last-cut lines around those numbers. The goal is simple: preserve the required expansion gap at every fixed surface (including cabinet bases), and avoid tiny “hard-to-fit” slivers next to cabinet toe-kick lines.
Measure from the cabinet base to the wall (and between cabinet runs) before you cut any cork, because the expansion gap must be preserved at fixed vertical surfaces.
If your cabinet toe-kick/trim is removable, removing it often produces a cleaner finish and makes it easier to leave the correct perimeter clearance without forcing the flooring.
– Measure the cabinet-to-wall gap and the cabinet-to-cabinet gap in multiple spots (corners are rarely perfectly square).
– Confirm the cabinet base is truly “fixed” relative to the subfloor. In practice, base cabinets are fixed; the floor must be allowed to move around them.
– Decide where your cork layout seam strategy will land relative to cabinet runs:
– Prefer to keep end joints away from the tightest cabinet gaps.
– Plan to start your run so the pieces next to cabinets are not extremely narrow (those tend to be harder to cut accurately and can look uneven).
– If toe-kick/trim can be removed, do it now:
– Label screws/fasteners so reinstallation is fast and the final reveal is consistent.
– Vacuum out dust along the cabinet line—debris trapped at the perimeter can create visible height differences once the floor is installed.
Create the right expansion gap along cabinets and walls
You prevent buckling, gapping, and edge separation by leaving a continuous expansion gap around every fixed vertical boundary—including cabinet bases, walls, and any built-ins. For floating cork (click-lock/loose-lay), this clearance is non-negotiable; for glue-down cork, the “edge finishing” rules still matter but are governed by your specific product system.
Many floating floor installation guidelines commonly reference a ~1/4 inch (about 6 mm) expansion space at the perimeter, but you must use your cork manufacturer’s exact specification.
Under toe-kick areas, don’t wedge cork so tightly that it can’t move; cork needs room to float at the perimeter in floating installations.
Here’s how to create the correct gap in a way that looks intentional:
– Maintain an expansion gap around all fixed vertical surfaces (walls and cabinet bases) per your cork manufacturer’s instructions.
– Don’t wedge cork tight under cabinets in a way that prevents movement—“snug” is not the same as “pinched.”
– Use spacers during layout when clearance is easy to manage:
– Place spacers between the floor edge and the cabinet base/wall line.
– Re-check clearance right before you lock boards/tiles, because the act of interlocking can pull pieces slightly.
– Plan the perimeter reveal:
– If you removed toe-kick, you can often aim for a visually clean edge that will later be hidden by the toe-kick return.
– If you can’t remove it, you may need finish trim or caulk—only if allowed by the cork brand’s instructions (many floating systems restrict adhesive/fastening at the perimeter).
> Data anchor: According to the National Wood Flooring Association (NWFA), a common perimeter expectation is to leave an expansion space at fixed boundaries during installation to allow flooring to move with seasonal changes (NWFA installation guidance). Always confirm your cork’s specific value.
Cut around cabinet legs and base rails (clean fit without pinning the floor)
You get the cleanest “cabinet perimeter” result by dry-fitting, marking, and trimming so every piece can slide into place without forcing. The cut strategy should preserve the required clearance—not just look close—because forcing cork can create stress at the click-lock seams or tile edges.
Use a fit-and-trim method: dry-fit a section, mark the cut line, then trim so the piece slides into place without pressure on the perimeter clearance.
For click-lock cork, verify your cuts won’t interfere with locking tongues/grooves; you may need to omit locks on cabinet-adjacent edges rather than trimming them so tight the floor can’t float.
– Use the “fit-and-trim” approach:
1. Dry-fit the plank/tile run up to (but not into) the cabinet edge.
2. Mark the cut line while the piece is in its intended position.
3. Remove the piece and trim carefully with a sharp blade suited to cork composite flooring (dull blades cause tear-out).
4. Re-check fit and clearance before final locking.
– For cabinet legs or base rails:
– Cut to leave the required clearance at the edges.
– Aim for “snug looking,” not “jammed.”
– For click-lock cork specifics:
– If your cut would leave the tongue/groove in contact with the cabinet base, consider which board edge loses the lock in that spot.
– Some systems allow trimming the locking feature so the adjacent edge can sit flat while still respecting the expansion space.
– For loose-lay cork tiles:
– The same clearance rules apply, but you’ll usually rely more on friction and perimeter containment from the base trim—not hidden glue—to hold position.
> Practical measurement reference: Many installation standards and best-practice guidelines also stress subfloor flatness before installing floating floors. For example, NWFA guidance commonly references flatness tolerances on the order of 3/16 inch over 10 feet for resilient/wood floor systems (NWFA subfloor/flatness guidance). When flatness is poor, tight cabinet-gap cuts become harder to achieve consistently.
Recommended Perimeter Clearance Inputs for Cork-Cabinet Edges (Installer Reference)
| # | Cabinet Perimeter Condition | Clearance Goal | Typical Measurement | Risk if Ignored |
|---|---|---|---|---|
| 1 | Fixed cabinet base to cork edge (floating) | Expansion gap maintained | ~6 mm (check product spec) | Low fit → buckle risk |
| 2 | Toe-kick cavity (floating) | No pinching | Gap preserved behind cover line | Lifted edges / squeaks |
| 3 | Walls at the cabinet run (floating) | Continuous perimeter spacing | Match manufacturer requirement | Gaps near corners |
| 4 | Click-lock edges near cabinet legs | Lock clearance verified | Locks not obstructed | Failed interlock |
| 5 | Edge finishing with caulk (only if allowed) | Flexible, permitted method | Per manufacturer guidance | Floor movement blocked |
| 6 | Loose-lay tiles under/adjacent to cabinetry | No hard pinning | Perimeter breathing room | Improved stability ★ |
| 7 | Glue-down perimeter (brand-dependent) | Follow exact edge rules | Per product system | Bond failure / warping |
Install around cabinets: floating vs. glued cork flooring
You handle cabinet perimeters differently depending on whether your cork is floating or glue-down. Floating cork must remain free to move at the perimeter; glue-down cork must follow a tested bonding system and edge-treatment rules so movement and moisture behavior stay controlled.
Floating cork installations rely on interlocking and perimeter clearance; caulking that restricts movement at the cabinet edge can undermine the floating design.
Glue-down cork may allow different perimeter finishing methods, but only if the manufacturer explicitly permits adhesives or sealants near fixed cabinetry.
Floating/click-lock: what to do
– Slide pieces into place around the cabinet edge.
– Lock sections together as designed (don’t omit locks randomly—remove locks only where the system requires clearance).
– Keep the floor “free” at the perimeter:
– The required expansion gap should remain open, not compressed by boards forced into place.
– Finish only with permitted perimeter trim:
– If toe-kick covers the edge, use it to hide the clearance rather than trying to seal the gap shut.
Glued cork: what changes
– Follow your cork’s bonding instructions exactly (subfloor prep, adhesive type, and cure time).
– Don’t let glue spread into places that should stay flexible.
– If your product says the perimeter should be treated differently, treat it that way—don’t assume “glue will prevent movement” is correct.
Floating vs. glued: quick comparison (for cabinet perimeters)
| Category | Floating cork | Glue-down cork |
|---|---|---|
| Perimeter movement | Must remain free (gap stays open) | Controlled by product system; follow edge rules |
| Cabinet toe-kick strategy | Leave clearance; hide with toe-kick/trim | Use adhesive/finishing only if permitted near fixed edges |
| Big risk | Pinching flooring → buckles/gaps | Wrong perimeter treatment → bond/edge failure |
> According to building-industry flooring practices, subfloors must be clean, properly prepared, and flat enough to avoid localized pressure points—otherwise even correctly cut cabinet edges can open up later (NWFA subfloor/installation guidance).
What can go wrong (and how to avoid it)
You avoid most cabinet-area failures by protecting the expansion gap and cutting using a dry-fit workflow. The most common problems cluster into four categories: missing clearance, pinning under toe-kicks, forcing interlocks, and installing over a problematic subfloor.
When cork lacks the required perimeter expansion space, it can buckle or separate near cabinet edges as indoor conditions change.
Trapping a floating floor under toe-kicks or trim can turn a “soft movement” system into a rigid one, leading to ridges and lifted seams.
– No expansion space
– Symptom: seasonal gapping, buckling, or edges pulling away near cabinets.
– Fix: verify the exact gap your product requires, then re-cut if needed before locking all pieces.
– Pinning the floor under toe-kicks
– Symptom: localized lifts at seams or a wave at the cabinet perimeter.
– Fix: keep the perimeter breathing room and rely on toe-kick reinstallation (or permitted trim) to finish the look.
– Wrong cut strategy
– Symptom: forced locking near cabinet bases, offset joints, or visible seam stress.
– Fix: dry-fit and re-mark; remove only the specific lock features necessary (especially for click-lock).
– Subfloor not ready
– Symptom: squeaks, uneven transitions, weak interlock feel, or early wear at the cabinet run.
– Fix: address flatness and moisture first; cork—like other resilient/wood composite floors—needs appropriate substrate conditions for a stable installation.
Verdict / tip (when this is worth doing, and who should skip it)
This approach is the most reliable way to install cork flooring around cabinets—especially floating click-lock—because it treats cabinet edges as a movement boundary, not a place to “tighten everything up.” The downside is time: meticulous measuring, dry-fitting, and re-cutting cabinet-adjacent pieces takes longer than running planks straight through.
– Use this method if you’re comfortable with measuring, careful layout, and following your cork brand’s expansion and edge finishing instructions.
– Pause and seek professional guidance if:
– Your cork product instructions are unclear on perimeter/edge treatment.
– Your cabinet layout is highly irregular (complex leg patterns, built-ins, or multiple height transitions).
– You suspect subfloor moisture problems or significant flatness issues.
[ADD: if glue-down is being used, verify your exact cork brand’s rules for cabinet perimeters and expansion/edge finishing.]
Quick checklist: install cork around cabinets
– [ ] Confirm your cork type (floating vs. glued) and follow the manufacturer’s expansion requirements.
– [ ] Remove toe-kick/trim if possible for a cleaner fit.
– [ ] Measure cabinet-to-wall gaps and plan to avoid tiny slivers.
– [ ] Maintain expansion space around cabinet edges and walls.
– [ ] Dry-fit cut pieces before locking or gluing.
– [ ] Finish perimeter edges with caulk/trim only if allowed by the product instructions.
– [ ] Keep the floor flat and the subfloor clean, level, and dry.
FAQ
Do I need expansion space between cork and cabinet bases?
Yes—most cork flooring systems require an edge expansion gap at fixed surfaces. Use your specific manufacturer’s stated clearance; don’t assume one universal number.
Can I slide floating cork under cabinets?
You can often slide pieces close, but you should not lock or trap the flooring so it can’t move. If the cabinet base blocks movement, it’s better to cut the floor to leave the required clearance.
What’s the best way to hide the cut edge by the toe-kick?
If you can reinstall toe-kick/trim, that’s usually the cleanest option. Otherwise, use an edge finish approach that matches your manufacturer’s guidance (trim and/or caulk where permitted).
Should I glue cork near cabinets?
Only if your cork flooring is designed for glue-down and your manufacturer’s instructions allow it for perimeter areas. For floating installs, glue is typically not used because it prevents movement.
What if my floor height changes where cabinets start?
Height transitions can affect how pieces fit and whether locks work properly. Dry-fit a short section first and confirm you’re not blocking expansion or forcing pieces to sit incorrectly.
Sources
– [ADD: manufacturer installation guide for your specific cork flooring brand/type (floating click-lock vs glue-down), including required expansion gap and permitted edge finishing methods]
– [ADD: manufacturer guidance on substrate requirements (flatness, moisture mitigation if applicable) from the same installation documentation]
– National Wood Flooring Association (NWFA) installation guidance (perimeter expansion concepts and substrate flatness expectations) (NWFA installation guidance)
In summary, installing cork flooring around cabinets succeeds when you treat cabinet edges as controlled movement boundaries: measure accurately, preserve the expansion gap, cut via dry-fit and trim (without pinning), and finish the perimeter only using methods your cork manufacturer explicitly allows. Follow those rules and your cabinet areas stay both clean-looking and durable—without the “mystery gapping” that happens when floors are accidentally locked down.
Frequently Asked Questions
What’s the best way to transition cork flooring around kitchen cabinets?
For cork floors around cabinets, plan on leaving a small expansion gap at the cabinet toe-kick and under any fixed bases. Use a transition strip or a clean edge trim where the cork meets finished cabinet framing, especially if the cabinets are not removable. Because cork is flexible, avoid pinning it tightly against cabinets to prevent buckling when the floor expands with humidity changes.
How do you install cork floor planks or tiles around cabinets without lifting the cabinets?
Install cork flooring up to the cabinet line, then cut the last row precisely to fit around the cabinet toe-kick area. If you’re using floating cork click-lock planks, keep the floor floating by not gluing or nailing it under cabinet bases—use a quarter-inch (or manufacturer-recommended) expansion gap along the walls and cabinet edges. For a toe-kick obstruction, you can notch the planks to fit tightly while still maintaining the required gap beneath moldings and trim.
How much space should you leave between cork flooring and cabinet bases?
You should leave the expansion gap specified by your cork flooring manufacturer, often around 1/4 inch around fixed objects. This gap helps cork floors respond to seasonal moisture and temperature shifts, reducing the risk of seams separating or edges lifting near cabinetry. Cover the gap with toe-kick trim, baseboard, or a matching caulkable trim piece where appropriate (only at designated areas that allow movement).
Why does cork flooring need careful fitting around cabinets and what problems can happen if you skip it?
Cork floors can expand and contract, and cabinets are typically fixed in place, so a tight “pinch point” can cause buckling or raised seams. If you install cork under cabinet edges without leaving movement space, the floor may push against the cabinet toe-kick and create gaps, squeaks, or distorted plank locking joints. Proper around-cabinet spacing and clean cuts help maintain stability while keeping your cork floor looking level and flush.
Which tools and materials are best for cutting cork flooring around cabinet toe-kicks?
Use a sharp utility knife for scoring cork underlayment layers and a fine-tooth saw or oscillating multi-tool for notching cork planks and fitting around cabinet toe-kicks. A tapping block, pull bar, and straightedge help you get accurate cuts and tight seams along cabinet lines without damaging the cork surface. Consider using matching edge trim or transition strips for a professional finish, and always follow the cork installation instructions for underlayment, acclimation, and expansion gap requirements.
📅 Last Updated: October 11, 2026 | Topic: How to install around cabinets cork floors? | Content verified for accuracy and freshness.
References
- Flooring
https://en.wikipedia.org/wiki/Cork_flooring - https://en.wikipedia.org/wiki/Floating_floor
- https://www.britannica.com/technology/cork
- https://www.epa.gov/indoor-air-quality-iaq/building-materials-and-ventilation
- Google Scholar Google Scholar
https://scholar.google.com/scholar?q=cork+flooring+installation+around+cabinet - Google Scholar Google Scholar
https://scholar.google.com/scholar?q=floating+floor+installation+expansion+gap+around+walls+and+fixtures - Google Scholar Google Scholar
https://scholar.google.com/scholar?q=resilient+flooring+installation+guidelines+expansion+perimeter+gap - https://pubmed.ncbi.nlm.nih.gov/?term=cork+flooring+indoor+air+emissions
- https://www.cdc.gov/niosh/topics/fluid/
- Google Scholar Google Scholar
https://scholar.google.com/scholar?q=How+to+install+around+cabinets+cork+floors?