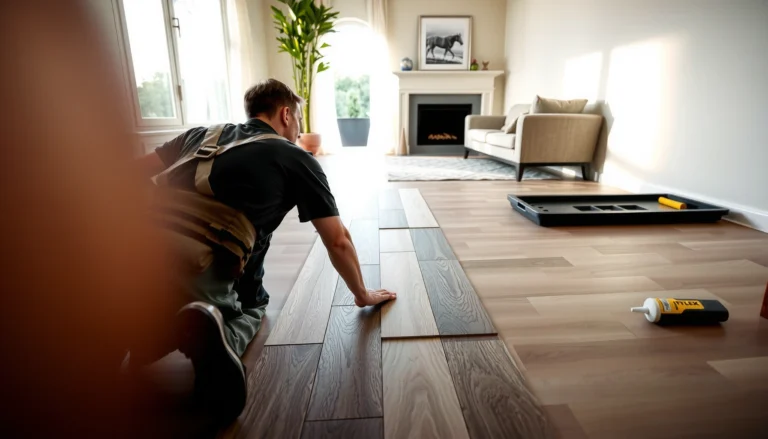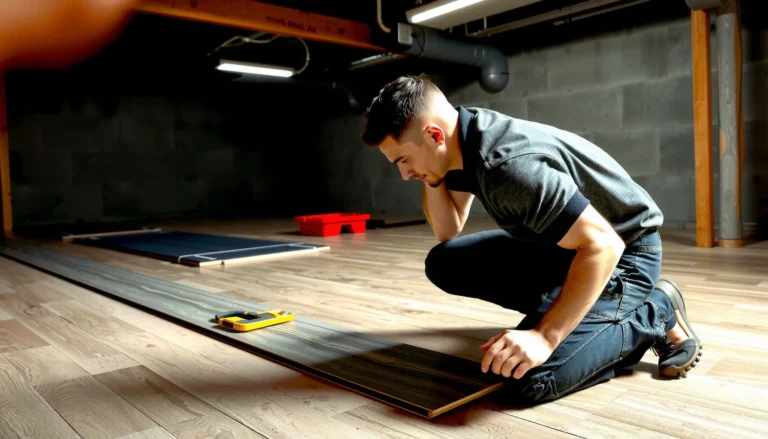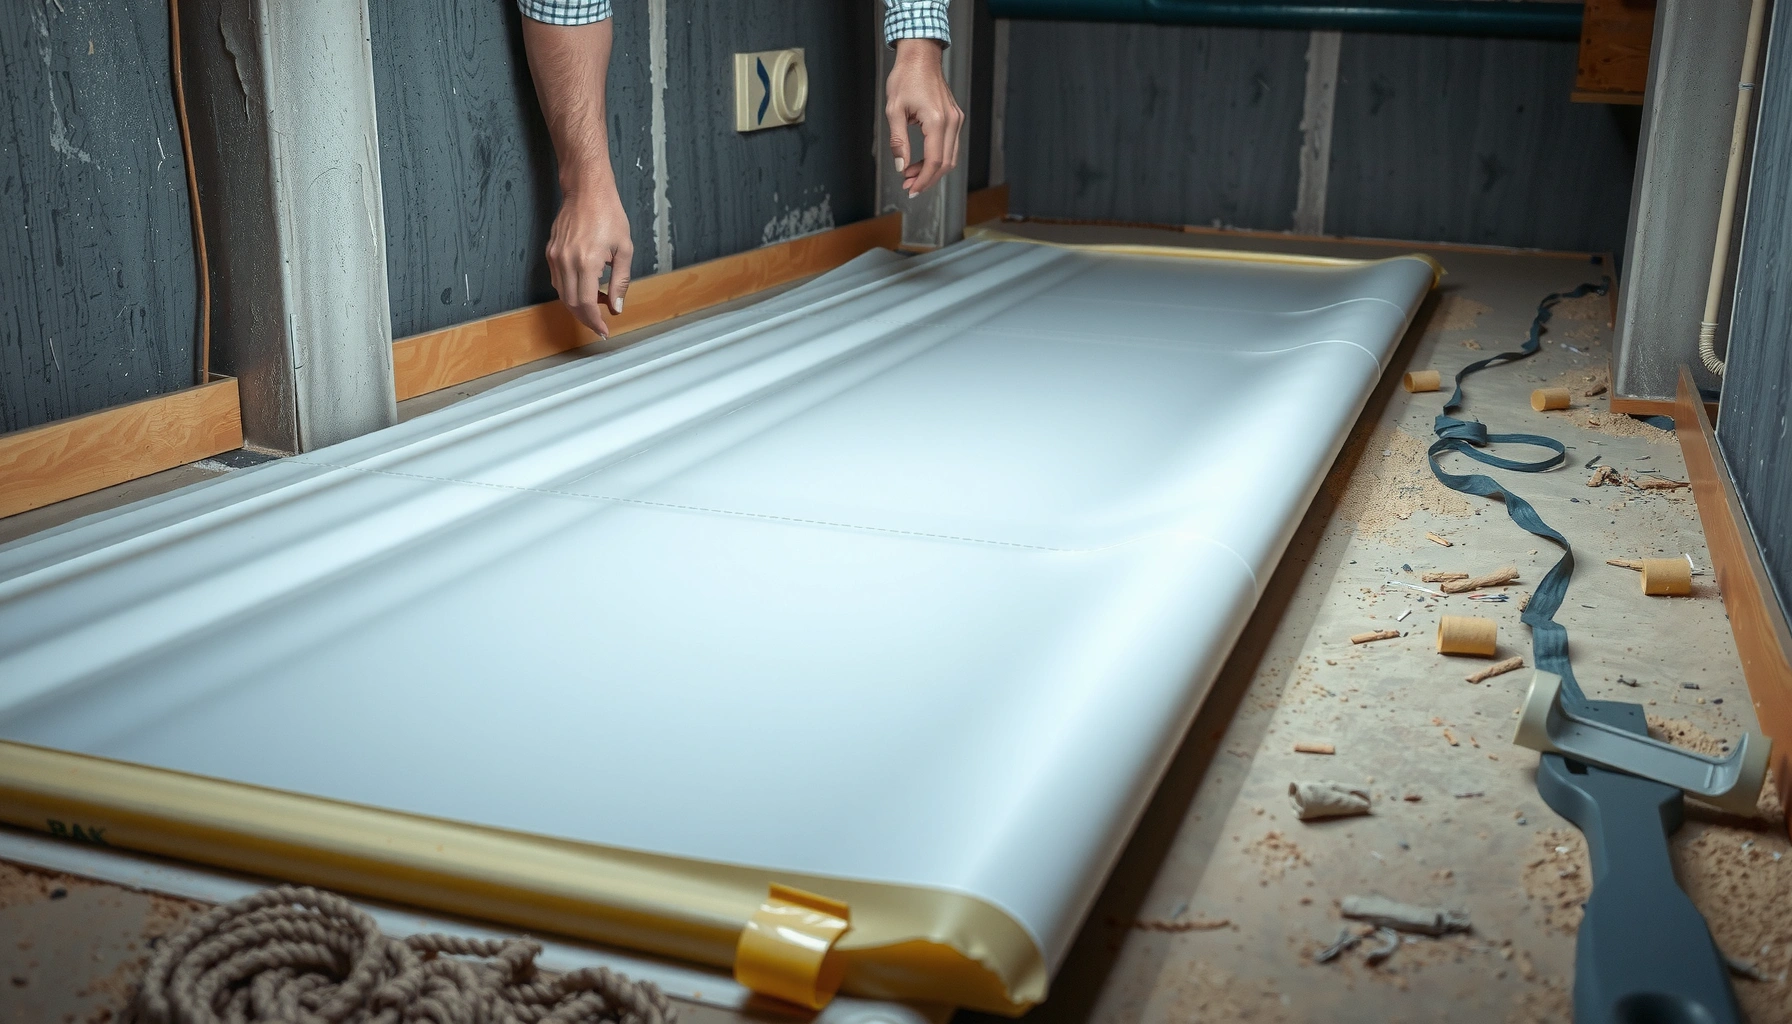

You can install a vapor barrier under basement floors the right way with a clear, step-by-step method that actually prevents moisture from ruining your slab and flooring. This guide walks you through prep, material choice, overlap and seam sealing, and finishing details so the barrier performs reliably from day one. If your goal is a dry, protected basement system, follow these steps for the most dependable outcome.



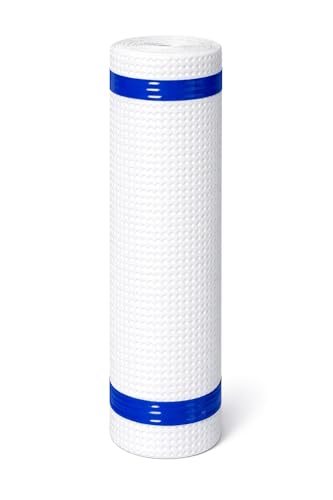
Yes—you can install a vapor barrier under basement floors by preparing the slab, sealing the perimeter, then covering the entire floor with overlapping sheeting and taped seams. The key is choosing the right material and thickness for sub-slab moisture control and making sure every seam and edge is sealed so moisture can’t migrate upward.
This guide is for homeowners (and small crews) finishing a basement where the concrete slab is exposed or installing new flooring systems (subflooring, insulation, carpet pad, LVP, etc.) over/near concrete. If your basement has active leaks, persistent dampness, or signs of hydrostatic pressure (water-driven moisture), address those first—vapor barriers are for vapor diffusion control, not a cure for bulk water.
Measure Moisture Conditions and Choose the Right Barrier
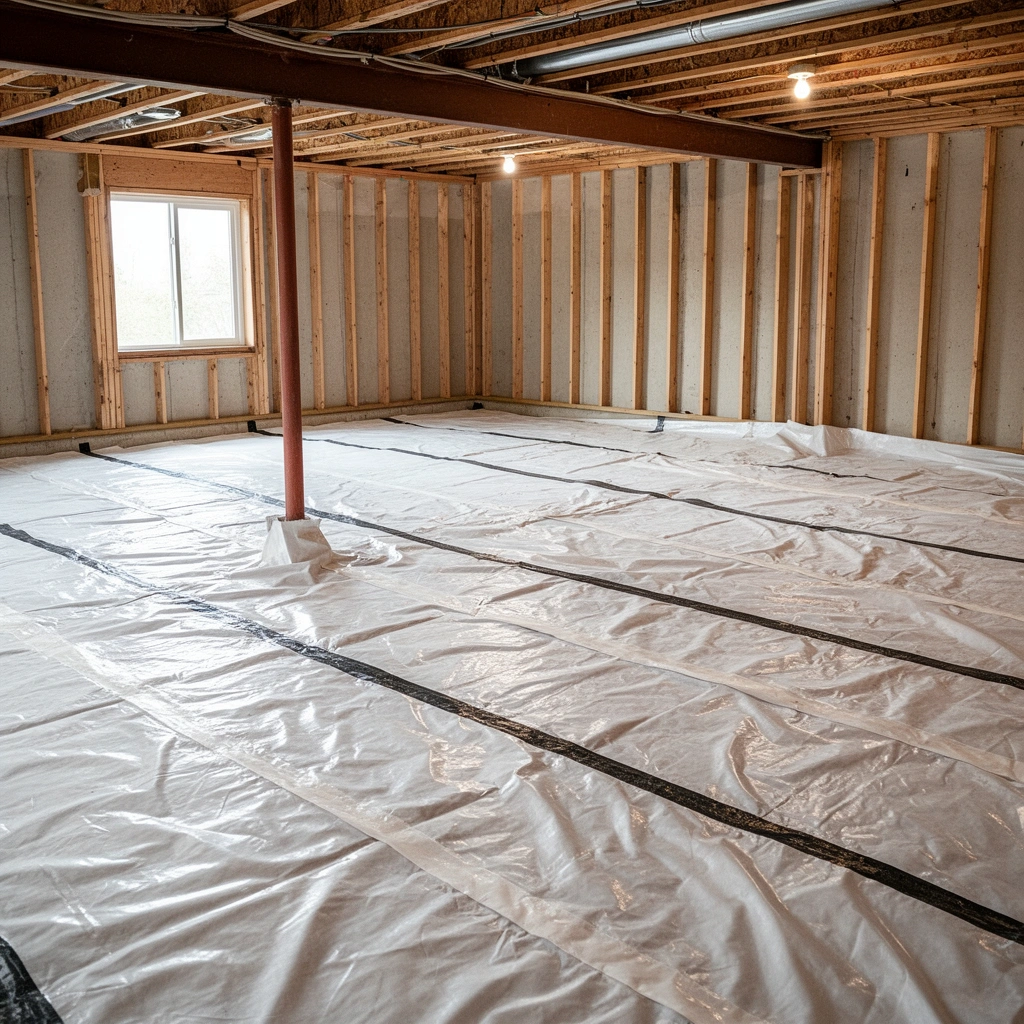
You can get the best performance by confirming that moisture is mainly vapor-diffusion driven and by selecting a barrier rated for sub-slab use. Start with condition checks, then match the product to how your basement behaves in your climate and during wet periods.
– Check your basement for signs of moisture (damp spots, condensation on cold days, musty odor, recurring staining) before you cover or enclose anything.
– Confirm the vapor barrier product is intended for sub-slab moisture control (look for labeling that specifies ground/vapor/under-slab use).
– Plan your layout early so you cover the slab with minimal seams and proper overlaps; fewer seams usually means fewer opportunities for leaks in the system.
A vapor barrier is designed to reduce water vapor movement (diffusion), not to stop liquid water from entering through cracks or from hydrostatic pressure.
Vapor retarder performance is often described using permeance (e.g., ASTM/IBC class definitions), which helps you choose a “Class” rating that fits the floor assembly.
Under-slab sheets only work as a system—continuous coverage and sealed transitions at seams, edges, and penetrations are required for effectiveness.
Before choosing thickness, understand how vapor rating works in practice. Many polyethylene sheets used for under-slab barriers are sold by thickness (commonly 6 mil to 10 mil). For quick context: 6 mil = 0.006 in = 0.1524 mm, and 10 mil = 0.010 in = 0.254 mm. Thicker poly often provides better puncture resistance during construction, which matters once you’re adding insulation and framing.
| # | Vapor Retarder Use Case | Typical Material Class* | Permeance Threshold (Class) | Fit for Basement Slabs? |
|---|---|---|---|---|
| 1 | Finish flooring over “generally dry” slab | Class I/low-perm | ≤ 0.1 perms* | Strong |
| 2 | Carpet pad + subfloor systems | Class I/low-perm | ≤ 0.1 perms* | Strong |
| 3 | Basement used as office with humidity control | Class I to II | ≤ 1.0 perm* | Good |
| 4 | Rising damp/recurring staining (vapor-like symptoms) | Lower-perm Class I preferred | ≤ 0.1 perms* | Limited—inspect |
| 5 | Active leaks / standing water history | Not a substitute | — | Skip as DIY |
| 6 | Slab with many penetrations (pipes/sleeves) | System-rated kit | Per product* | Good if sealed |
| 7 | Cold-climate basements with seasonal condensation | Low-perm Class I/II | ≤ 1.0 perm* | Good |
Permeance “Class” thresholds depend on the testing standard and edition used by your jurisdiction and product data sheet. For exact numbers for your chosen material, follow the product spec and your local code requirements. [ADD: ASTM/IBC/ICC vapor retarder classification source and the exact edition your area follows]
Prep the Basement Floor (Clean, Flat, and Dry Enough)
You should prep the slab so the vapor barrier lies flat with full contact—most failures start from poor adhesion or physical damage. A vapor barrier under basement floors performs as a continuous membrane, so surface conditions matter.
– Remove dust, debris, paint overspray, sealers, dusting powders, or any coating that prevents full contact between the barrier and concrete.
– Patch cracks and low spots so the sheet won’t tear, stretch, or “tent” under pressure from workers and later layers.
– Keep the slab as dry as practical during installation; if you see active wetness, pause and address the moisture source first.
Concrete surface contaminants (dust, curing compounds, old sealers) can reduce the effectiveness of sealing tapes and compatible adhesives used with vapor barrier systems.
Wrinkles, voids, and high/low spots increase the risk of punctures when insulation, subflooring, and fasteners go on top.
If the slab is actively wet, vapor control alone may not protect finished flooring from mold risk or material damage.
From my planning experience on basement rework projects, the “quiet” step is slab flatness. Even when the slab looks smooth, small divots can cause stress points after you set rigid foam or run underlayment. If your plan includes insulation or a subfloor, treat prep as part of the structural assembly—not a cosmetic finish.
Seal the Perimeter and Any Penetrations
You can’t rely on the sheet alone—seal the perimeter and every penetration so moisture can’t bypass the barrier. This is where many DIY installs quietly fail: the poly looks continuous, but water vapor migrates through gaps at edges or pipe sleeves.
– Install an appropriate seal at walls/edges (often a perimeter strip or a manufacturer-approved sealant method) so moisture can’t bypass the sheet at the borders.
– Seal around pipe penetrations, sleeves, and utility runs so the barrier remains continuous.
– If there are expansion joints, plan in advance how your specific vapor barrier system handles them—follow the manufacturer’s guidance.
The vapor barrier must be continuous at edges and around penetrations; sealed transitions are typically required by sub-slab moisture system instructions.
Pipe penetrations create the most complex geometry, so manufacturer-rated boots, gaskets, or sealants are often necessary to maintain membrane continuity.
Expansion joints may require specialized detailing; “patching” them without a system-approved approach can defeat the vapor control objective.
Quick pros/cons: Vapor barrier vs. waterproofing
| Approach | What it controls best | Limitations | Best fit |
|---|---|---|---|
| Sub-slab vapor barrier | Water vapor diffusion under flooring | Won’t stop liquid water or hydrostatic pressure | Dry basements finishing floors |
| Waterproofing/drainage strategy | Liquid water entry | Often requires exterior/interior drainage work | Leaks, seepage, recurring wet slabs |
Waterproofing/drainage targets bulk water and pressure; vapor barriers target vapor movement. Mixing those goals incorrectly is a common reason for basement moisture problems returning.
Lay the Vapor Barrier With Proper Overlaps and Tape
You install the barrier successfully by covering the full slab with correct overlaps and using the specified seam tape. Overlaps and tapes are not optional details—they are the seam’s “weak link,” and tape compatibility affects long-term adhesion.
– Unroll the plastic carefully and place it so the sheeting covers the entire slab surface.
– Overlap seams in the direction recommended by the manufacturer and tape them with the specified seam tape (not random household tape).
– If the product requires turning up the wall, run it up the wall slightly, then trim once the floor build-out is ready.
Seam direction and overlap length should follow the vapor barrier manufacturer’s installation instructions because they relate to how moisture pathways could travel.
Using non-approved tape can lead to early loss of adhesion, seam failure, and moisture migration at joints.
A correct installation typically creates a continuous “pan” that links slab coverage to perimeter detailing.
A useful way to avoid mistakes is to dry-fit your sheet layout before committing to taping. For rooms with closets, wall offsets, or utility corners, plan so you can tape fewer long seams and handle fewer awkward cuts.
Protect the Barrier During Insulation/Framing or Flooring Build-Up
You protect the barrier by preventing punctures, minimizing movement, and controlling how the next layers load the sheet. Once the vapor barrier is down, it becomes your moisture-control layer—any hole is a potential pathway.
– Avoid puncturing the sheet: don’t drag tools across it, and keep foot traffic limited once it’s down.
– If you’re adding rigid foam or insulation, use a build that reduces point loads and sheet movement.
– Plan the order of operations so the barrier isn’t left exposed for long periods before insulation and subfloor layers go in.
Punctures in vapor barrier membranes can create localized pathways for moisture and undermine the continuity that the system relies on.
Fasteners, spacer blocks, and heavy insulation handling can damage seams and edges if materials are installed without protective staging.
When framing a basement floor, it’s common to set sleepers or a subfloor system on top of the membrane. That approach can work, but you still need careful detailing around screws and any penetrations that could compromise the sheet. If you’re uncertain, prioritize a system that the manufacturer explicitly supports for that assembly type.
What Can Go Wrong (And How to Avoid It)
You usually see failures when the barrier stops being continuous—at seams, edges, penetrations, or damage points. If you keep the vapor barrier intact as a single sealed layer, you eliminate most predictable problems.
– Gaps at seams or edges: Most failures come from unsealed overlaps, incorrect tape, or missed perimeter detailing—inspect every seam and every hole.
– Tearing during construction: Even small punctures can become moisture pathways; handle the sheet carefully and inspect before adding insulation or flooring layers.
– Moisture problems that are bigger than vapor control: If you have standing water, active seepage, or recurring wetness, a vapor barrier alone won’t stop hydrostatic pressure.
– Wrong product or installation method: Thickness ratings and installation instructions vary by product—follow the manufacturer’s overlap direction, sealing method, and whether the sheet should turn up the wall.
If liquid water is entering the basement, sub-slab vapor control may protect flooring materials but will not address the pressure source behind the wet slab.
Seam tape failures often reflect incompatibility between tape chemistry and the membrane surface, not “user error” alone.
Before closing up a basement floor, a visual inspection plus documentation (photos of sealed seams/penetrations) reduces the chance of missing damage you can’t see later.
For statistical anchoring, building science guidance often uses permeance classes. For example, Class I vapor retarders are commonly defined at ≤ 0.1 perms, while Class II are often defined up to 1.0 perm (exact thresholds depend on the standard and edition). [ADD: ASTM E96 / ASTM/IBC vapor retarder classification citation for your region] The practical takeaway is to follow your product’s class rating and installation method rather than guessing based on thickness alone.
Verdict / Tip
A vapor barrier under basement floors is usually worth doing when your goal is controlling sub-slab moisture for comfort and flooring durability—especially during finishes like subflooring, insulation, and moisture-sensitive flooring (carpet or many resilient flooring products). The tradeoff is that poor detailing (seams, penetrations, edge sealing) can make the barrier ineffective, and vapor barriers won’t resolve bulk water or ongoing leak conditions.
If you’re dealing with active leaks, recurring flooding, or you can’t get the slab dry enough to install confidently, skip this as a DIY “fix” and handle water entry first. [ADD: source for recommended approach in leaking basements—manufacturer guidance or a building science/official authority reference]
From a contractor-style workflow perspective, the most reliable installs are systems-based: one membrane, one seam tape, and one sealing strategy per the product instructions—because compatibility is part of the design.
Quick Checklist (Scan Before You Start)
– [ ] Confirm the barrier is rated for sub-slab vapor control and matches your plan (including seams/tape).
– [ ] Clean and prep concrete (no dust, loose material, or contaminants).
– [ ] Patch cracks/low spots so the sheet can lie flat.
– [ ] Seal perimeter/edges and every penetration (pipes, sleeves, utility entries).
– [ ] Overlap seams correctly and tape them with the specified tape.
– [ ] Inspect for punctures/tears before adding insulation or flooring layers.
– [ ] Follow the manufacturer’s installation order and requirements.
FAQ
Do I need a vapor barrier if my basement slab is already “dry”?
Often, yes—especially if you’re finishing the space or installing flooring systems that can be harmed by moisture vapor. If you’re seeing condensation, musty odors, or damp areas, treat moisture as an active condition, not a one-time event.
What’s the biggest mistake with vapor barrier installation under basement floors?
Unsealed seams and poorly handled penetrations (pipes/sleeves) are the most common problem points because they break the membrane’s continuity.
Should the vapor barrier cover expansion joints or cracks?
It depends on the specific barrier system and how your manufacturer instructs you to handle cracks or movement joints. In many assemblies, you prepare and patch as recommended, but you should not improvise without guidance.
Can I install a vapor barrier over paint or sealers?
Usually not. Surface contaminants and coatings can interfere with proper tape adhesion and system performance. Remove coatings or follow the product instructions for acceptable substrates.
Sources
– [ADD: manufacturer installation instructions/spec sheet for the specific sub-slab vapor barrier product you plan to use, especially overlap direction and seam tape requirements]
– [ADD: building science or official guidance source for vapor barriers in basements, e.g., reputable housing/building authority or professional association]
– [ADD: ASTM and/or code reference for vapor retarder classification/permeance thresholds (e.g., ASTM E96 and the vapor retarder class definitions your jurisdiction uses)]
A well-installed vapor barrier under basement floors is one of the most direct ways to protect finished materials from moisture vapor—but it only works when the system is continuous and sealed at seams, edges, and penetrations. If you’re confident the issue is mainly vapor diffusion (not bulk water or hydrostatic pressure), follow the product’s instructions closely, inspect as you go, and keep the membrane protected during the build-up.
Frequently Asked Questions
What is the best vapor barrier material to use under a basement floor?
Most basements use a 6-mil polyethylene (poly) sheet vapor barrier because it’s effective, durable, and commonly available. If you expect higher moisture pressure or have frequent dampness, thicker poly (8–10 mil) may perform better. Make sure the material is rated for underground use and is free of tears or pinholes before installation.
How do I install a vapor barrier under an existing basement slab?
If the basement floor is already poured, you typically can’t install a true under-slab vapor barrier without removing the slab, but you can sometimes add a floor covering system that includes a vapor barrier layer. For bare concrete, you can place the barrier under a new flooring layer (such as rigid vinyl, laminate with an underlayment, or an epoxy system designed for moisture control). Always check moisture conditions first using a concrete moisture test so you don’t trap water under flooring and risk mold or odor.
How should the vapor barrier be laid and sealed to prevent moisture from migrating upward?
Lay the vapor barrier sheets with minimal wrinkles and overlap seams by at least 8–12 inches, then seal overlaps with a compatible vapor barrier tape. Extend the plastic up the foundation walls several inches (often 6–12 inches) so moisture can’t travel sideways into the room. Seal around penetrations like pipes and utility lines with appropriate sealing products, and avoid punctures during installation.
Why is it important to tuck the vapor barrier up the basement walls and seal penetrations?
Moisture moves through concrete and soil vapor doesn’t follow a straight line, so the barrier must create a continuous “moisture blanket.” Tucking the poly up the basement wall helps prevent moisture from bypassing the floor layer at the edges. Sealing penetrations (plumbing, electrical conduits, and sump-related openings) reduces pathways for water vapor that can cause musty odors, damp carpet, and condensation.
Which basement floors are most at risk without a vapor barrier, and what should I do if I still see moisture?
Basements with poured concrete slabs, crawlspace-like conditions, high groundwater, or past dampness are most at risk—especially if you plan to install flooring that can trap moisture. If you notice condensation, damp patches, or water coming through cracks, address the source first (grading, gutters, sealing foundation cracks, or improving drainage) because a vapor barrier alone won’t stop liquid water. After correcting moisture sources, install the vapor barrier properly and consider a compatible moisture-resistant underlayment to protect the finished basement floor.
📅 Last Updated: October 11, 2026 | Topic: How to install a vapor barrier under basement floors? | Content verified for accuracy and freshness.
References
- Vapor barrier
https://en.wikipedia.org/wiki/Vapor_barrier - Google Scholar Google Scholar
https://scholar.google.com/scholar?q=how+to+install+vapor+barrier+under+basement+floor - Google Scholar Google Scholar
https://scholar.google.com/scholar?q=polyethylene+vapor+retarder+basement+slab+installation+overlap+seams - Google Scholar Google Scholar
https://scholar.google.com/scholar?q=basement+floor+vapor+barrier+concrete+slab+moisture+control+guidance - https://www.epa.gov/mold/moisture-and-mold
- https://www.cdc.gov/mold/about/index.html
- https://www.energy.gov/energysaver/insulating-basement-floors
- https://www.energy.gov/energysaver/crawl-space-encapsulation
- https://extension.umn.edu/household-moisture/basement-moisture
- https://extension.psu.edu/mold-prevention-in-homes-moisture-control-basements